[5.23.13] Old Steel: Refurbishment project

Description of Project
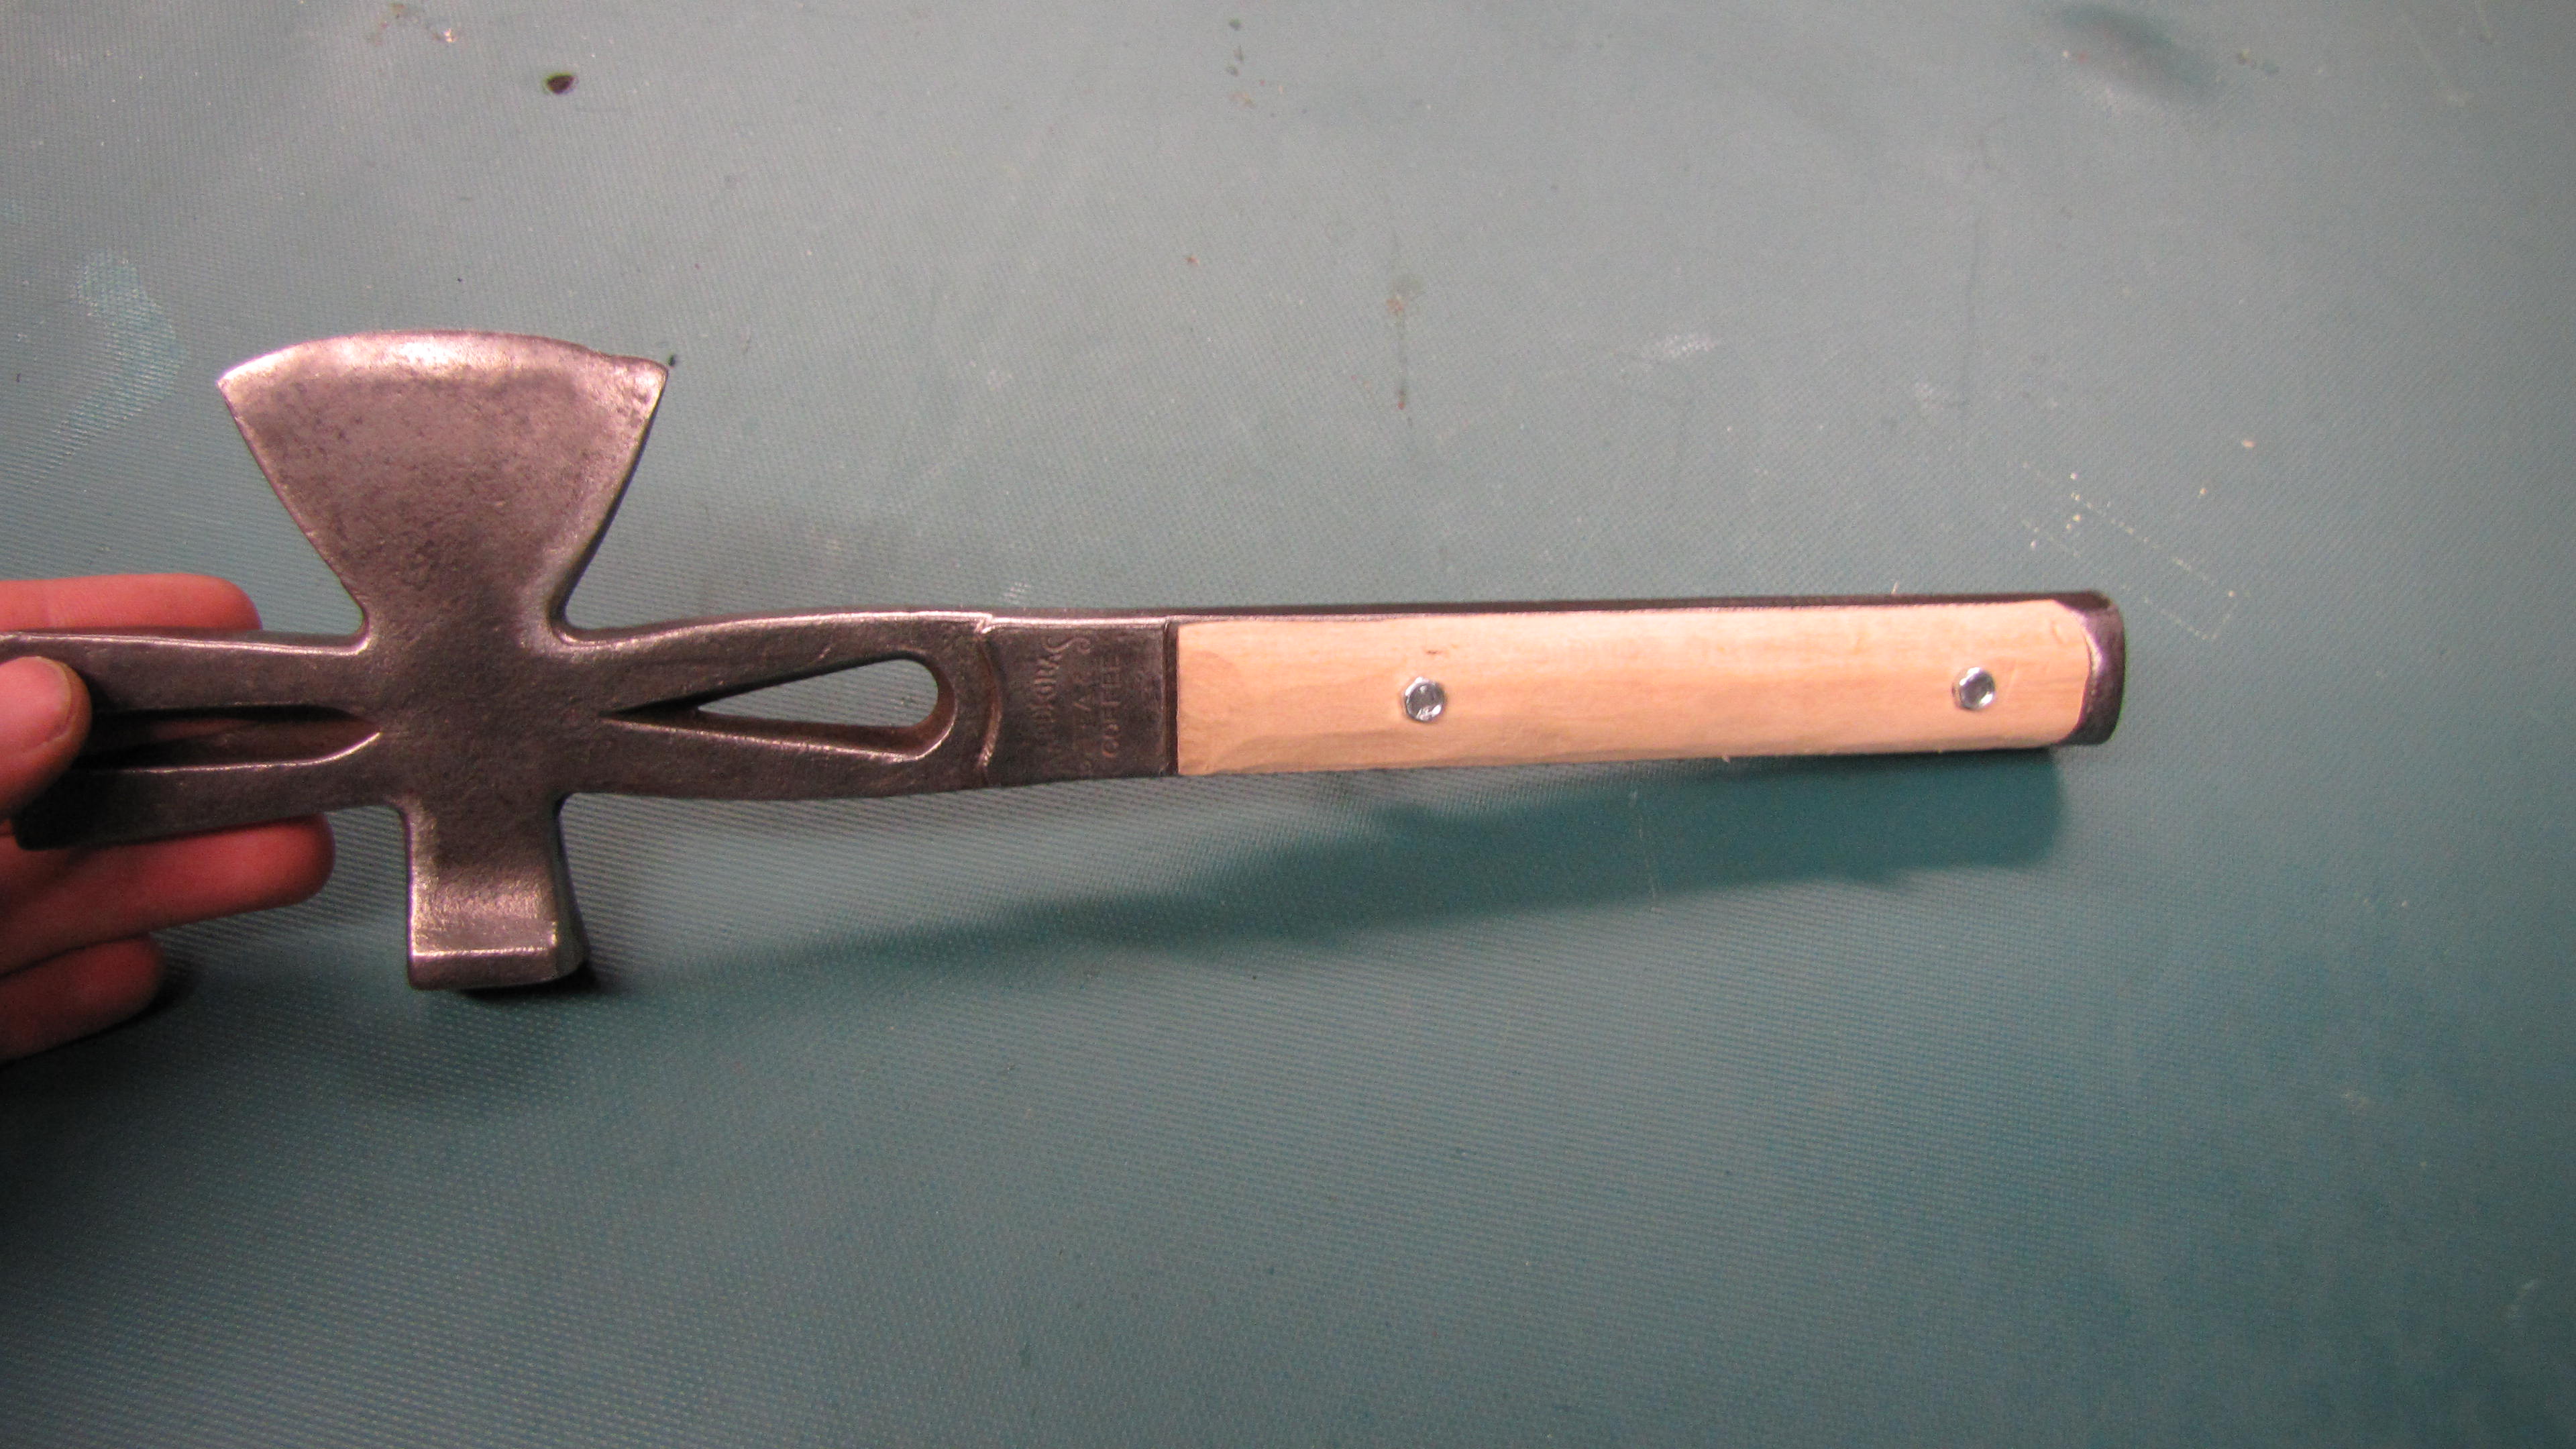
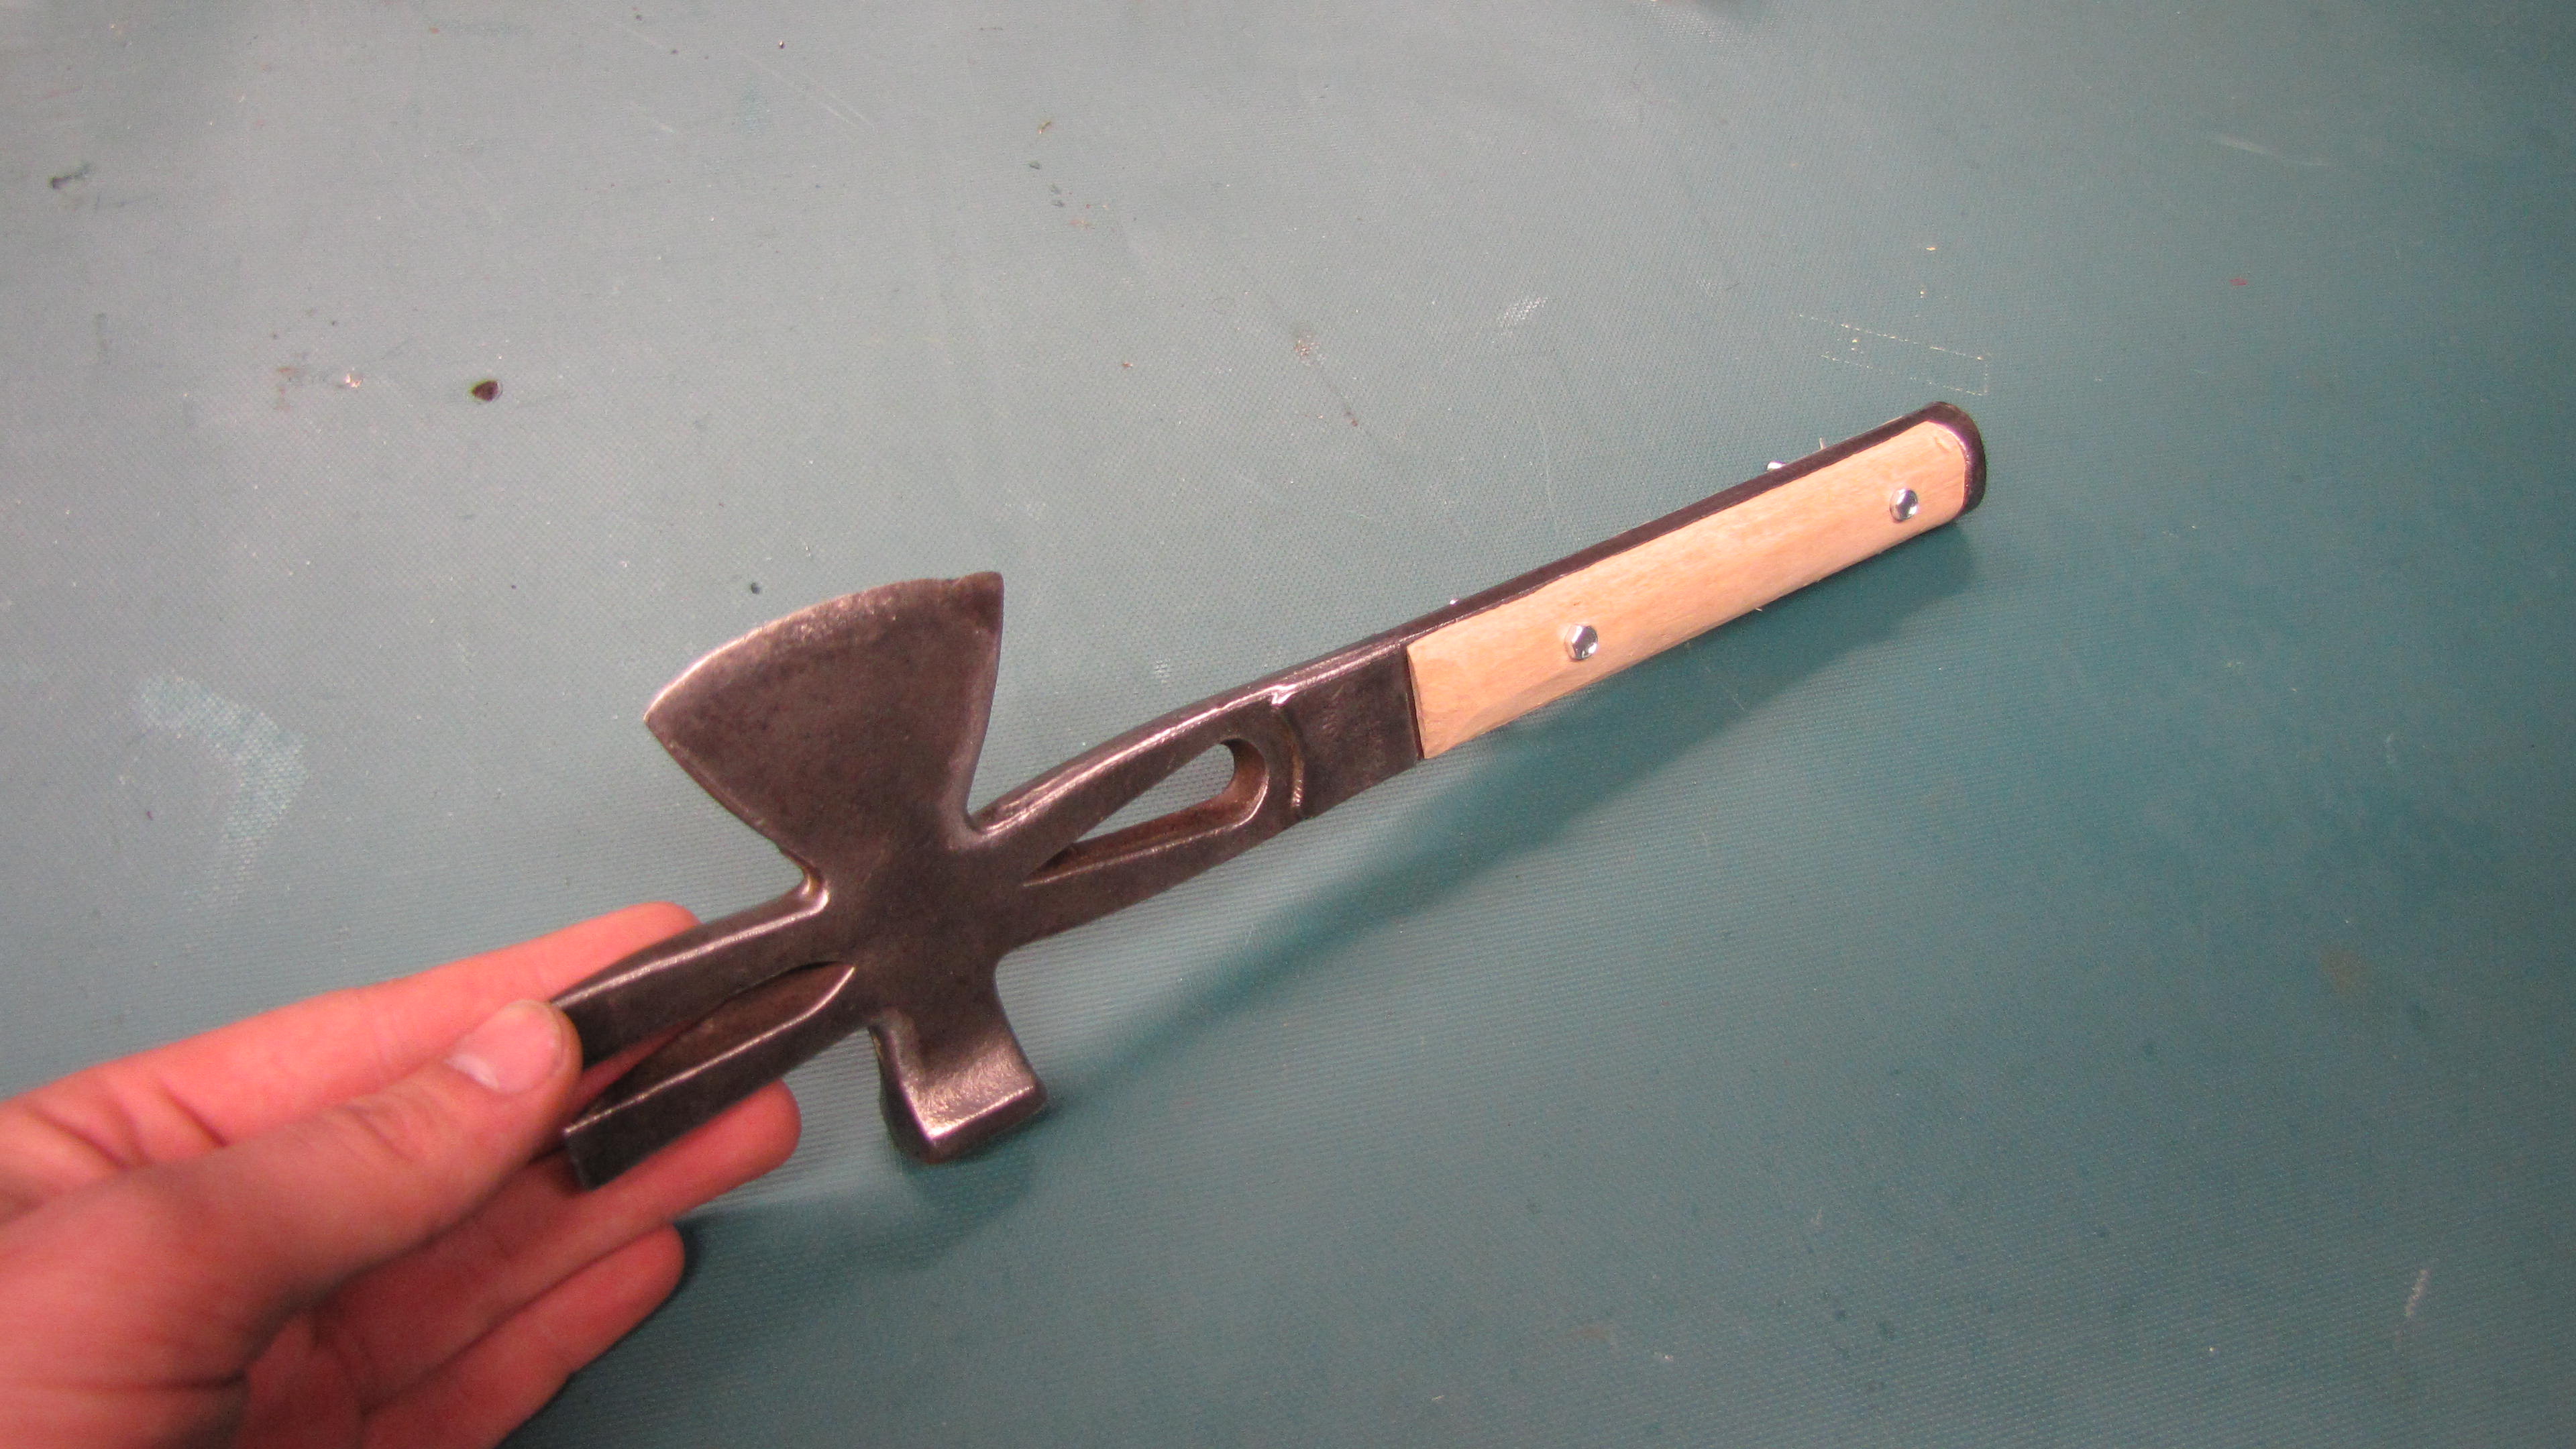
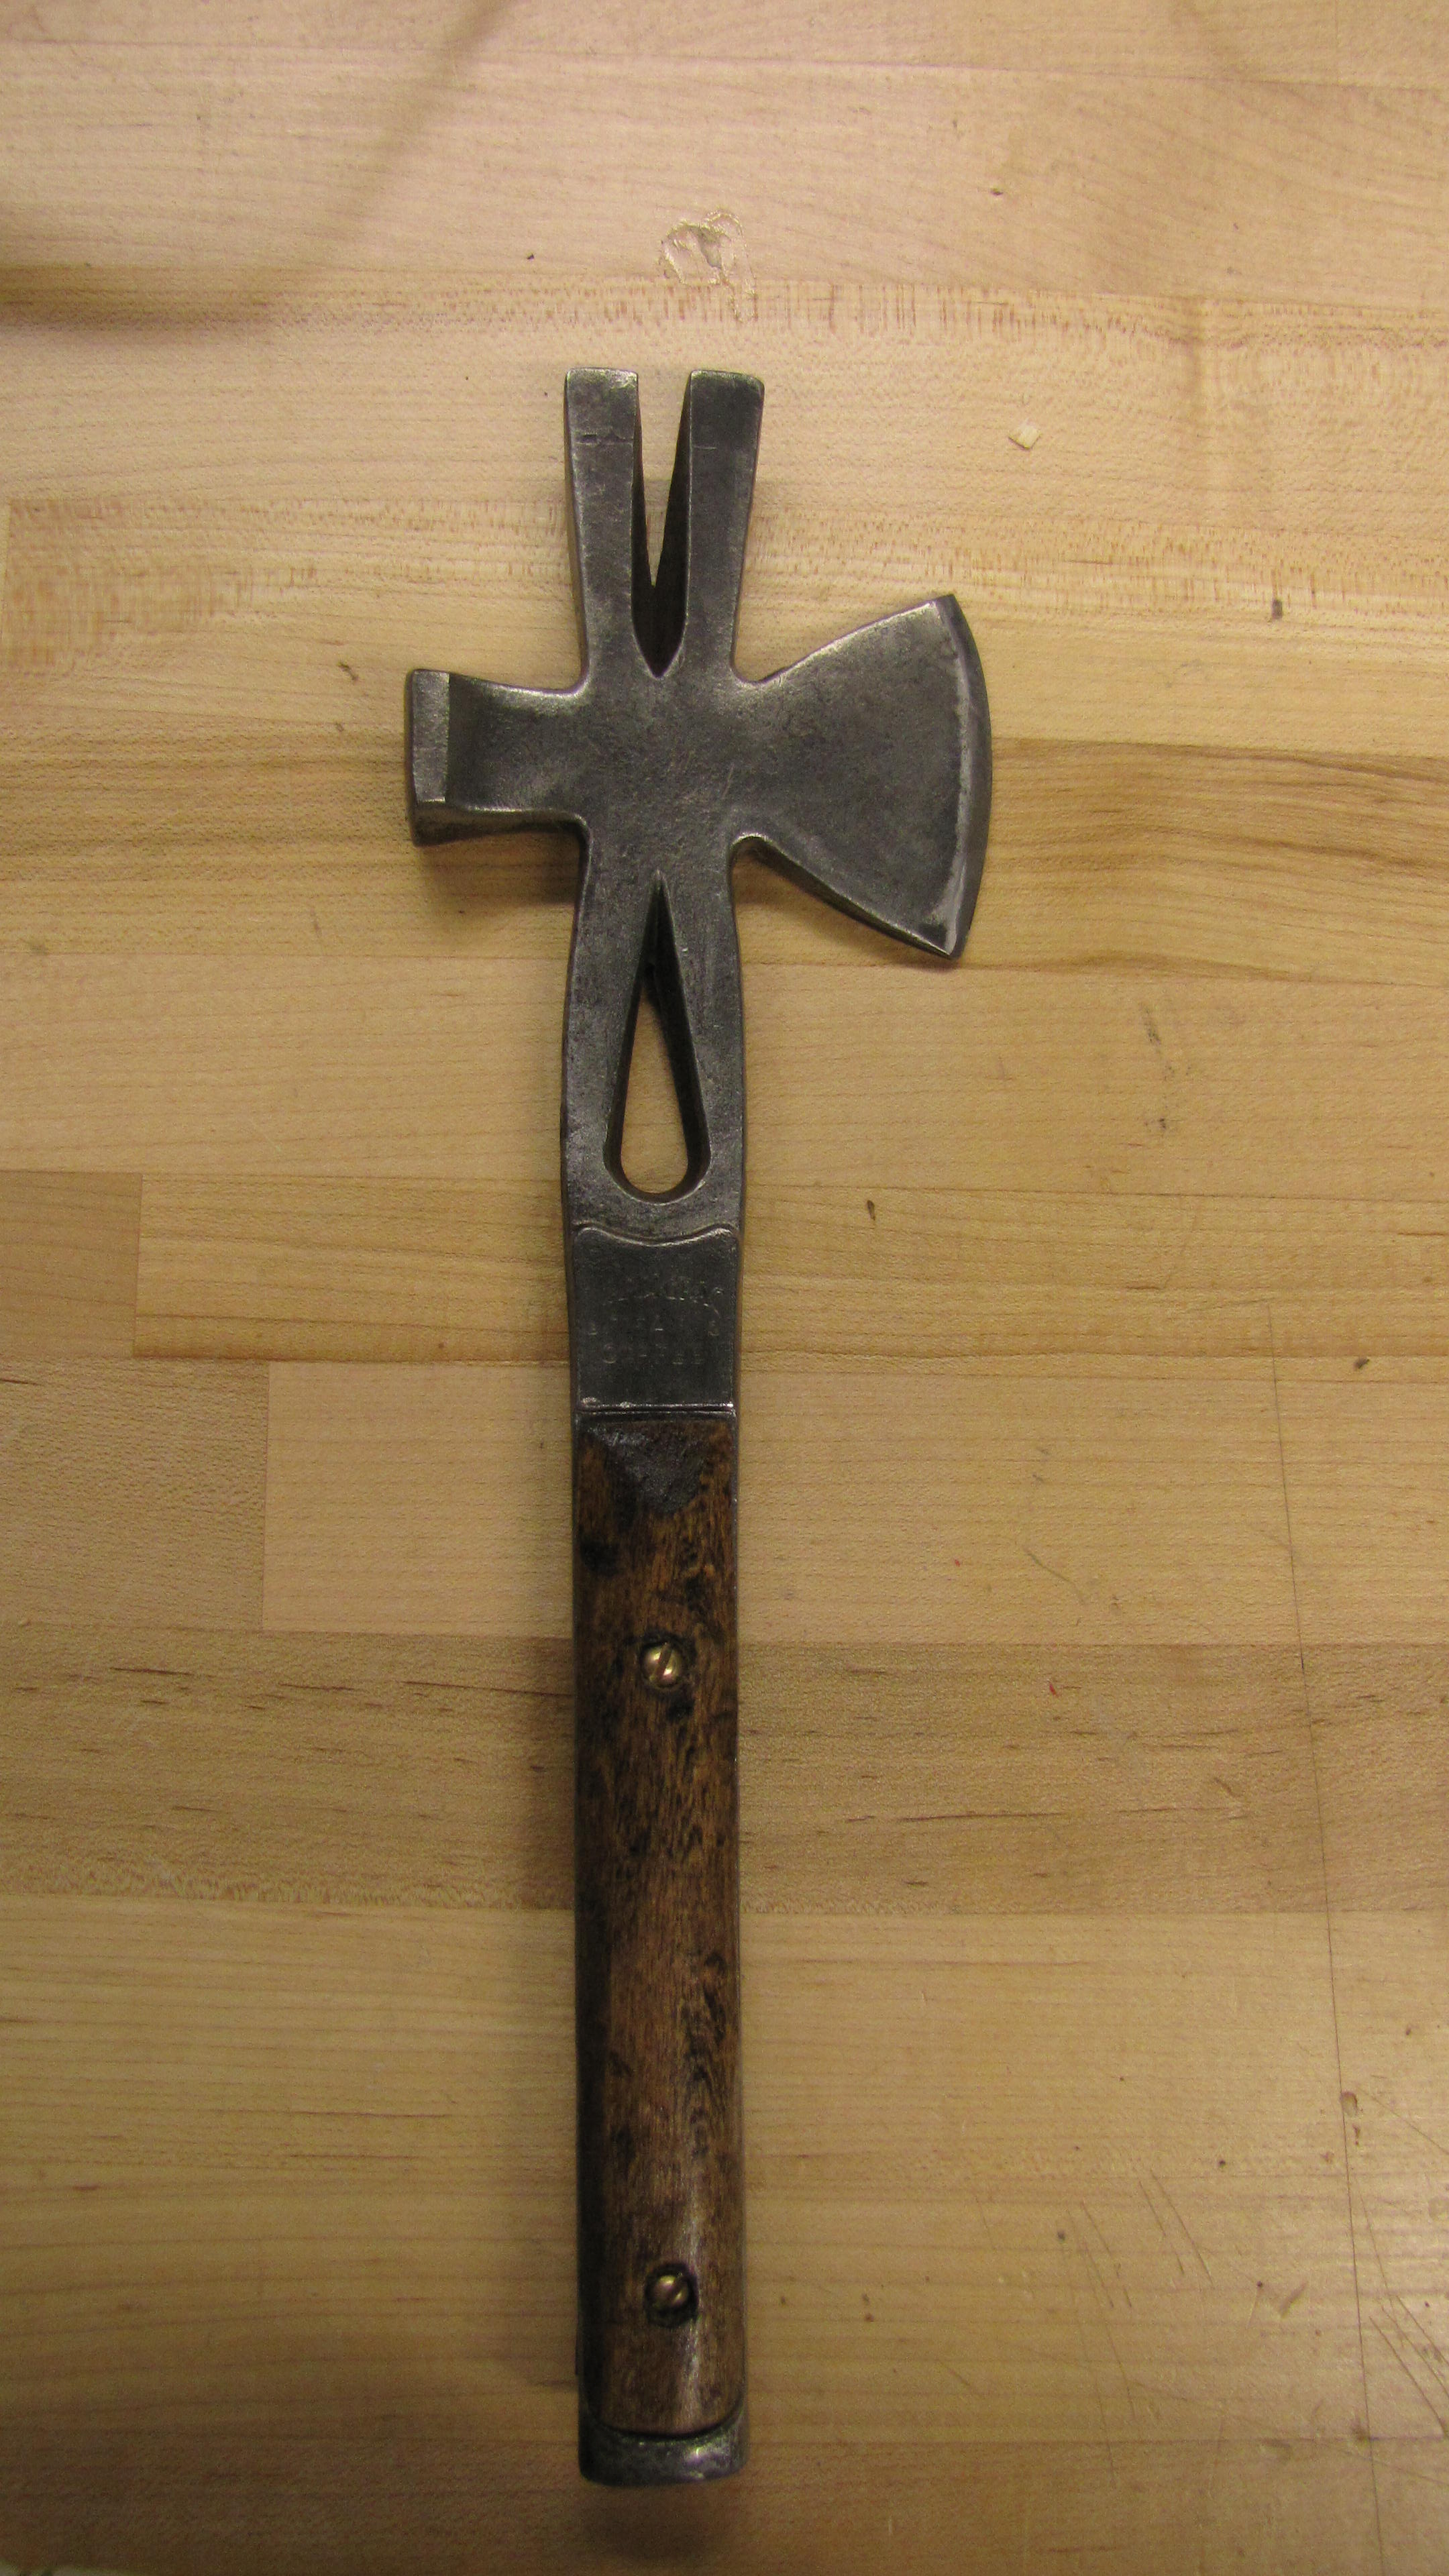
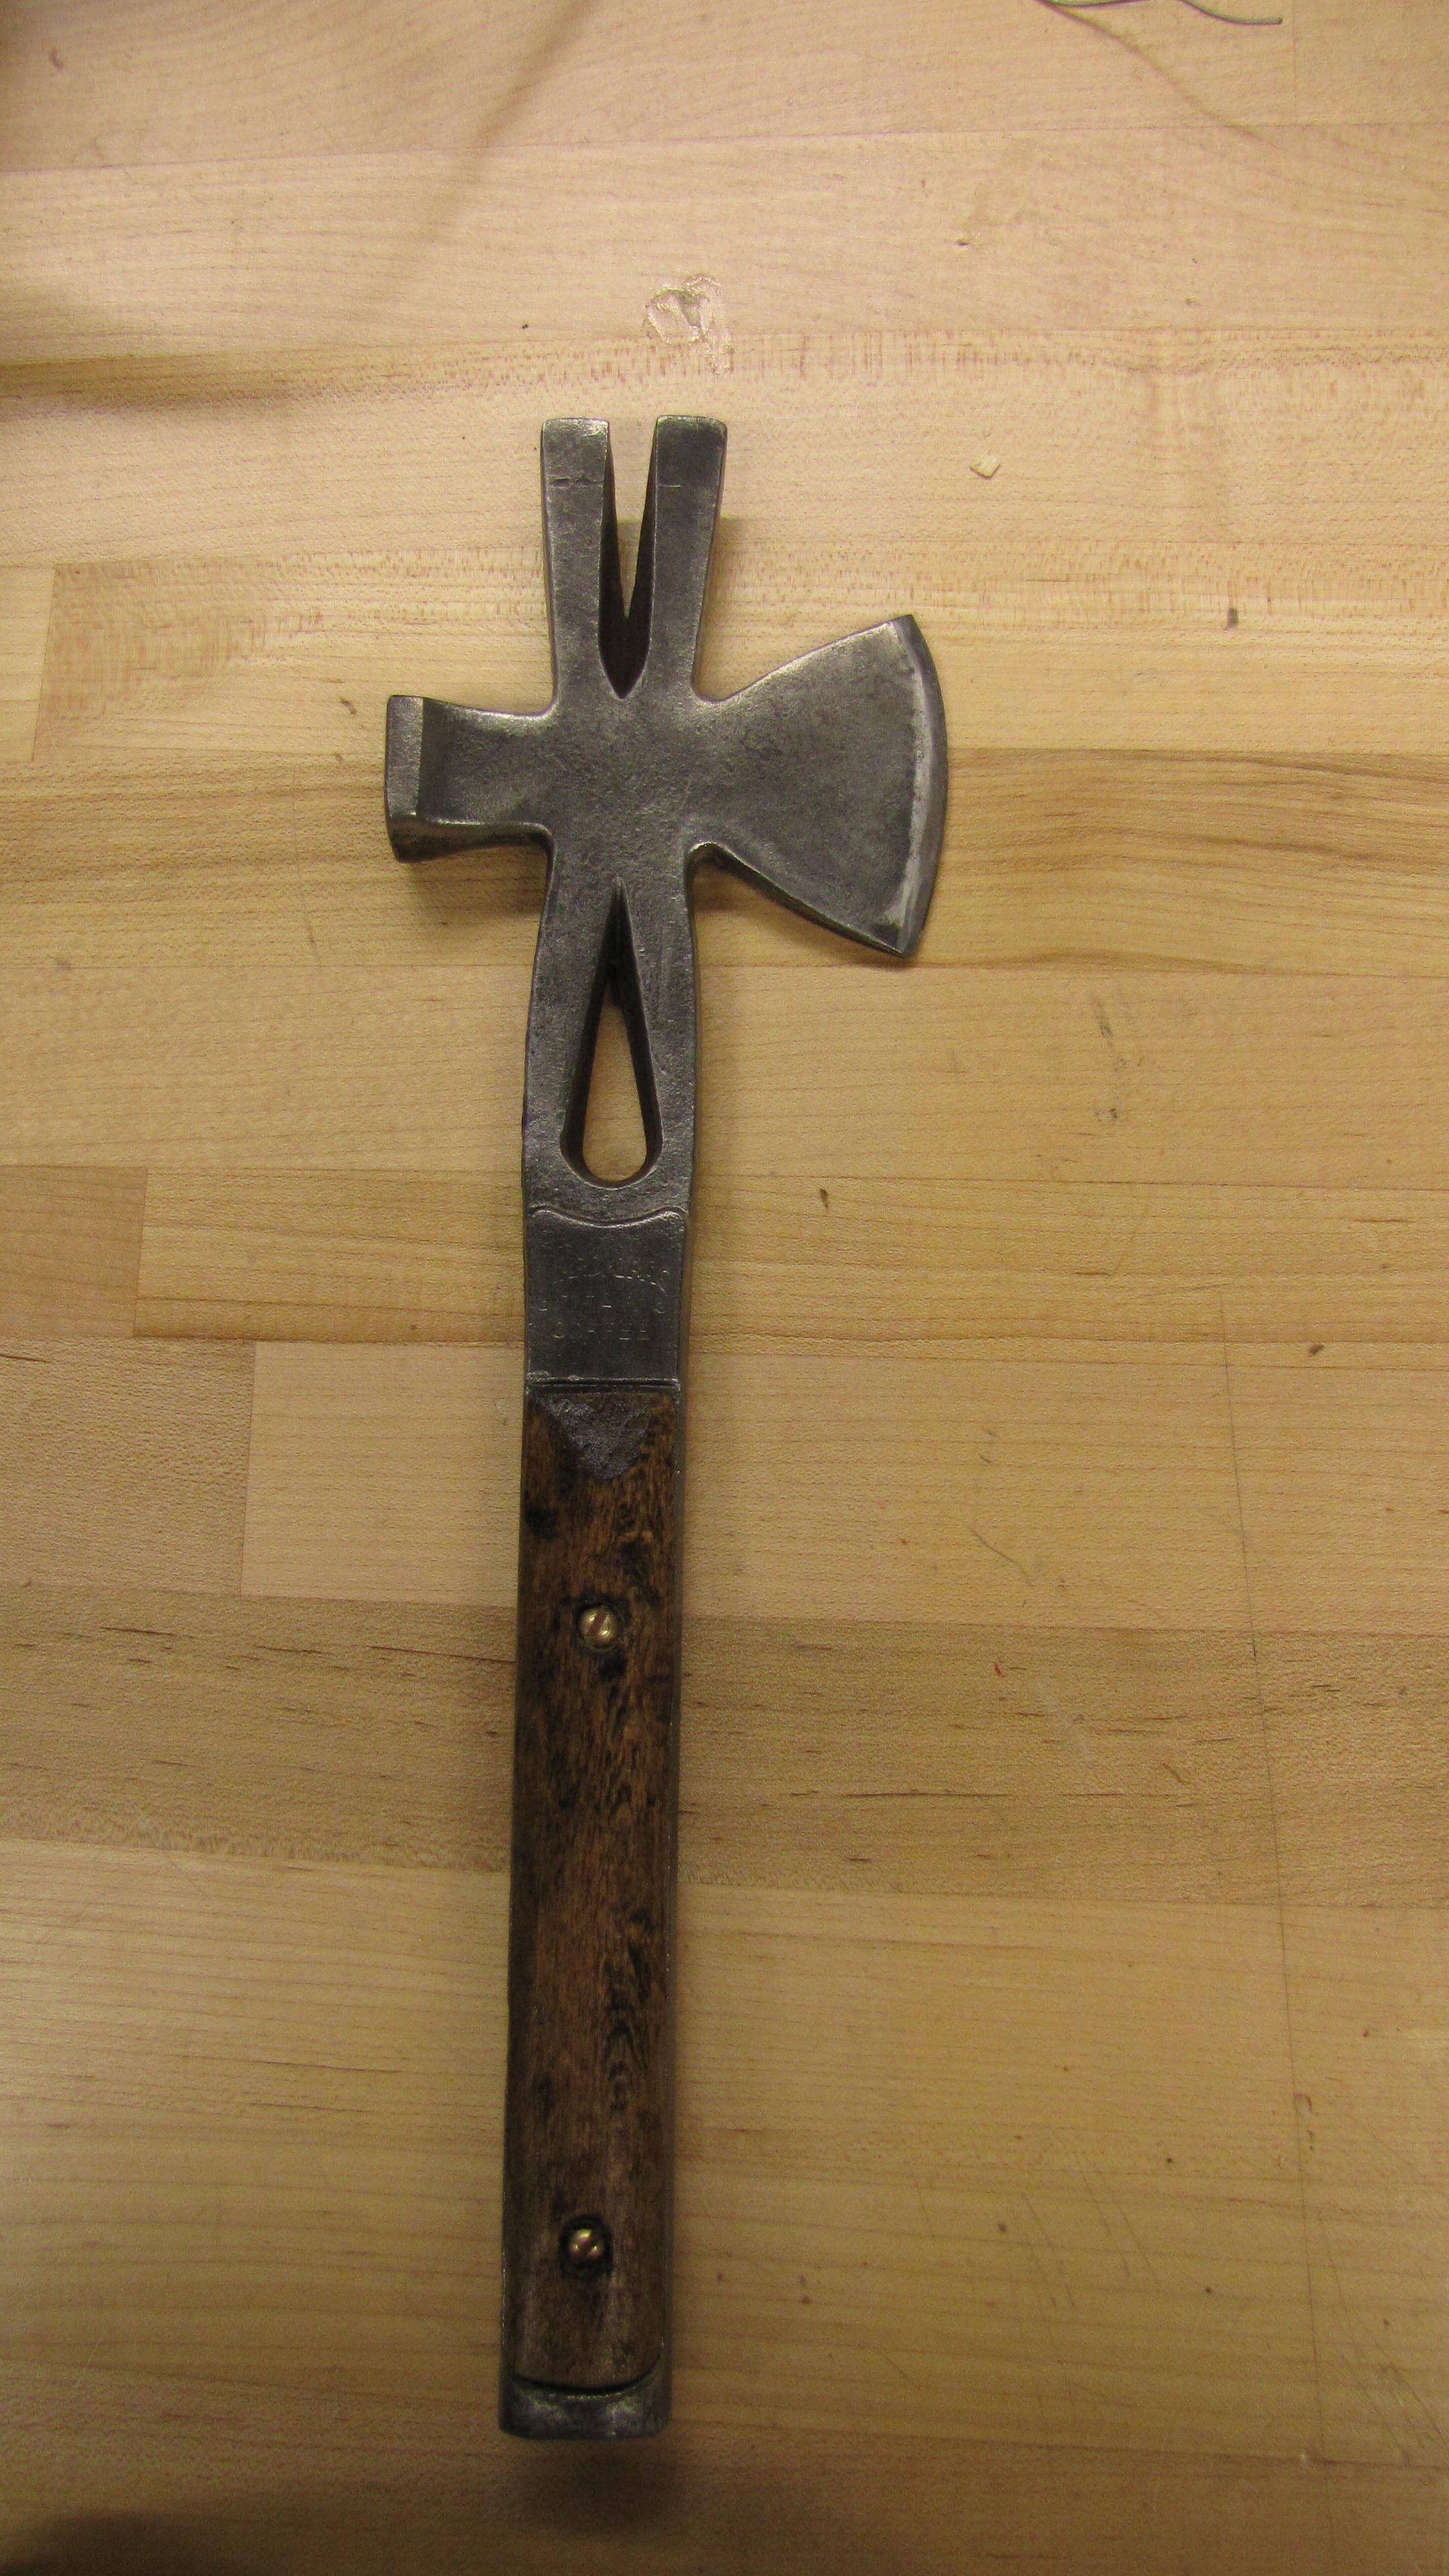
This project's goal was to take a old tool and refurbish it to a condition where it can be used as a fully functioning tool. The tool that spawned this project was a old shipping crate opening tool that I picked up at the MIT Swap fest, along with a drill press, a jewelers anvil, and a pickaxe head. All of which needed and still need a bit of de-rusting and cleaning up, all in their own time though (The drill press is going to be a long refurbishment project, it works but a lot of rust and parts that I want to replace/clean).
Processes Applied:

Staining/polyurethane

Summary:
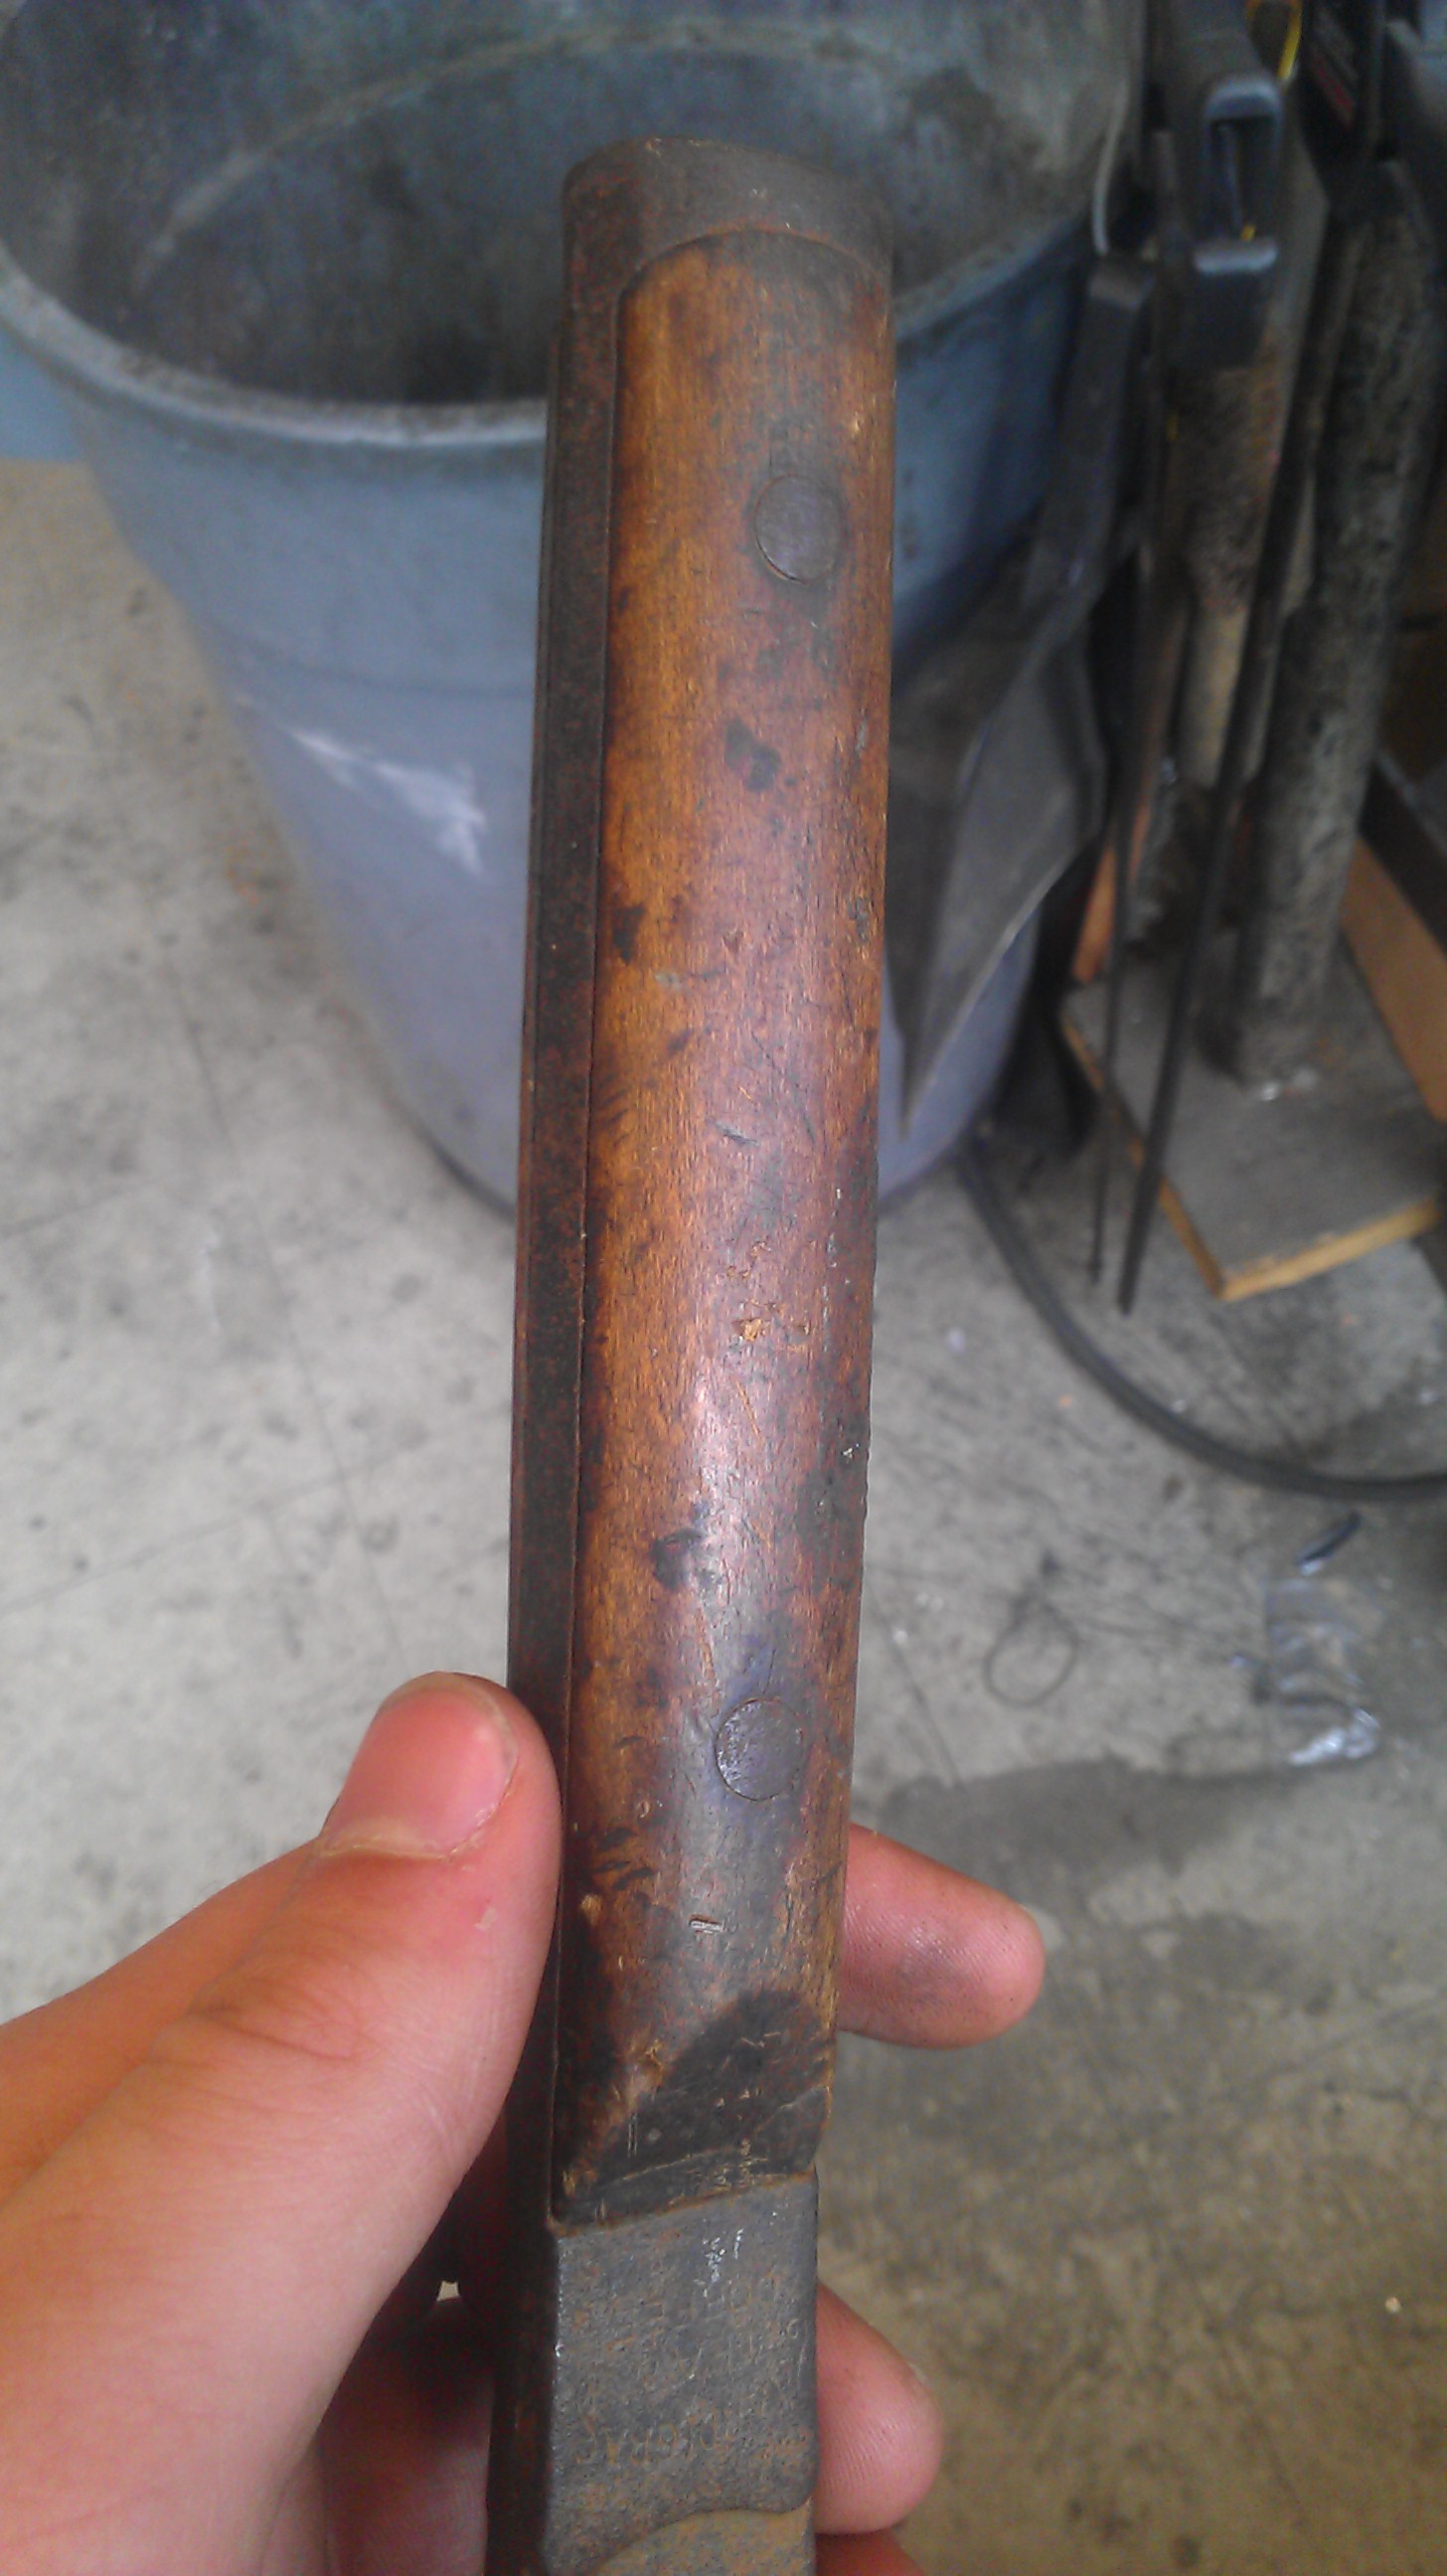
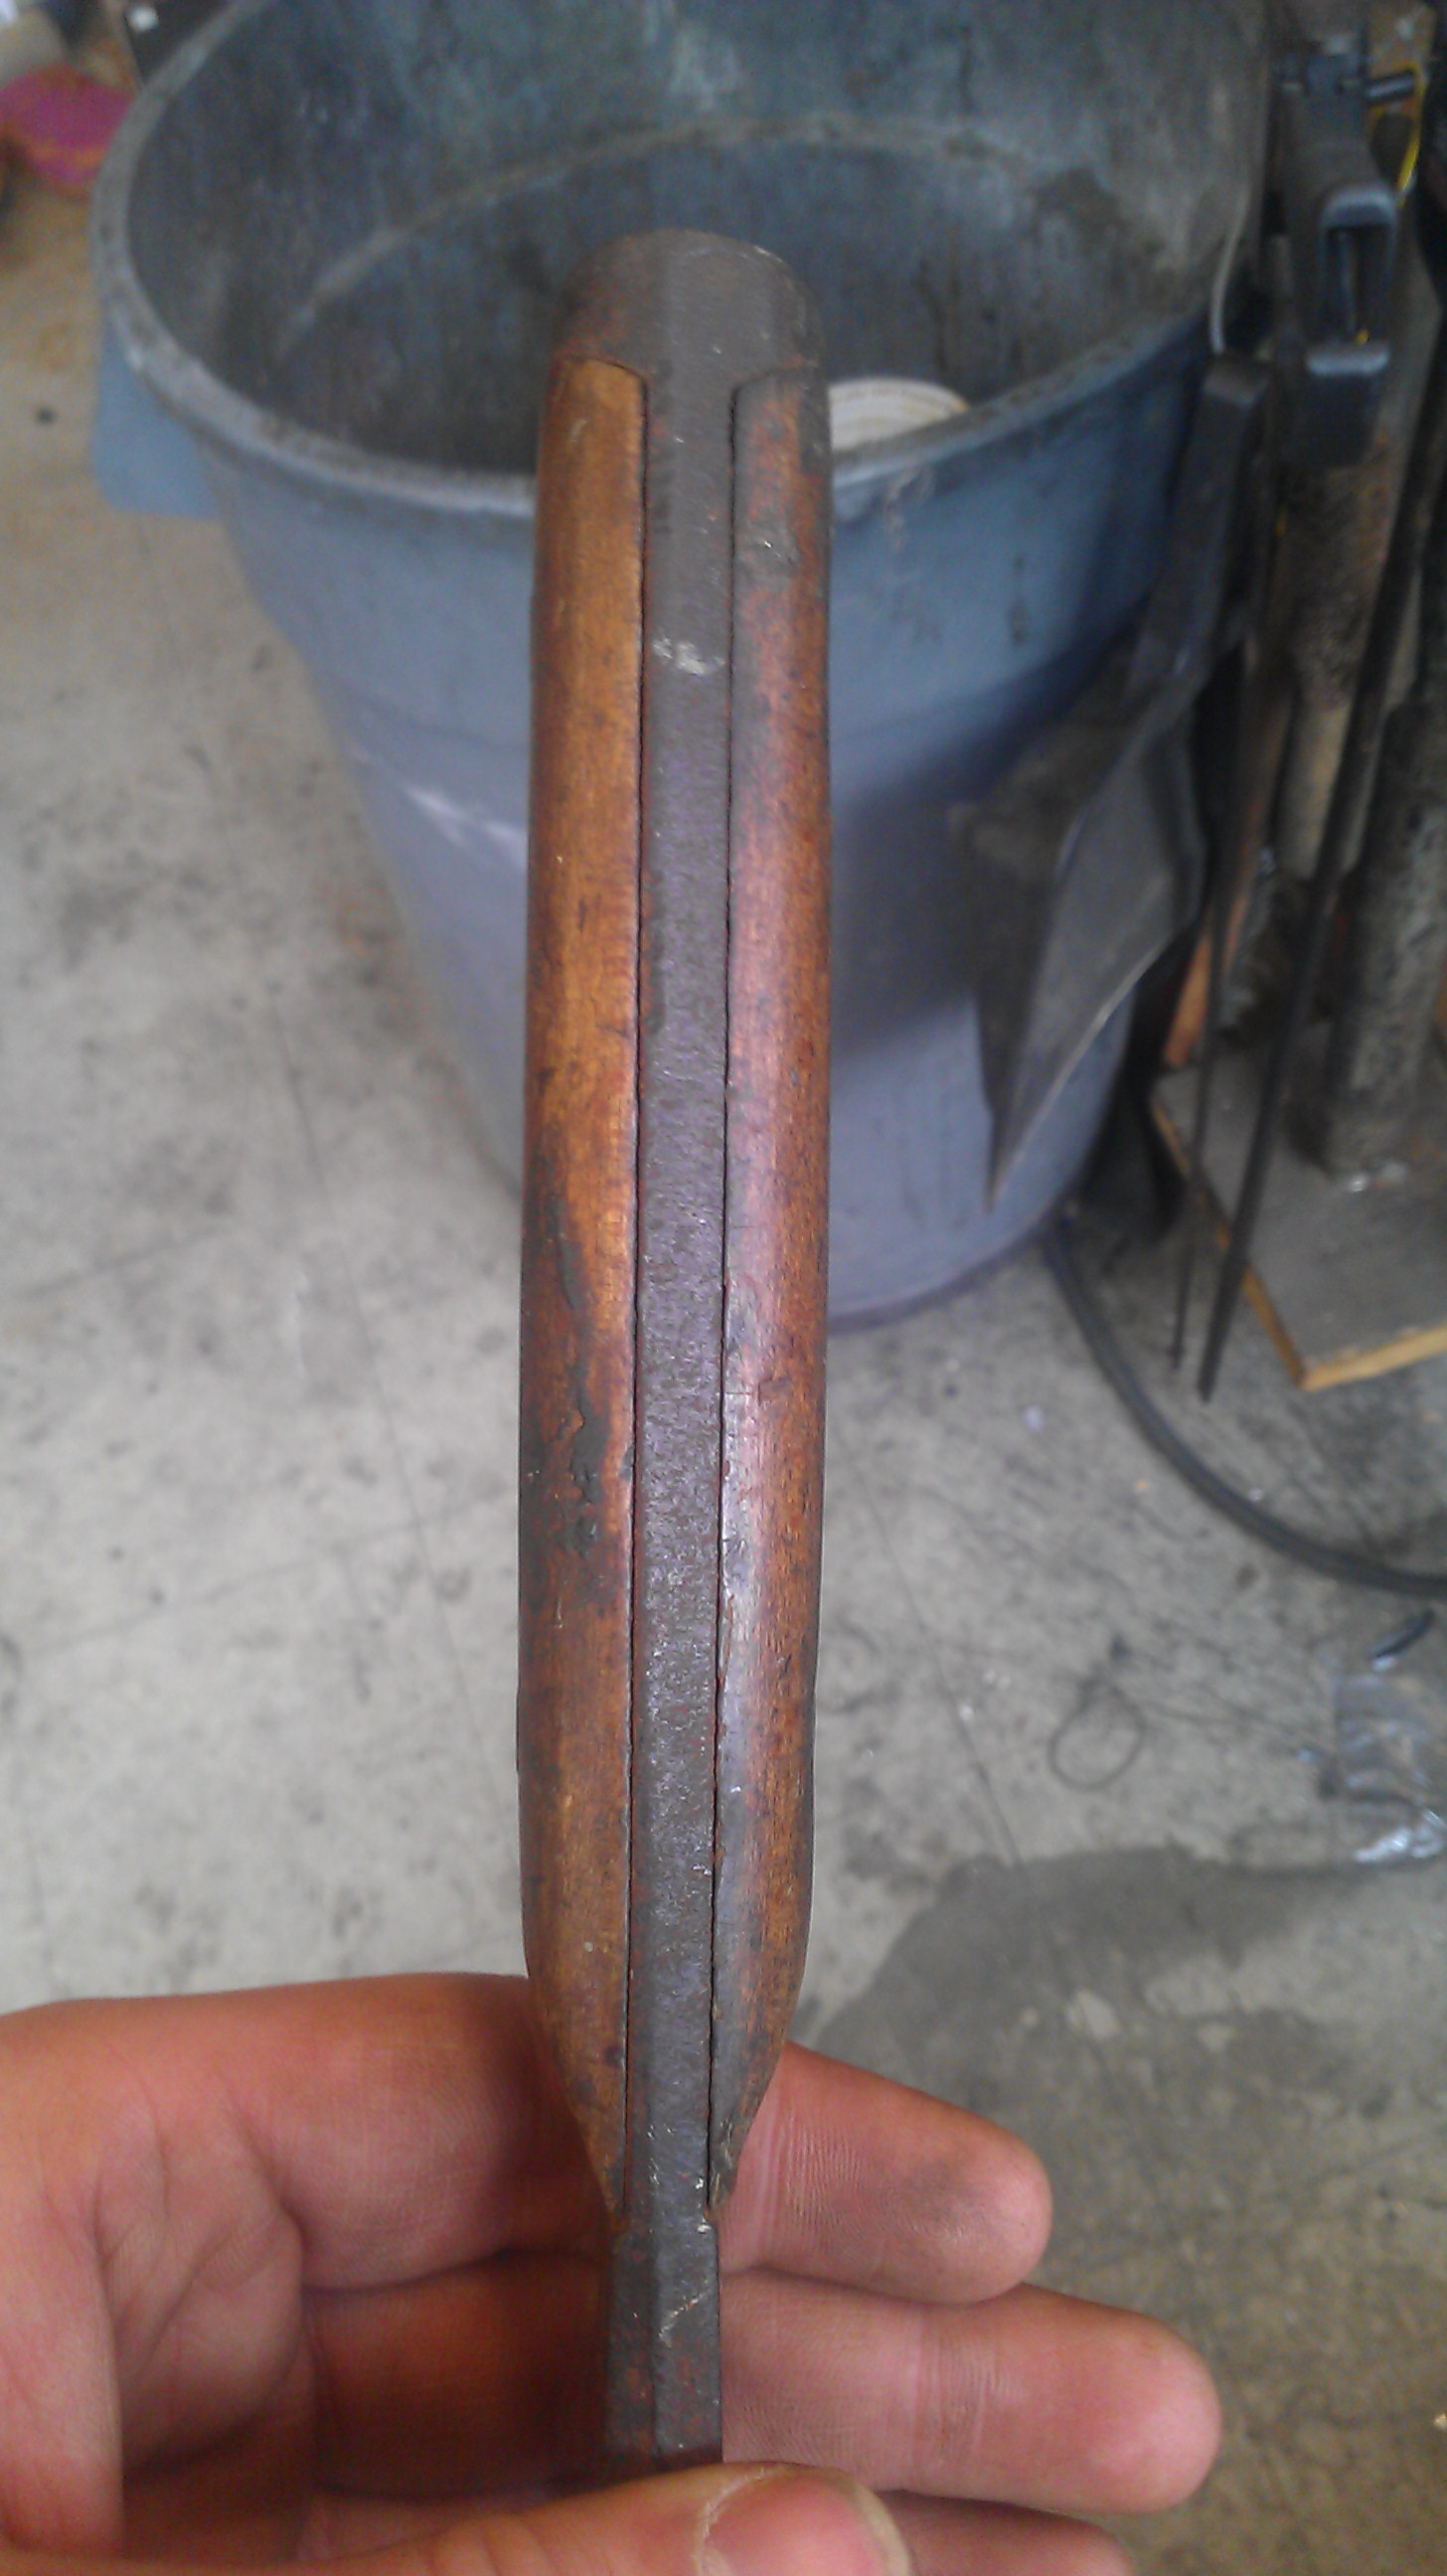
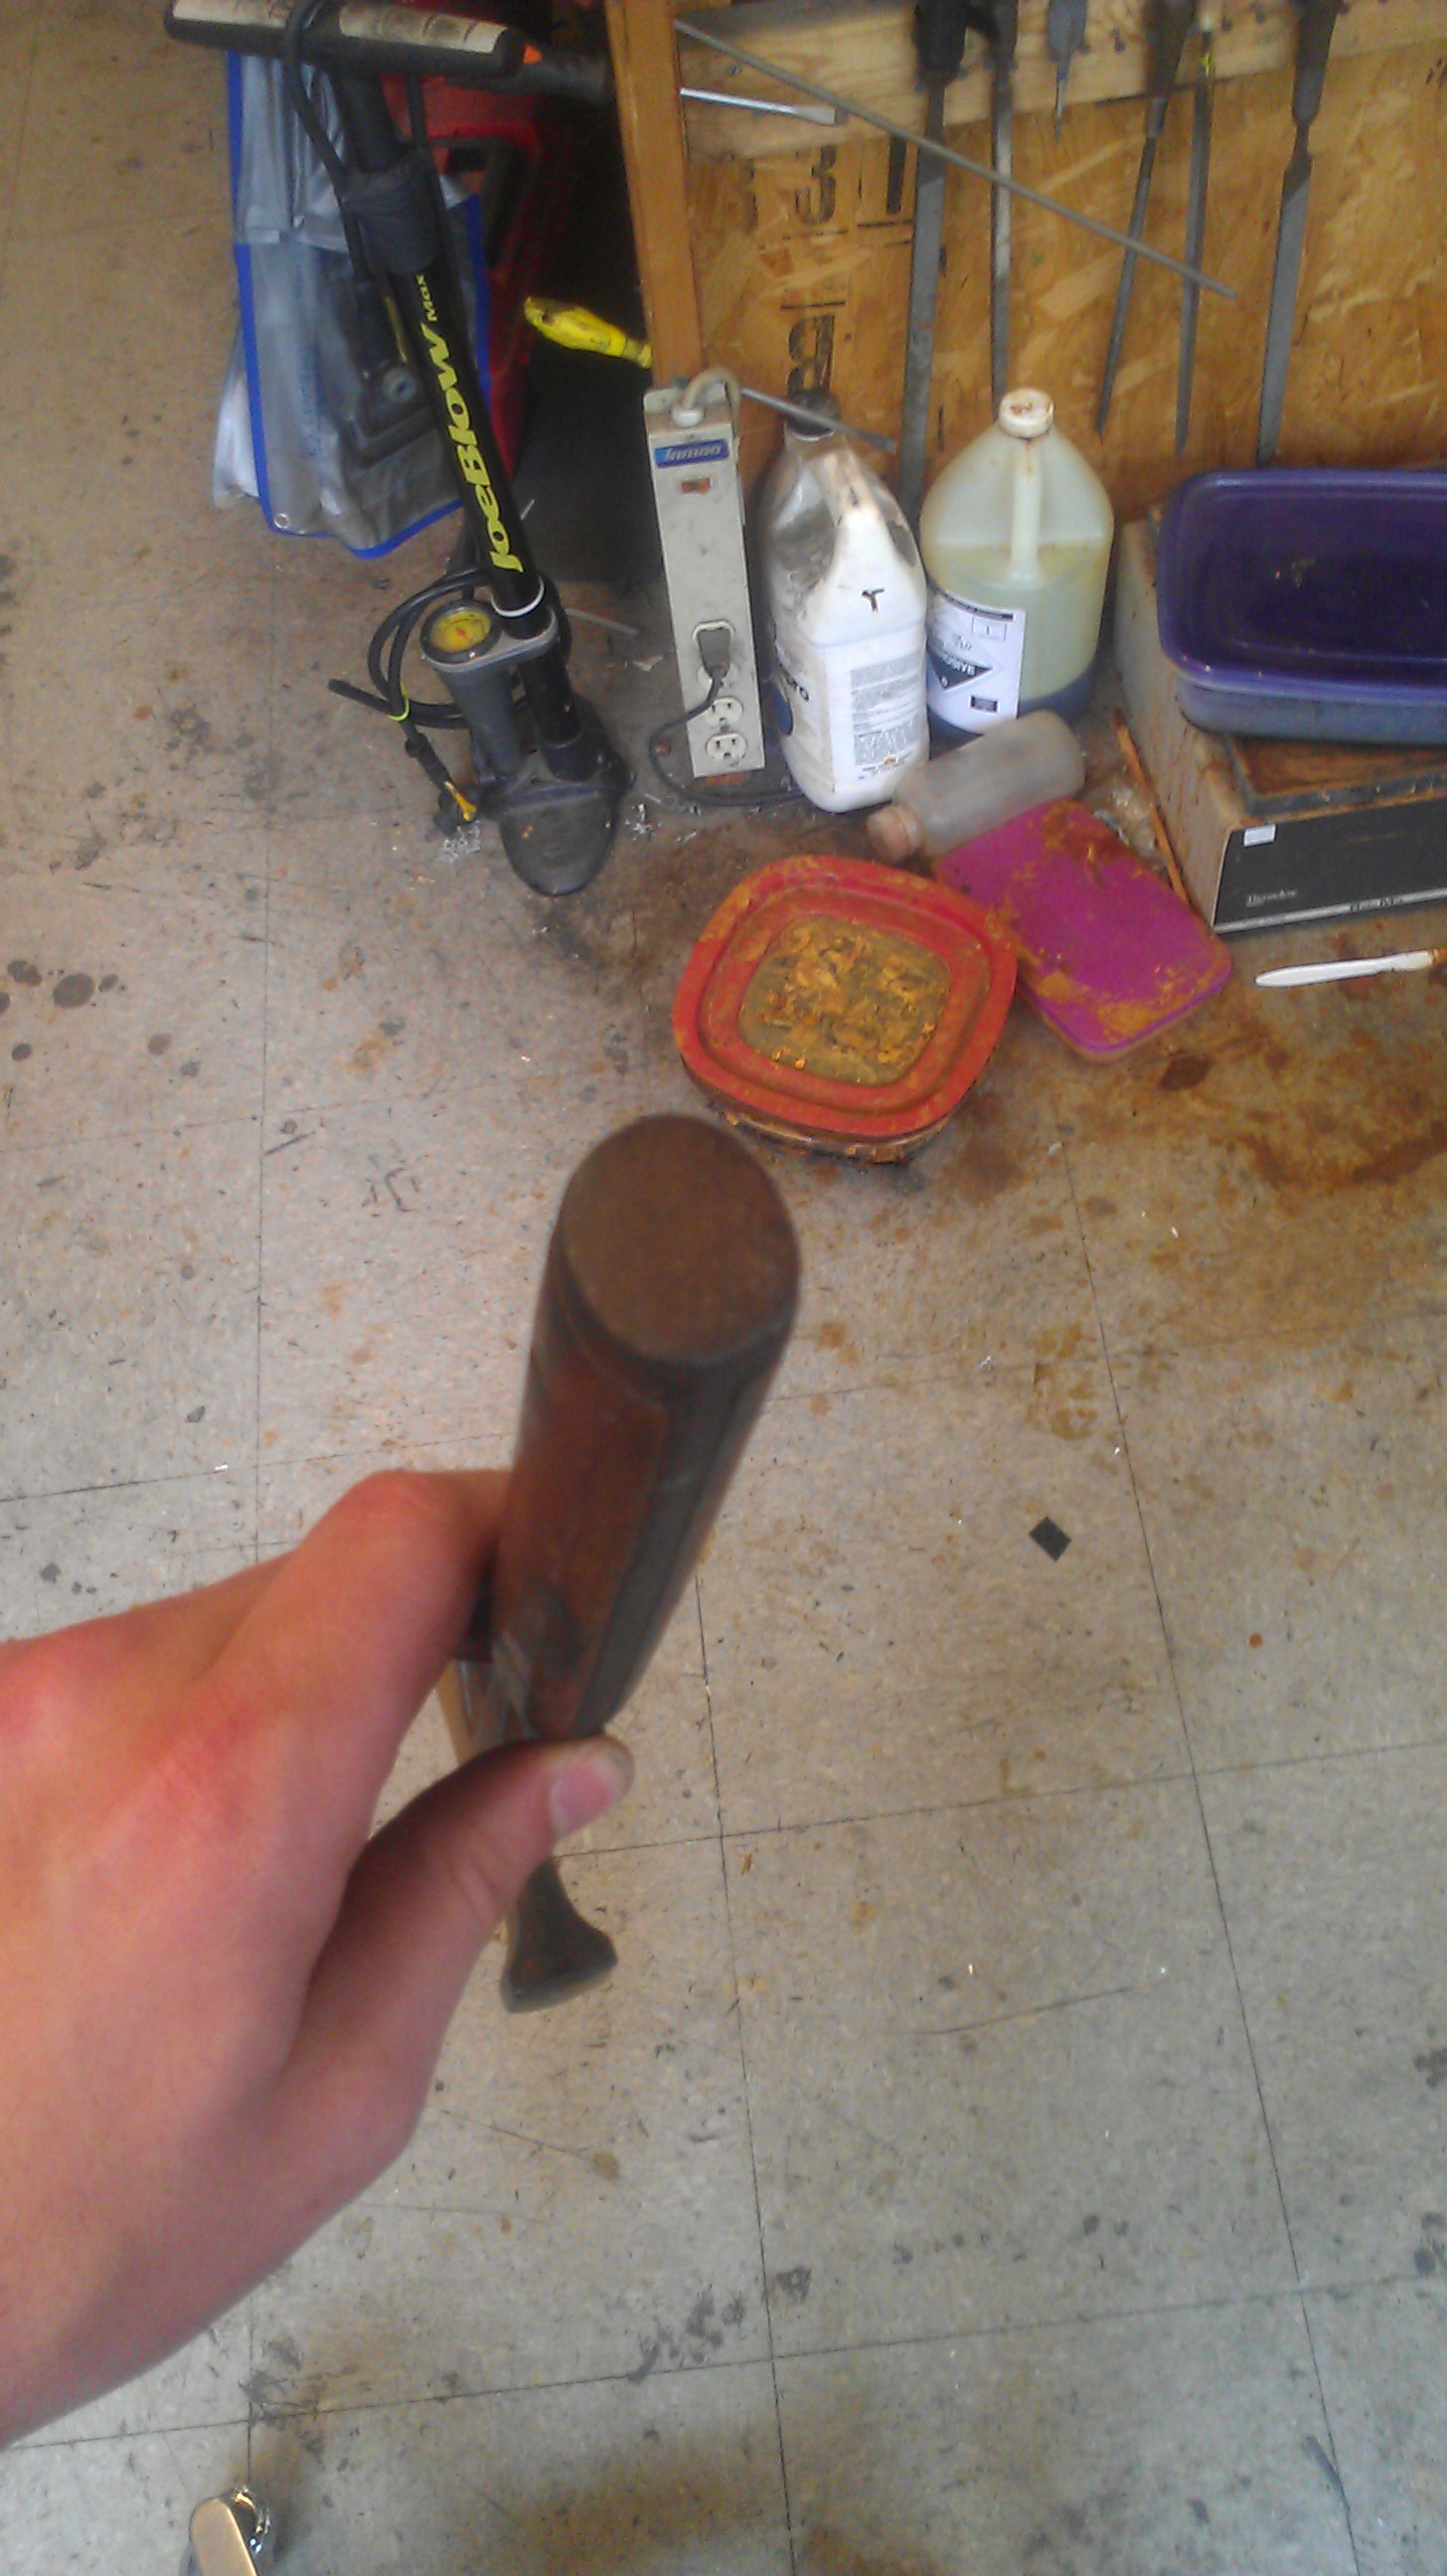
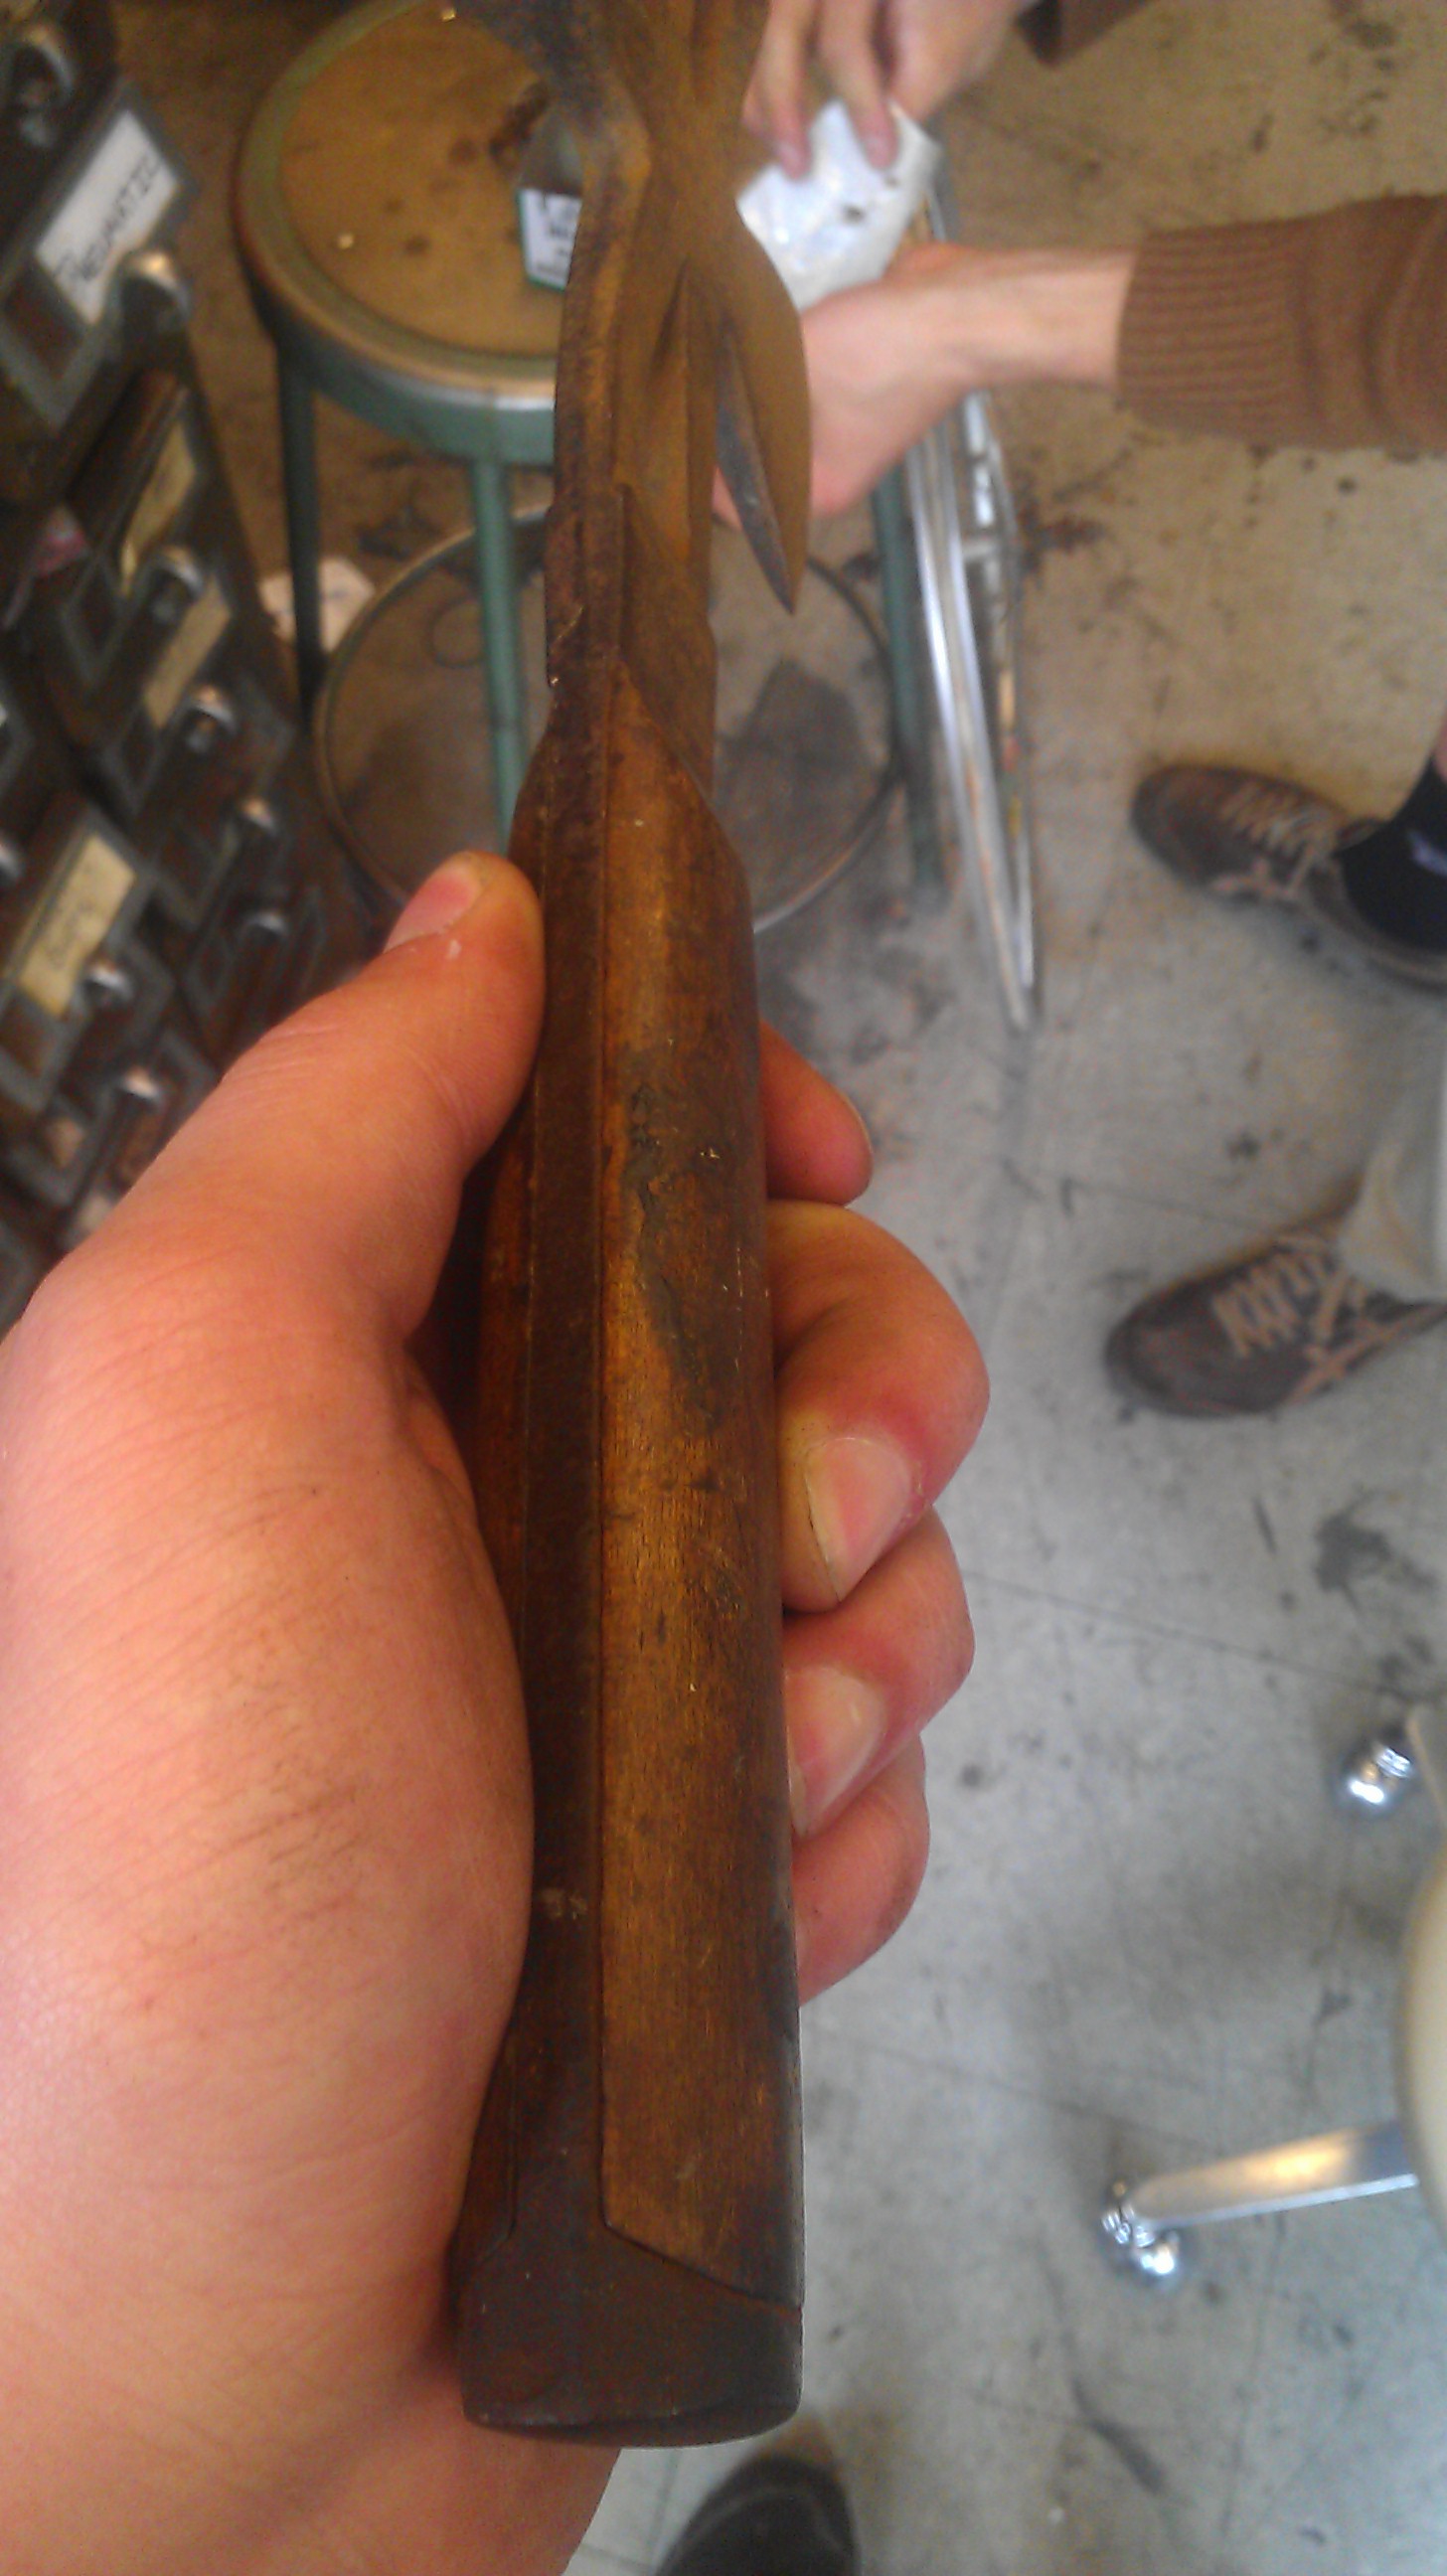
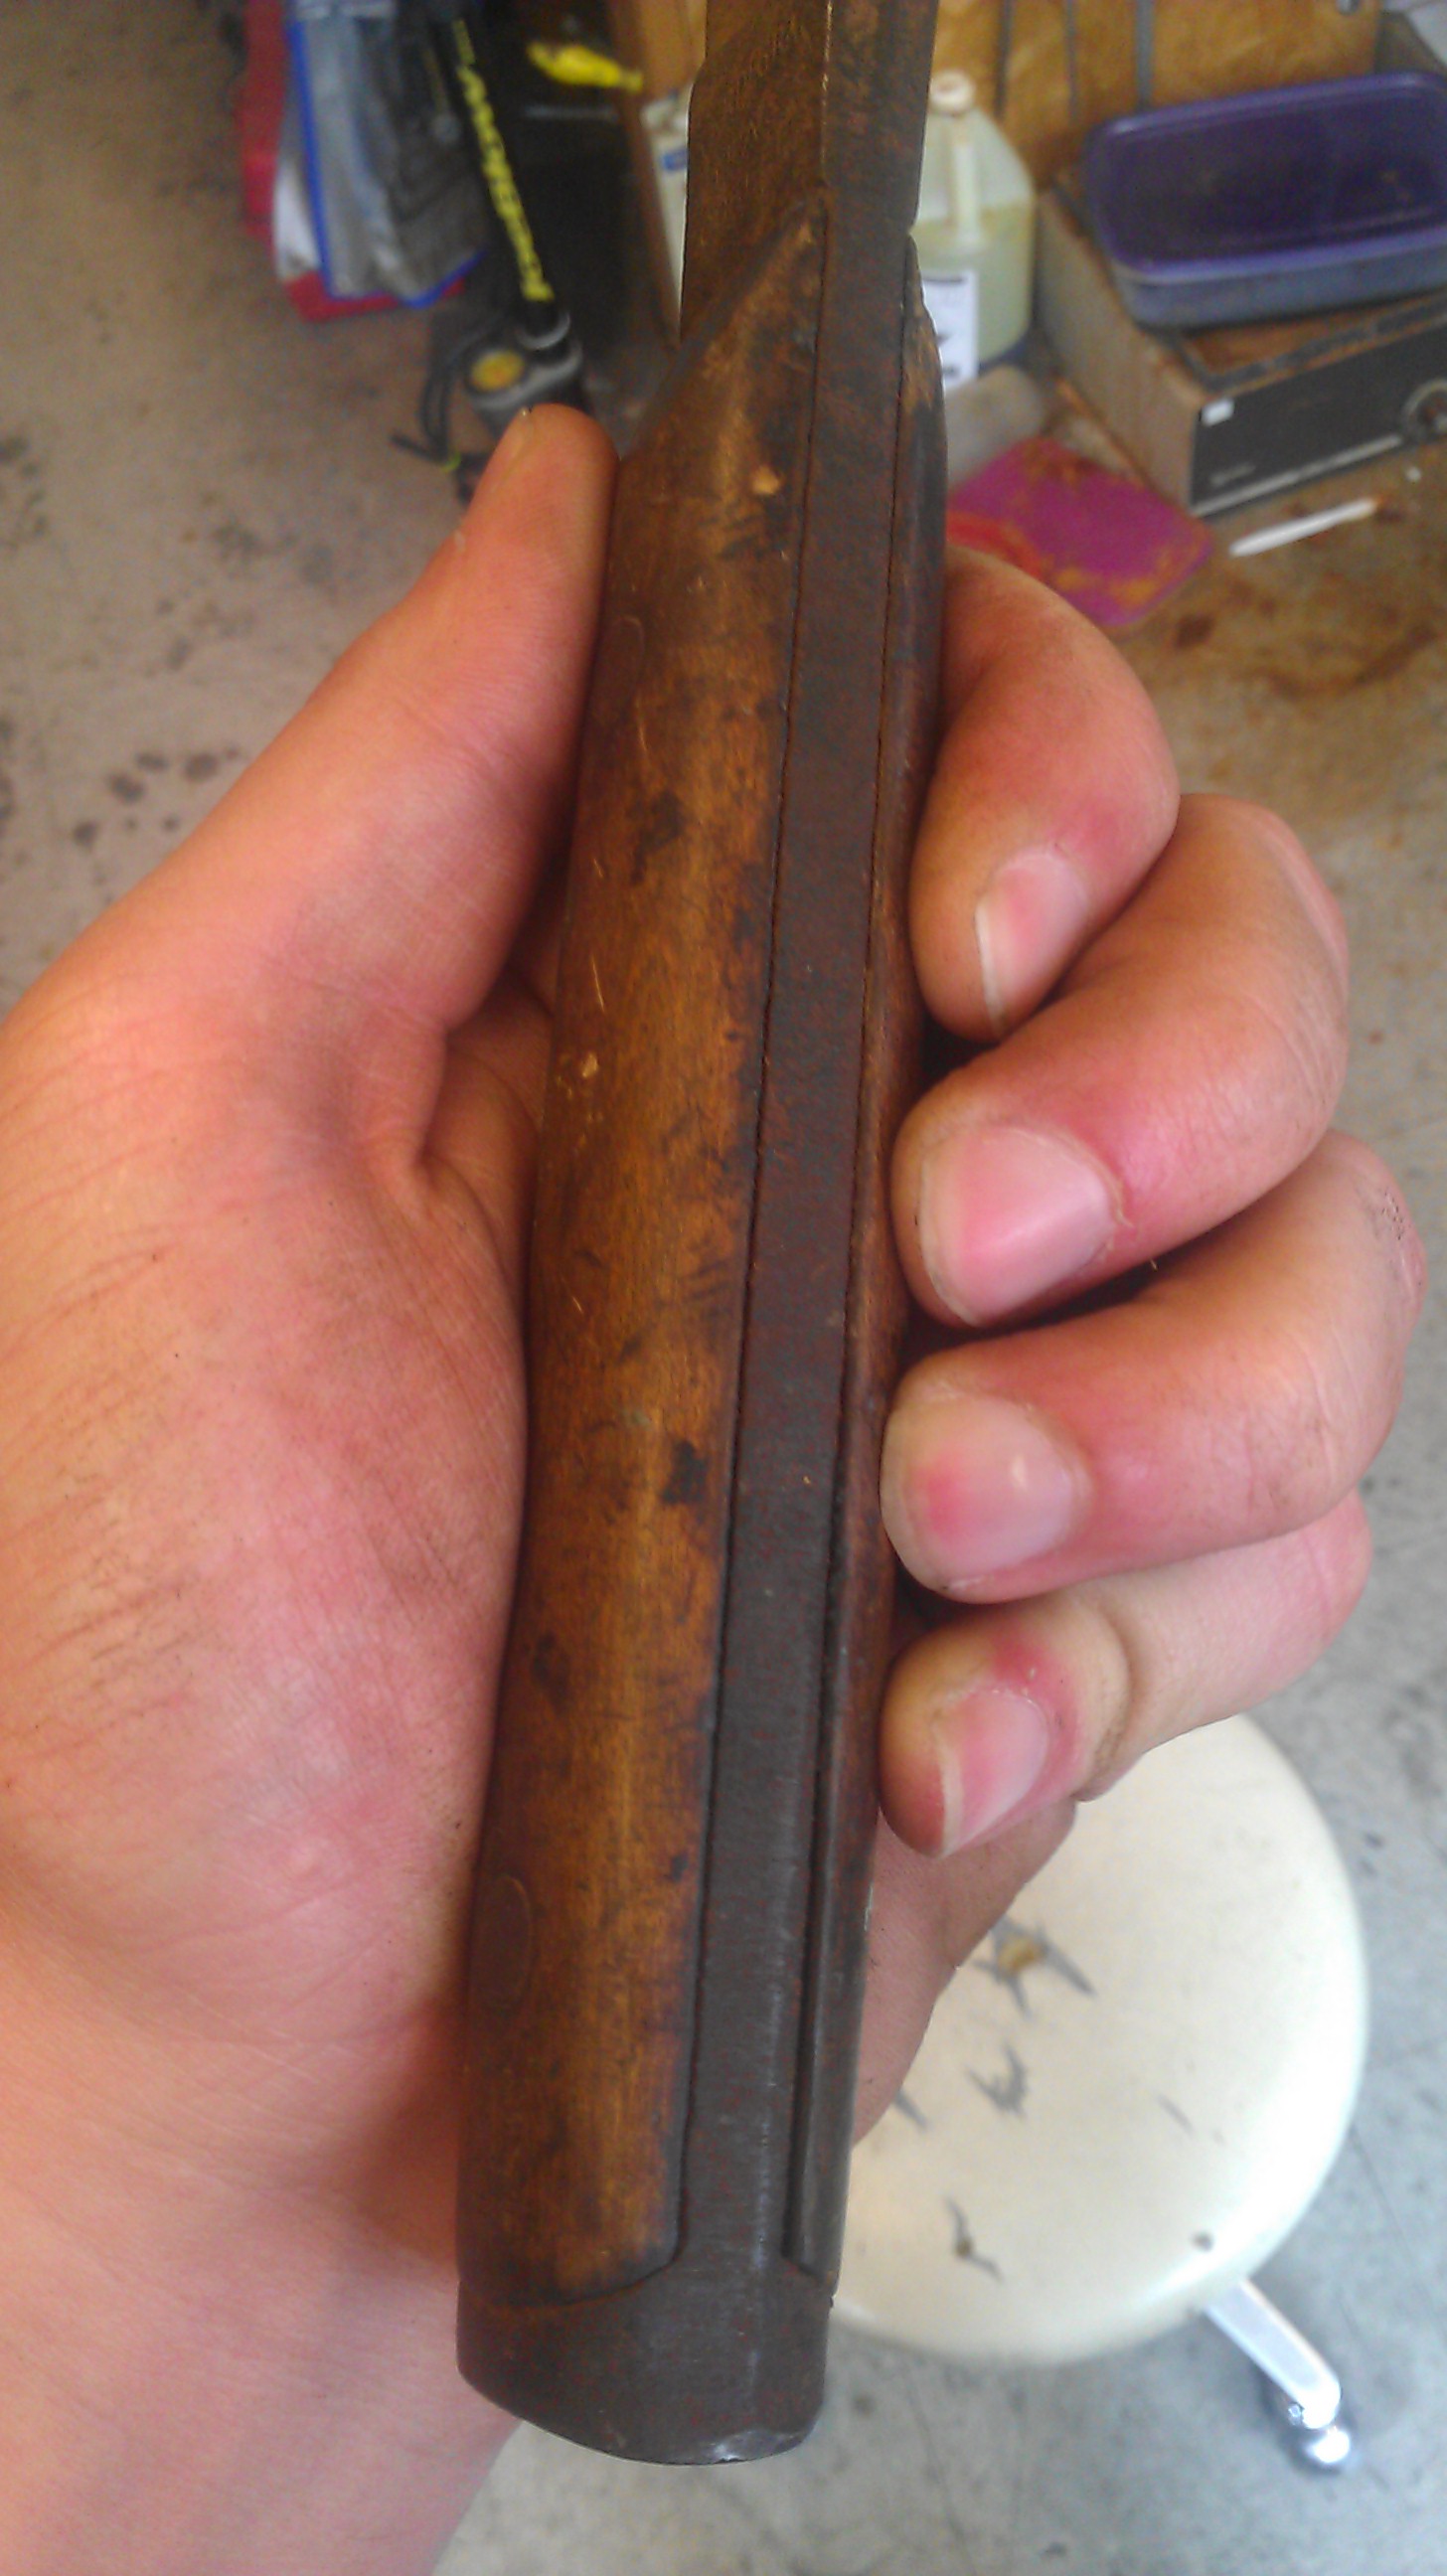
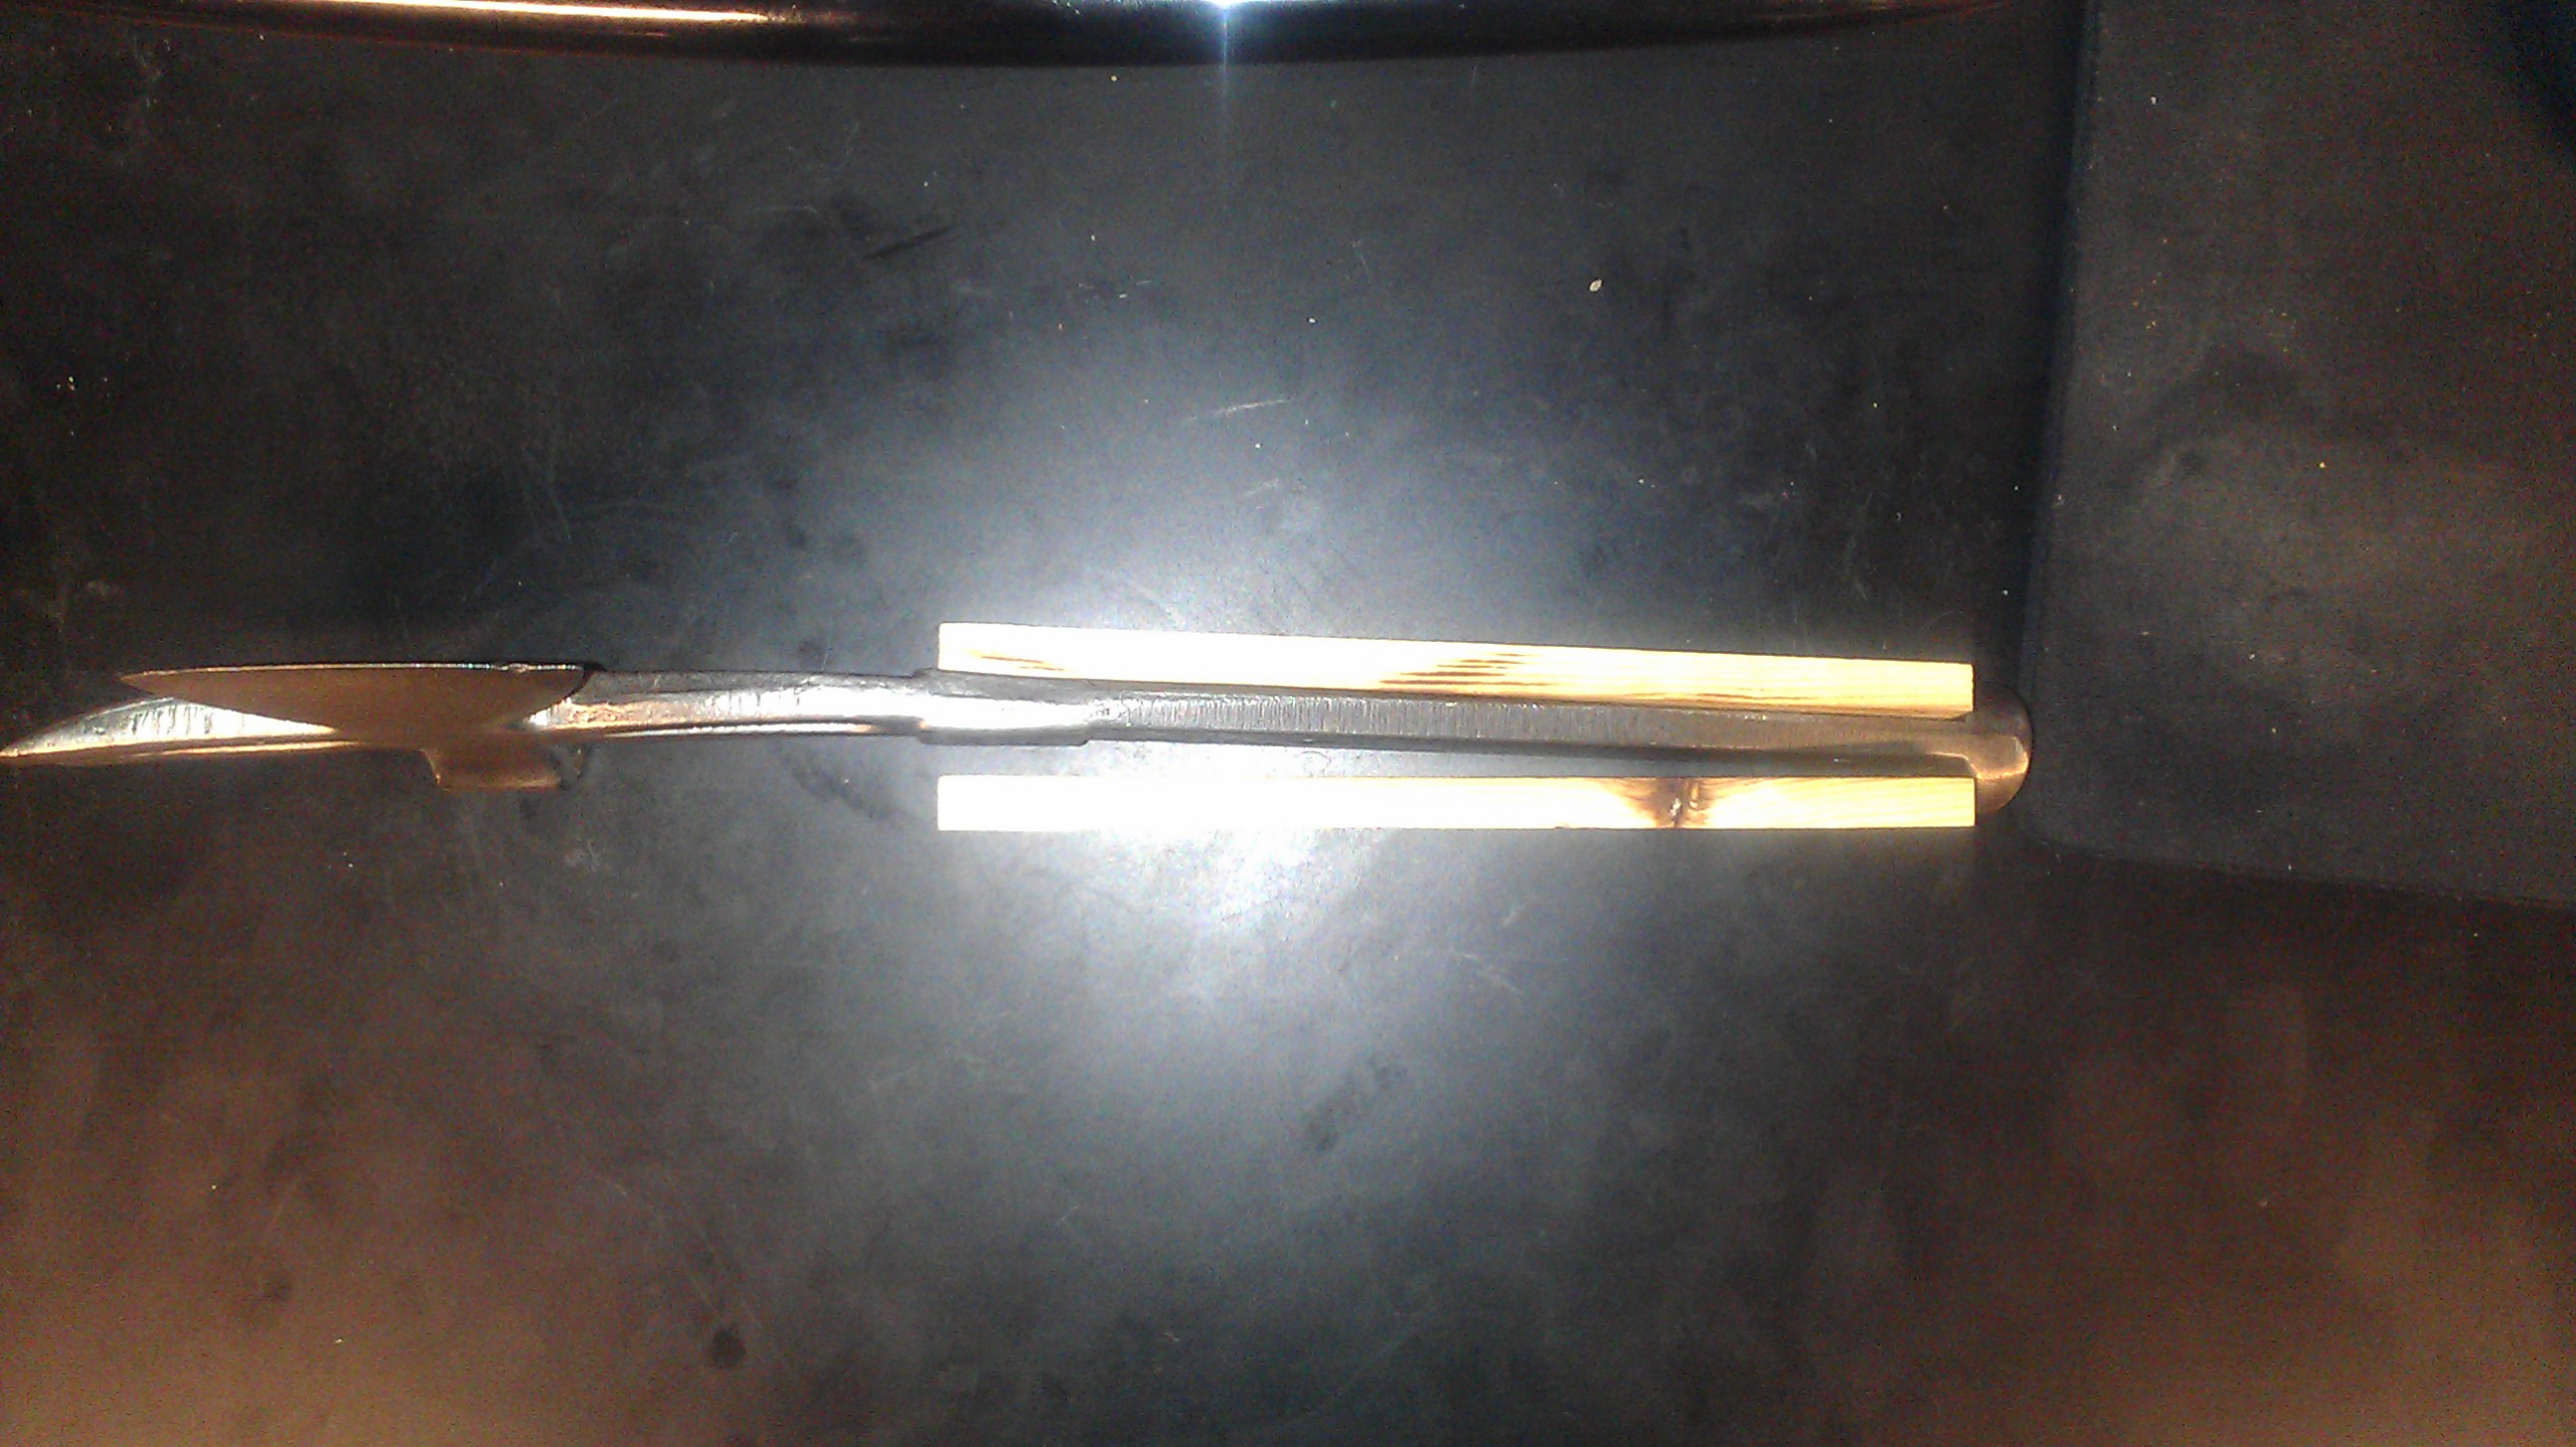
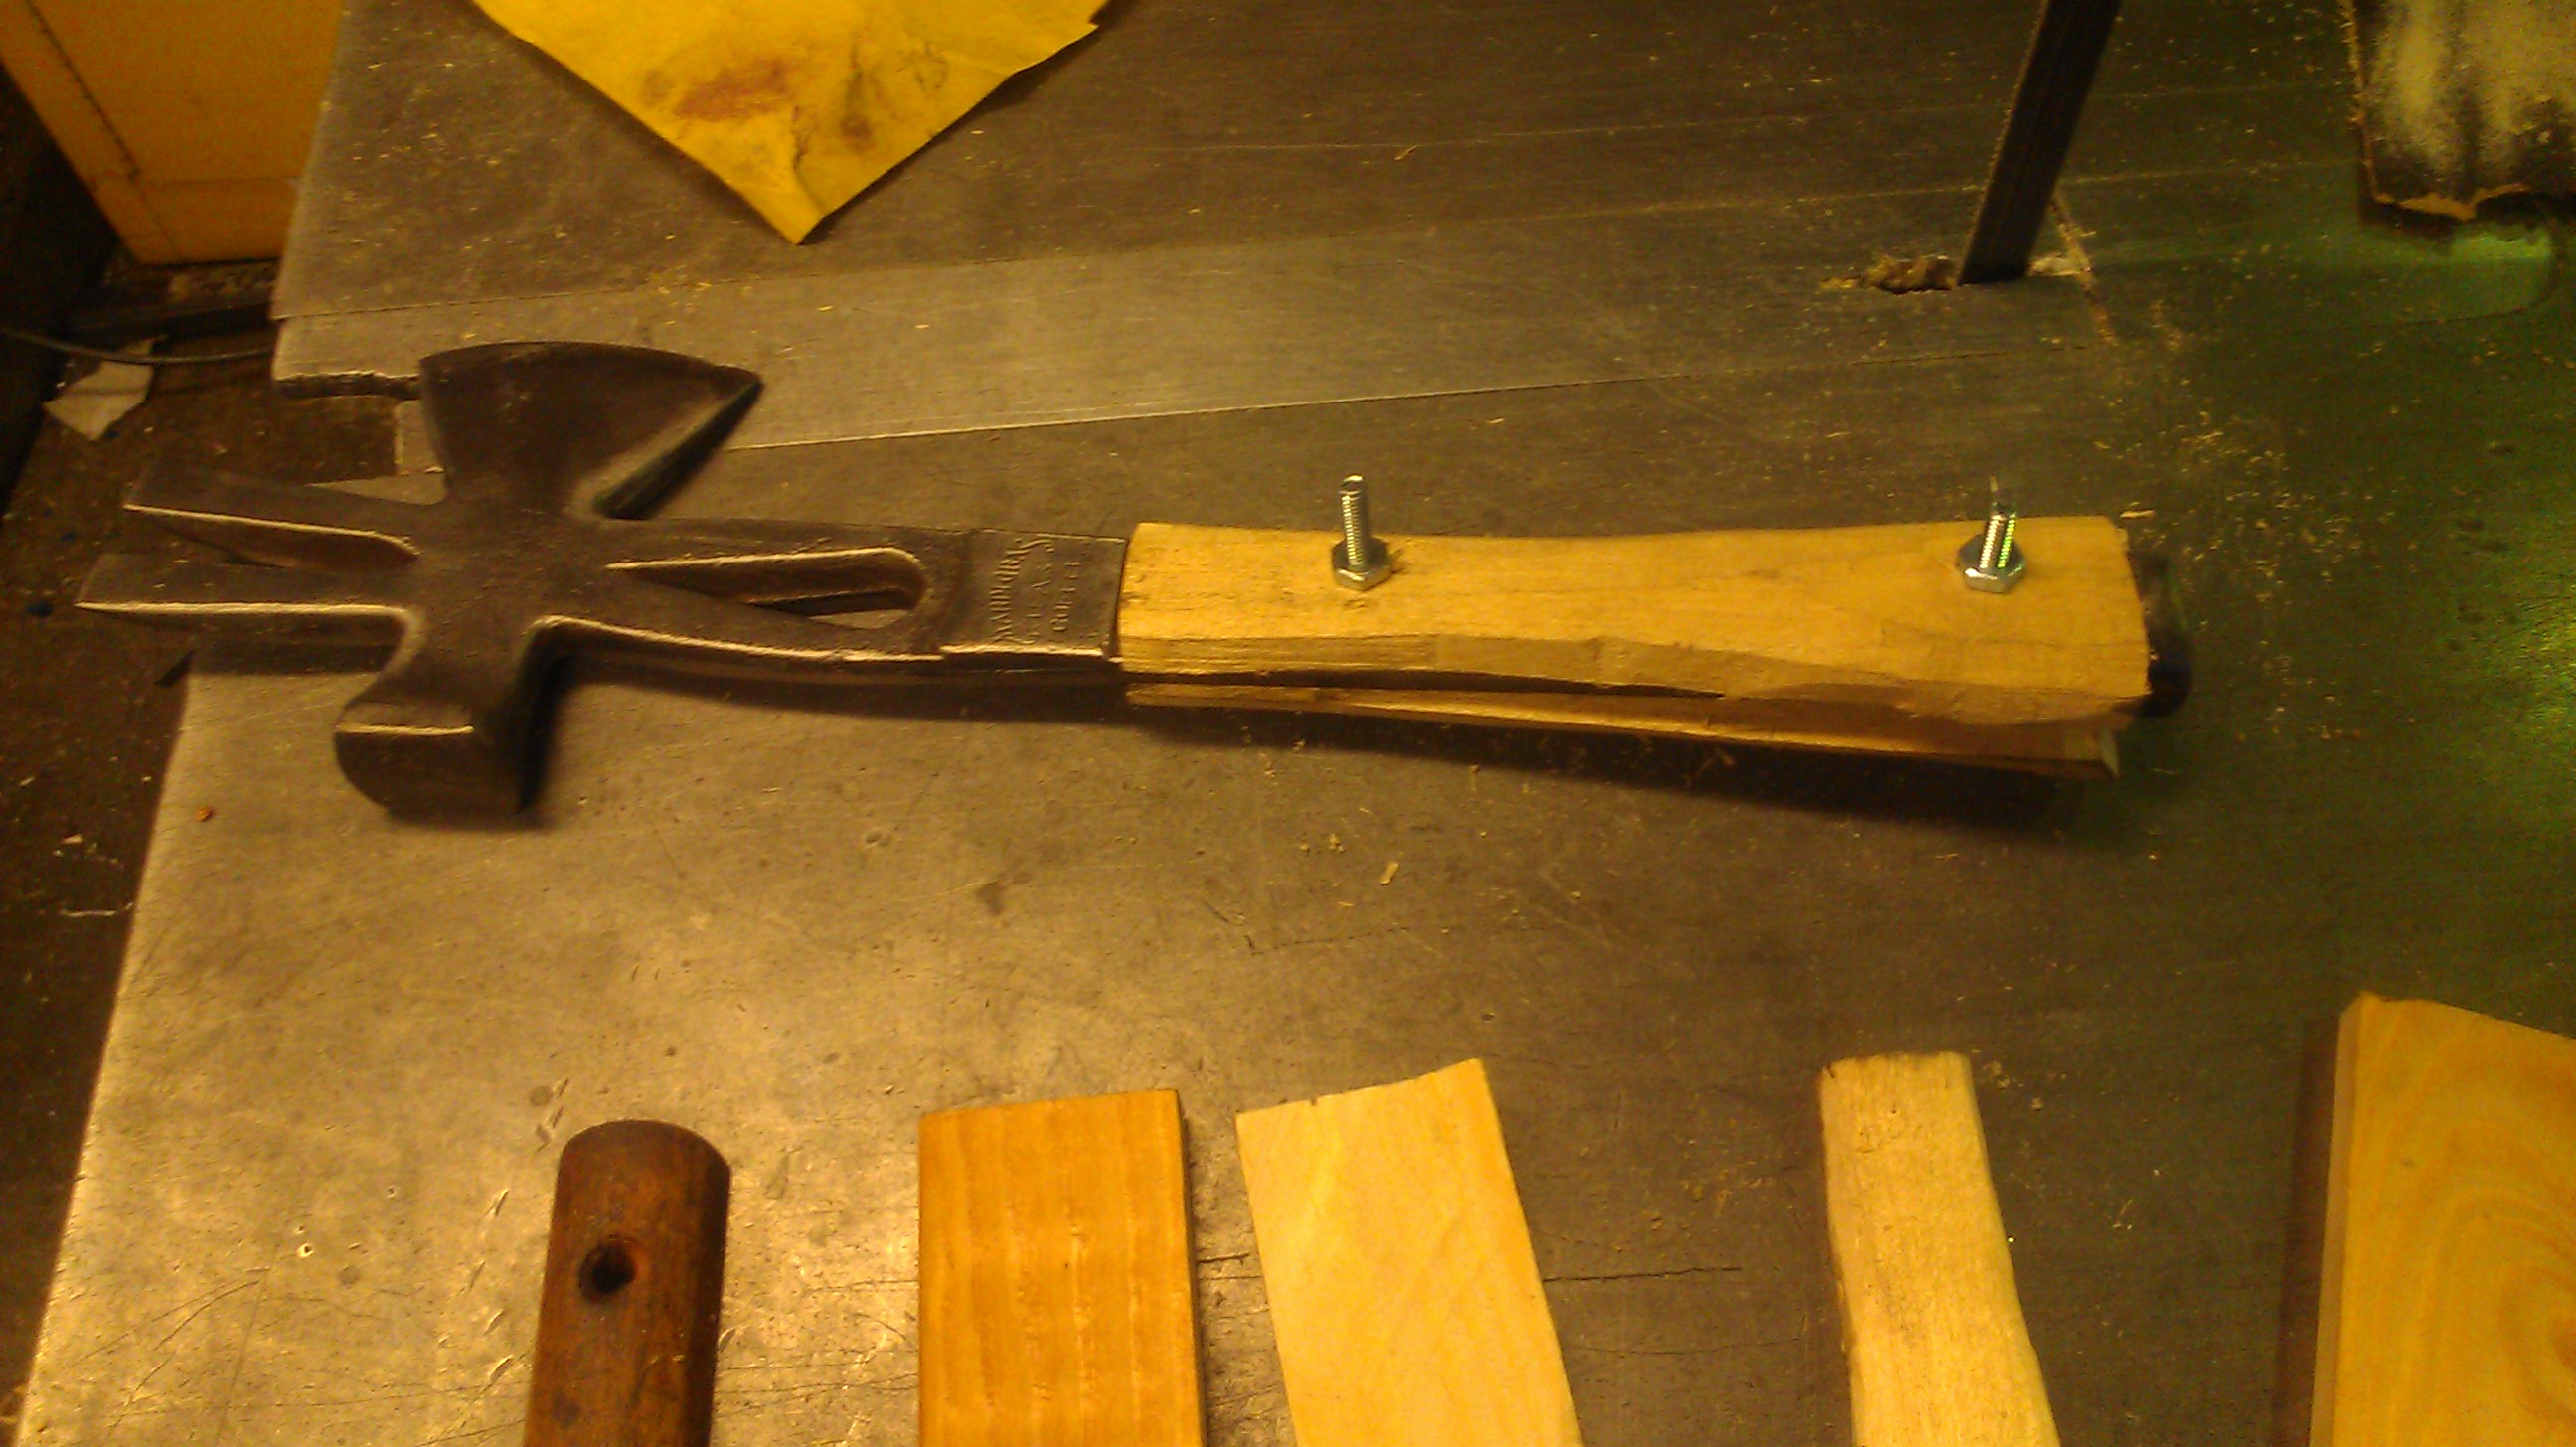
Once I had my new tool bought and paid for I brought it back to MITERS. I then determined that I wanted to fully de-rust the steel from top to bottom because it seemed like a really nice piece of steel work. Before I did anything to the steel I took some reference photographs of the original handle and look.
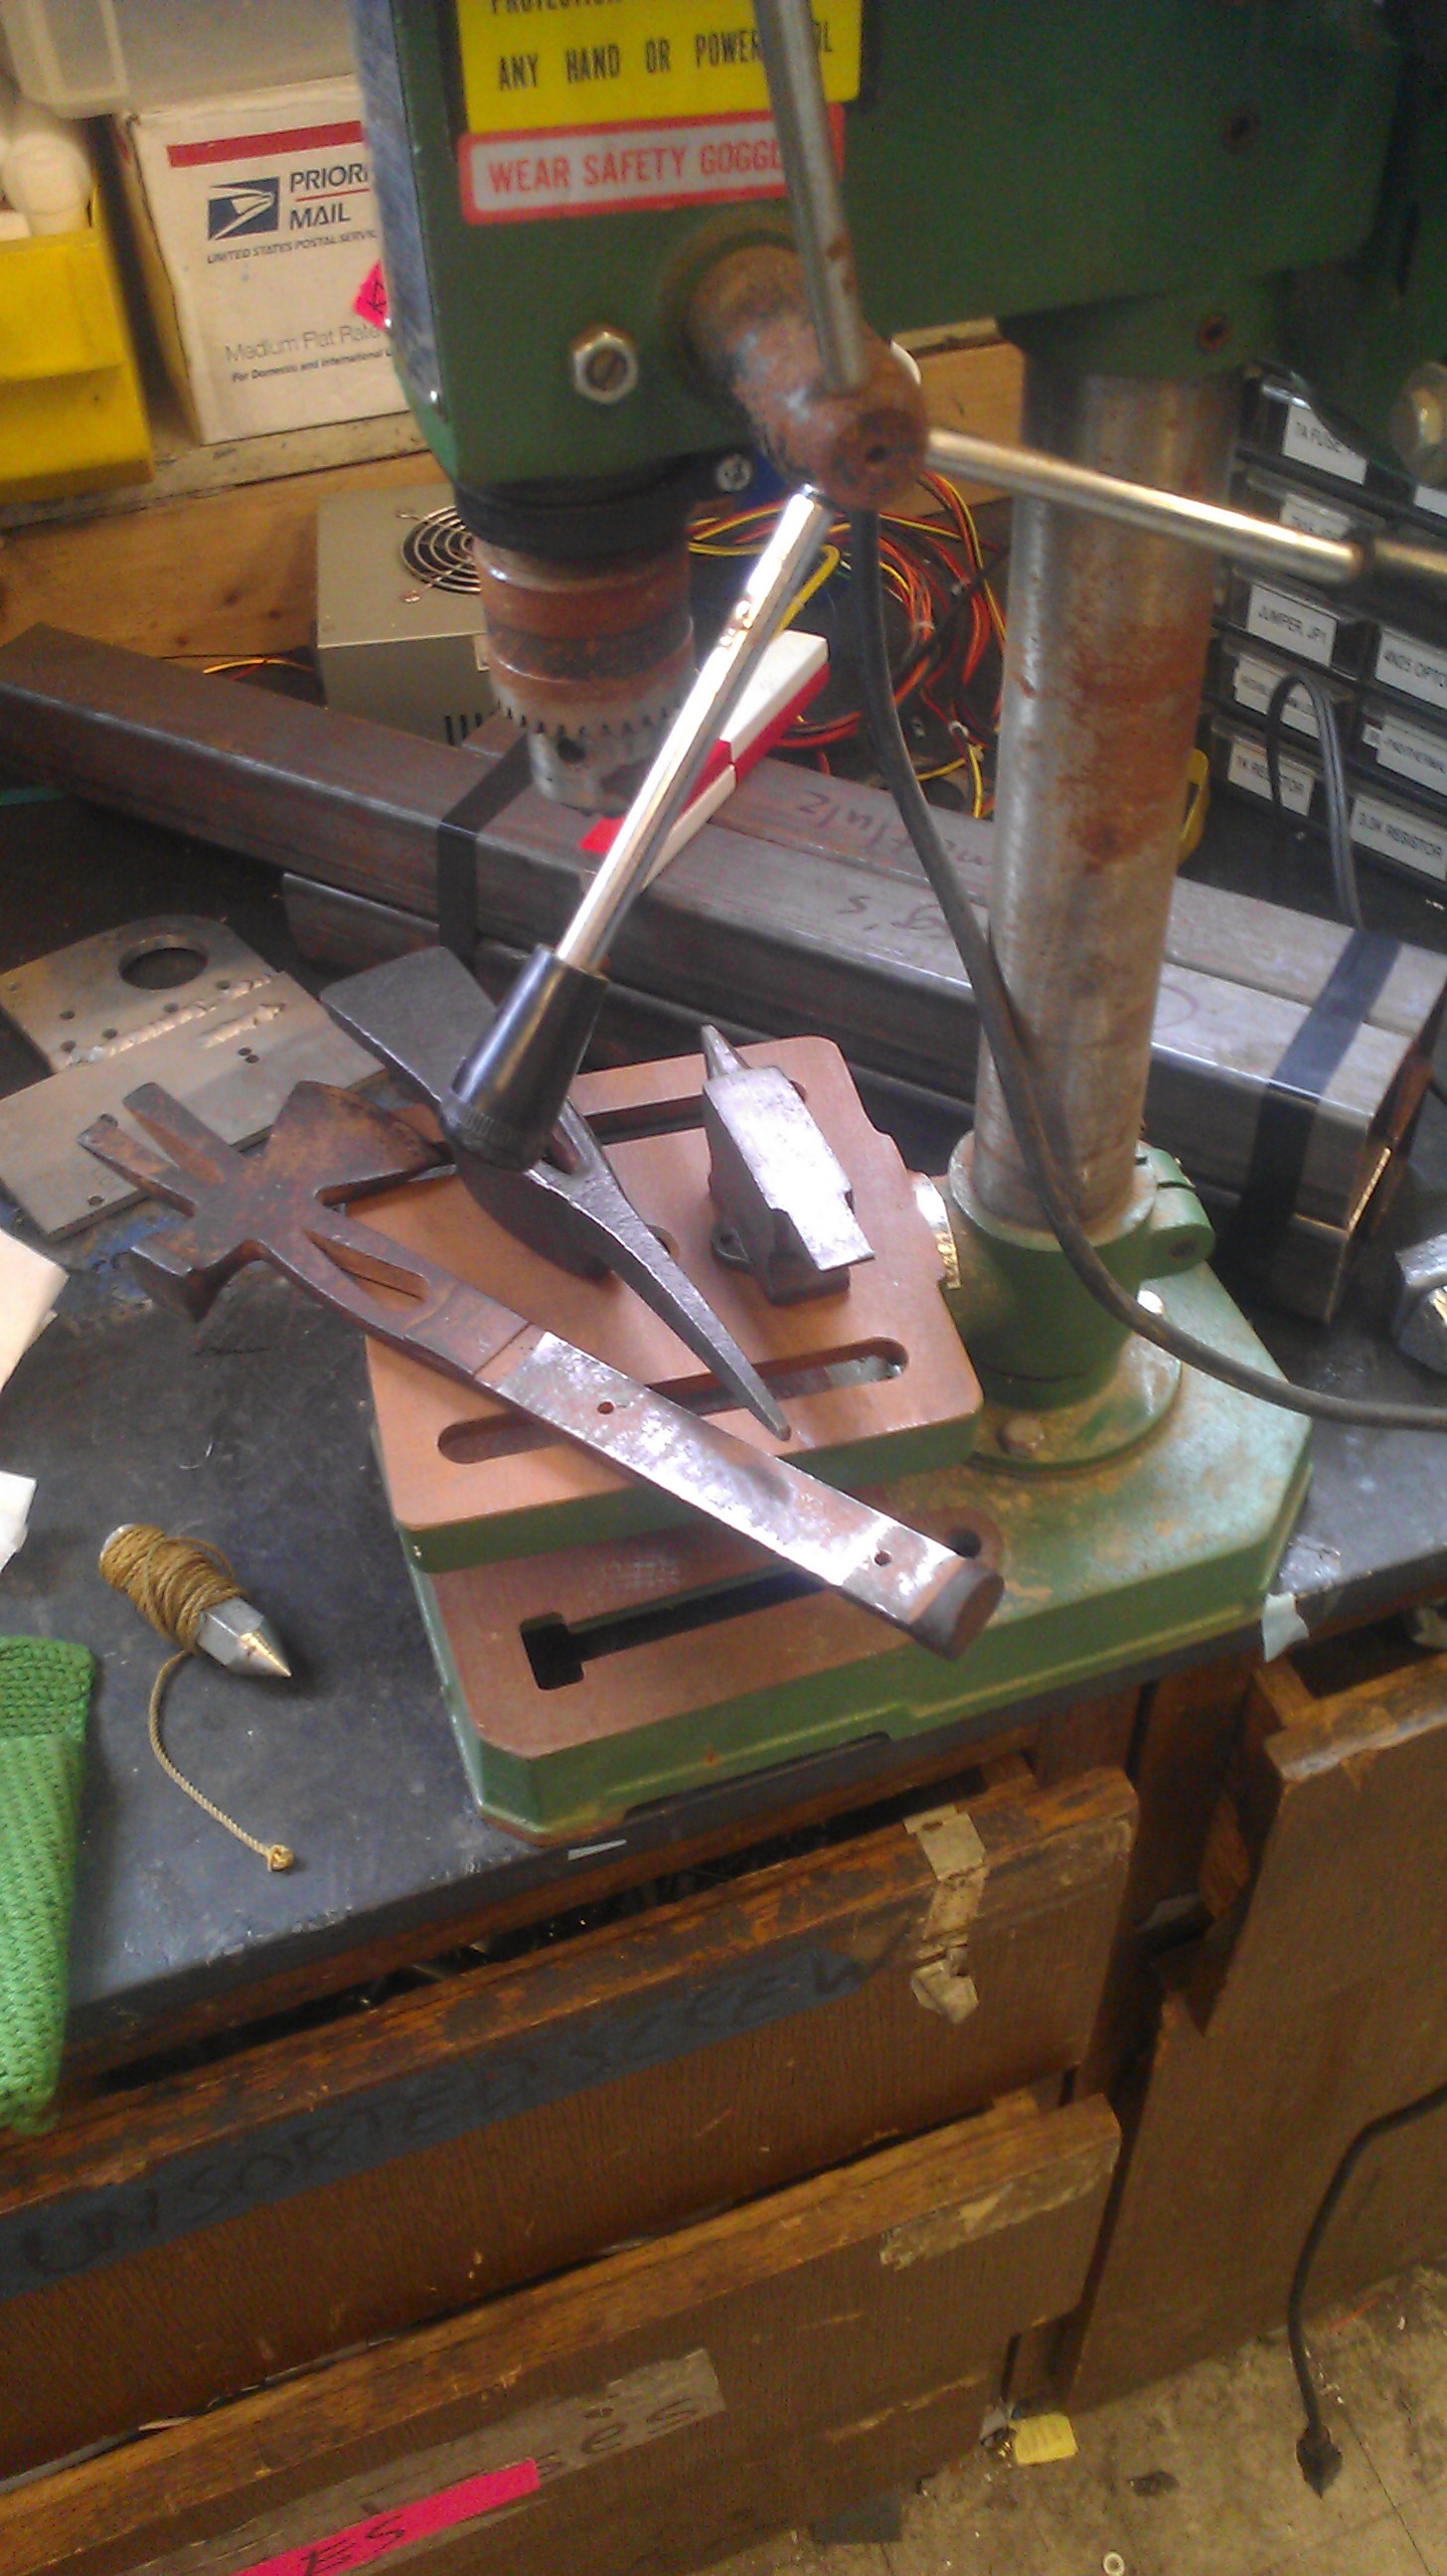
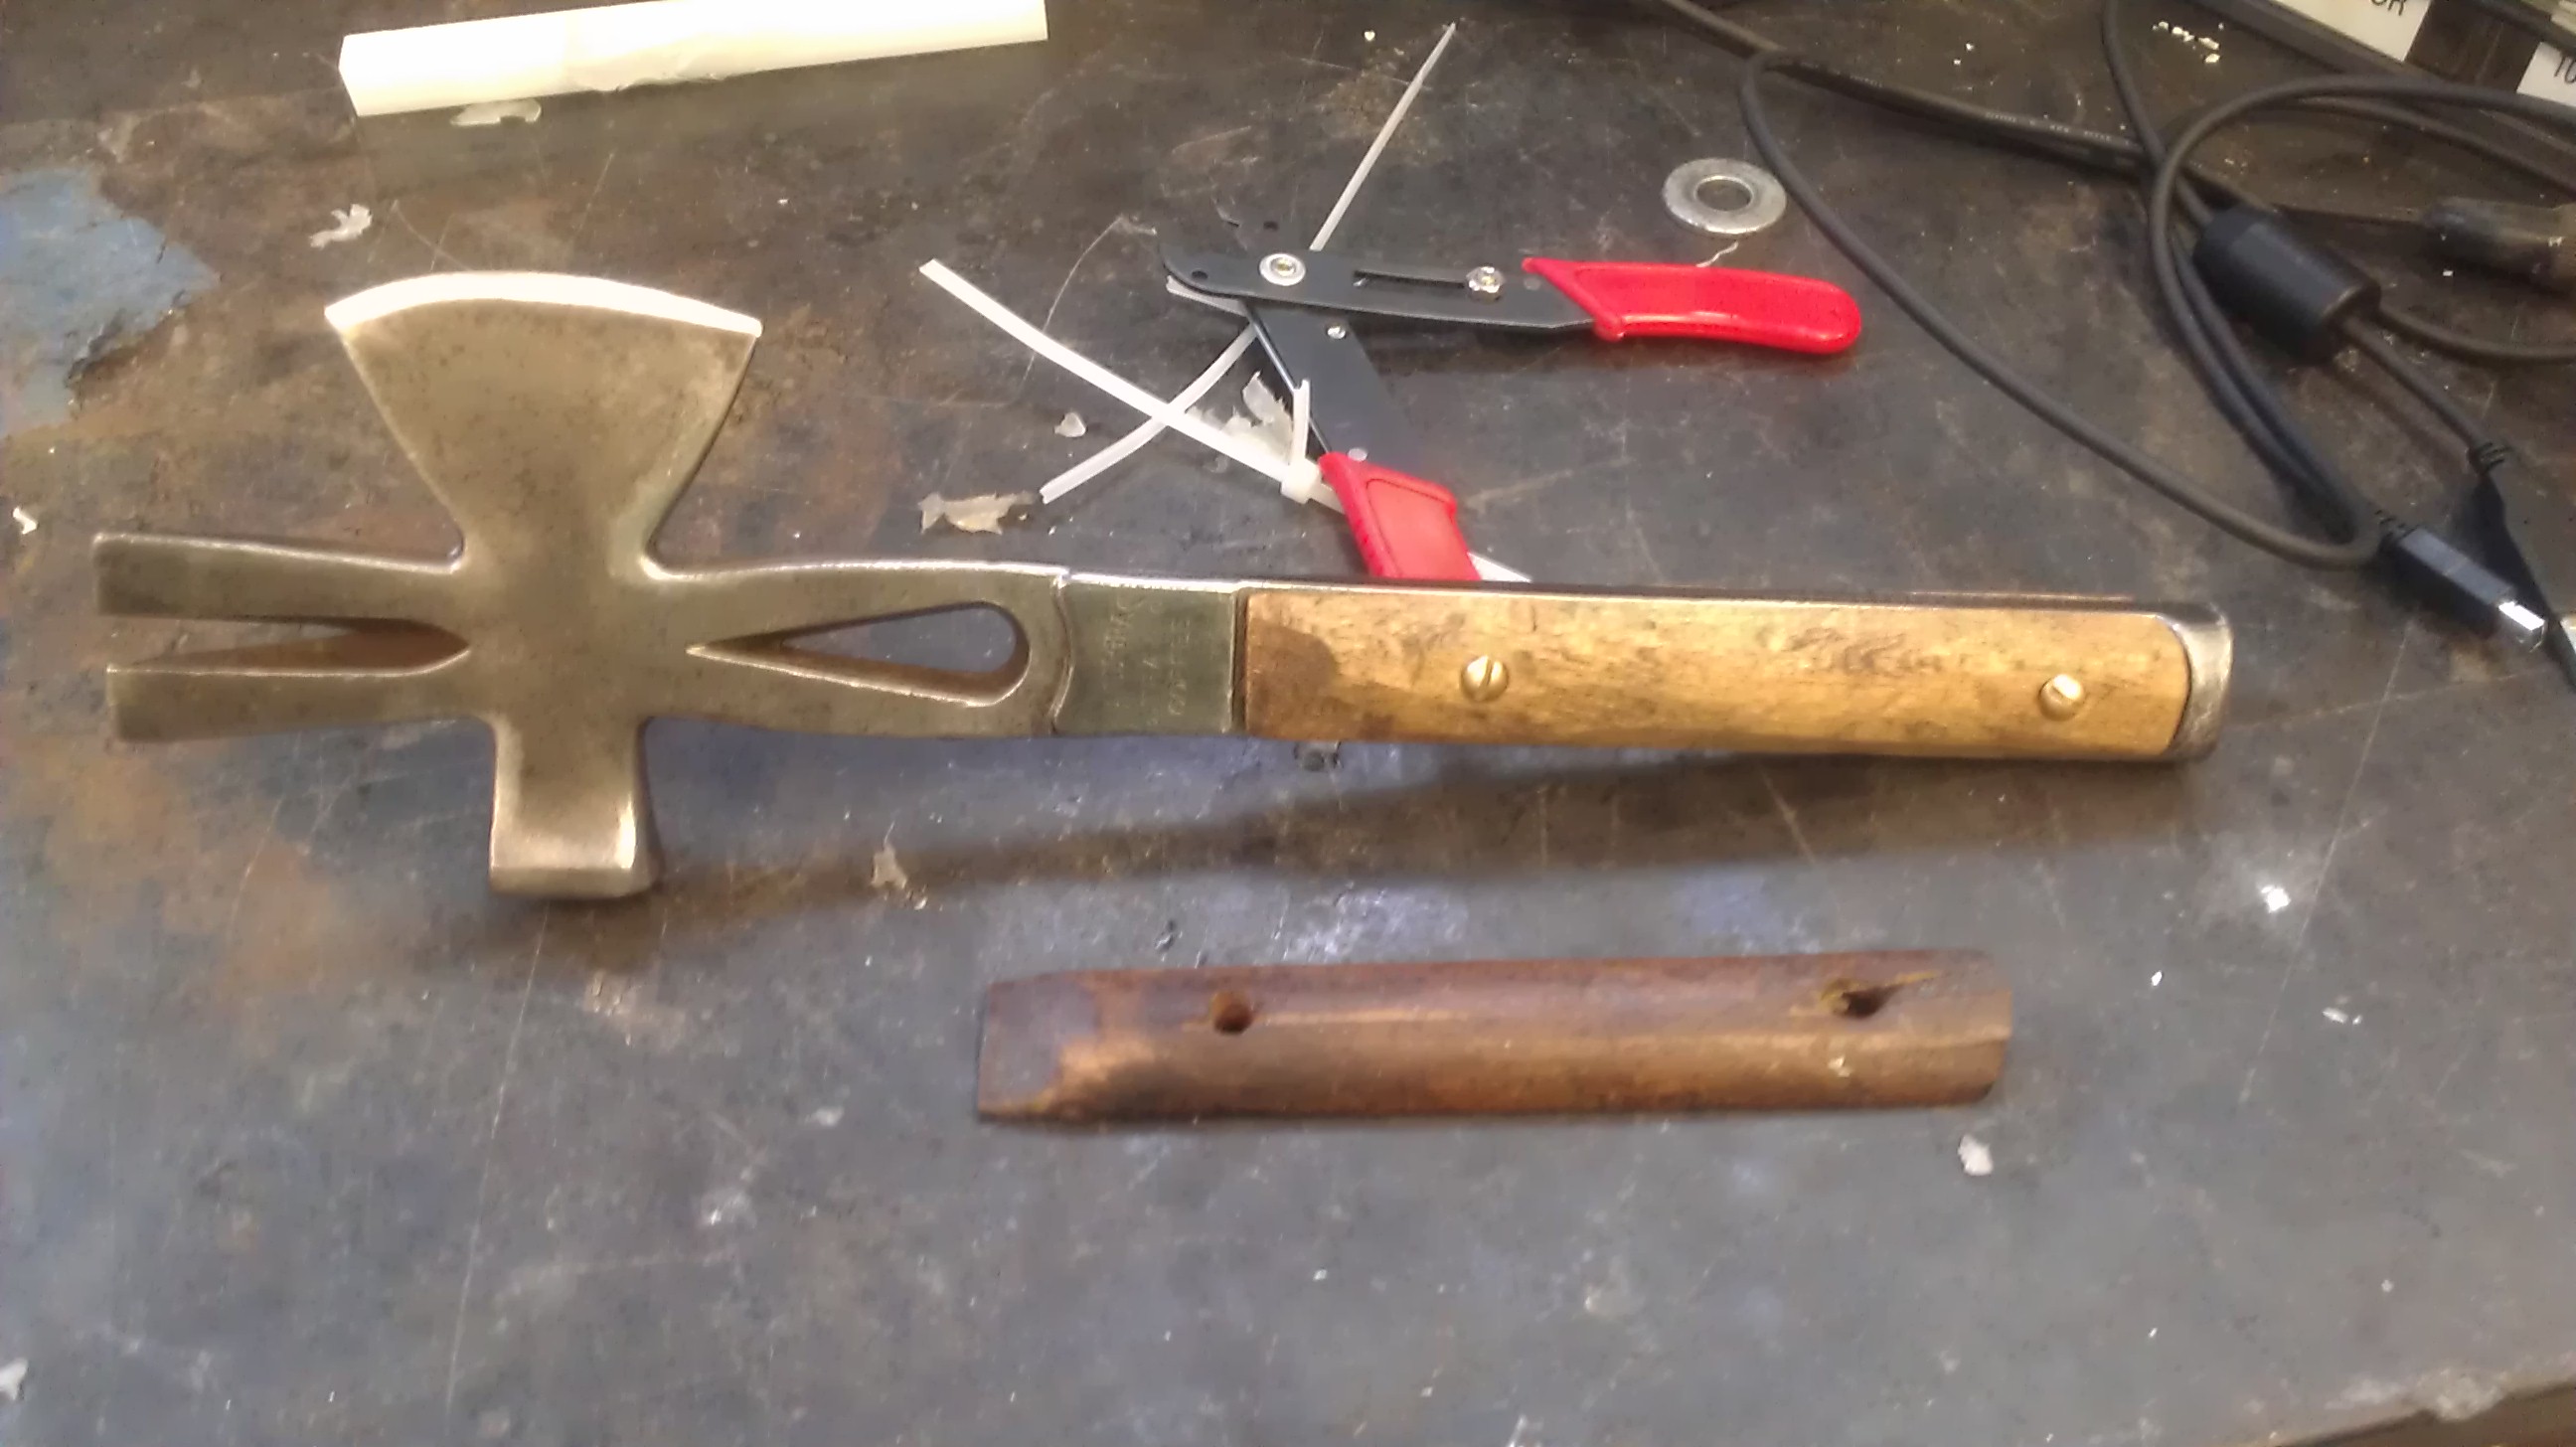
The first major thing I did was to remove the rivets, where the main way to remove rivets is to drill them out. I'd suggest starting with a drill bit a bit smaller than the head of the rivet so that you don't accidentally drill into the steel piece. For any project, remember: You can always take off more, or in this case "drill out more". In my case, I drilled it out and then forcibly knocked the wood off with a small hammer (Light tapping). This might not always be the case, I was lucky enough to pick the right size drill bit where the remaining metal from the rivet was offering little to no support to the wood handles.
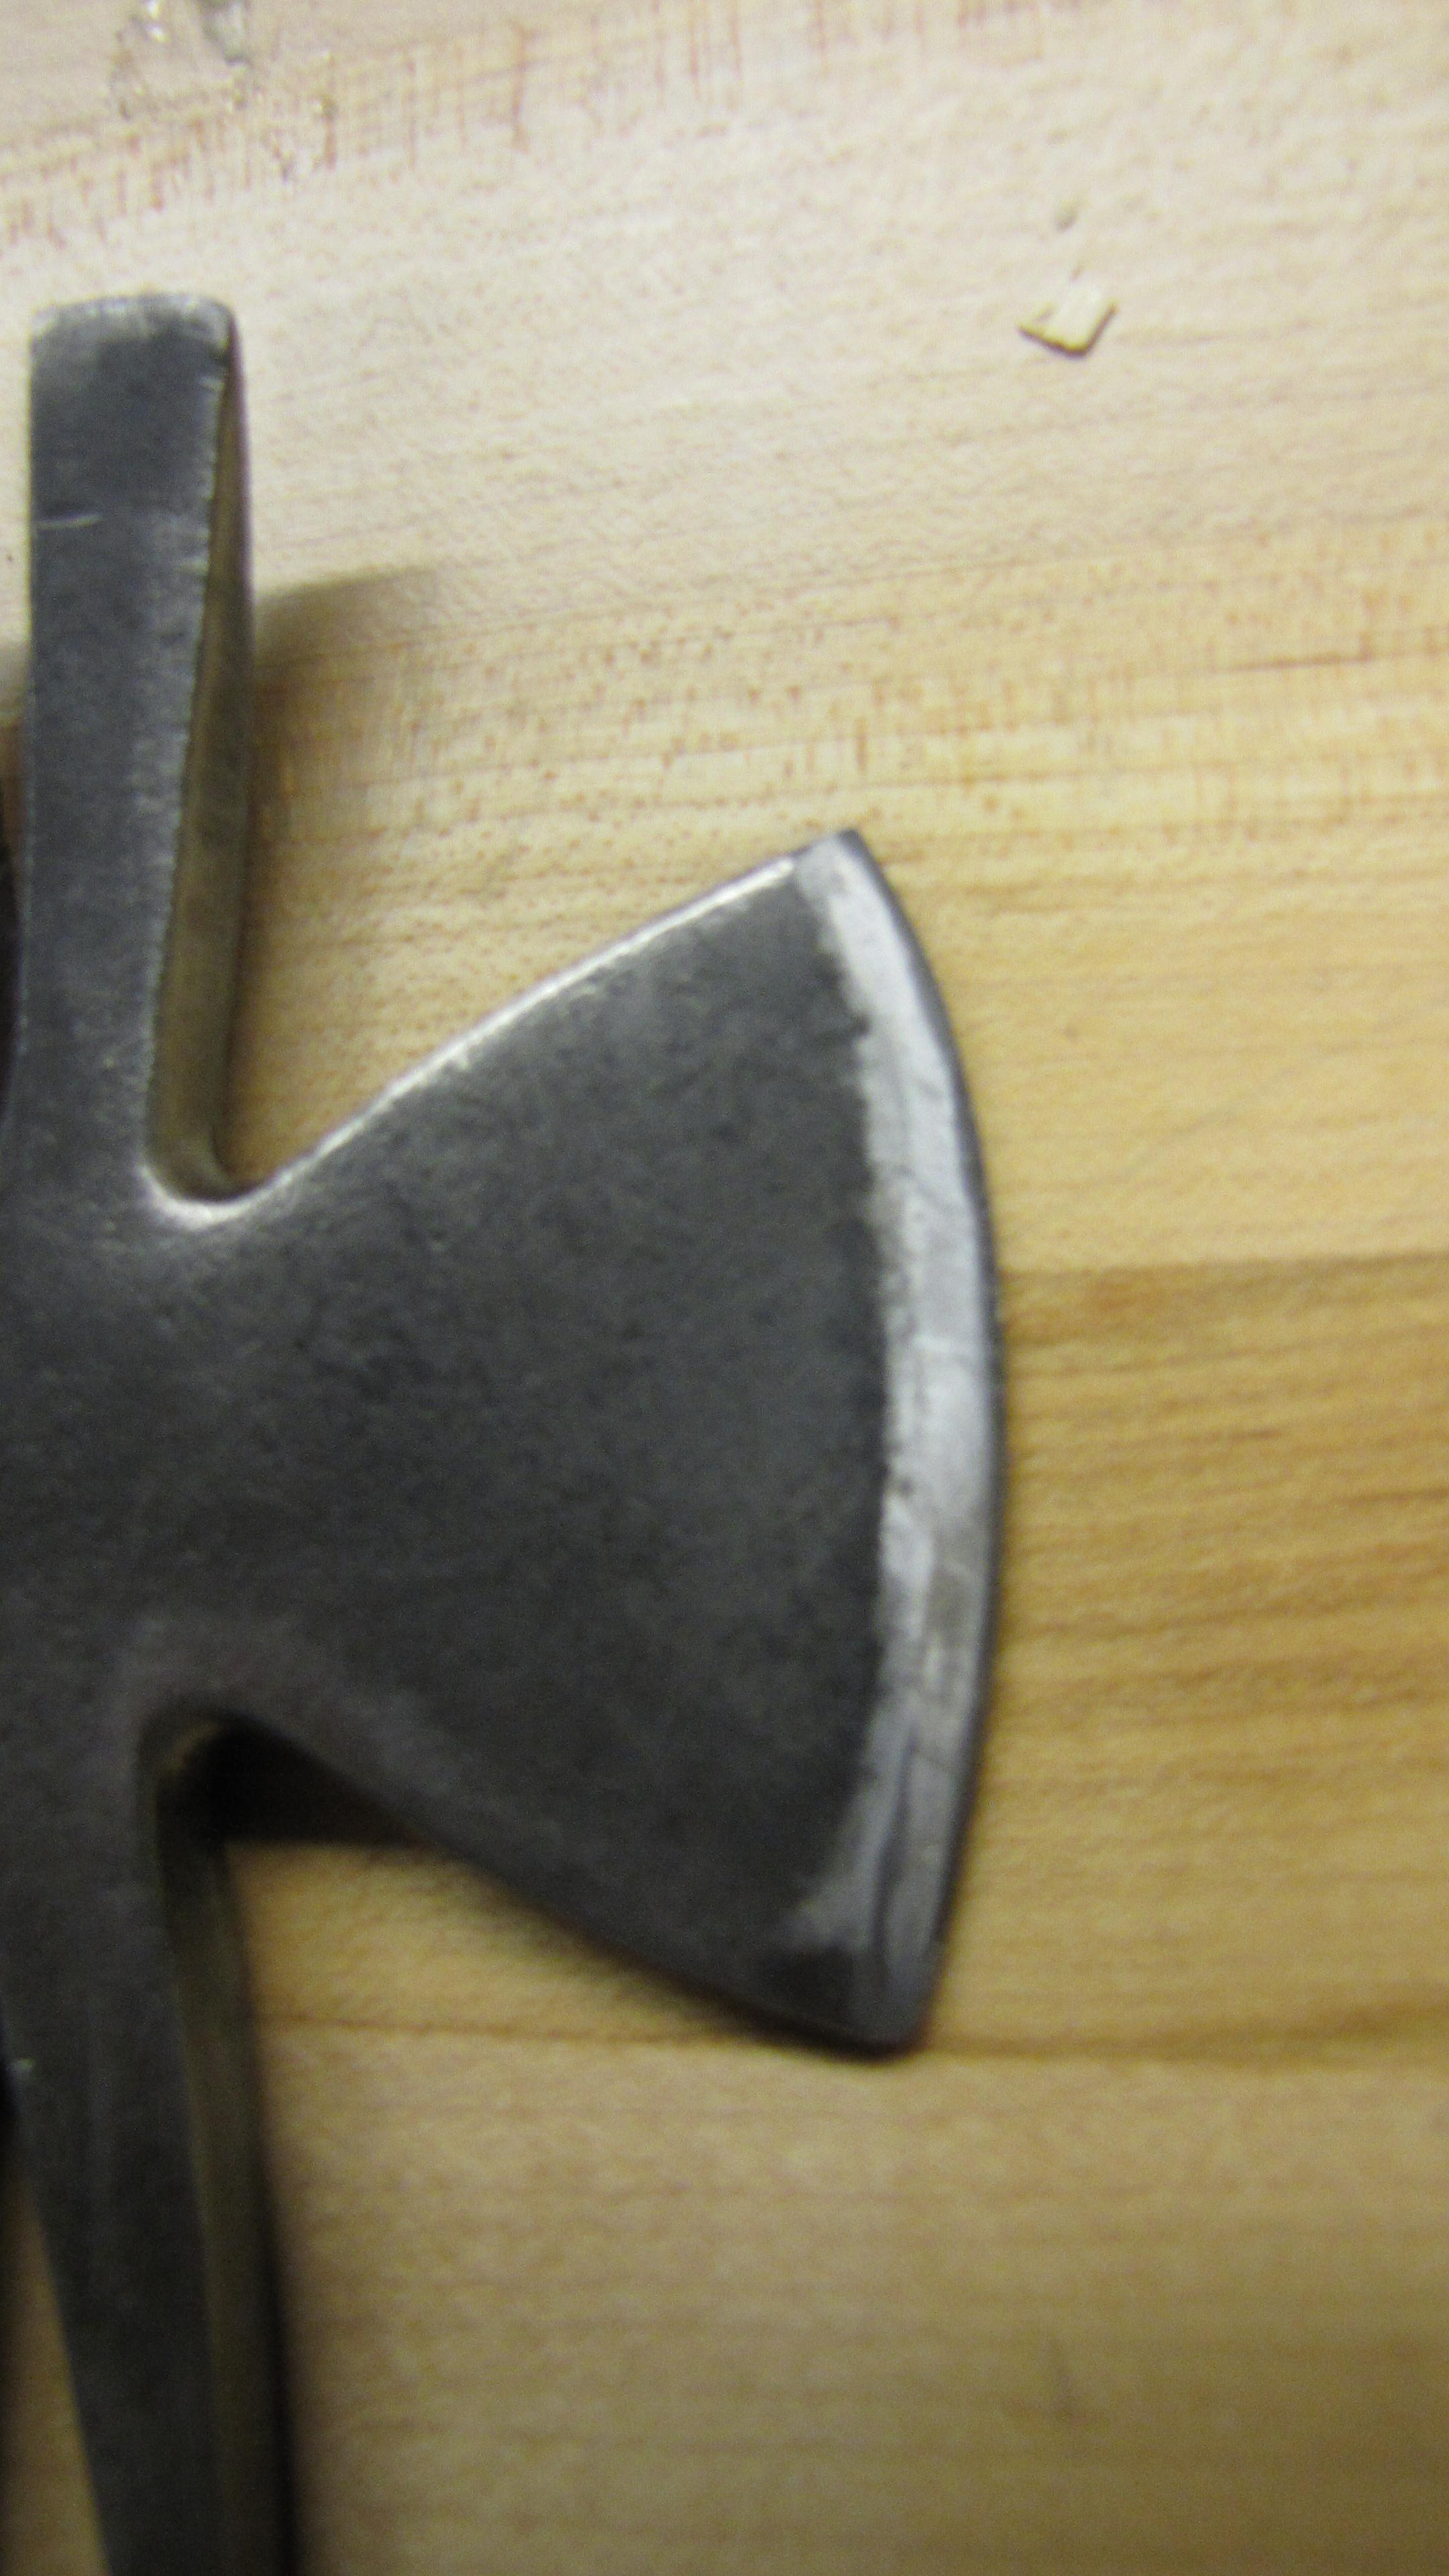
Once I removed the handle pieces, I first attempted to remove the rust with just a wire-brush. This proved to be futile, the rust that I was able to remove seemed to just be covering up more rust. This is when I decided that the best way to fully clean the piece was to soak it in some deep penetrating oil and then hit it again with a wire brush. So I found some deep penetrating oil that I had lying around, if you google deep penetrating oil you can find quite a few things that will do the job (I believe WD-40 will do the job). I ended up spraying it with the oil and letting it sit for a few hours, this was probably very unnecessary but it was left soaking while I was at work. Once I was free I took an angle grinder and attached a brush wheel to it. This ended up saving a lot of time and frustration in the long run. Another note, Always clamp down what you are working on in these situations. Either with a vice grip or c-clamps to a table.
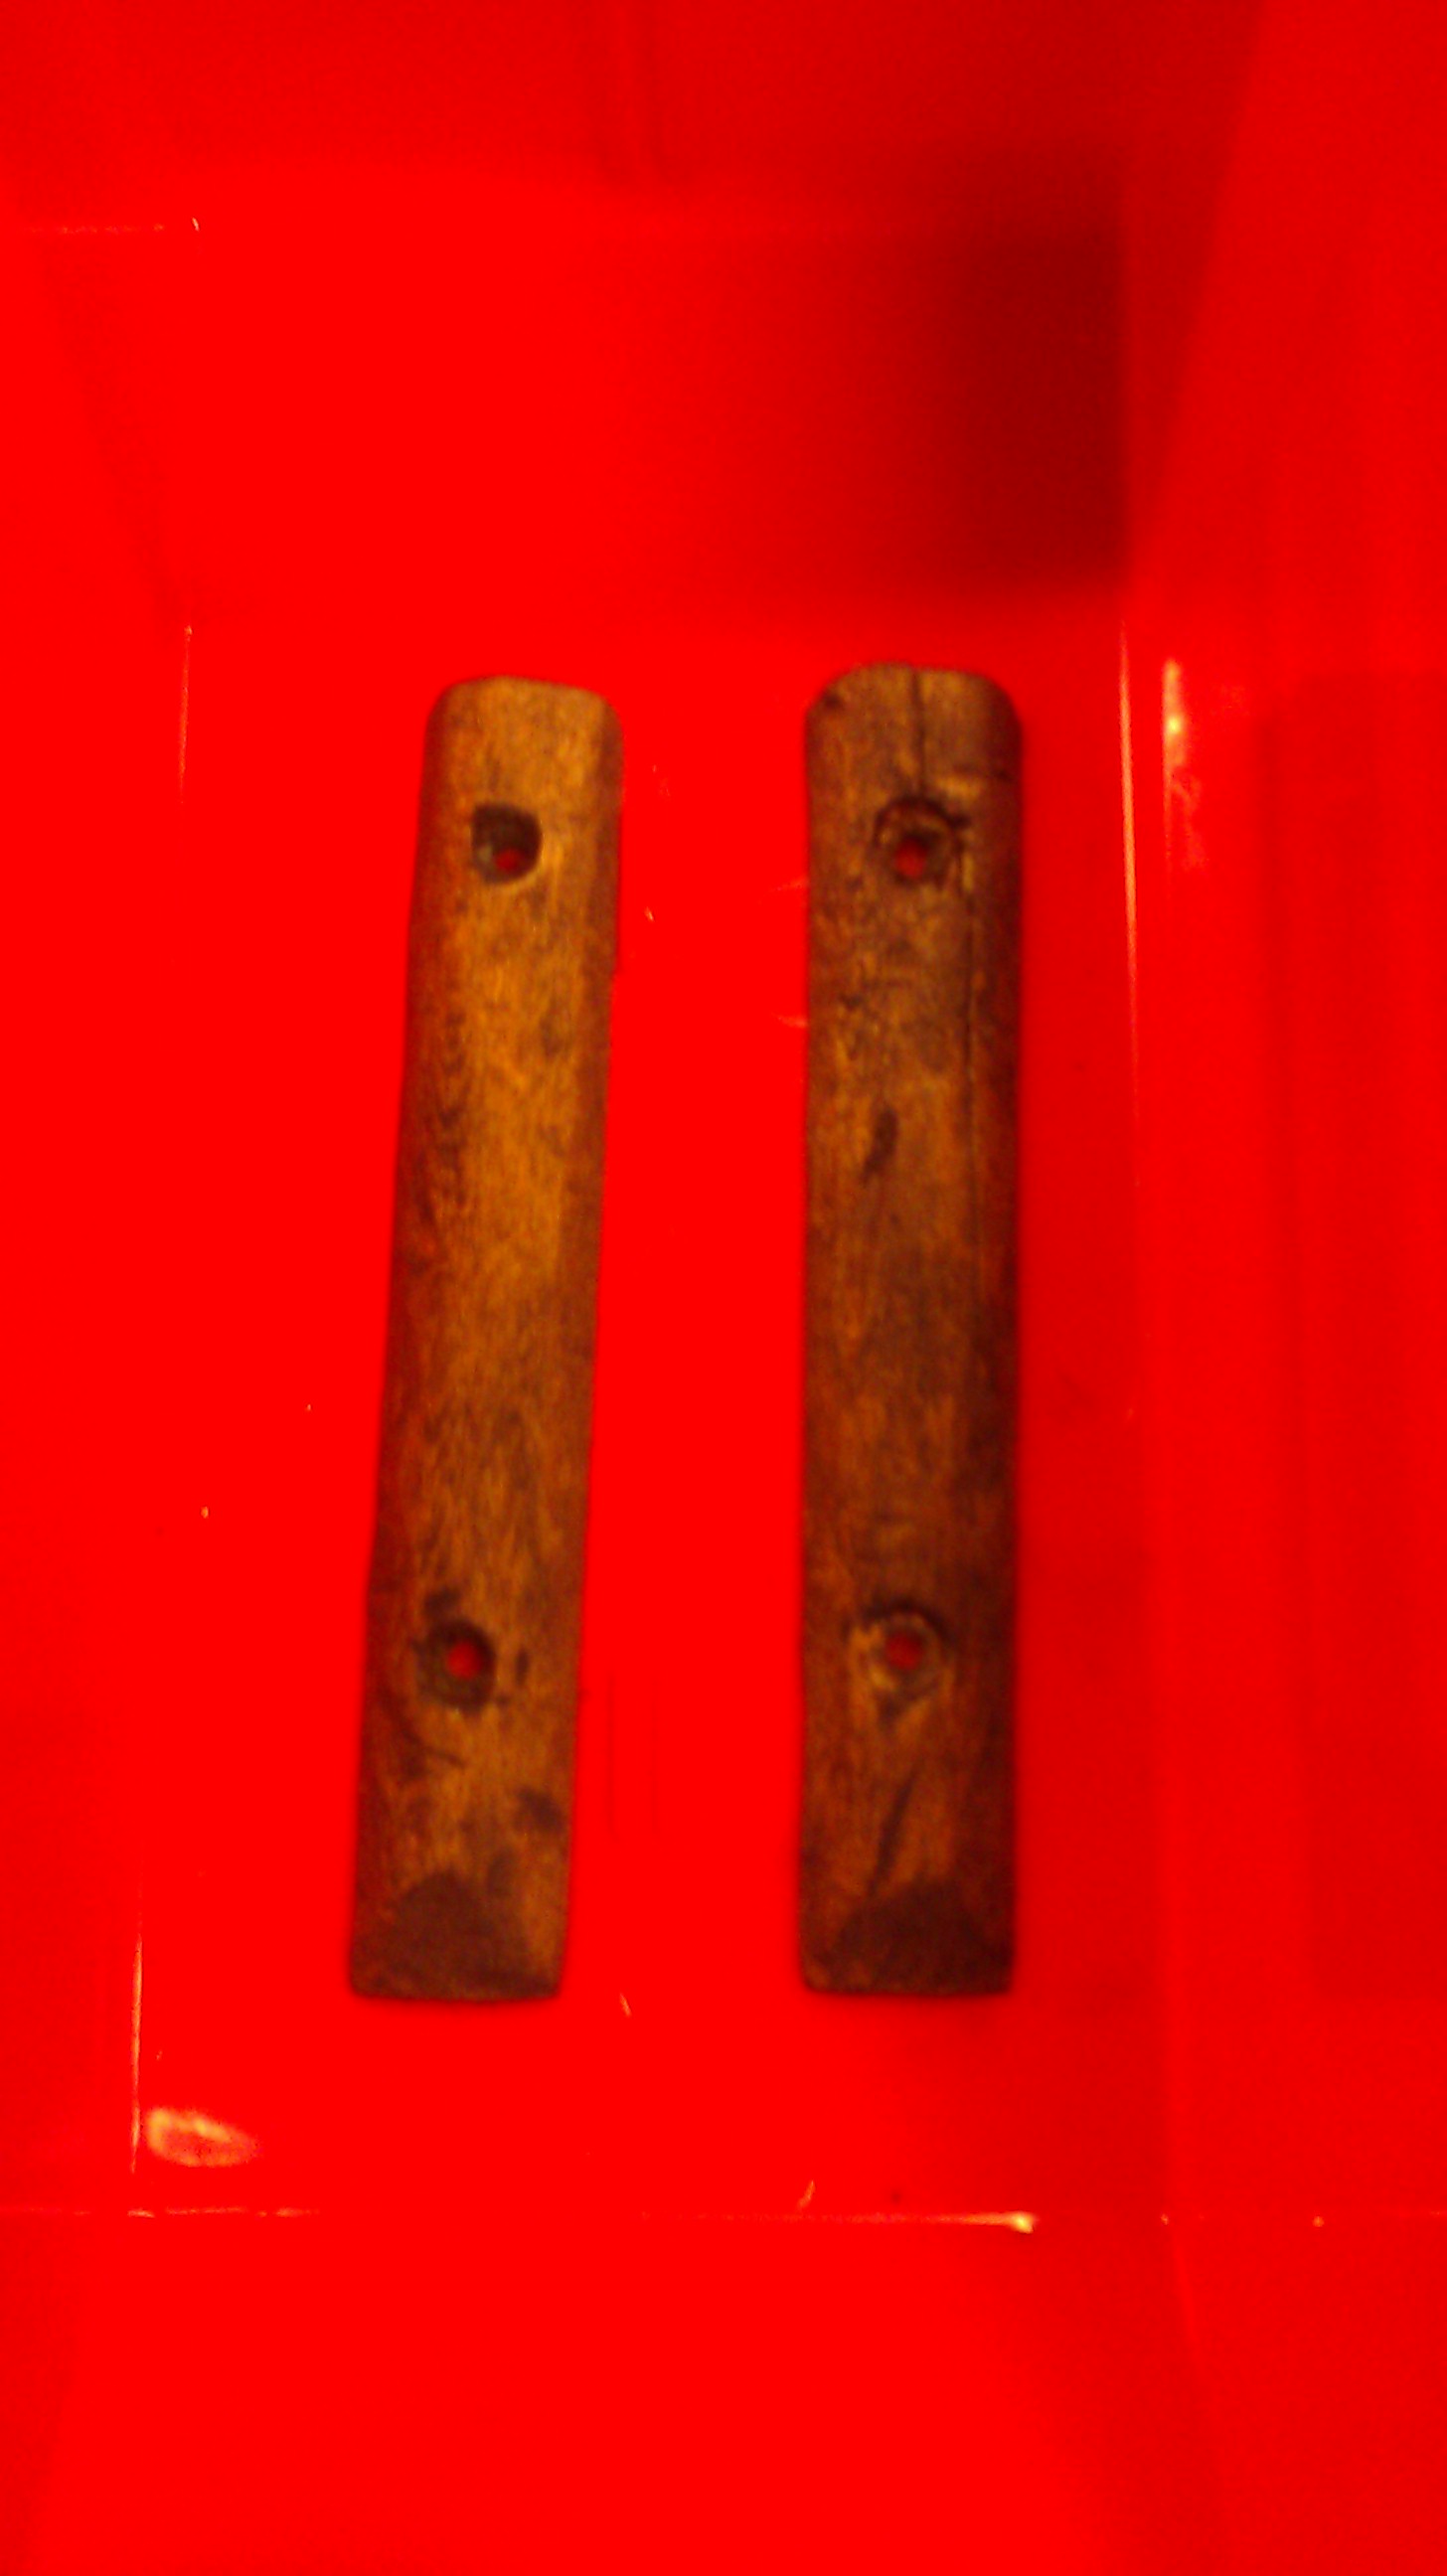
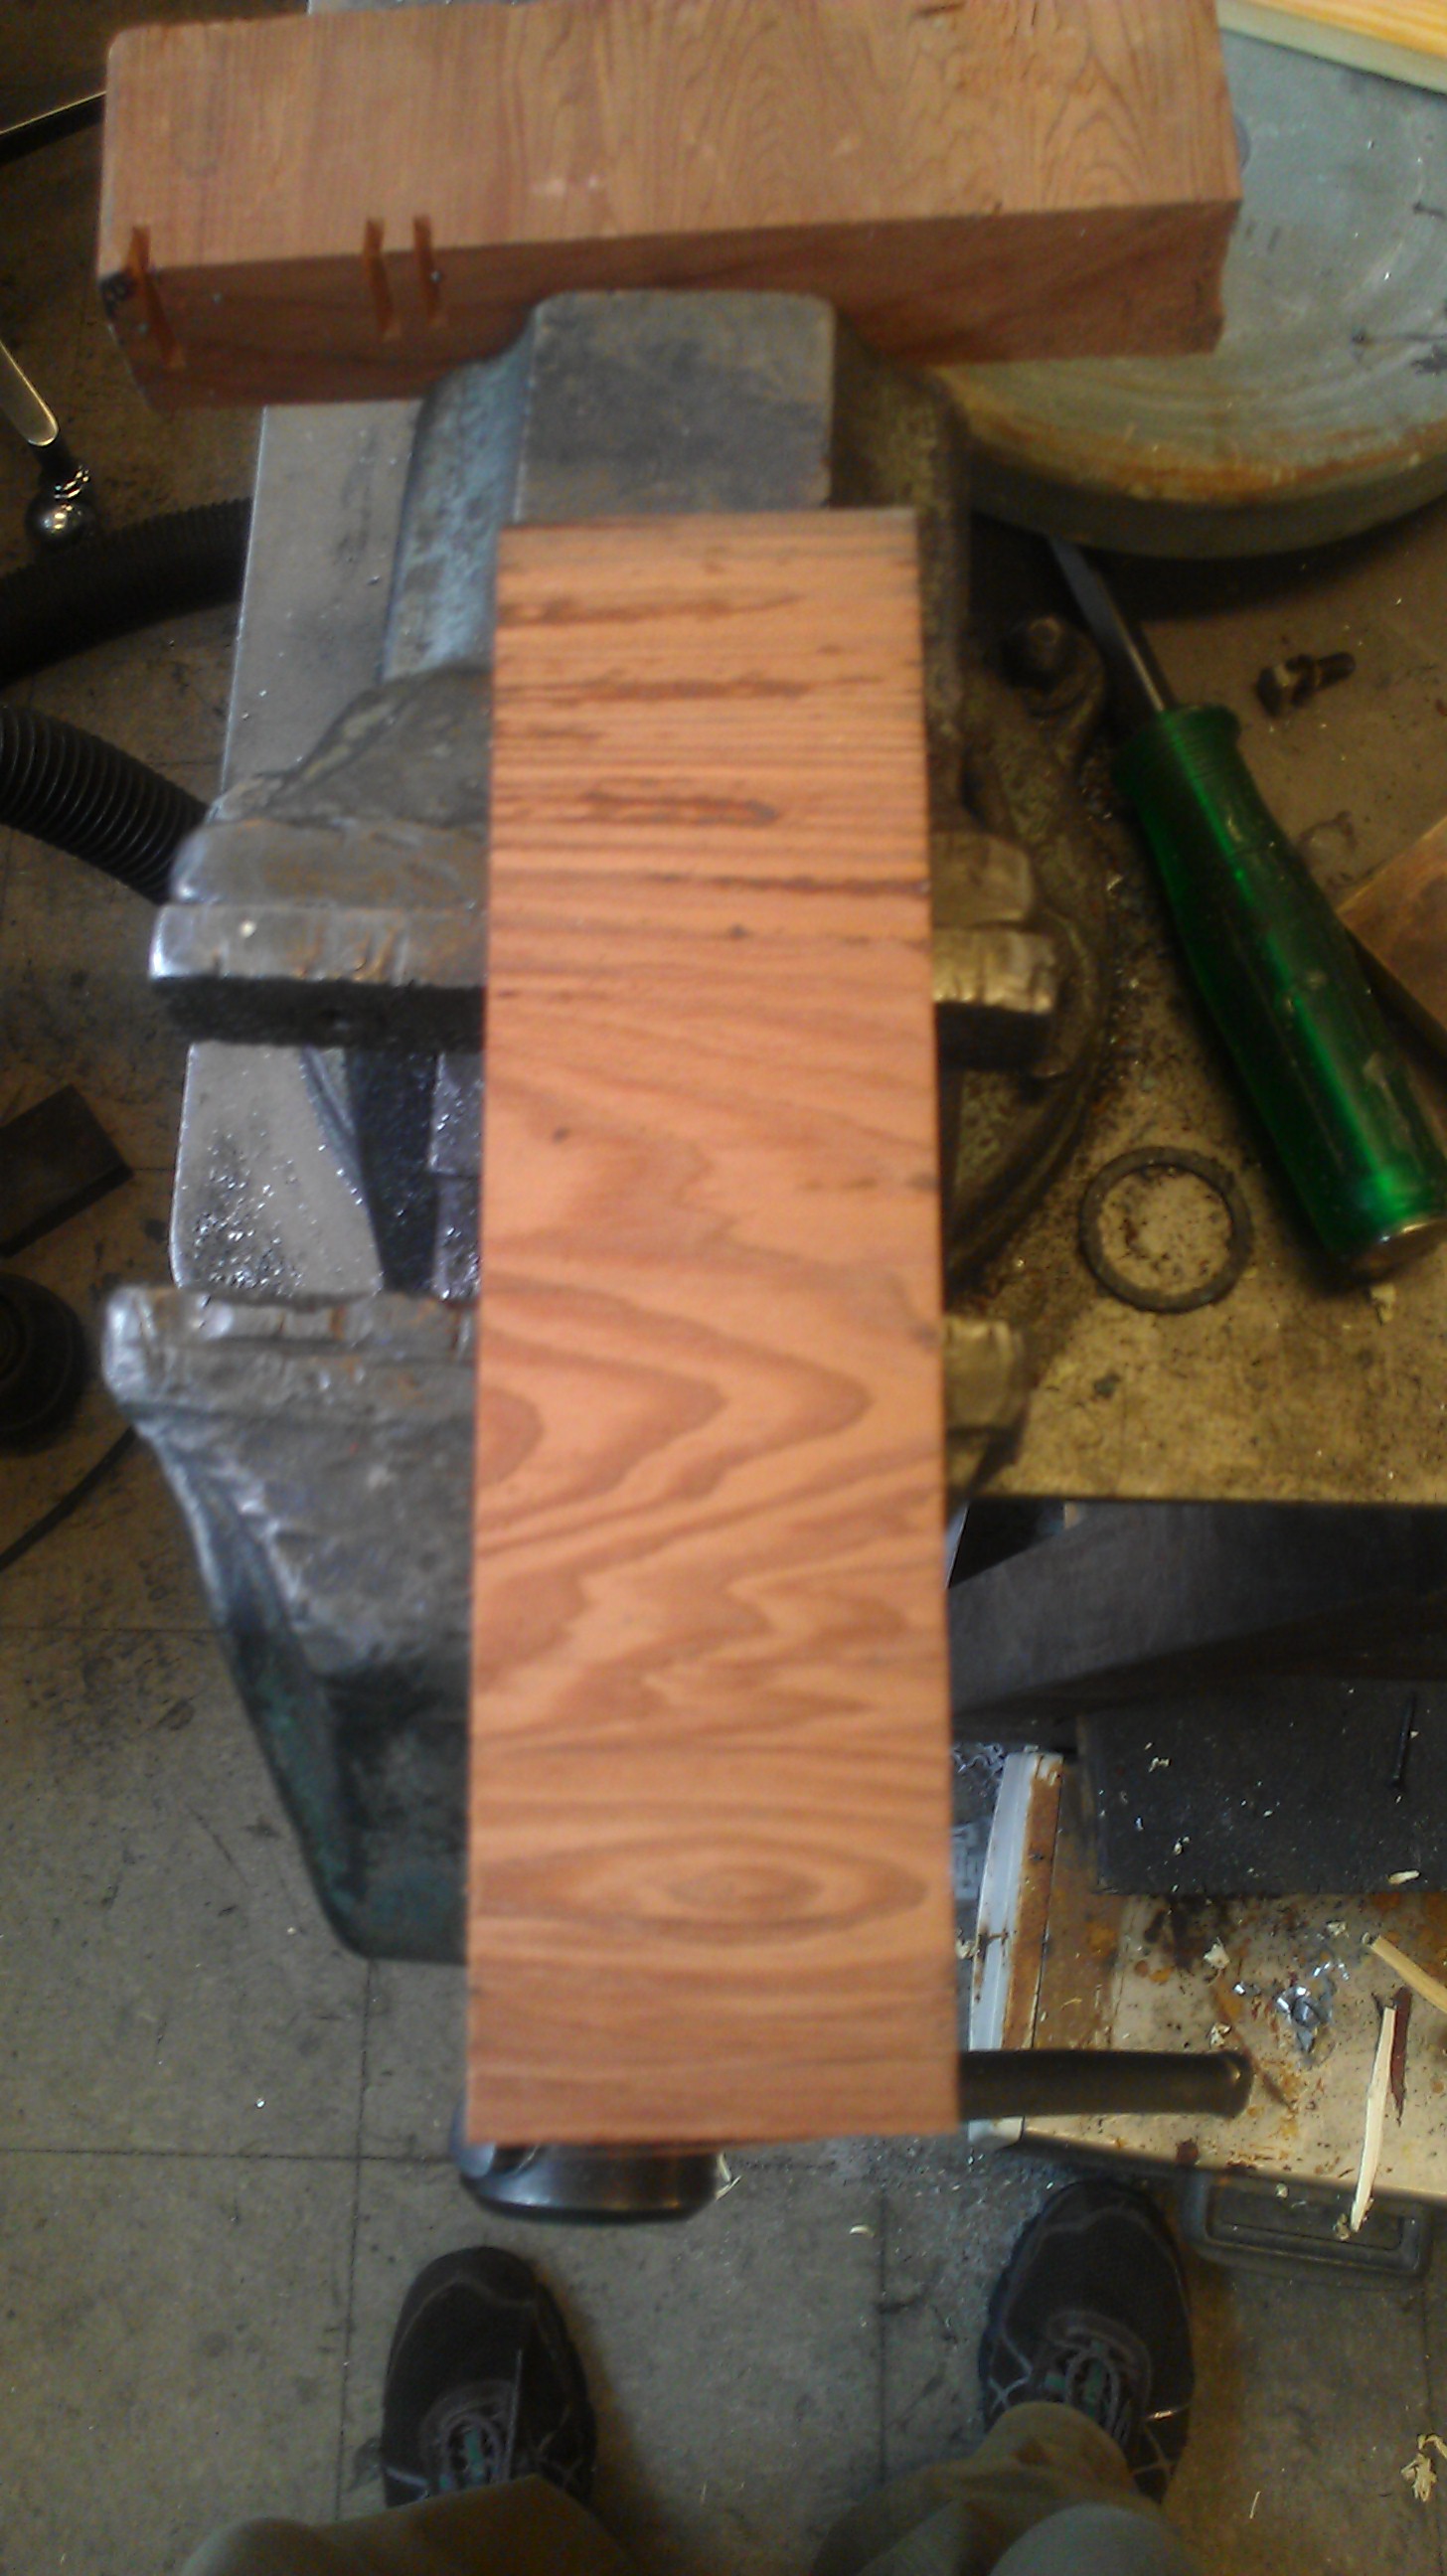
Then came the wood working. First thing I ended up doing was band-sawing the general square shape and size of the handle pieces out of different types of scrap wood that was in MITERS. Once this was accomplished, I took a two-handed drawing knife to the pieces while having them clamped in a vice-grip.
There are two major things I learned from this work:
- First: when using a two-handed drawing knife make sure that you do long, small cuts. The motion should be fluid through the entire cut, if you get stuck don't try to force the blade to much because you are drawing the knife blade towards your torso.
- Think ahead: Since it has been awhile since I have done any wood working, I made the casual mistake of thinking I could vice grip my wood for clamping it down. This ended pretty quickly because my wood became damaged from the pressure needed to securely clamp my piece. The end solution was make the pieces longer than they needed to be and cut off the excess material once the general shape was obtained.
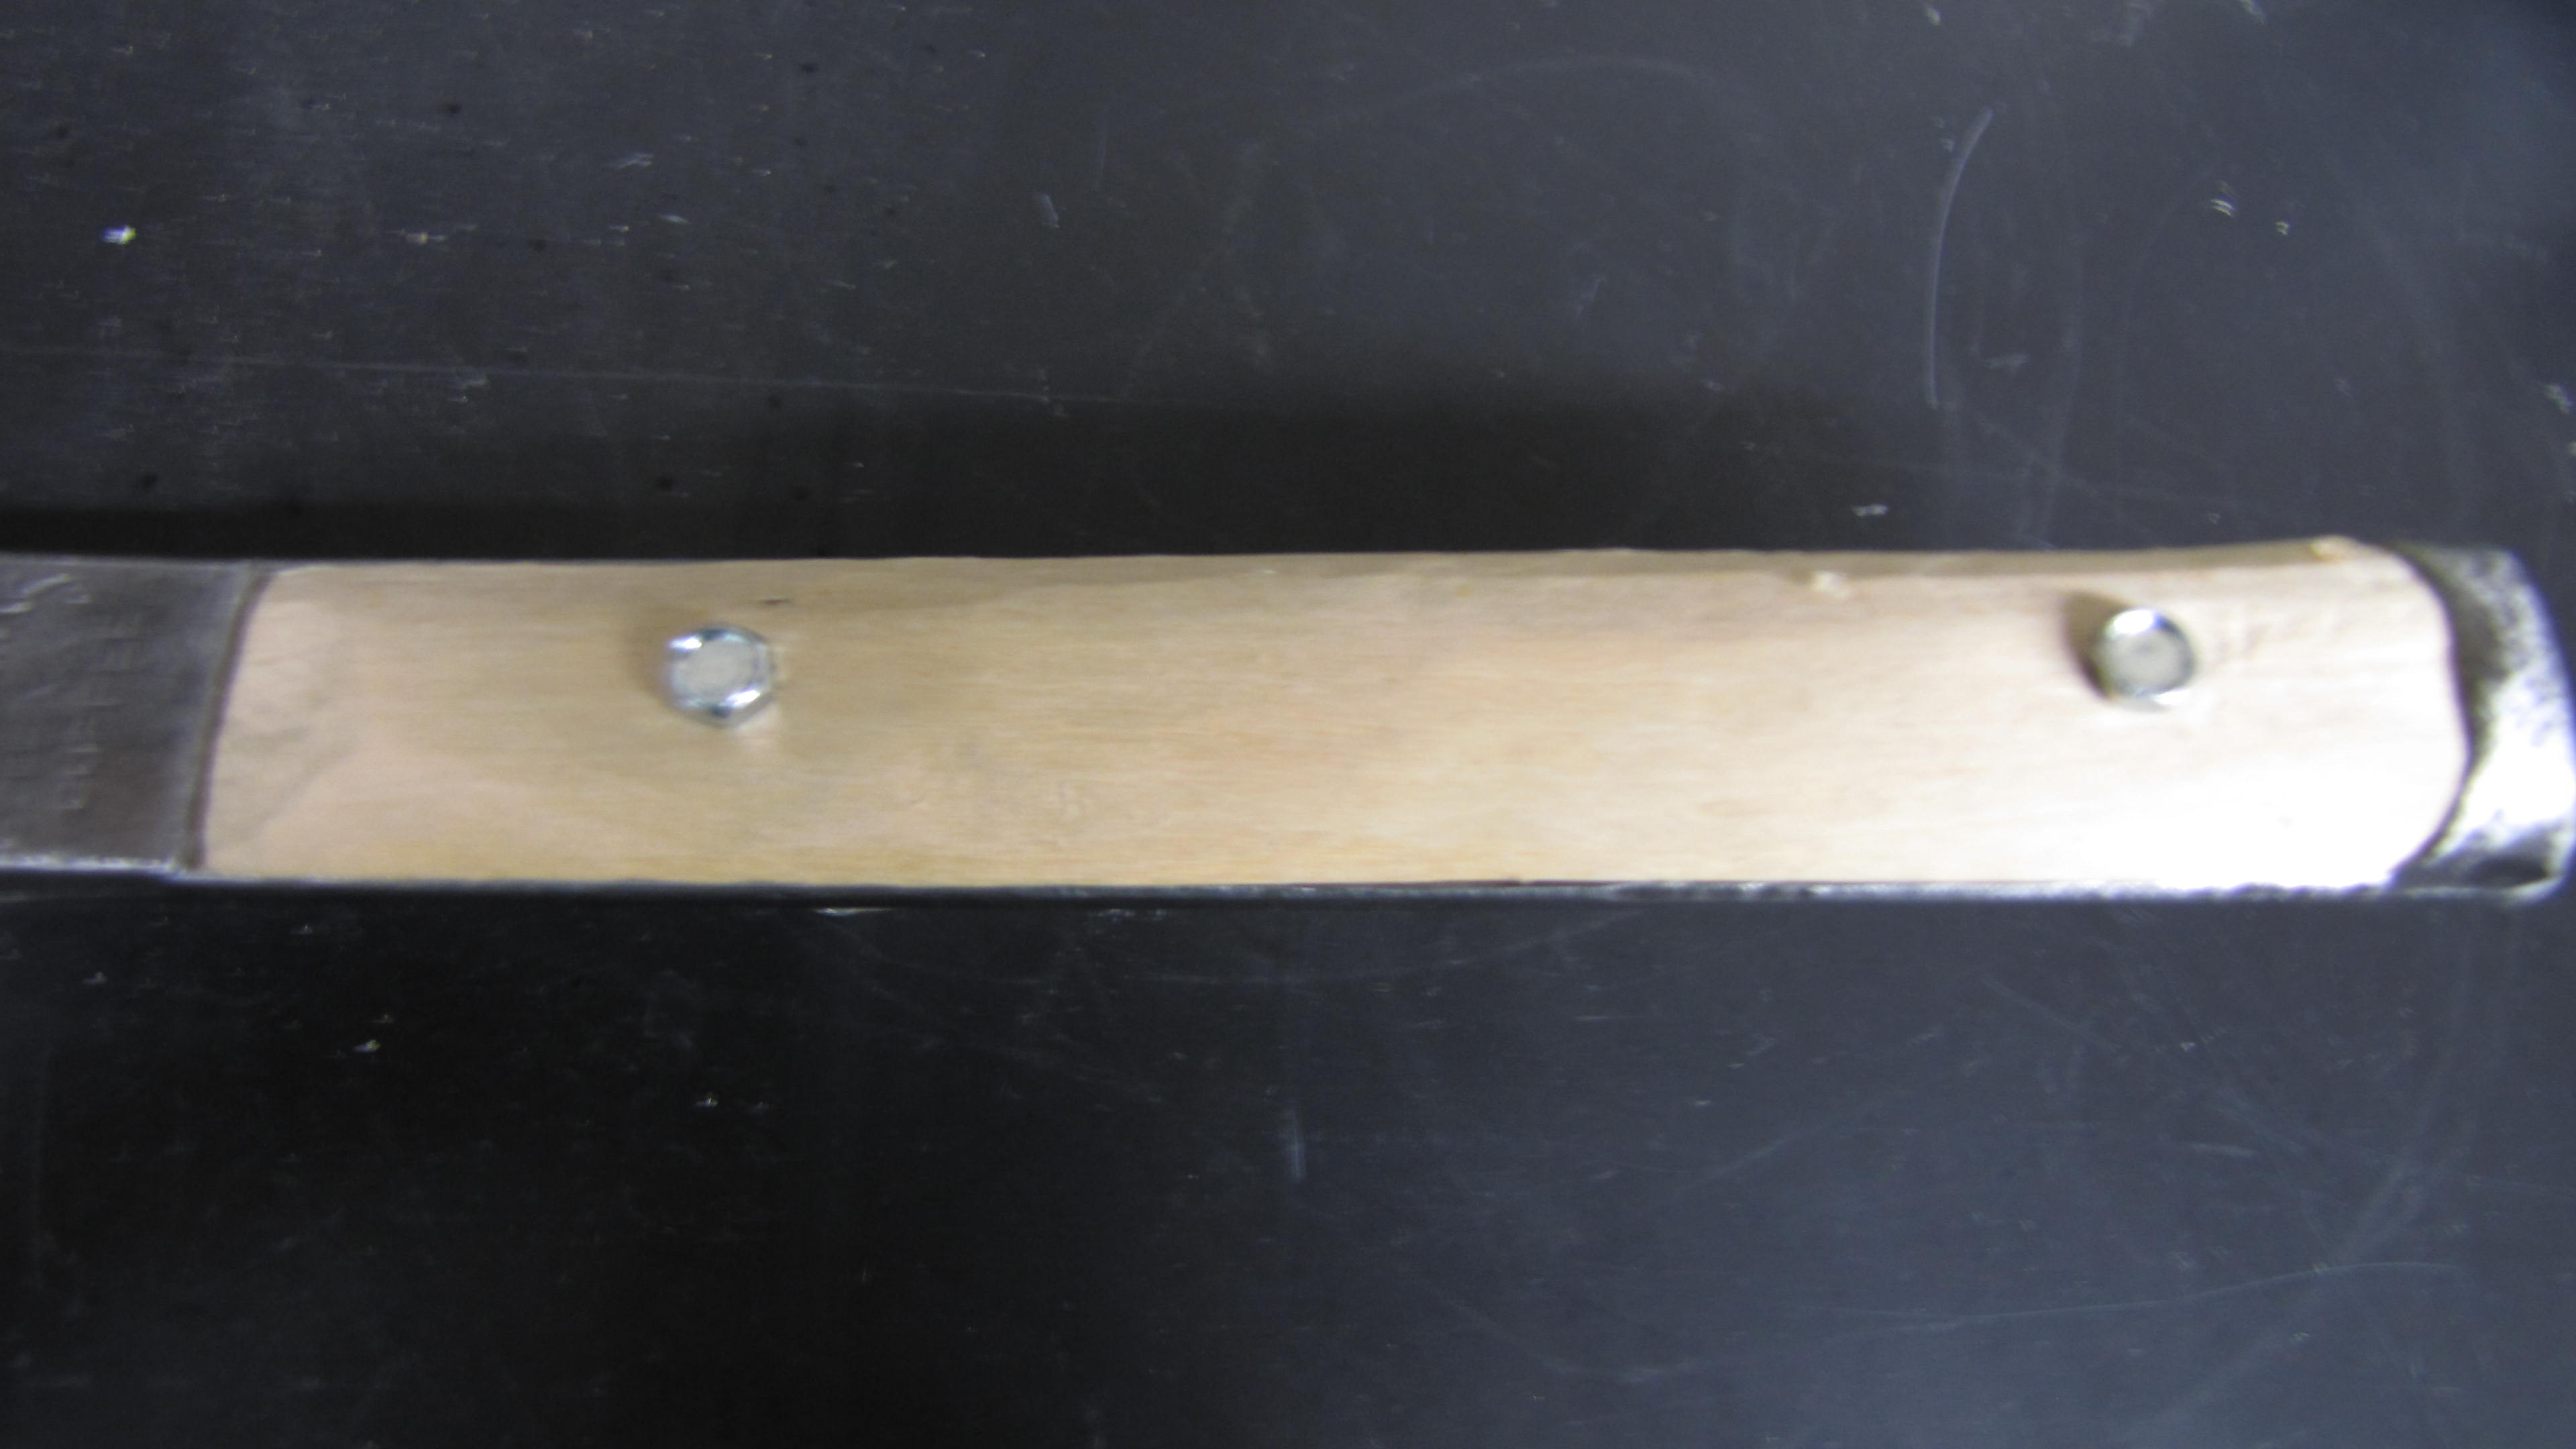
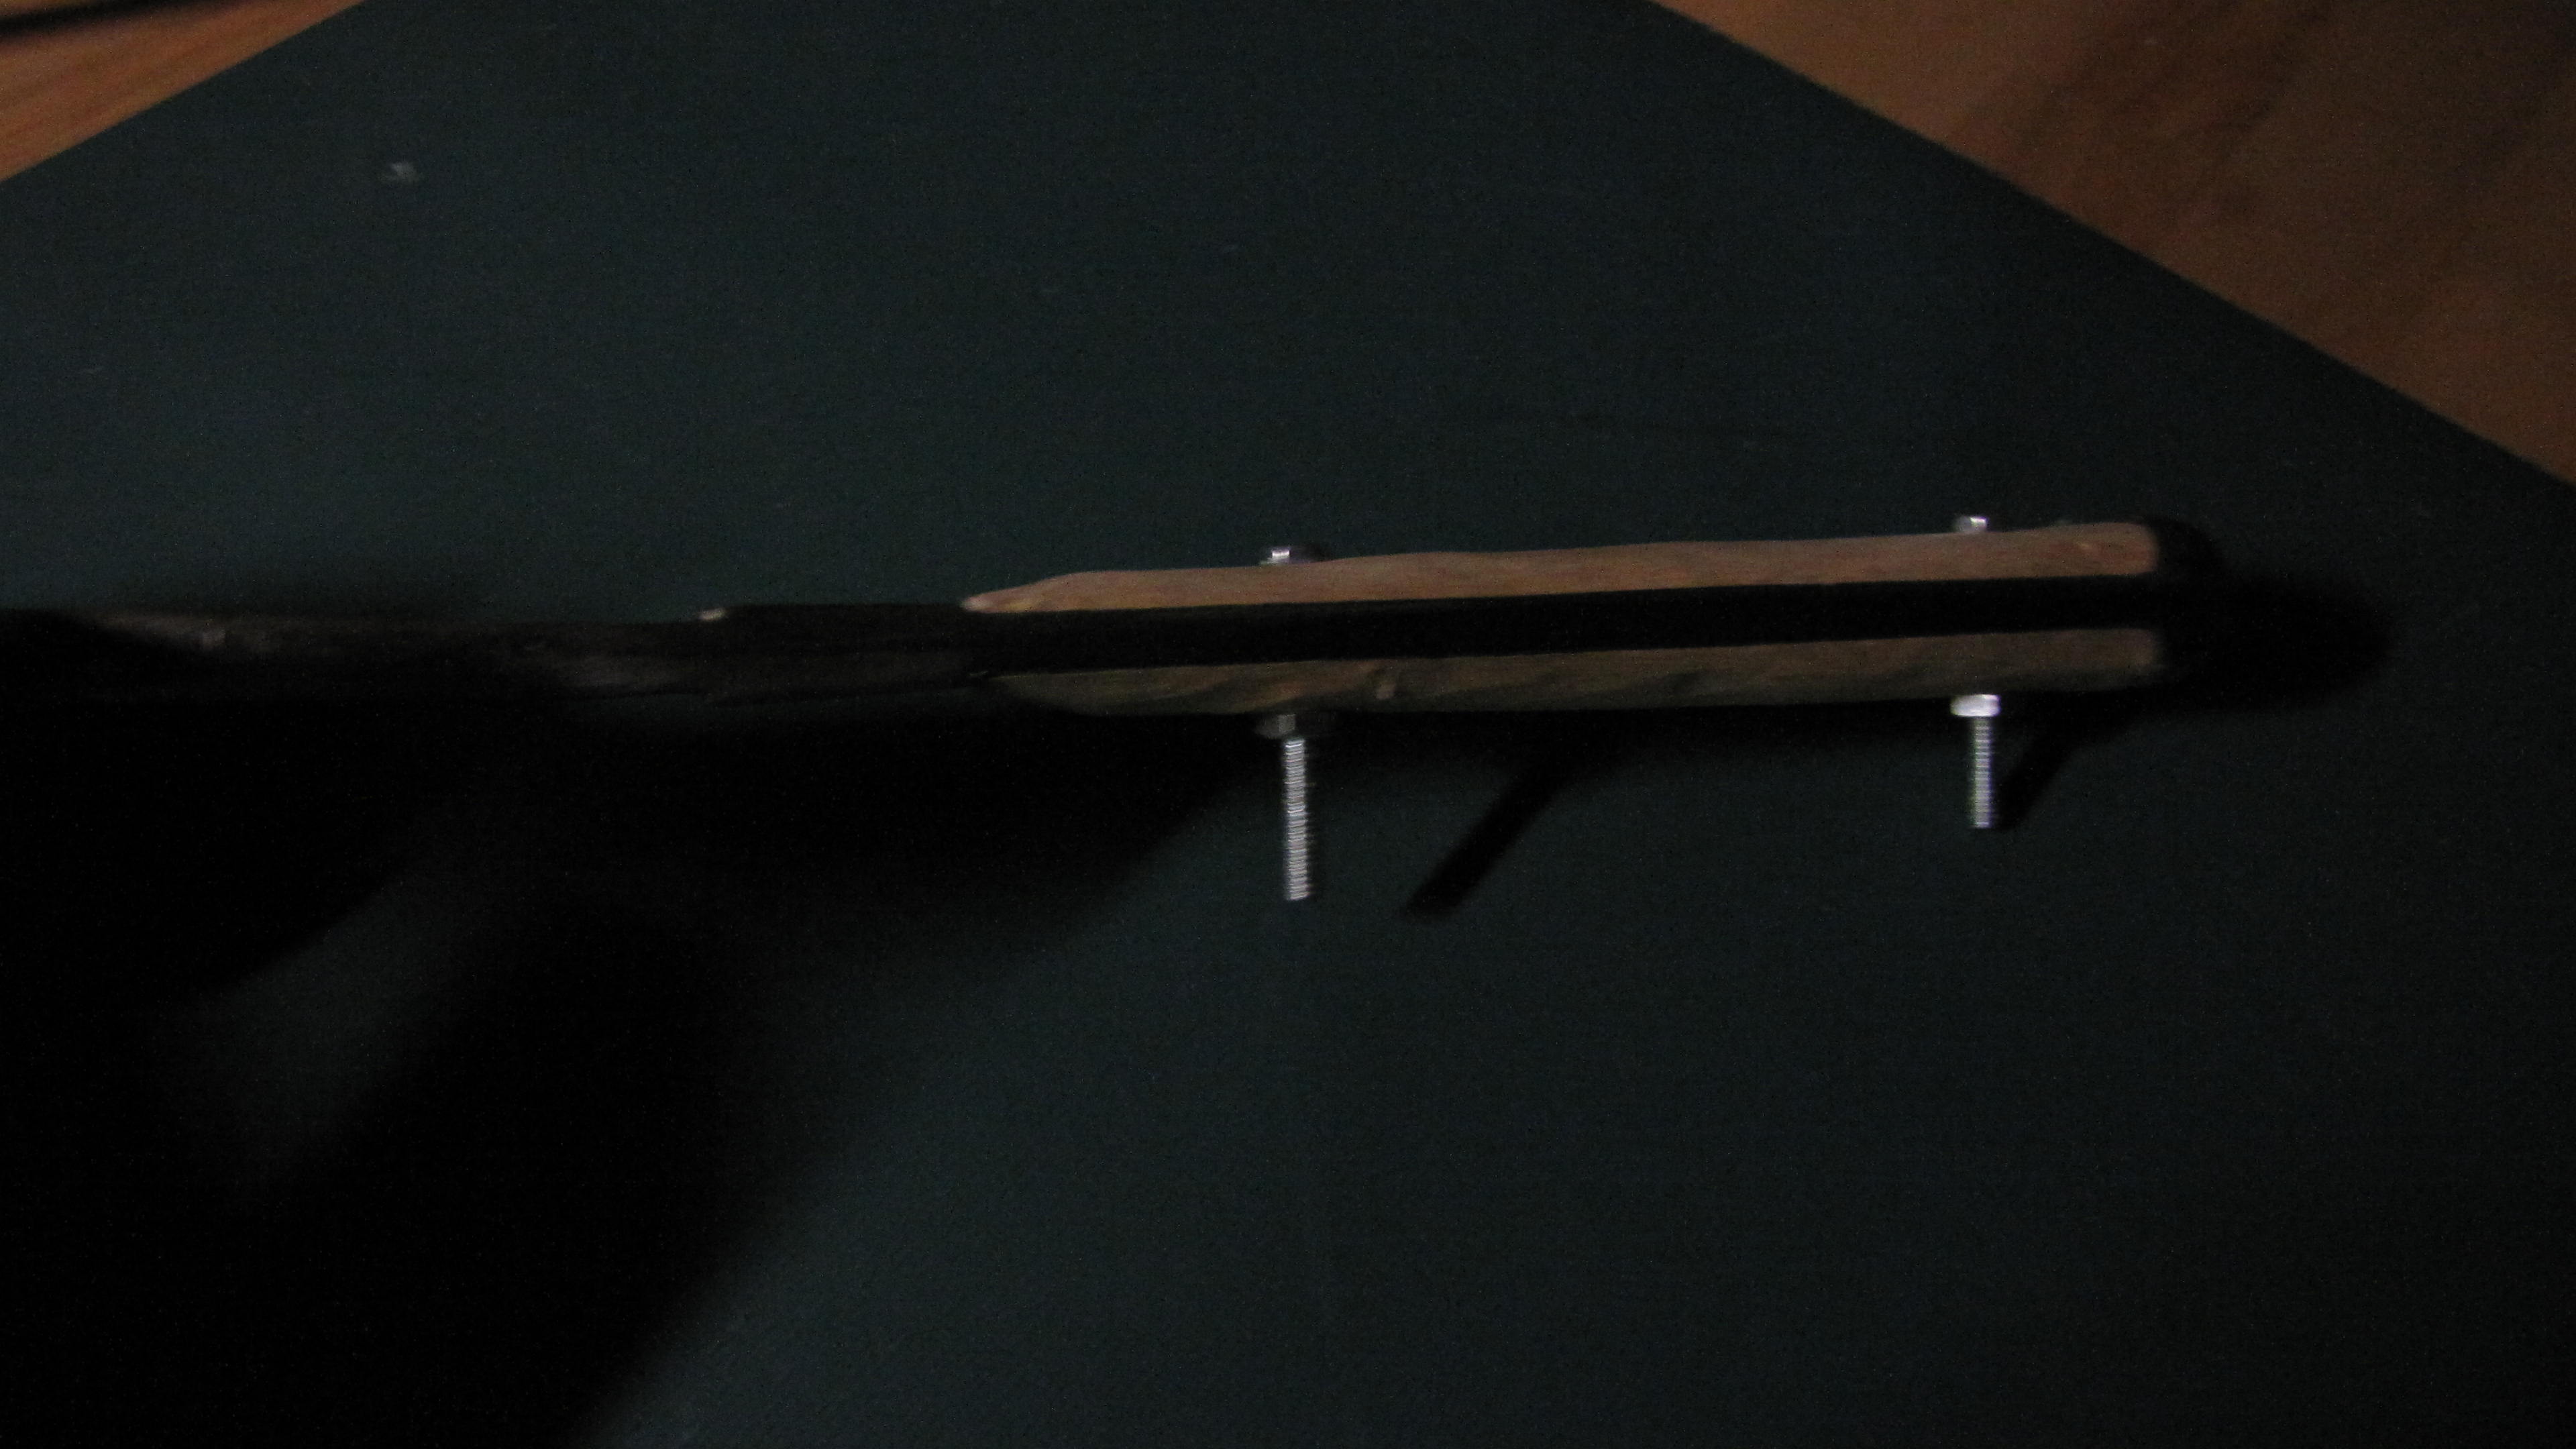
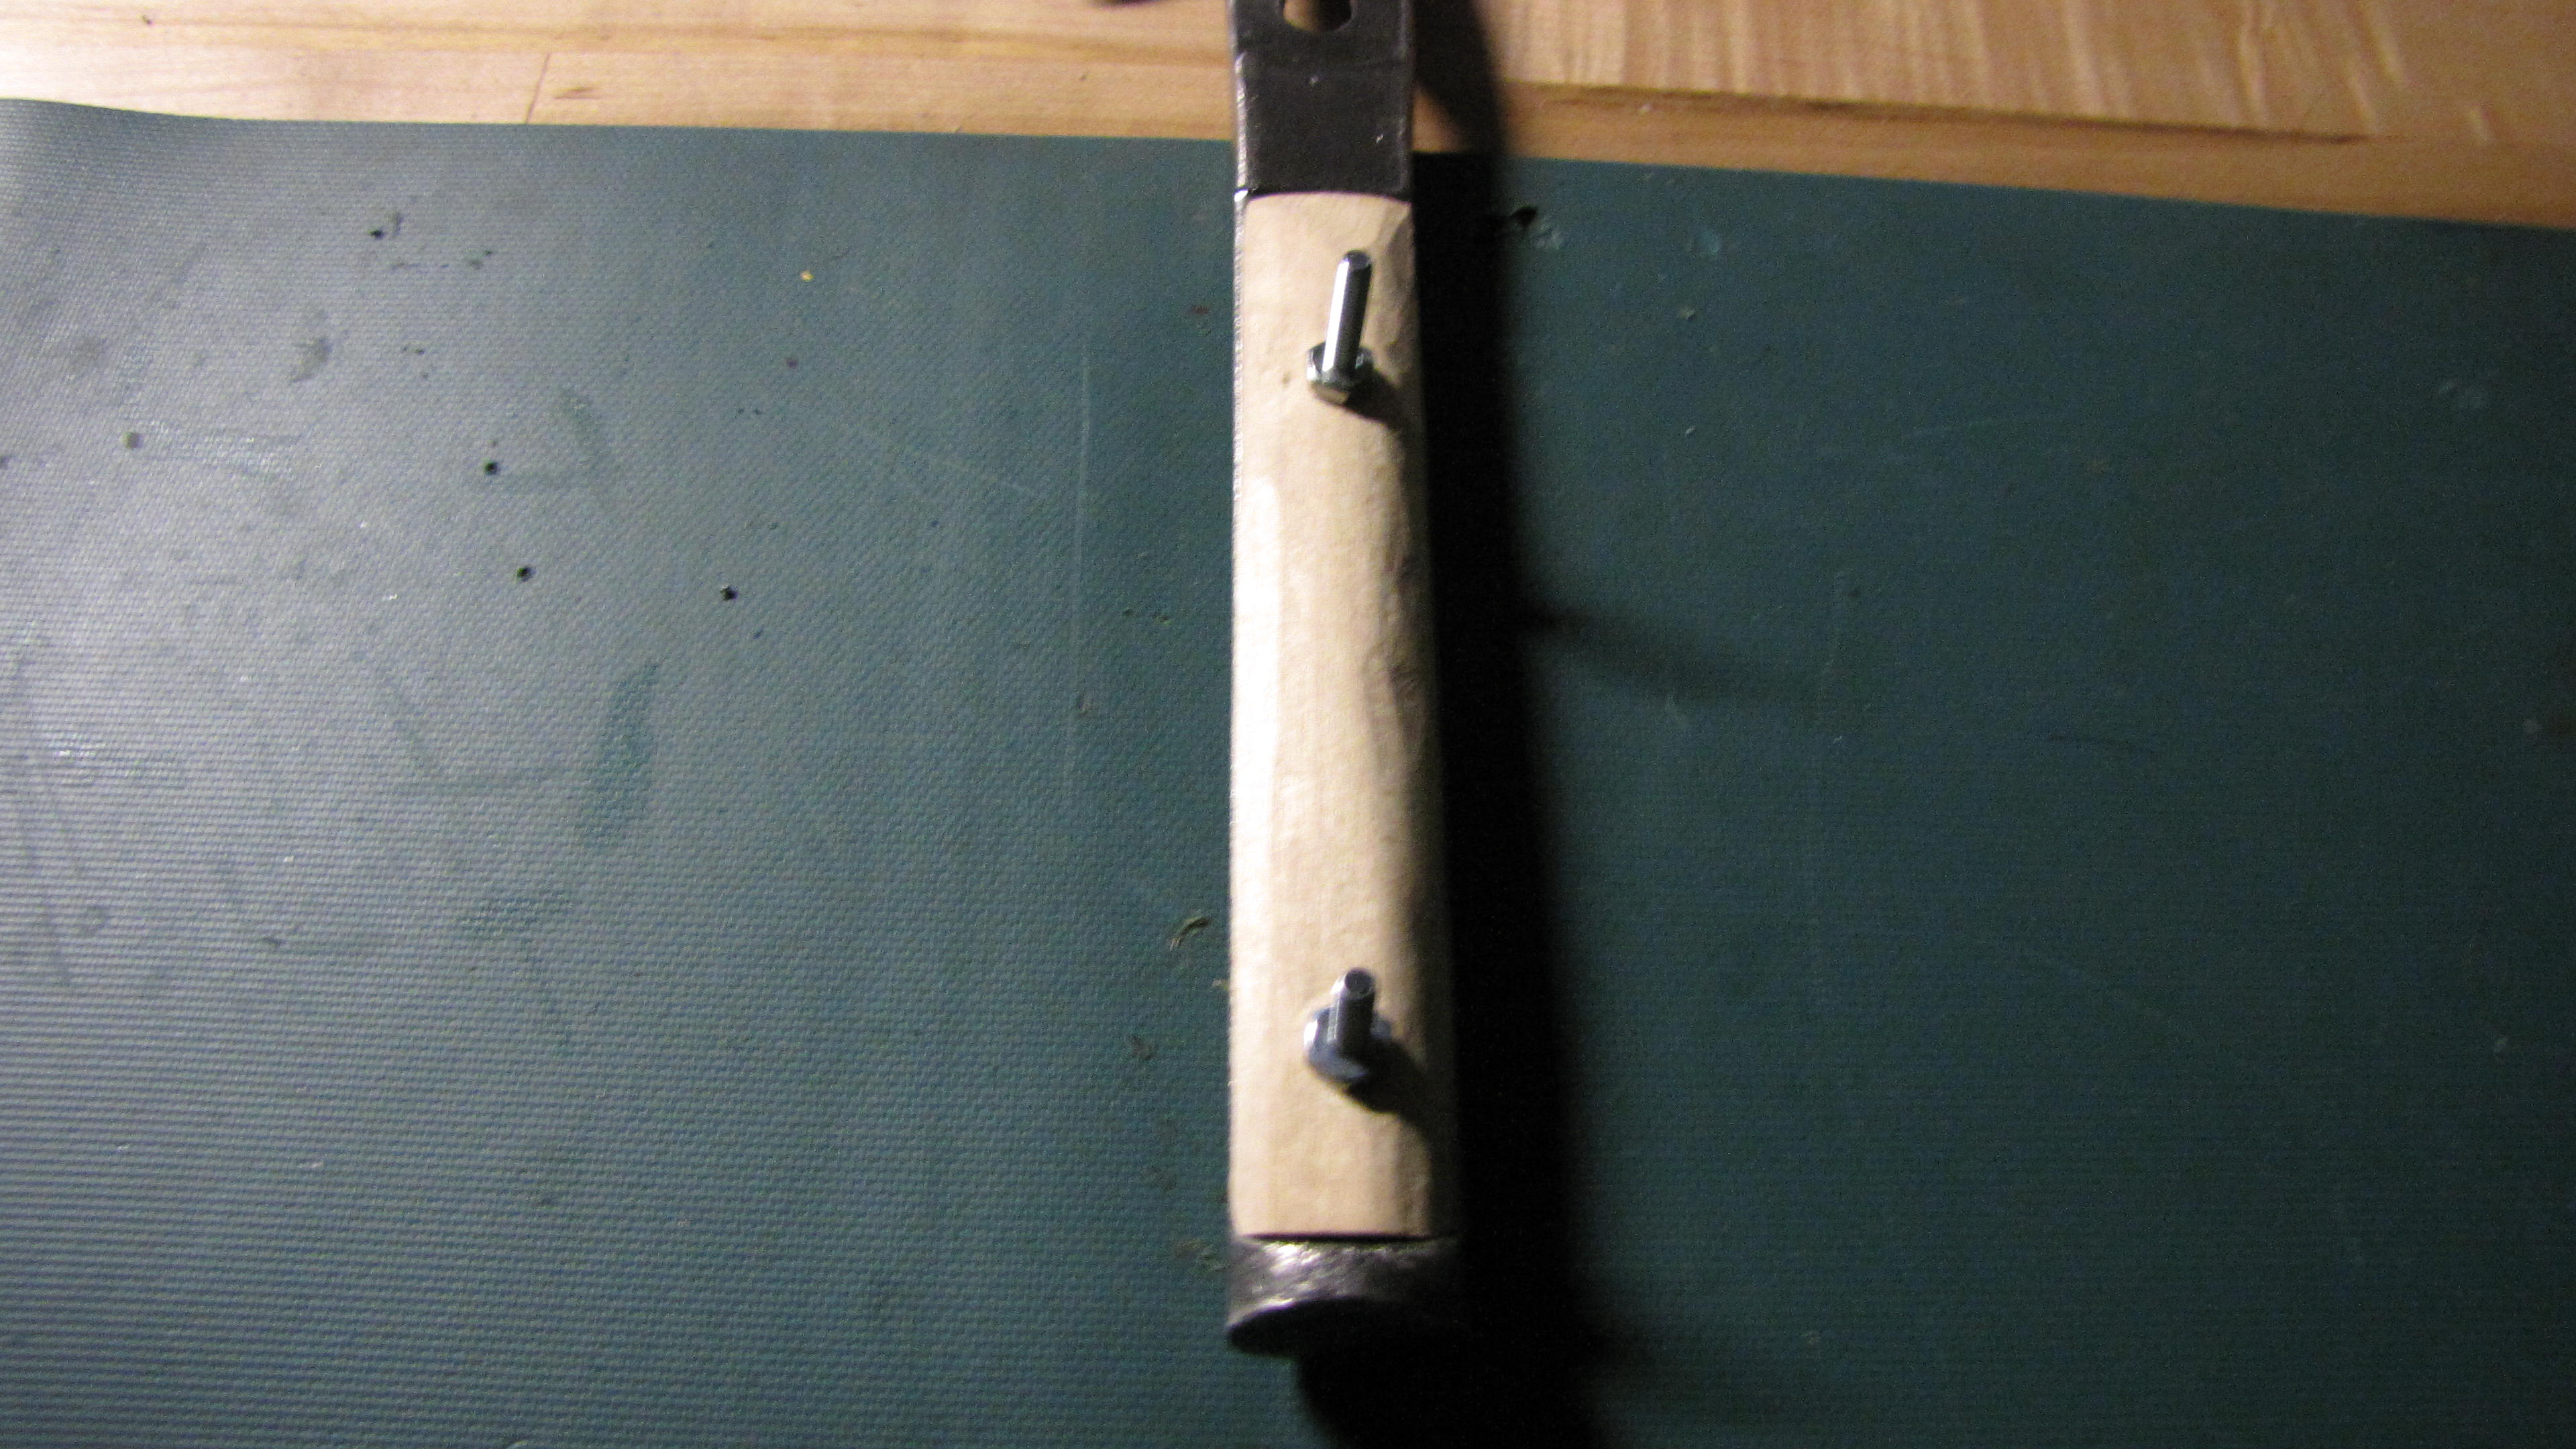
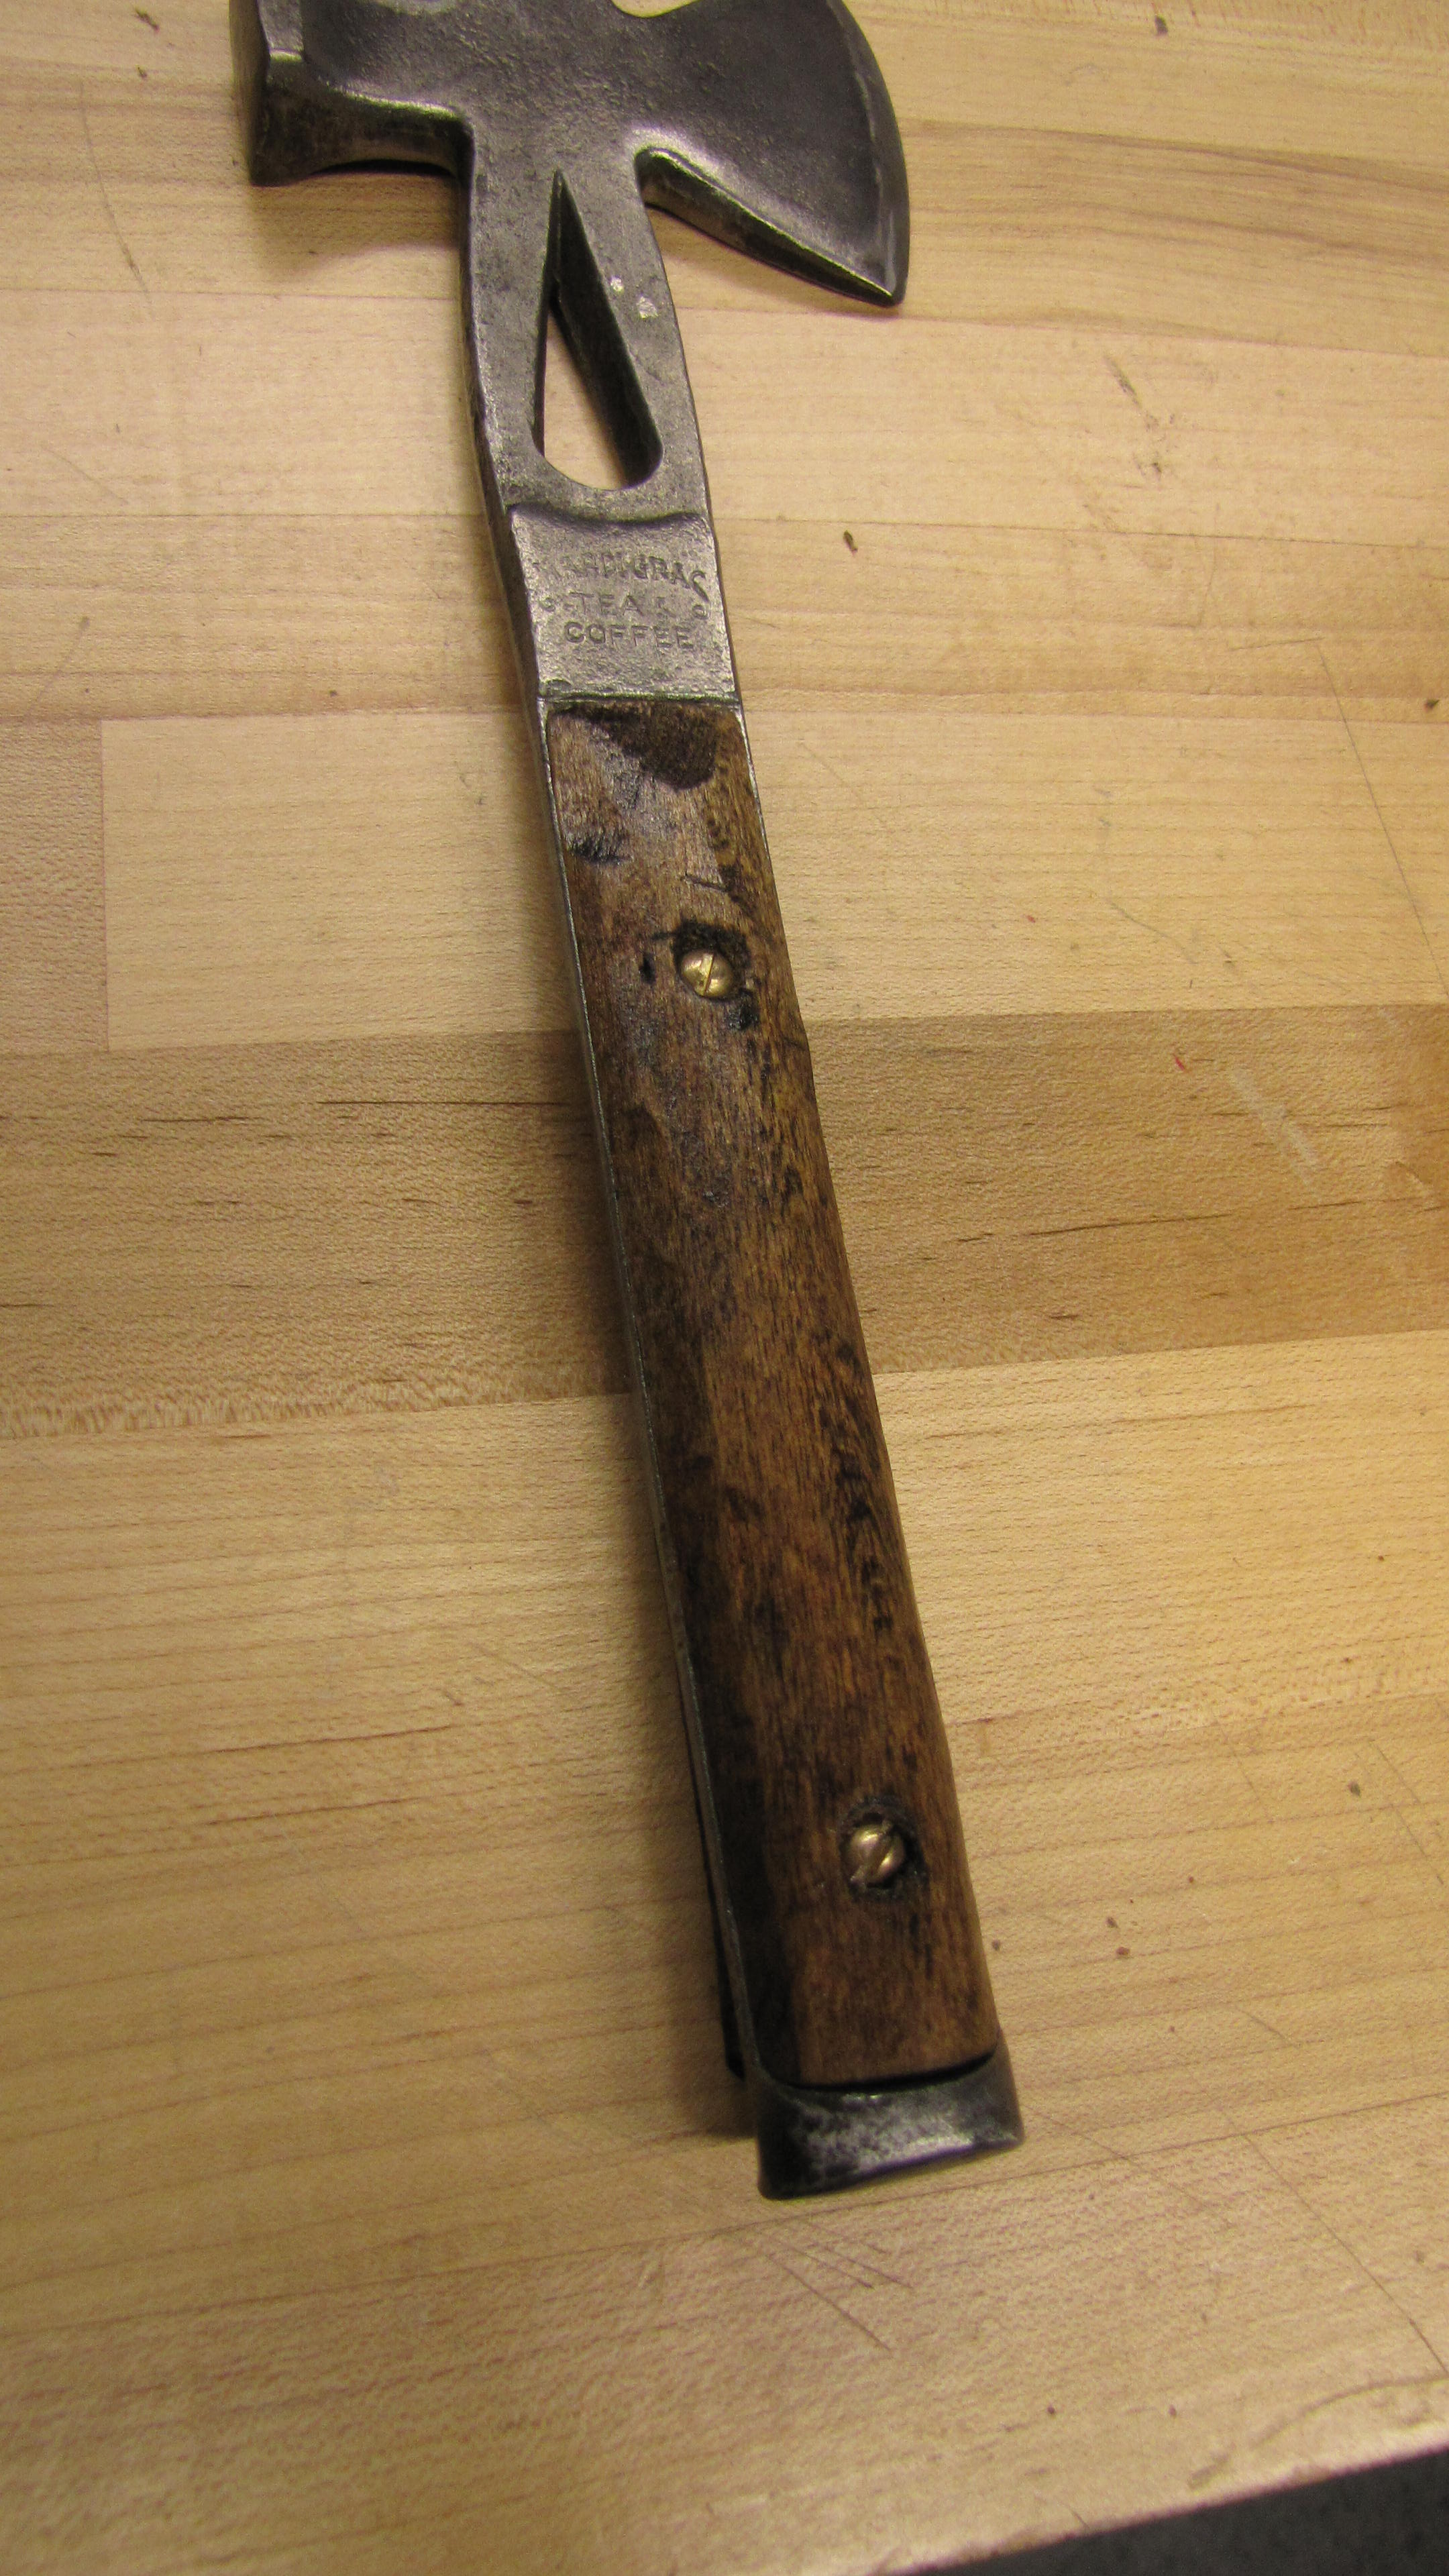
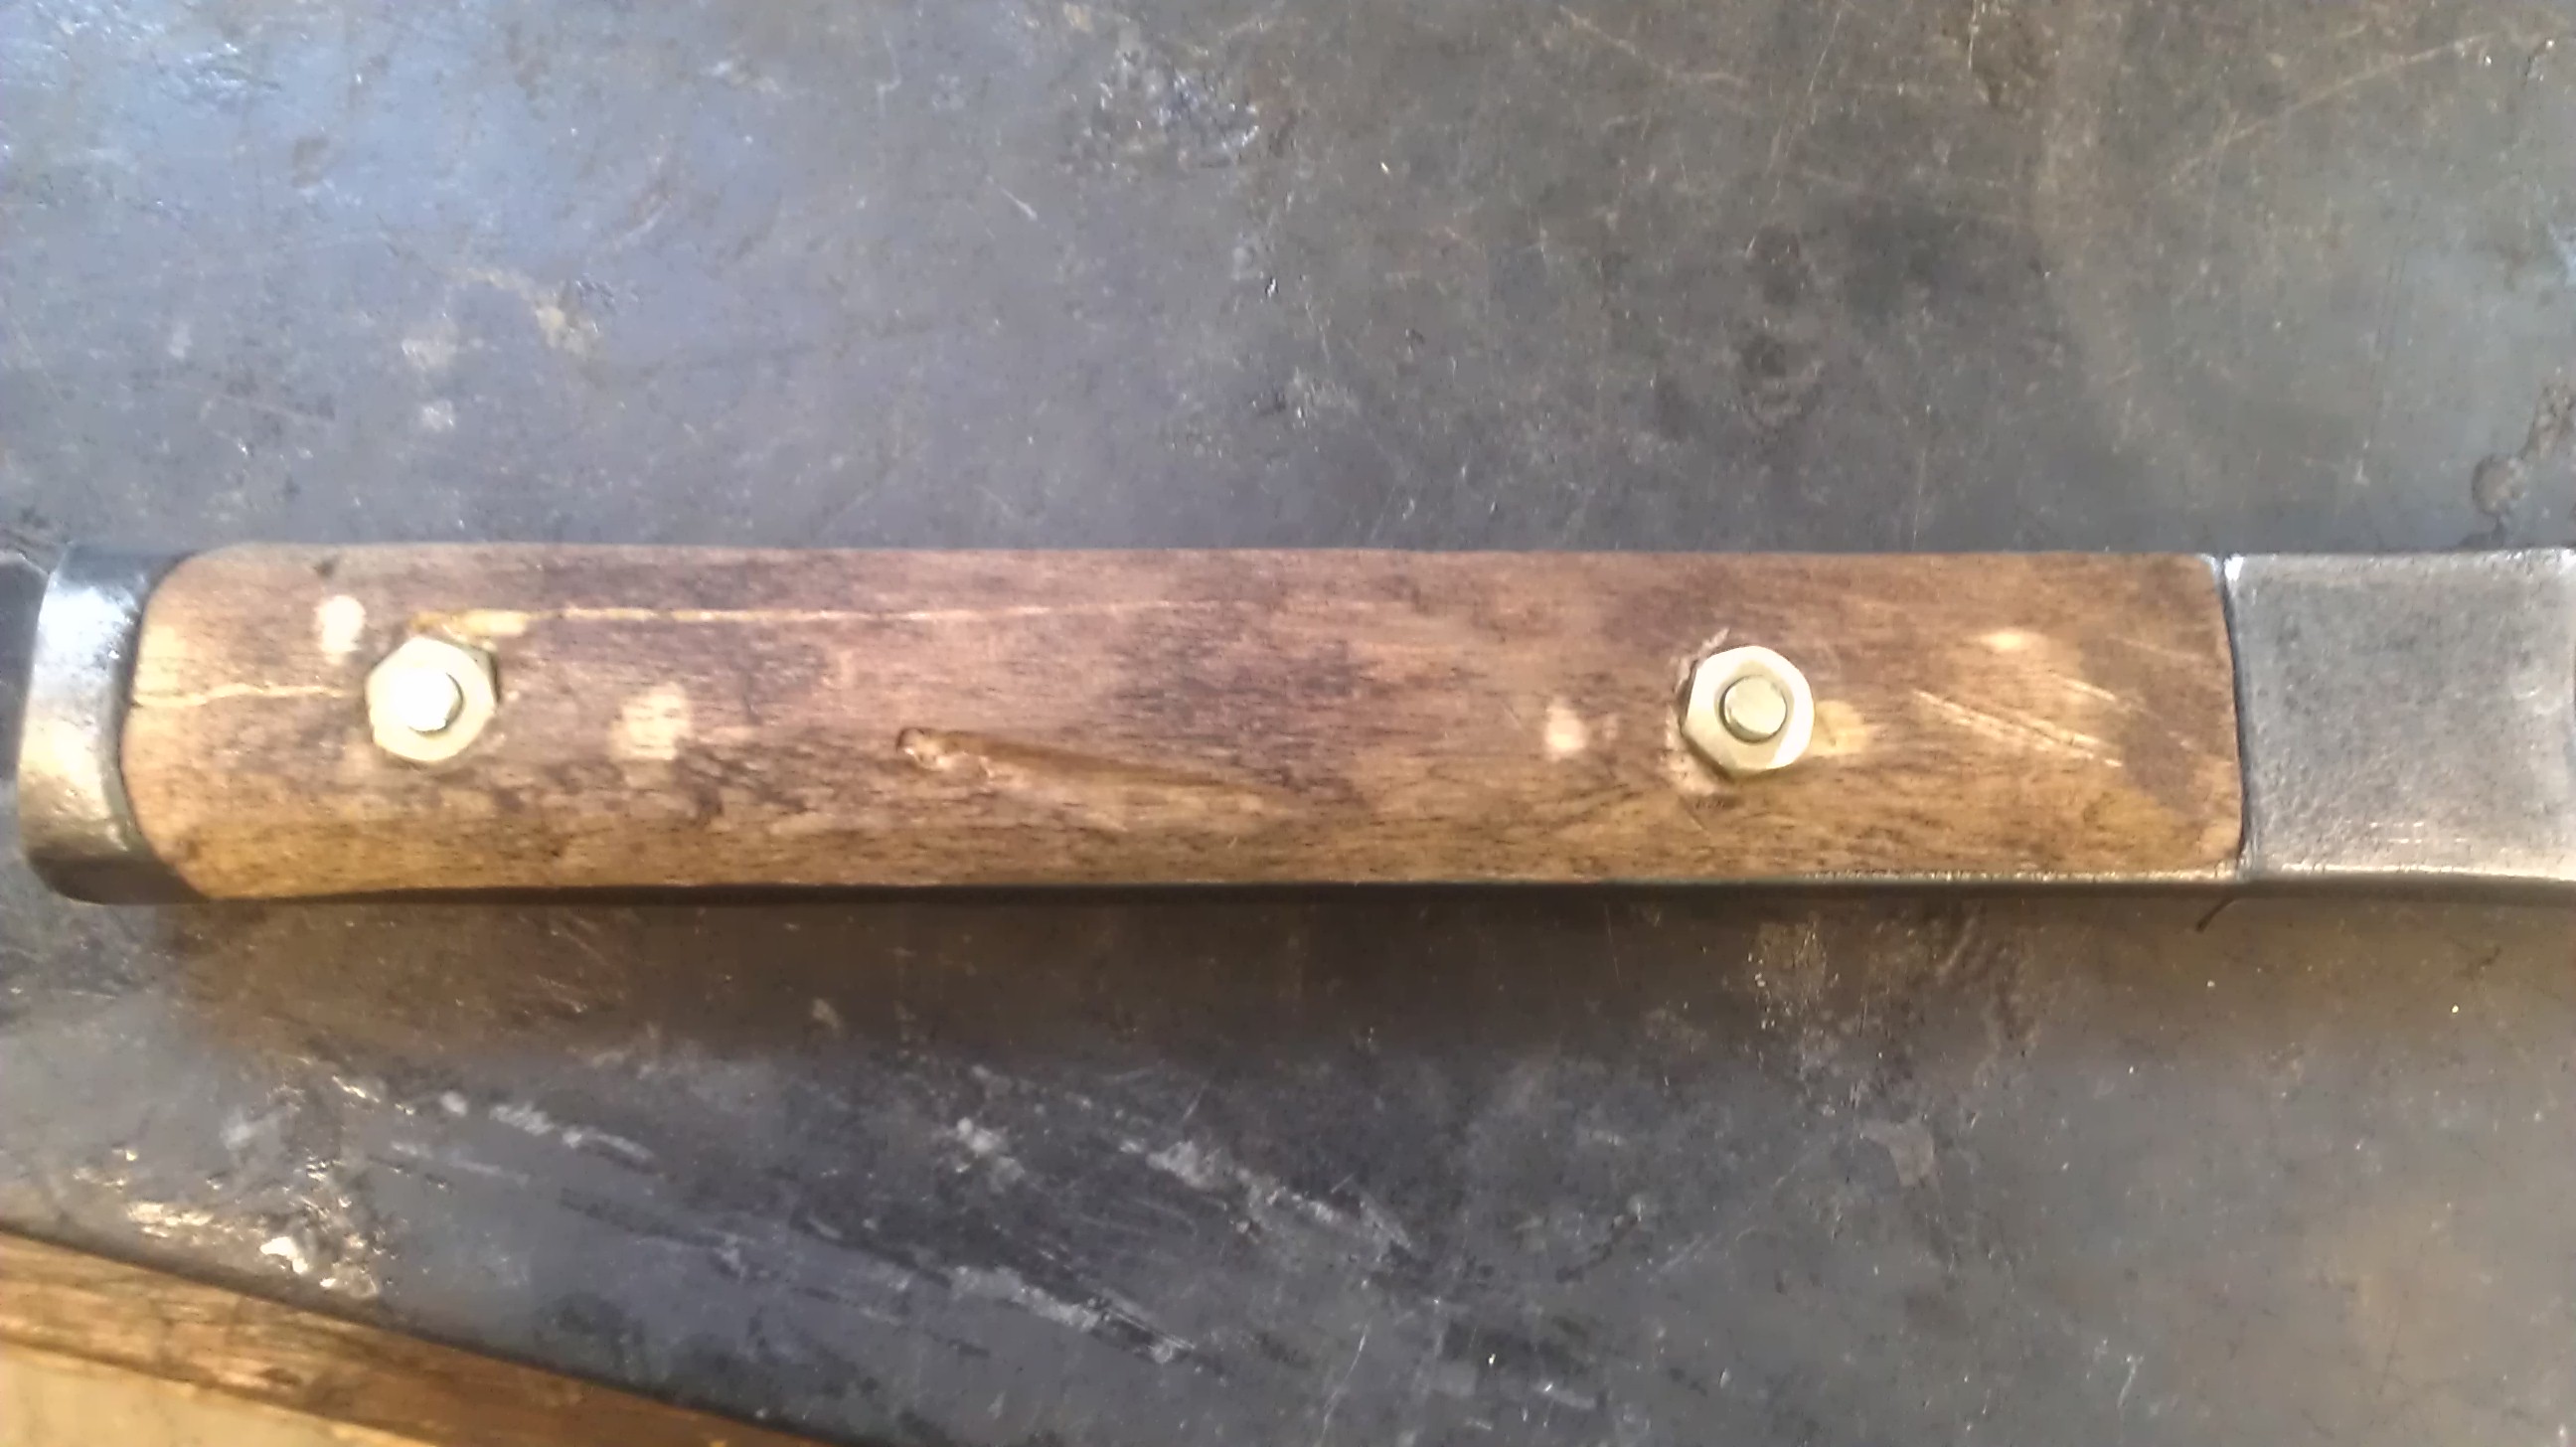
So once using the draw knife and getting the hang of it, I was able to create two handles that fit the general shape and size needed to fit onto the handle. This is when I used a drill press and clever clamping techniques to make two holes in each handle. I used my steel tool as the template for the holes by attaching each handle, one at a time, to the steel piece and drilling a hole through. Once this was completed I attached both pieces to the steel part by use of two bolts and nuts.
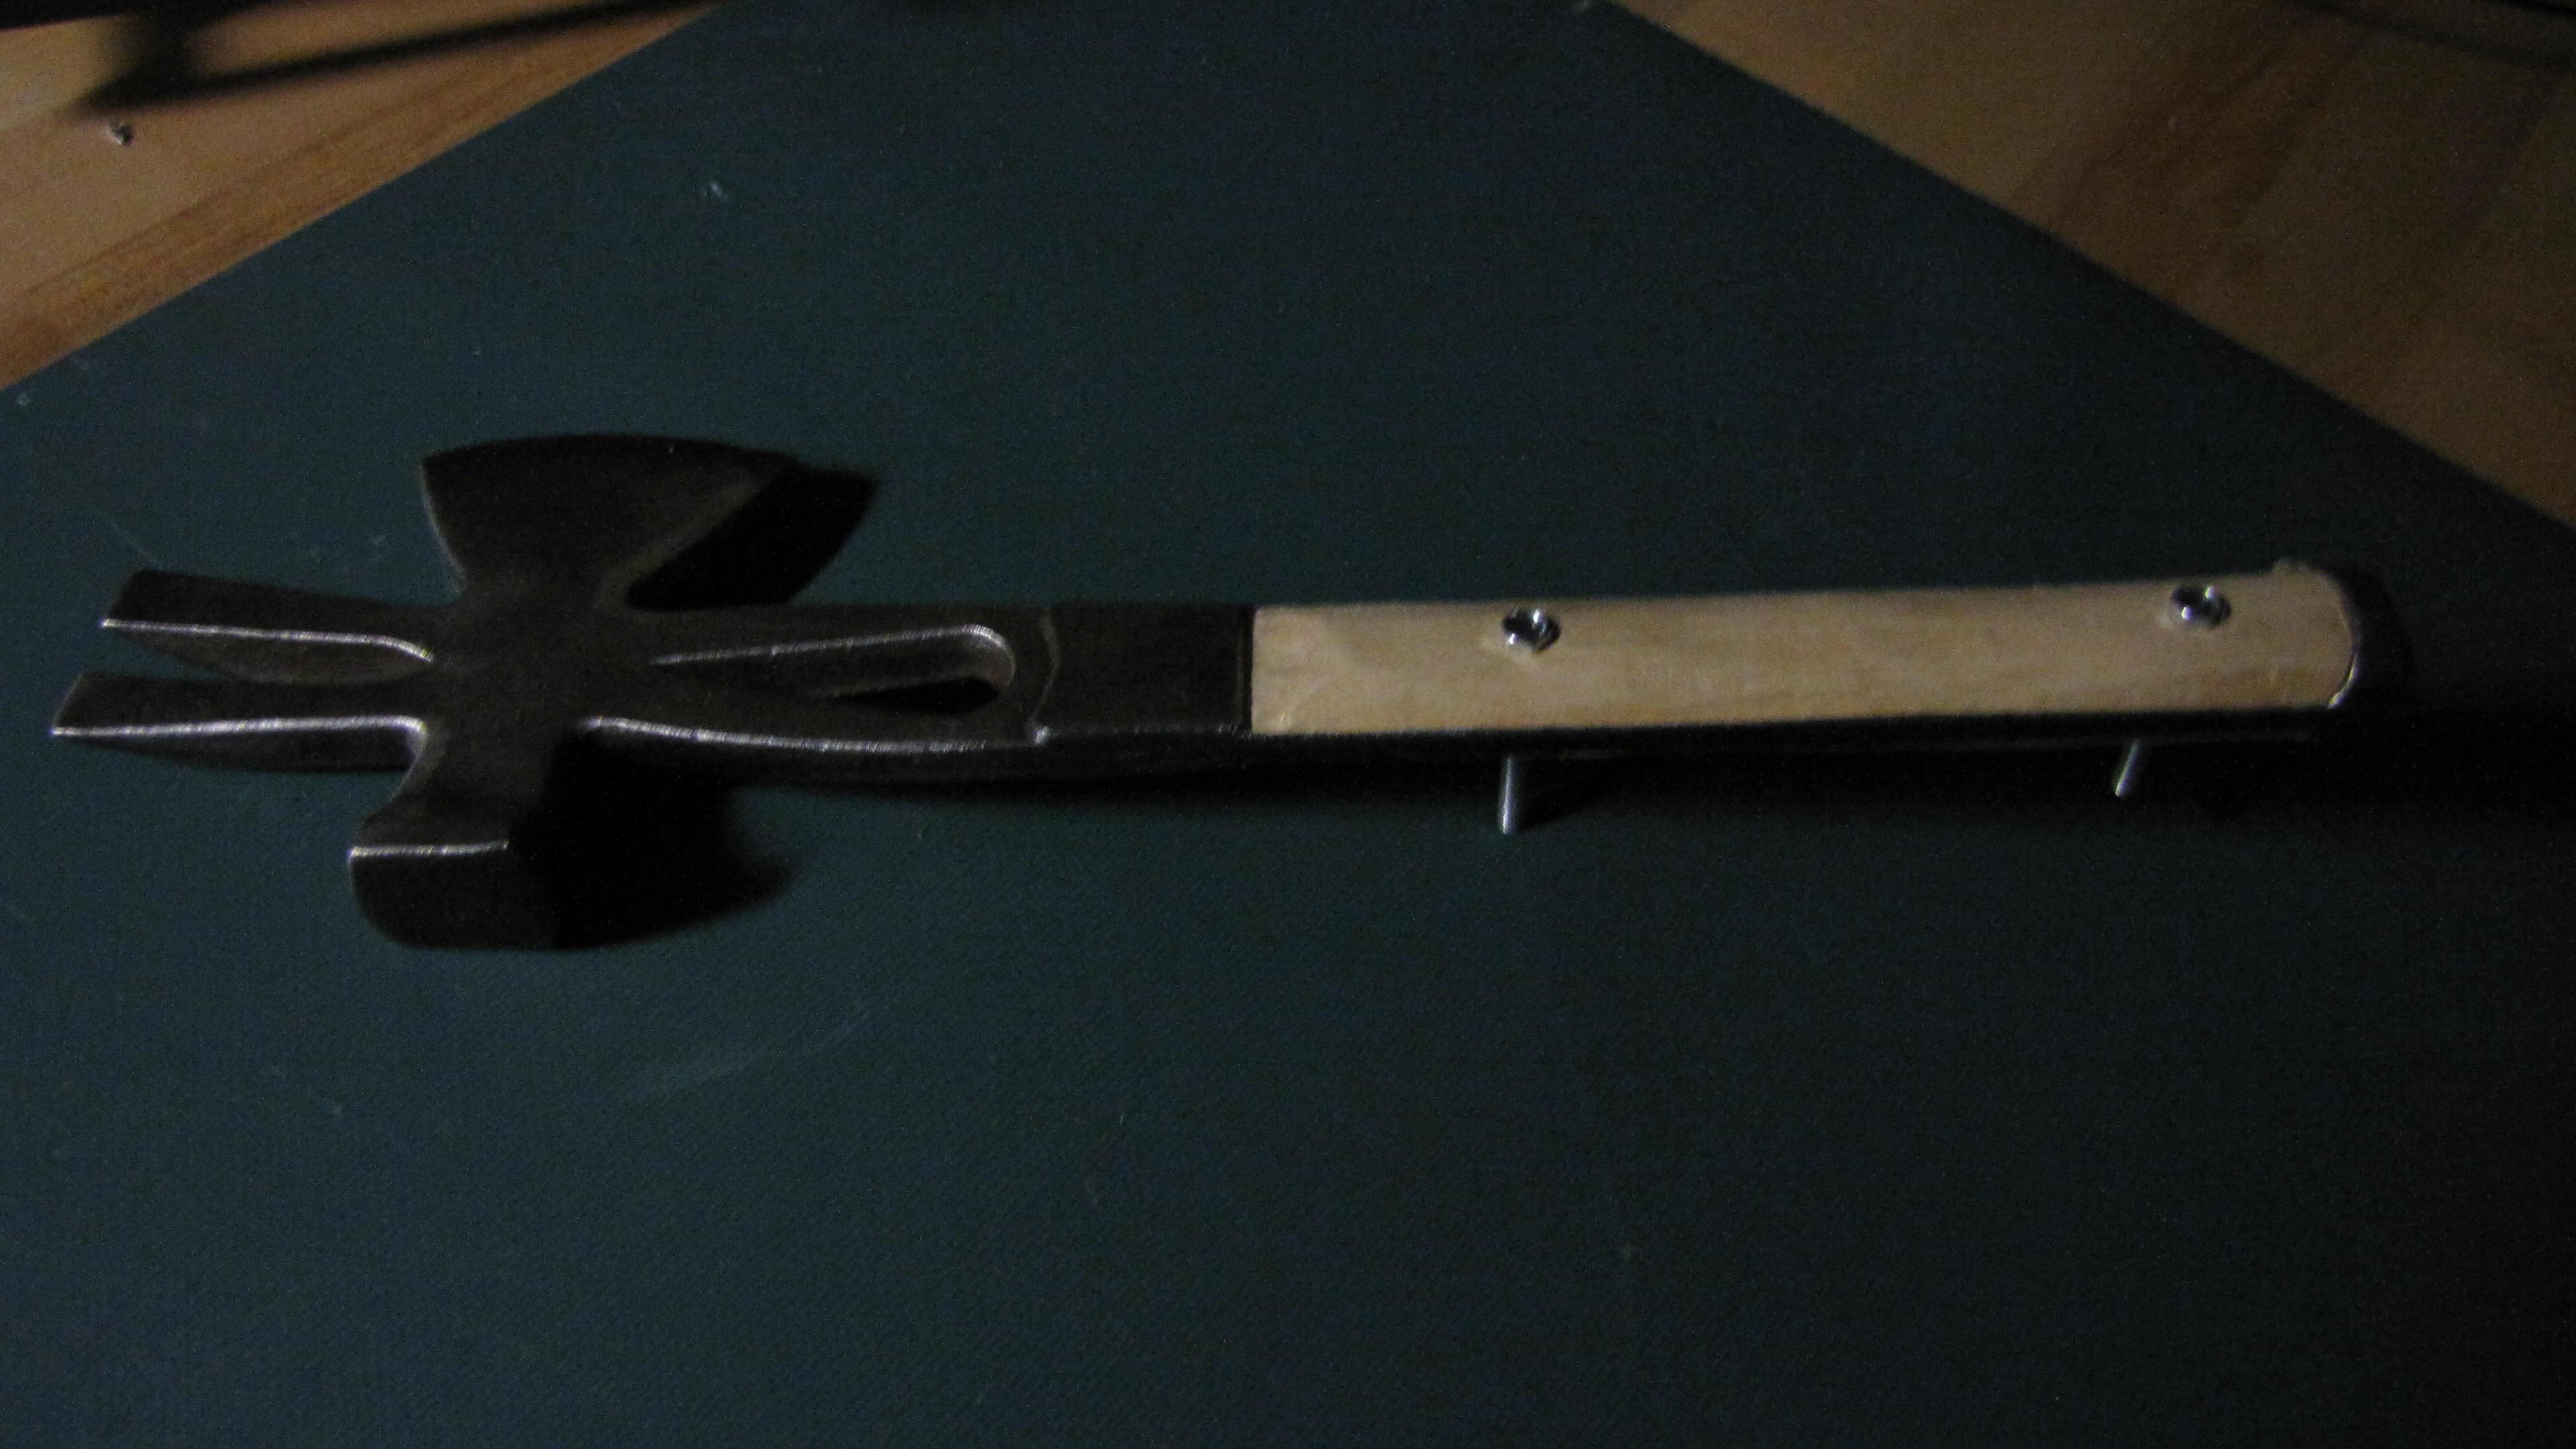
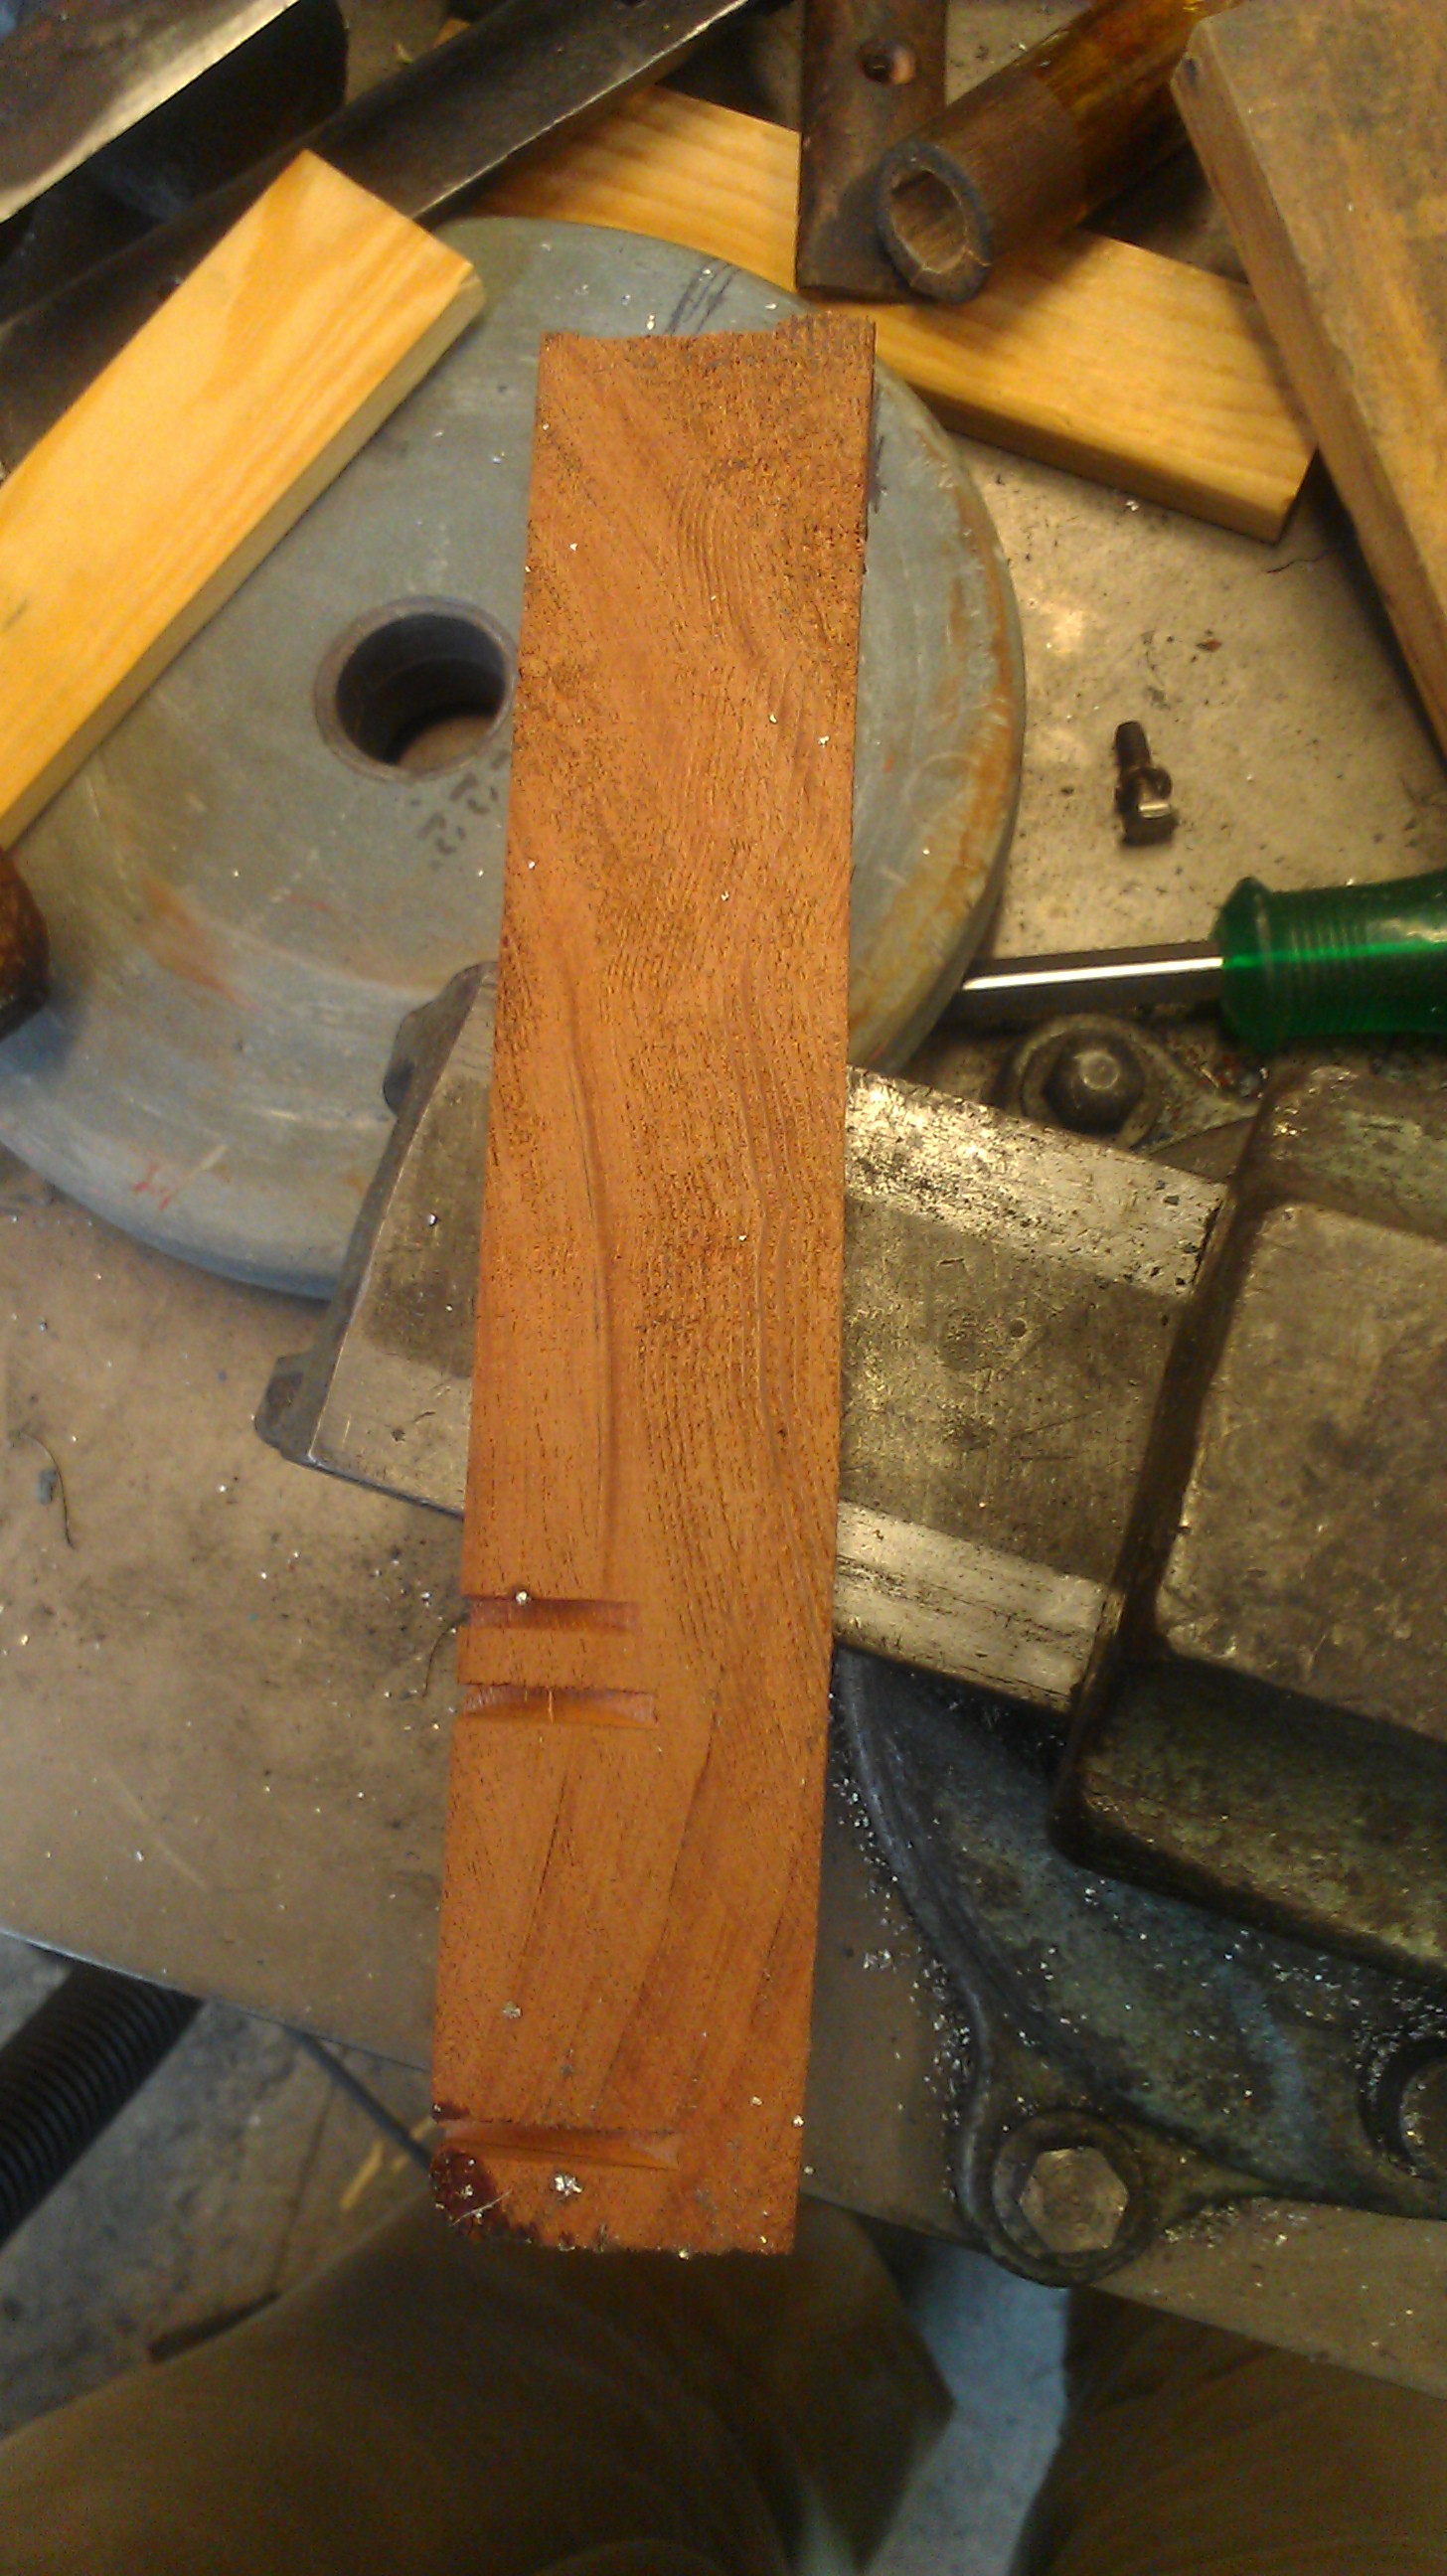
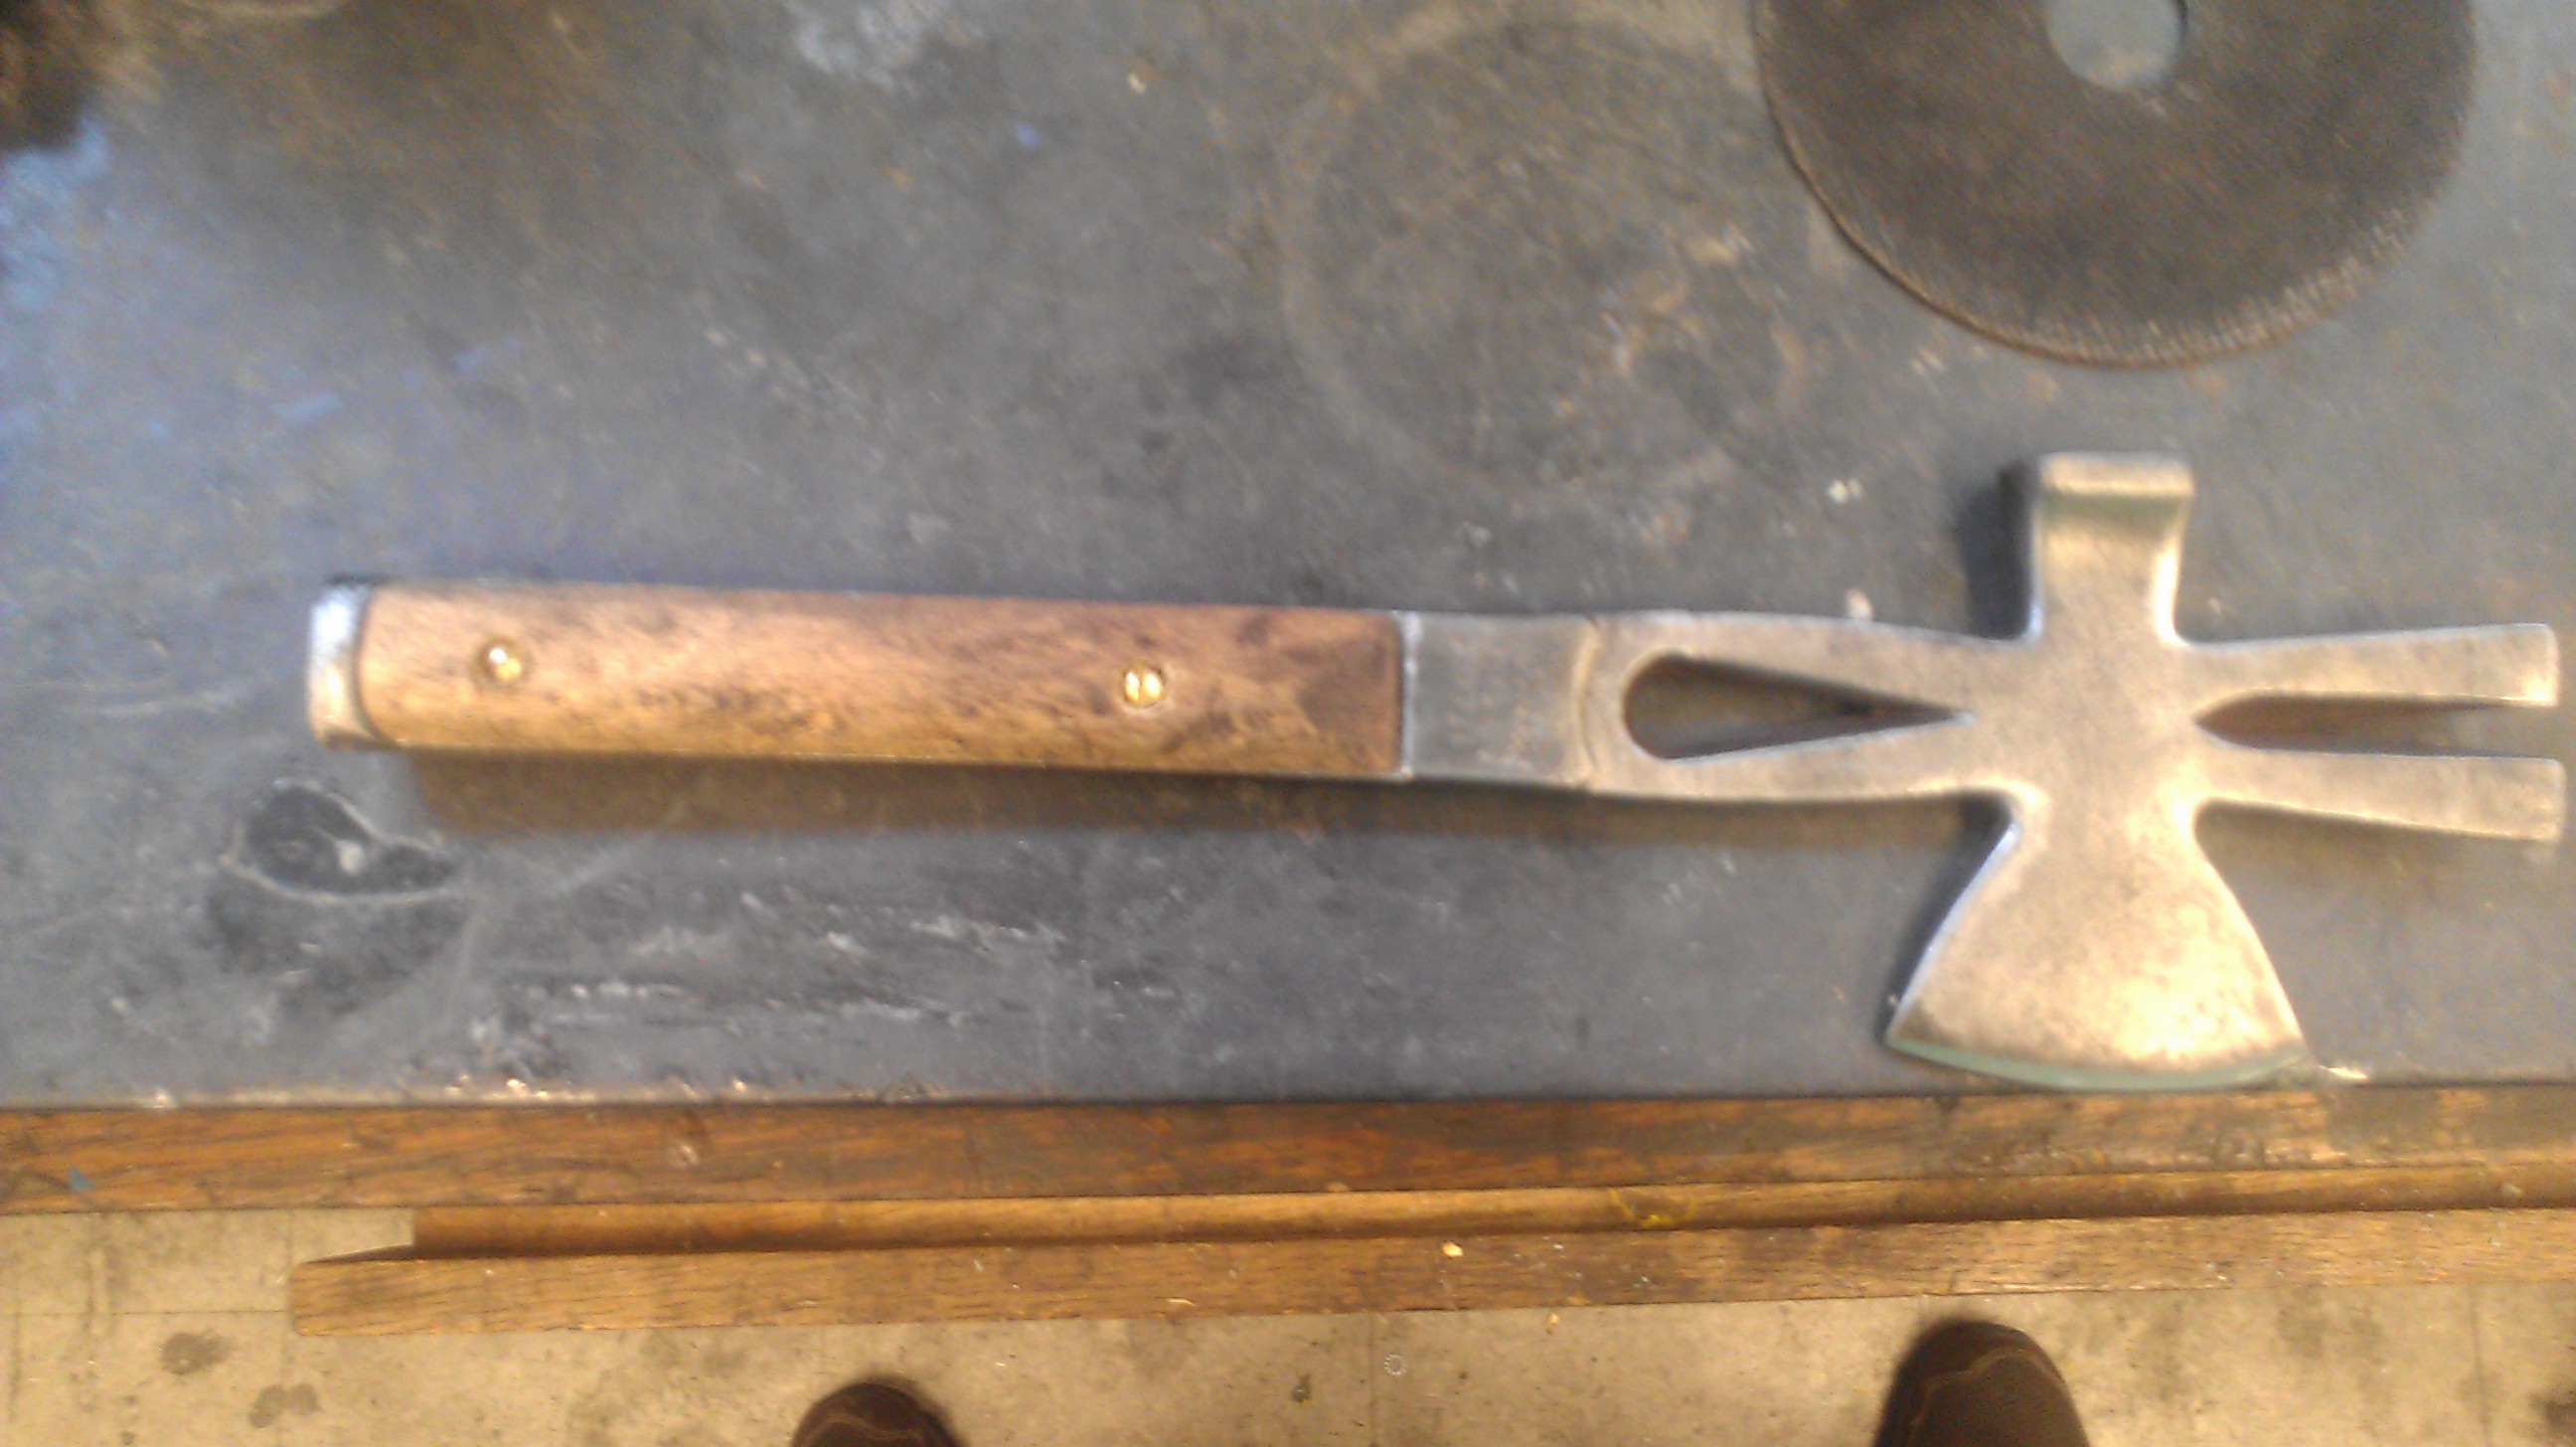
This is when the whittling took place, I used an old square whittling knife that I had lying around. This knife I took to my water stone and sharpened it first with 220 grit and then followed it up with 1000 grit. Once I had a sharp tool to work with I started to slowly whittle the shape of the handle to fit the curvature of the tool. (the tool is not square in any sense, there are slight angles and curves to it). At a few different points in time I removed one or the other bolt to whittle the top component of the wooden handle. Once I approached the general shape that I was satisfied with I took a high grit sand paper and gave each handle a once over.
Finally came the simplest part of the project, The staining and the two coats of polyurethane. After sanding the wood I used a rag and some isopropyl to clean the surface of the wood, I believe the most standard approach to cleaning before staining is using mineral spirits, but for this small of a project I used what I had on hand. I then applied two coats of stain (Best to look to your specific instructions on the can for this) about 12 hours apart from one another, I believe the standard wait time is 15 minutes. After 24 hours of drying time I then applied two coats of polyurethane with about a 20 minute window between each coat, again letting it to dry for 24 hours. Finally I got two brass bolts and nuts and cut them to the right length and rounded the edges for this specific project.
- Remember, ALWAYS use well ventilated areas for staining and polyurethane.