[8.3.16] Sintillator Fabrication (CNC)[Work Related]

Description of Project
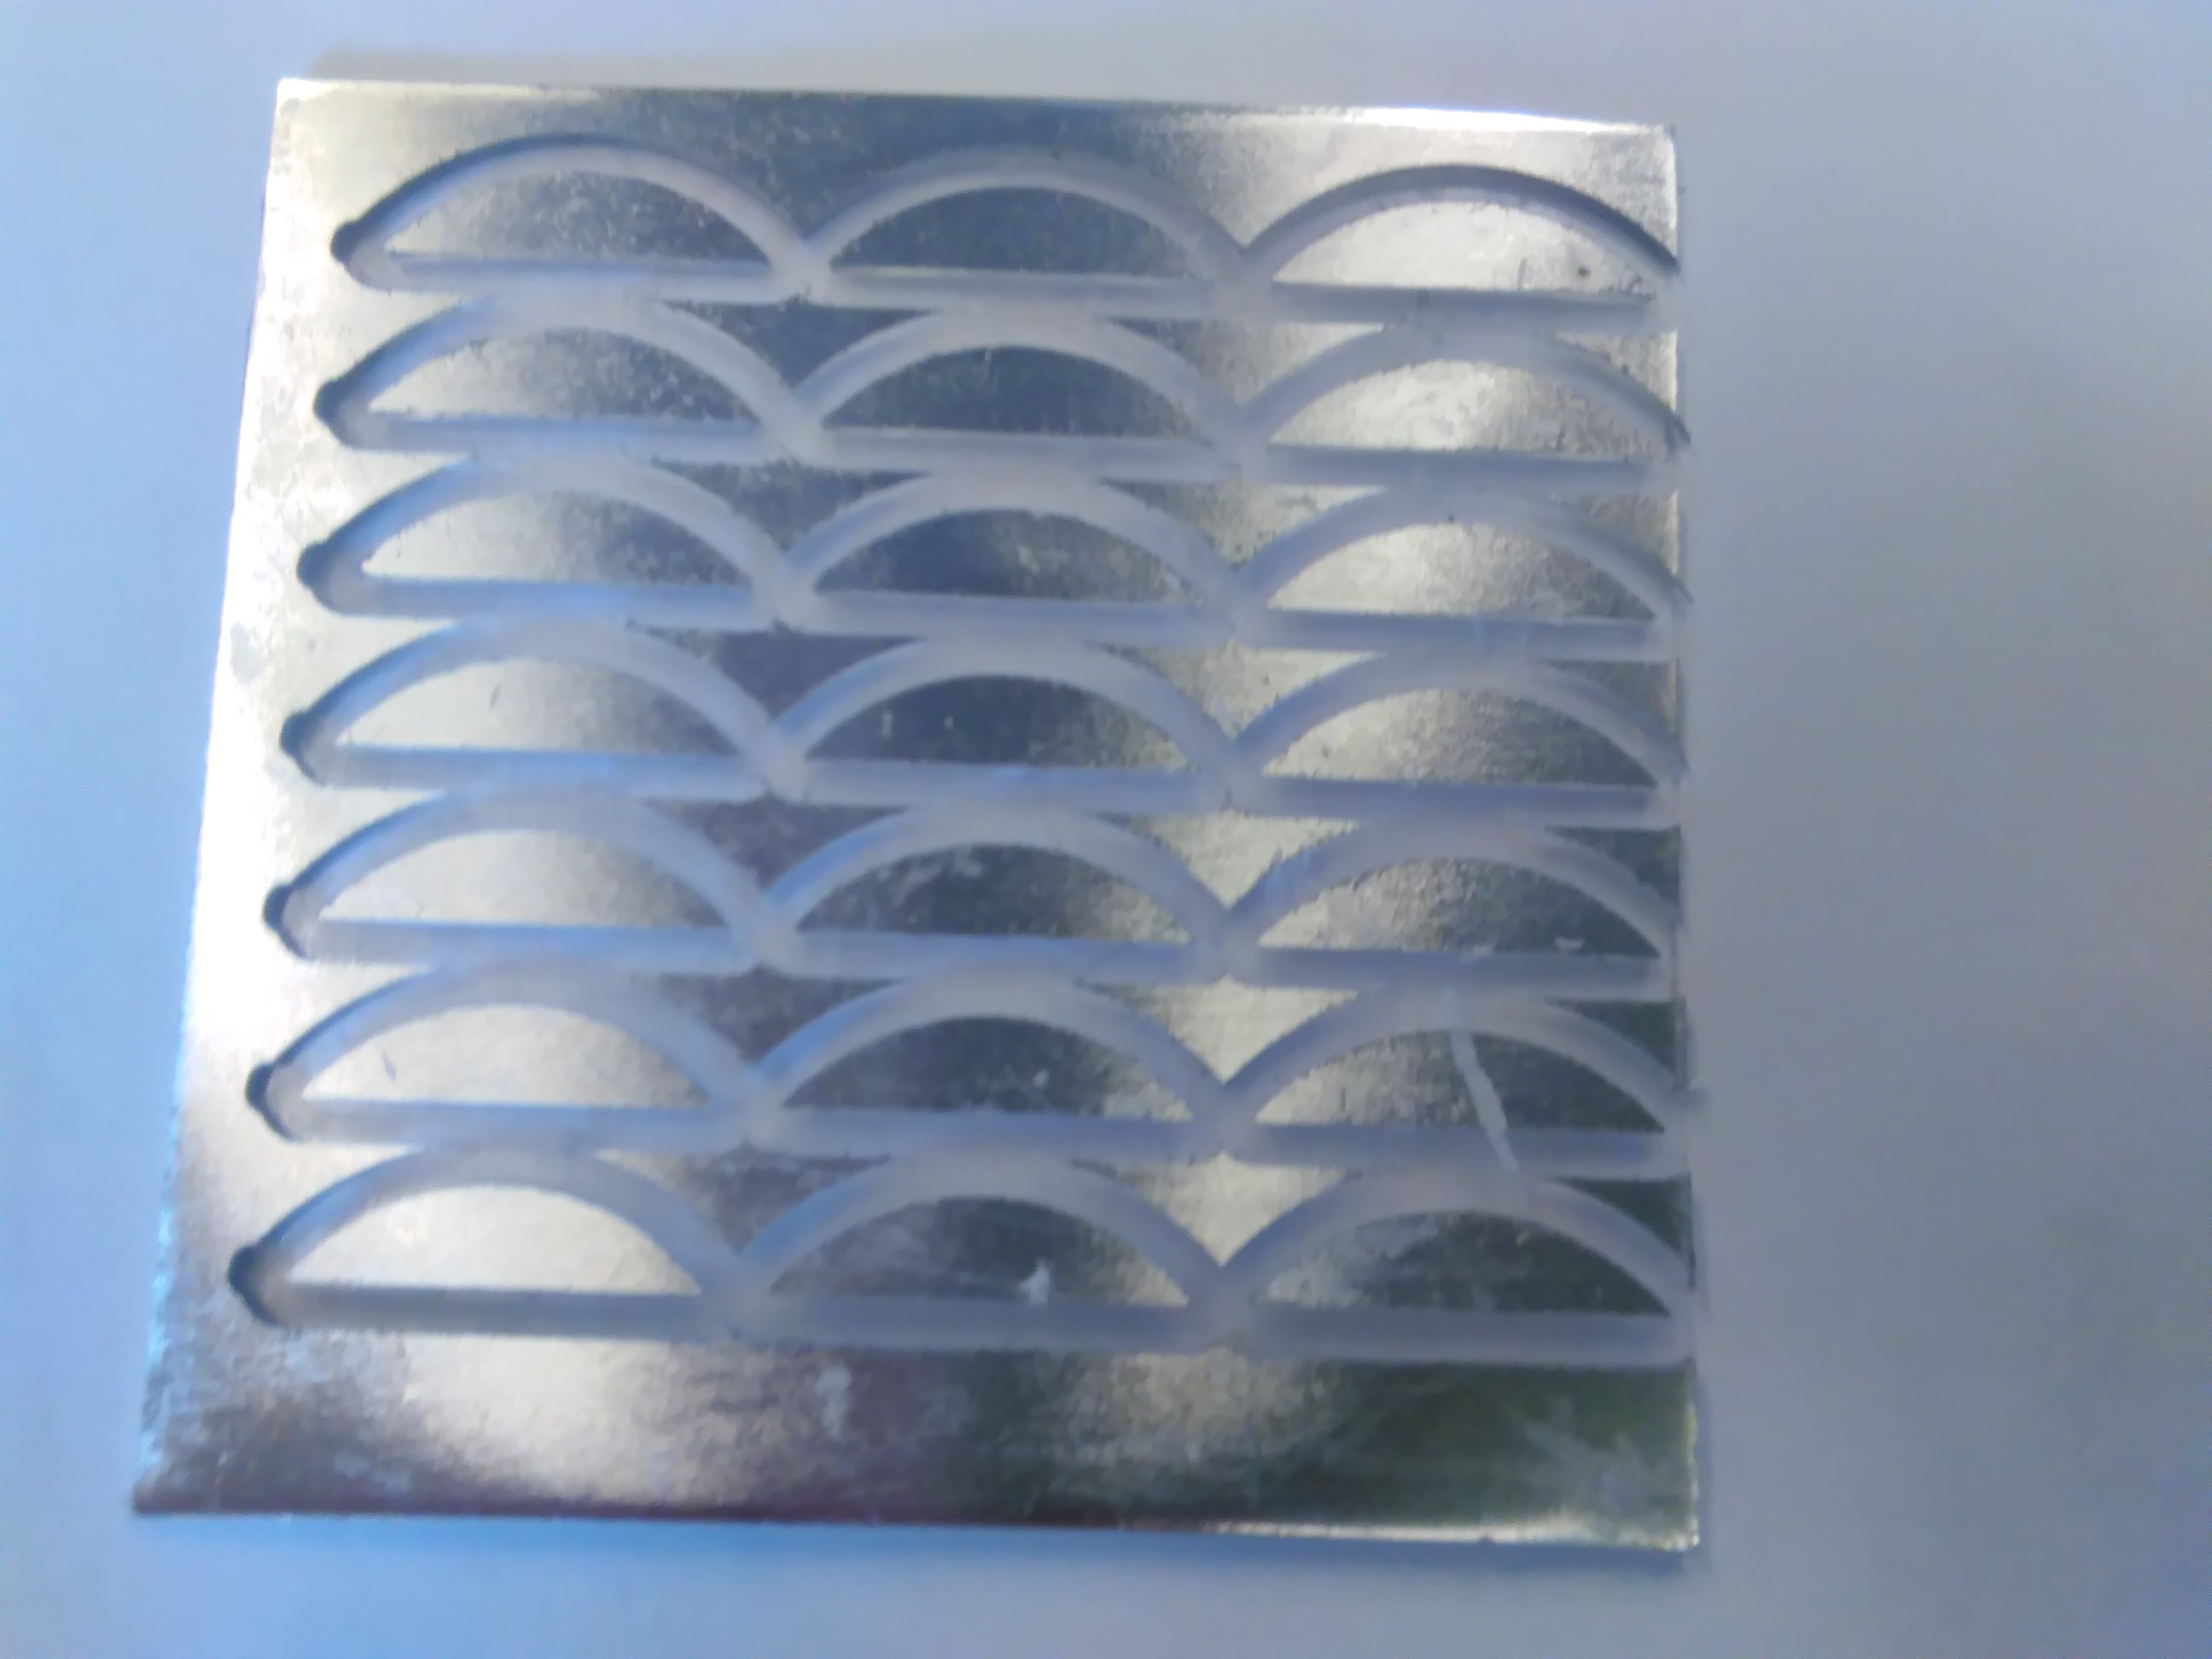
Manufacturing scintillation material into specific shapes for a diagnostic package run at The Laboratory for Laser Energetics (LLE) Omega Facility.
Processes Applied:

Summary:
This project was difficult due to the fragile nature of the plastic scintillation material I was working with. The issues for this material:
- Prone to cracking
- Thermally sensitive [added heat can damage the properties that make it a great scintillator]
- Thickness - 1mm & 2mm
On-top of the material issues, the design also requires the scintillator to press fit into place for the filtering package. This complicates things because it required me to use a smaller mill bit [1/16" Ti coated 4 Flute Mill bit].
The first major issue when machining a thin and fragile material is to determine a method of mounting the work piece. After discussing this issue with some of the machinists at LLE, I decided to test a suggested method, using beeswax to affix the work piece to a flat and squared piece of aluminum. This allows me to use parallel bars to keep the work piece level as well as clamping the piece into the vice without causing damage. Before heating the plate, I made sure to clean the plate off with isopropyl alcohol, the cleaner the surface the better the bond should be. To melt the beeswax I used a hotplate to evenly heat the entire aluminum plate. When affixing the work piece to the Aluminum plate, it was important to bring the temperature to the melting point of the beeswax but not too much higher. This was important because it reduces the potential for thermally induced damage to the scintillator properties. Once the piece is affixed to the plate, it was important to let it cool down to room temperature. To accelerate this process I left the aluminum plate sitting directly in contact with the vice, whose thermal mass is much greater than that of the plate.
For my machining process I narrowed down the settings that gave me the best result:
- Spindle Speed: 6000RPM
- Cut Feed: 15mm / min
- Lead in/out: 100mm/min
- Tool: 1/16" Flat, Ti Coated, 4 Flute, Mill Bit
- FLOOD COOLING: YES YES YES, IF you dont flood cool you will lose a bit, I had the flood cooling get jammed/stopped mid-cut and lost a tool that way.
- Step Size: 1mm - 1 cut, 2mm - 2 cuts
- 3 mm offsets from the sides, to increase the amount of material directly fixed to the plate.
Overall, I found if I had zeroed the piece properly I would leave a few thousandths of an inch worth of beeswax between the scintillator sheet and the aluminum plate. This facilitated a speedier process because I was not required to stop between parts to remove the previously cut part from potentially floating into the mill bit and being damaged. It is important to note that the cut feed called out is quite slow, but in my experience with this project, you will run into material melting and adhering to your cutting surface. This will make any parts you try to cut unusable as well as increasing the overall time required to finish the required components. When you do find that your mill bit has gotten jammed by this material, the easiest way to clean it off is to grasp the plastic built up with pliers and slowly reverse the bit in the reverse direction by hand.
Finally, I cut two separate thicknesses, 1mm and 2mm. It is important that you do two separate steps in your machining process for the 2mm thick material because it is prone to suffer the same material build up on the bit as though you have either chosen too fast a speed or decided not to flood cool your work piece.