[07.13.19] A Frame from Scratch - Custom Picture Frame Gift

Description of Project
I wanted to create a personal gift for a friend, roughly from scratch, and I decided to create a picture frame.
Processes Applied:

Summary:
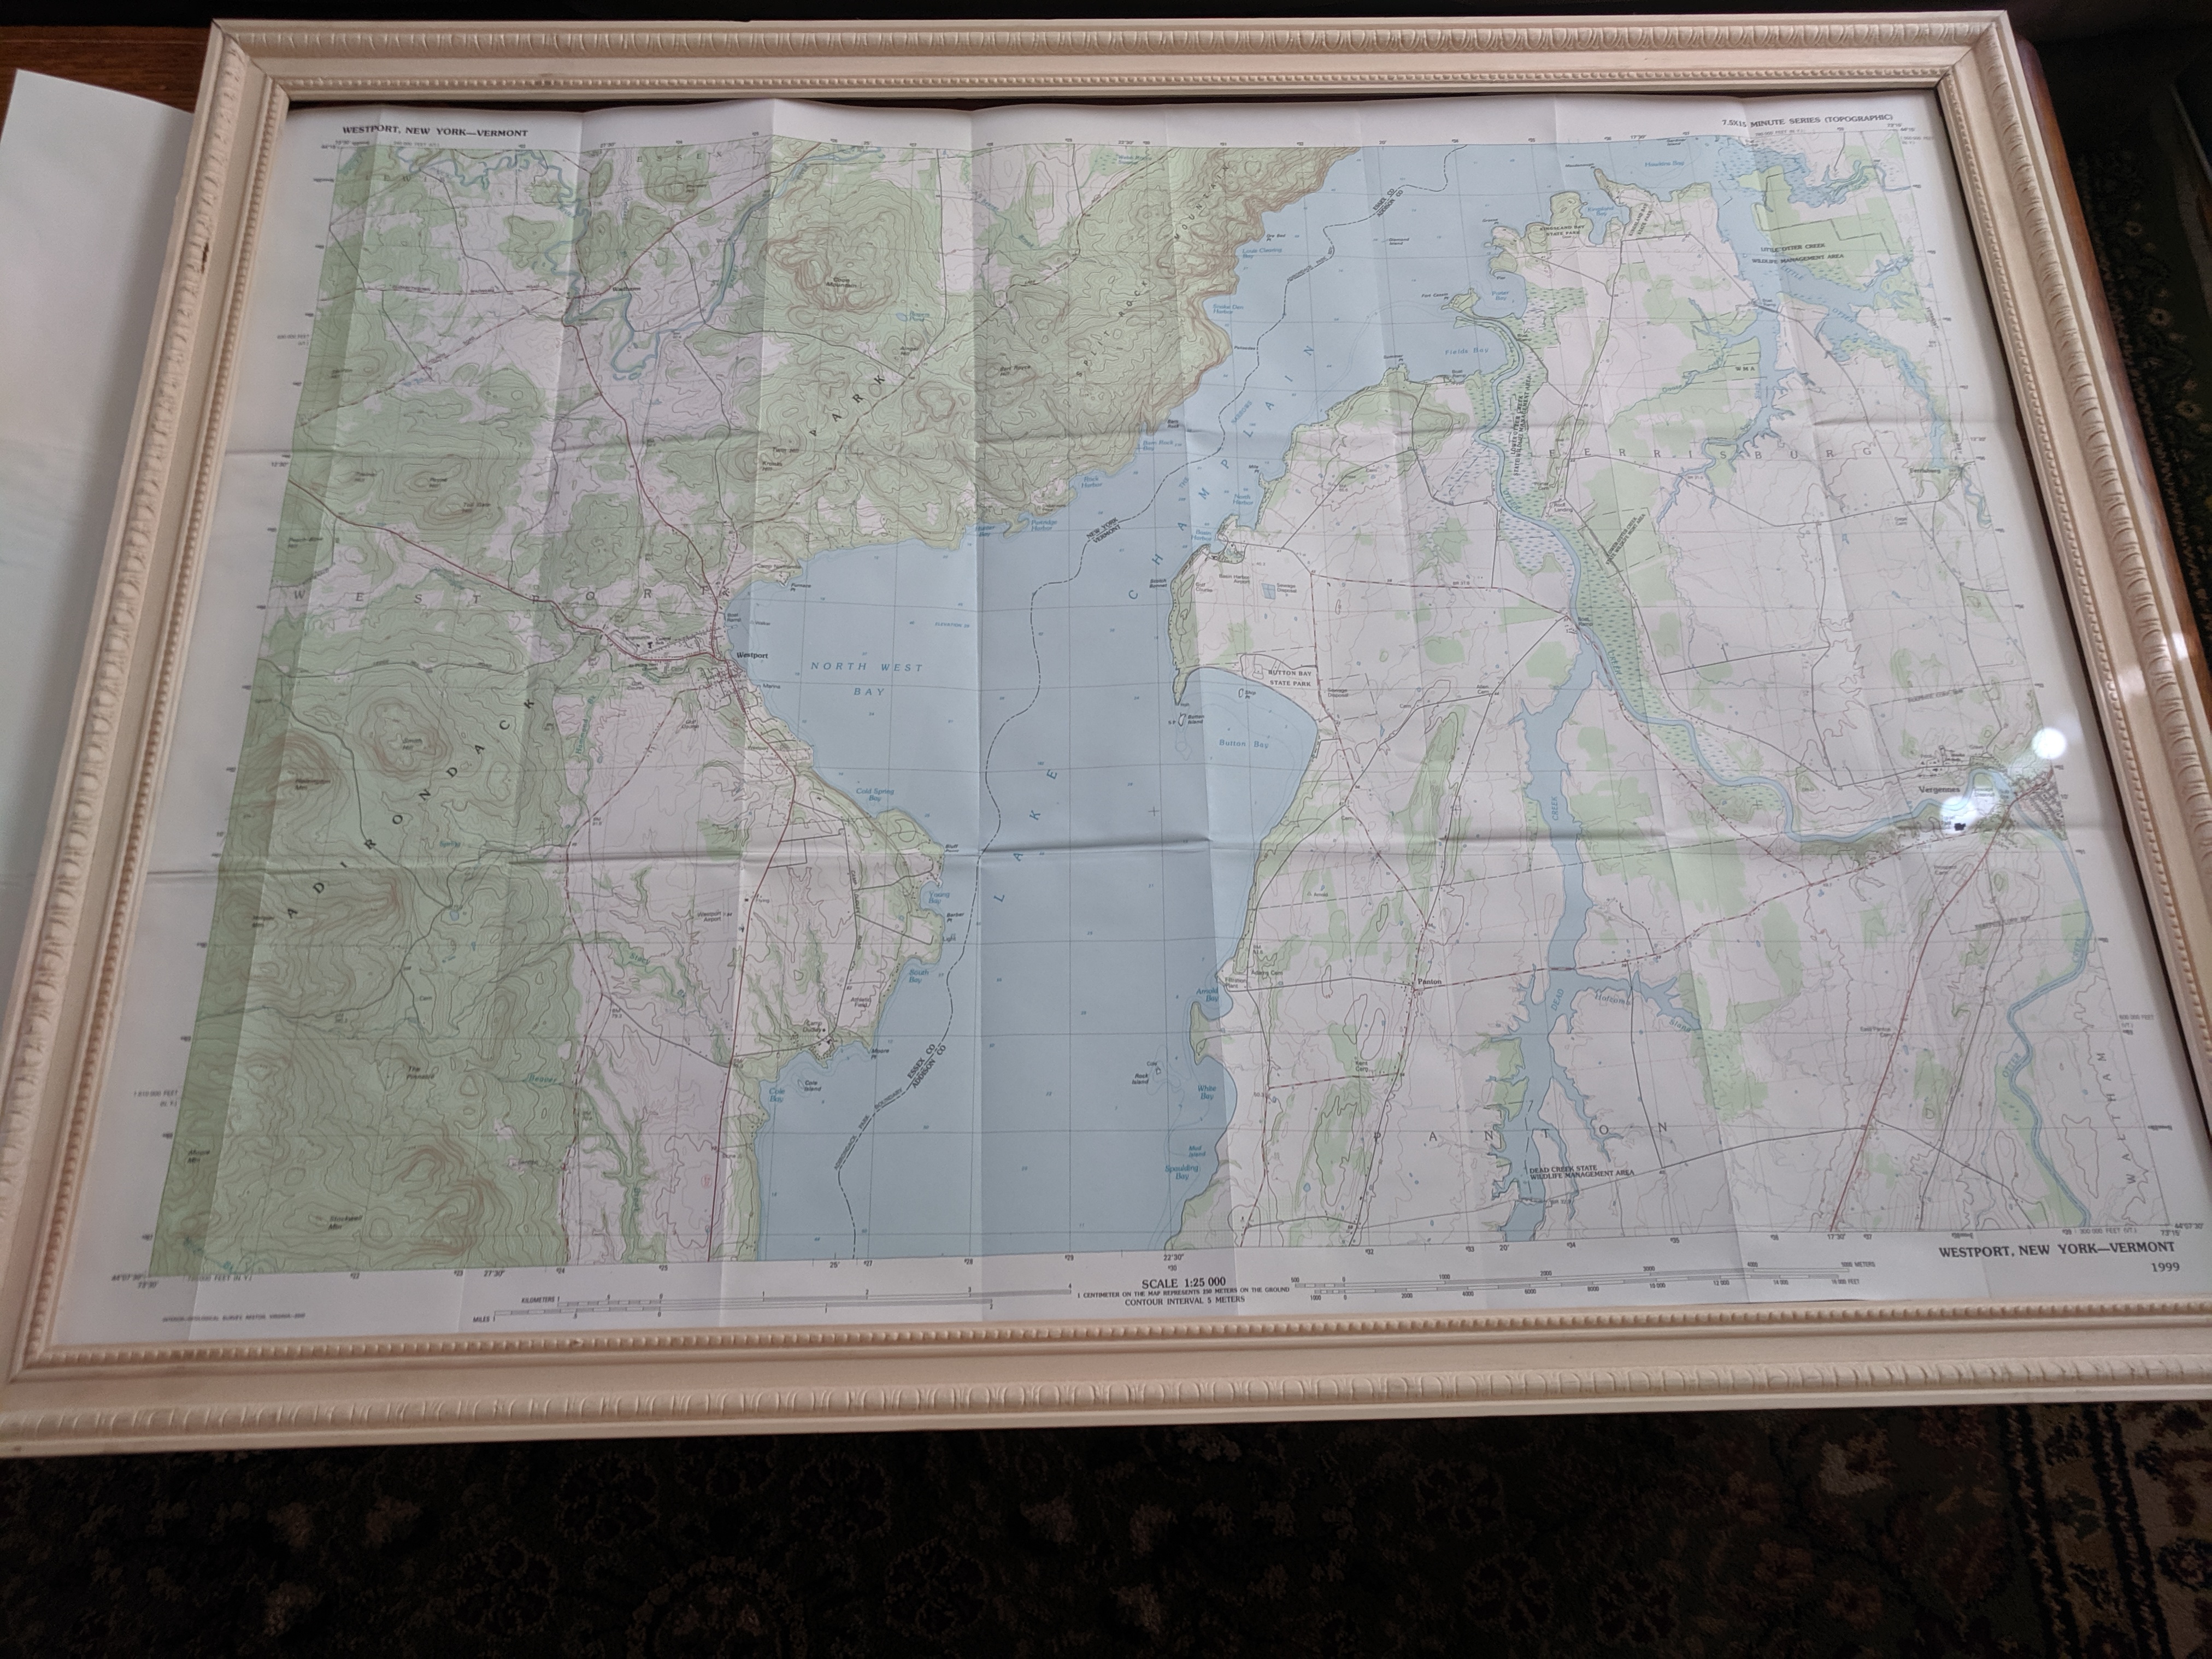
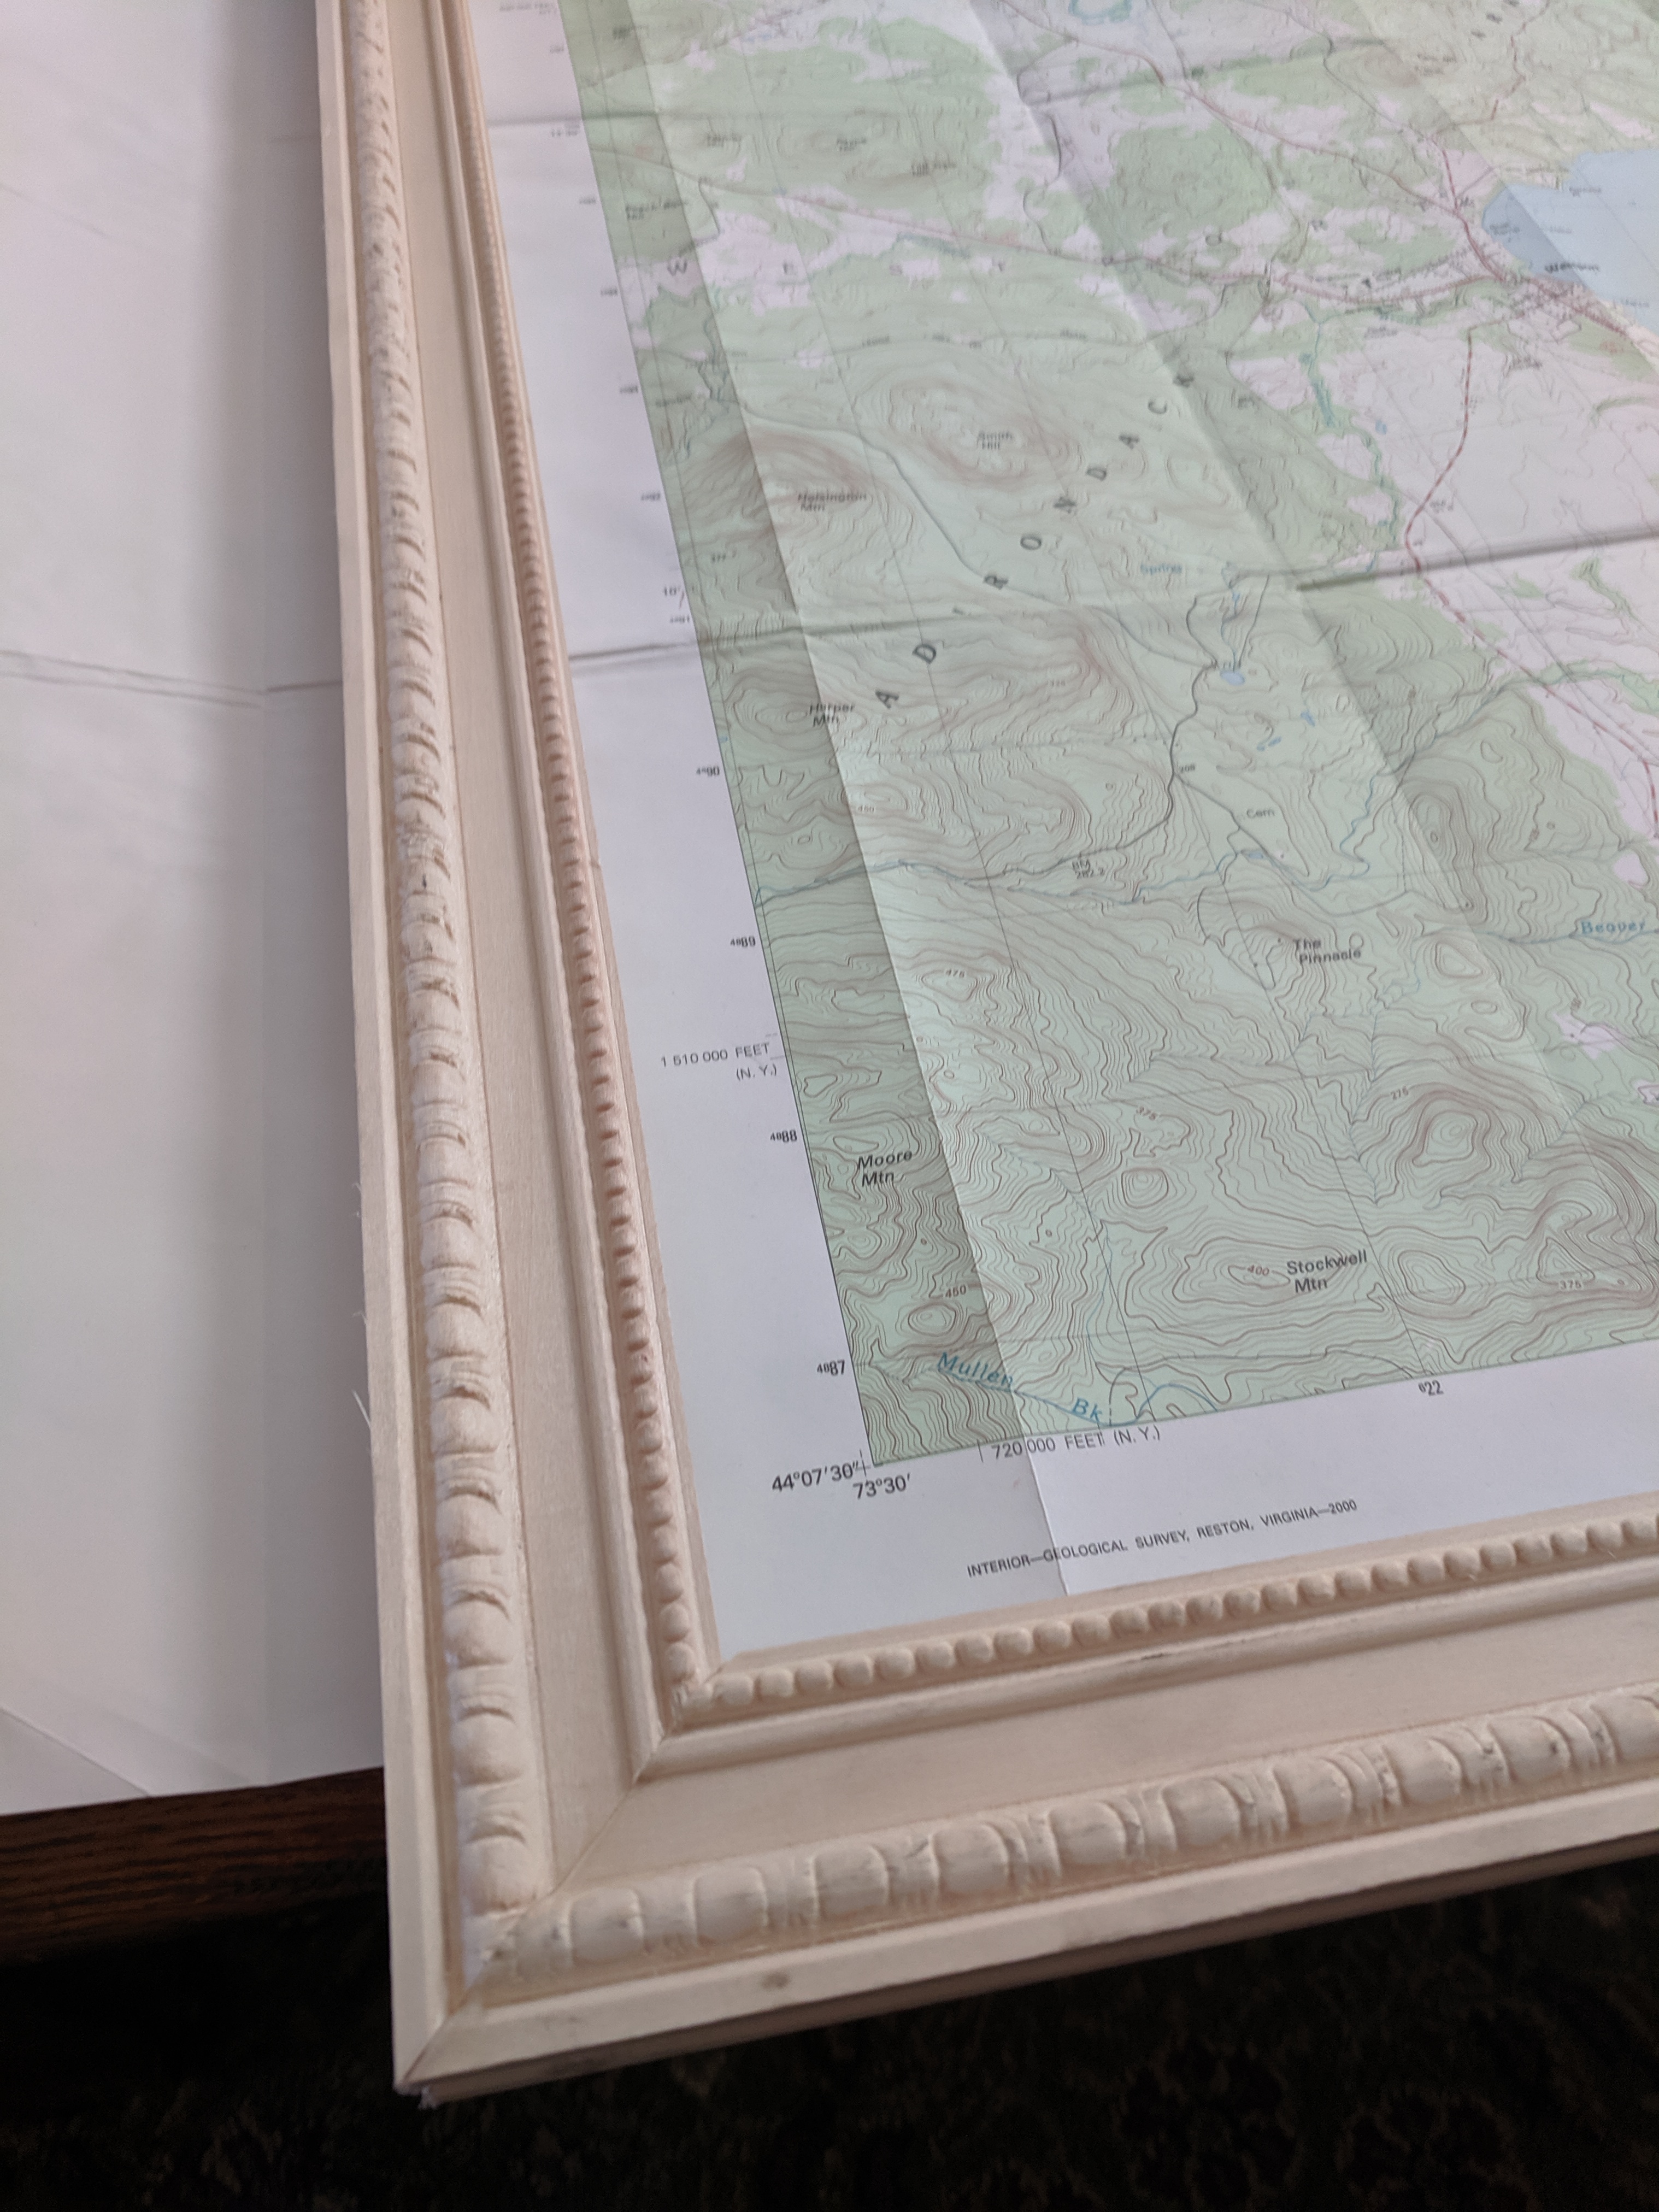
For this project, I decided to create a custom wooden picture frame with a topo-map of upstate New York for a friend. To start off, I did some searching through the USGS store for a map that I thought my friend would like. From this, I was able to determine the dimensions I needed the frame to be.
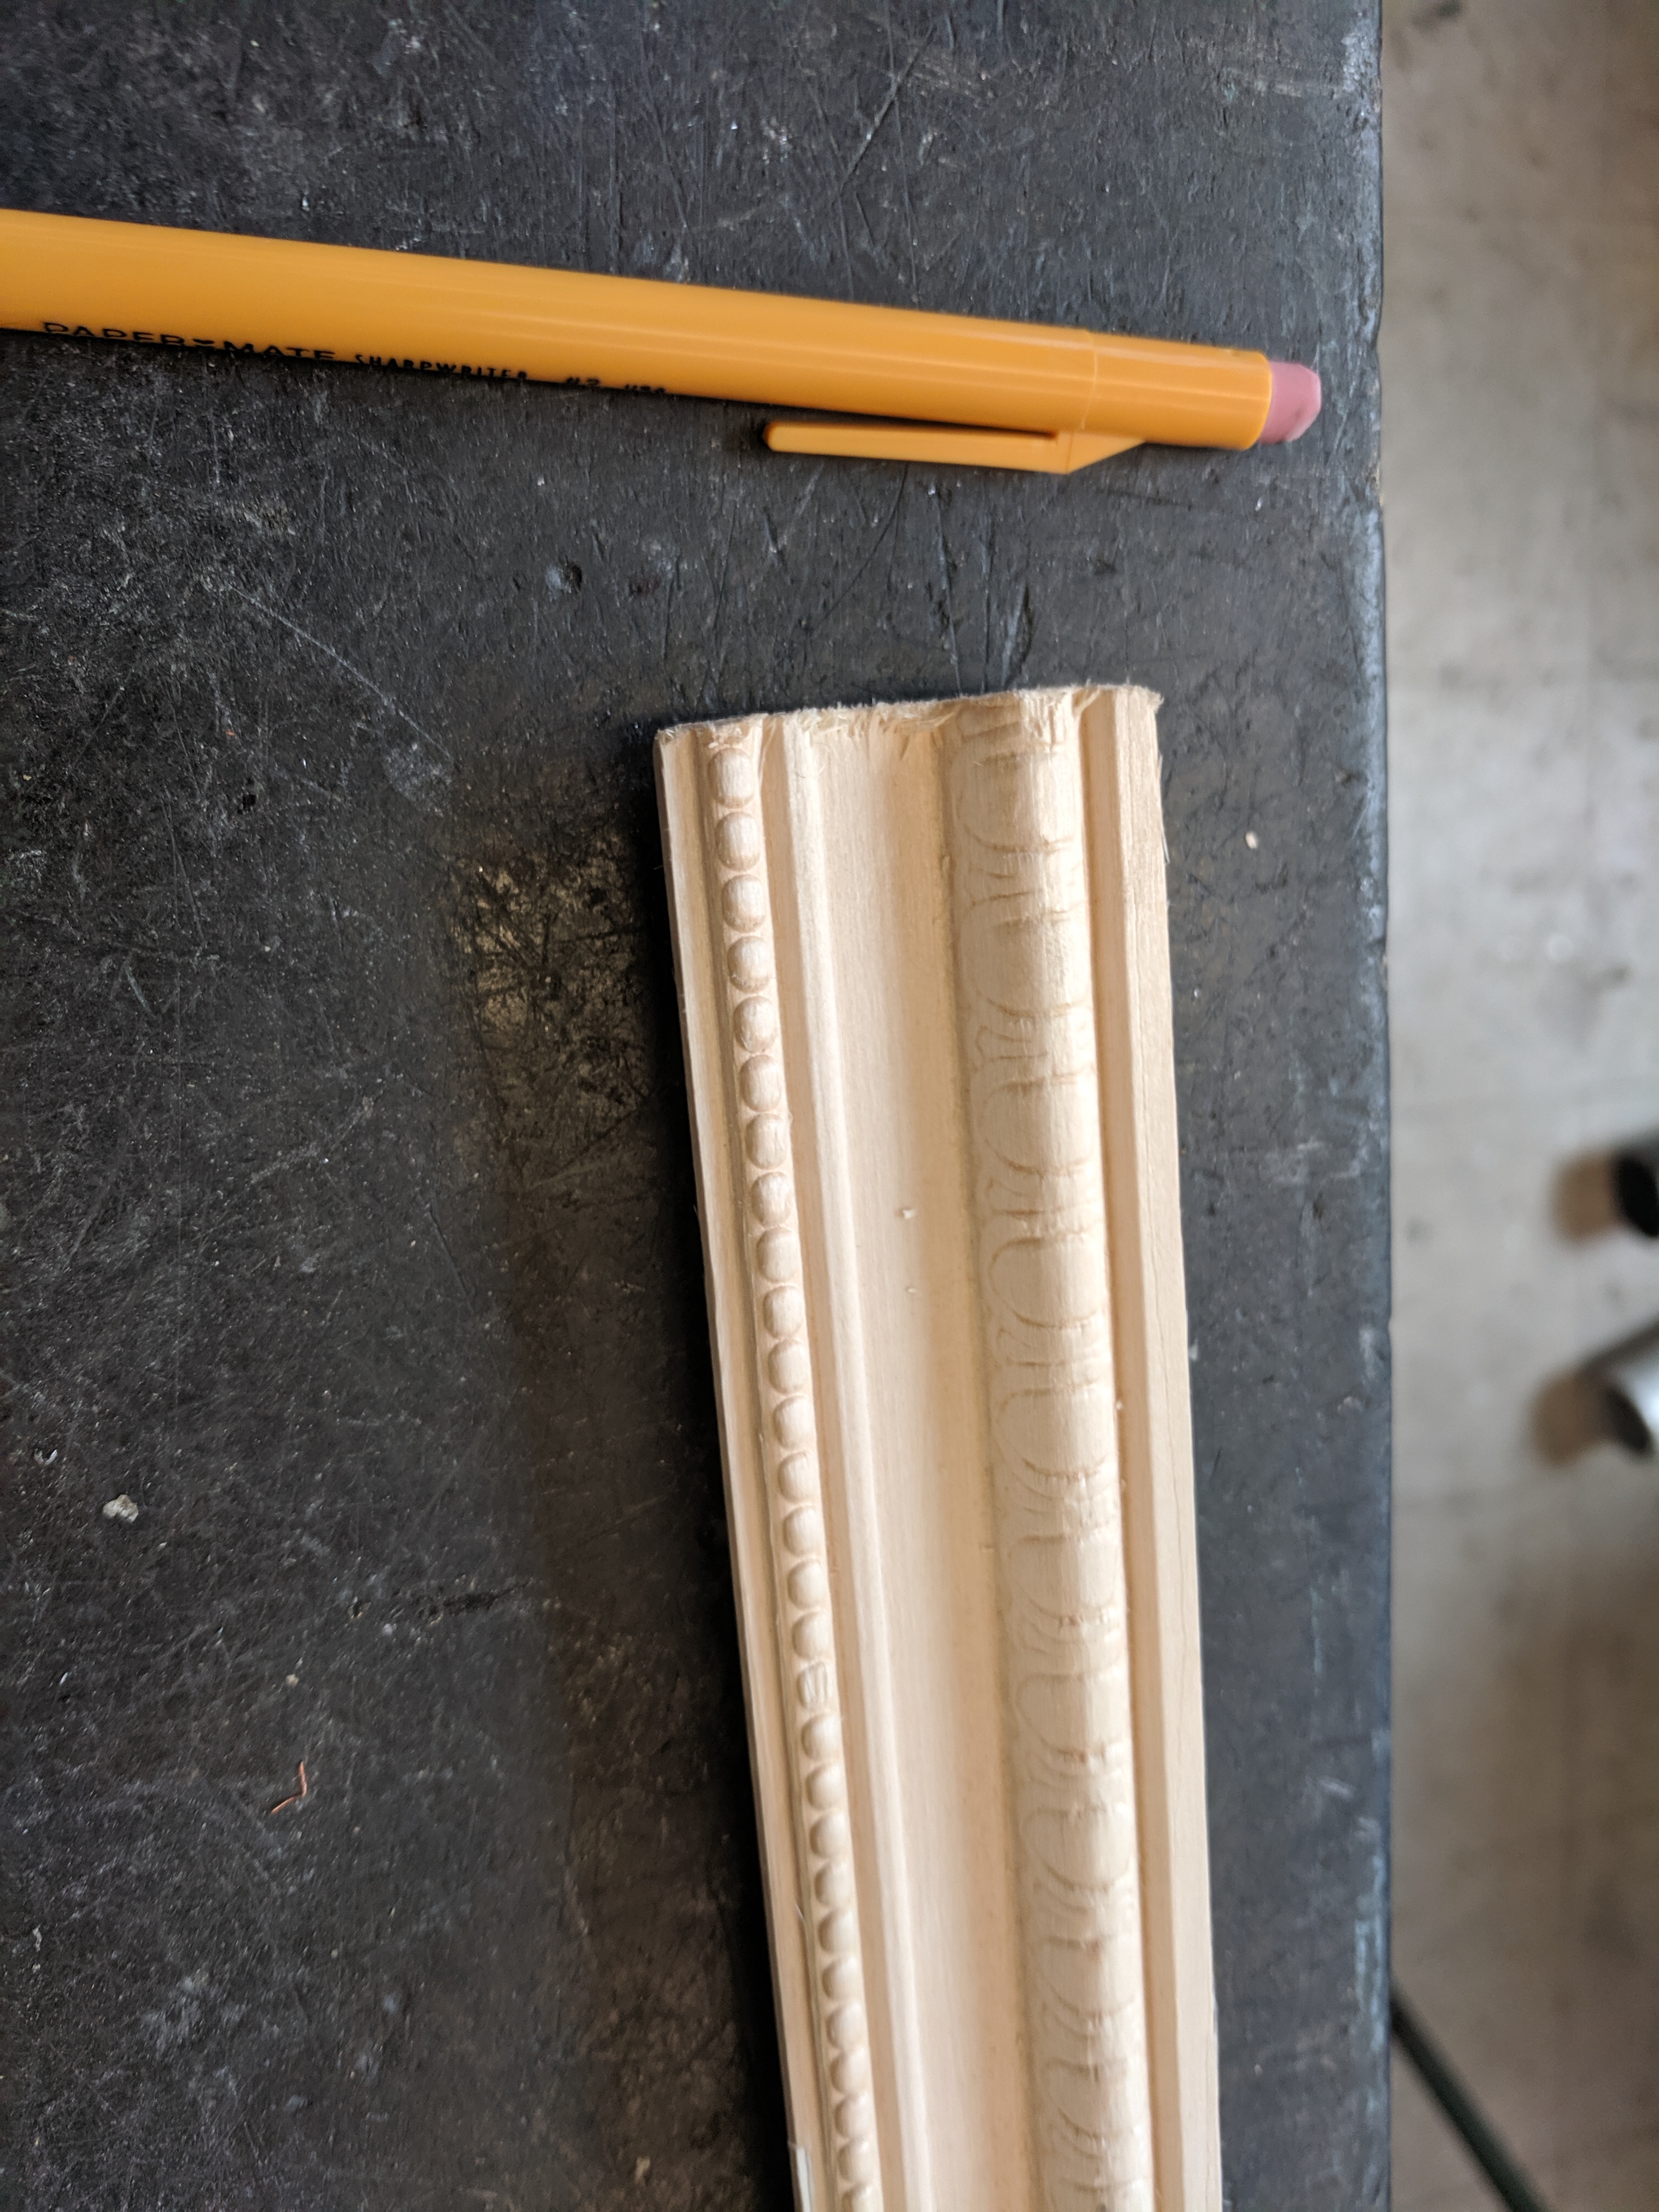
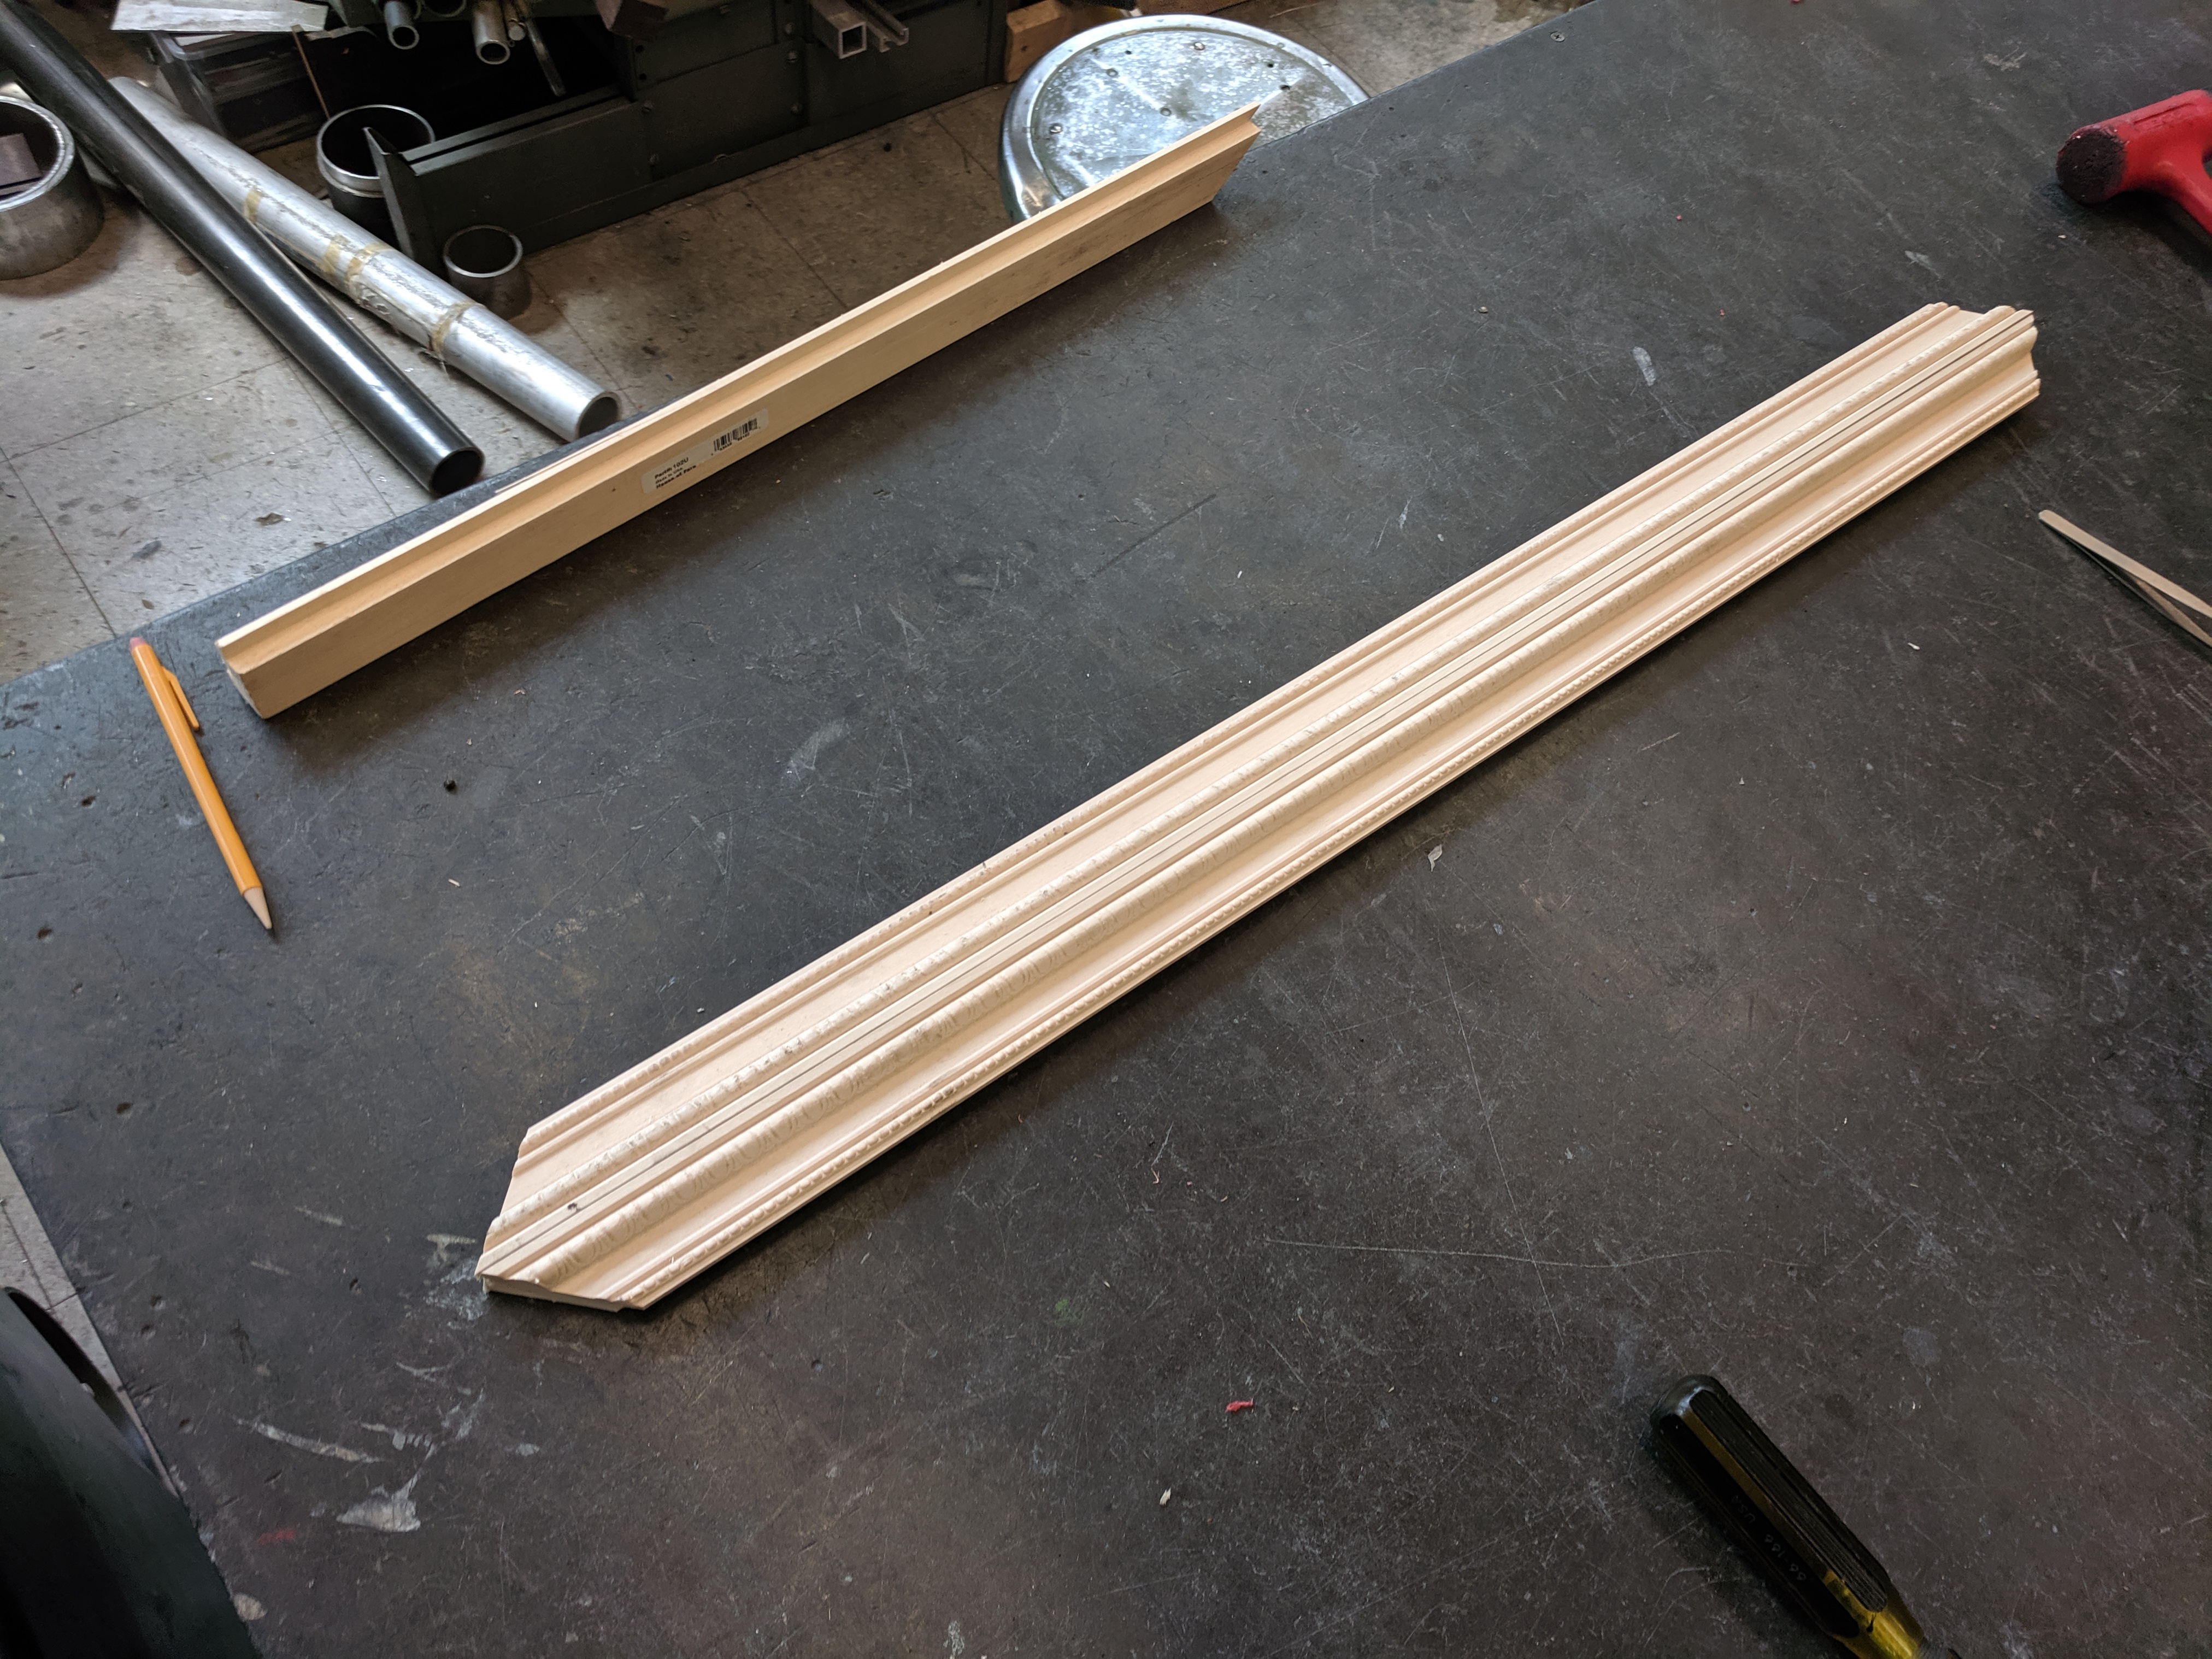
An interesting fact I didn't know before starting this project is that you can actually buy picture frame siding at so many different stores. So I went to Home Depot and bought two lengths of ~7ft picture frame siding that I liked. And I think the cost was something like $18, which I thought was absurdly cheap compared to the prices I have heard quoted from picture frame stores that make custom frames.
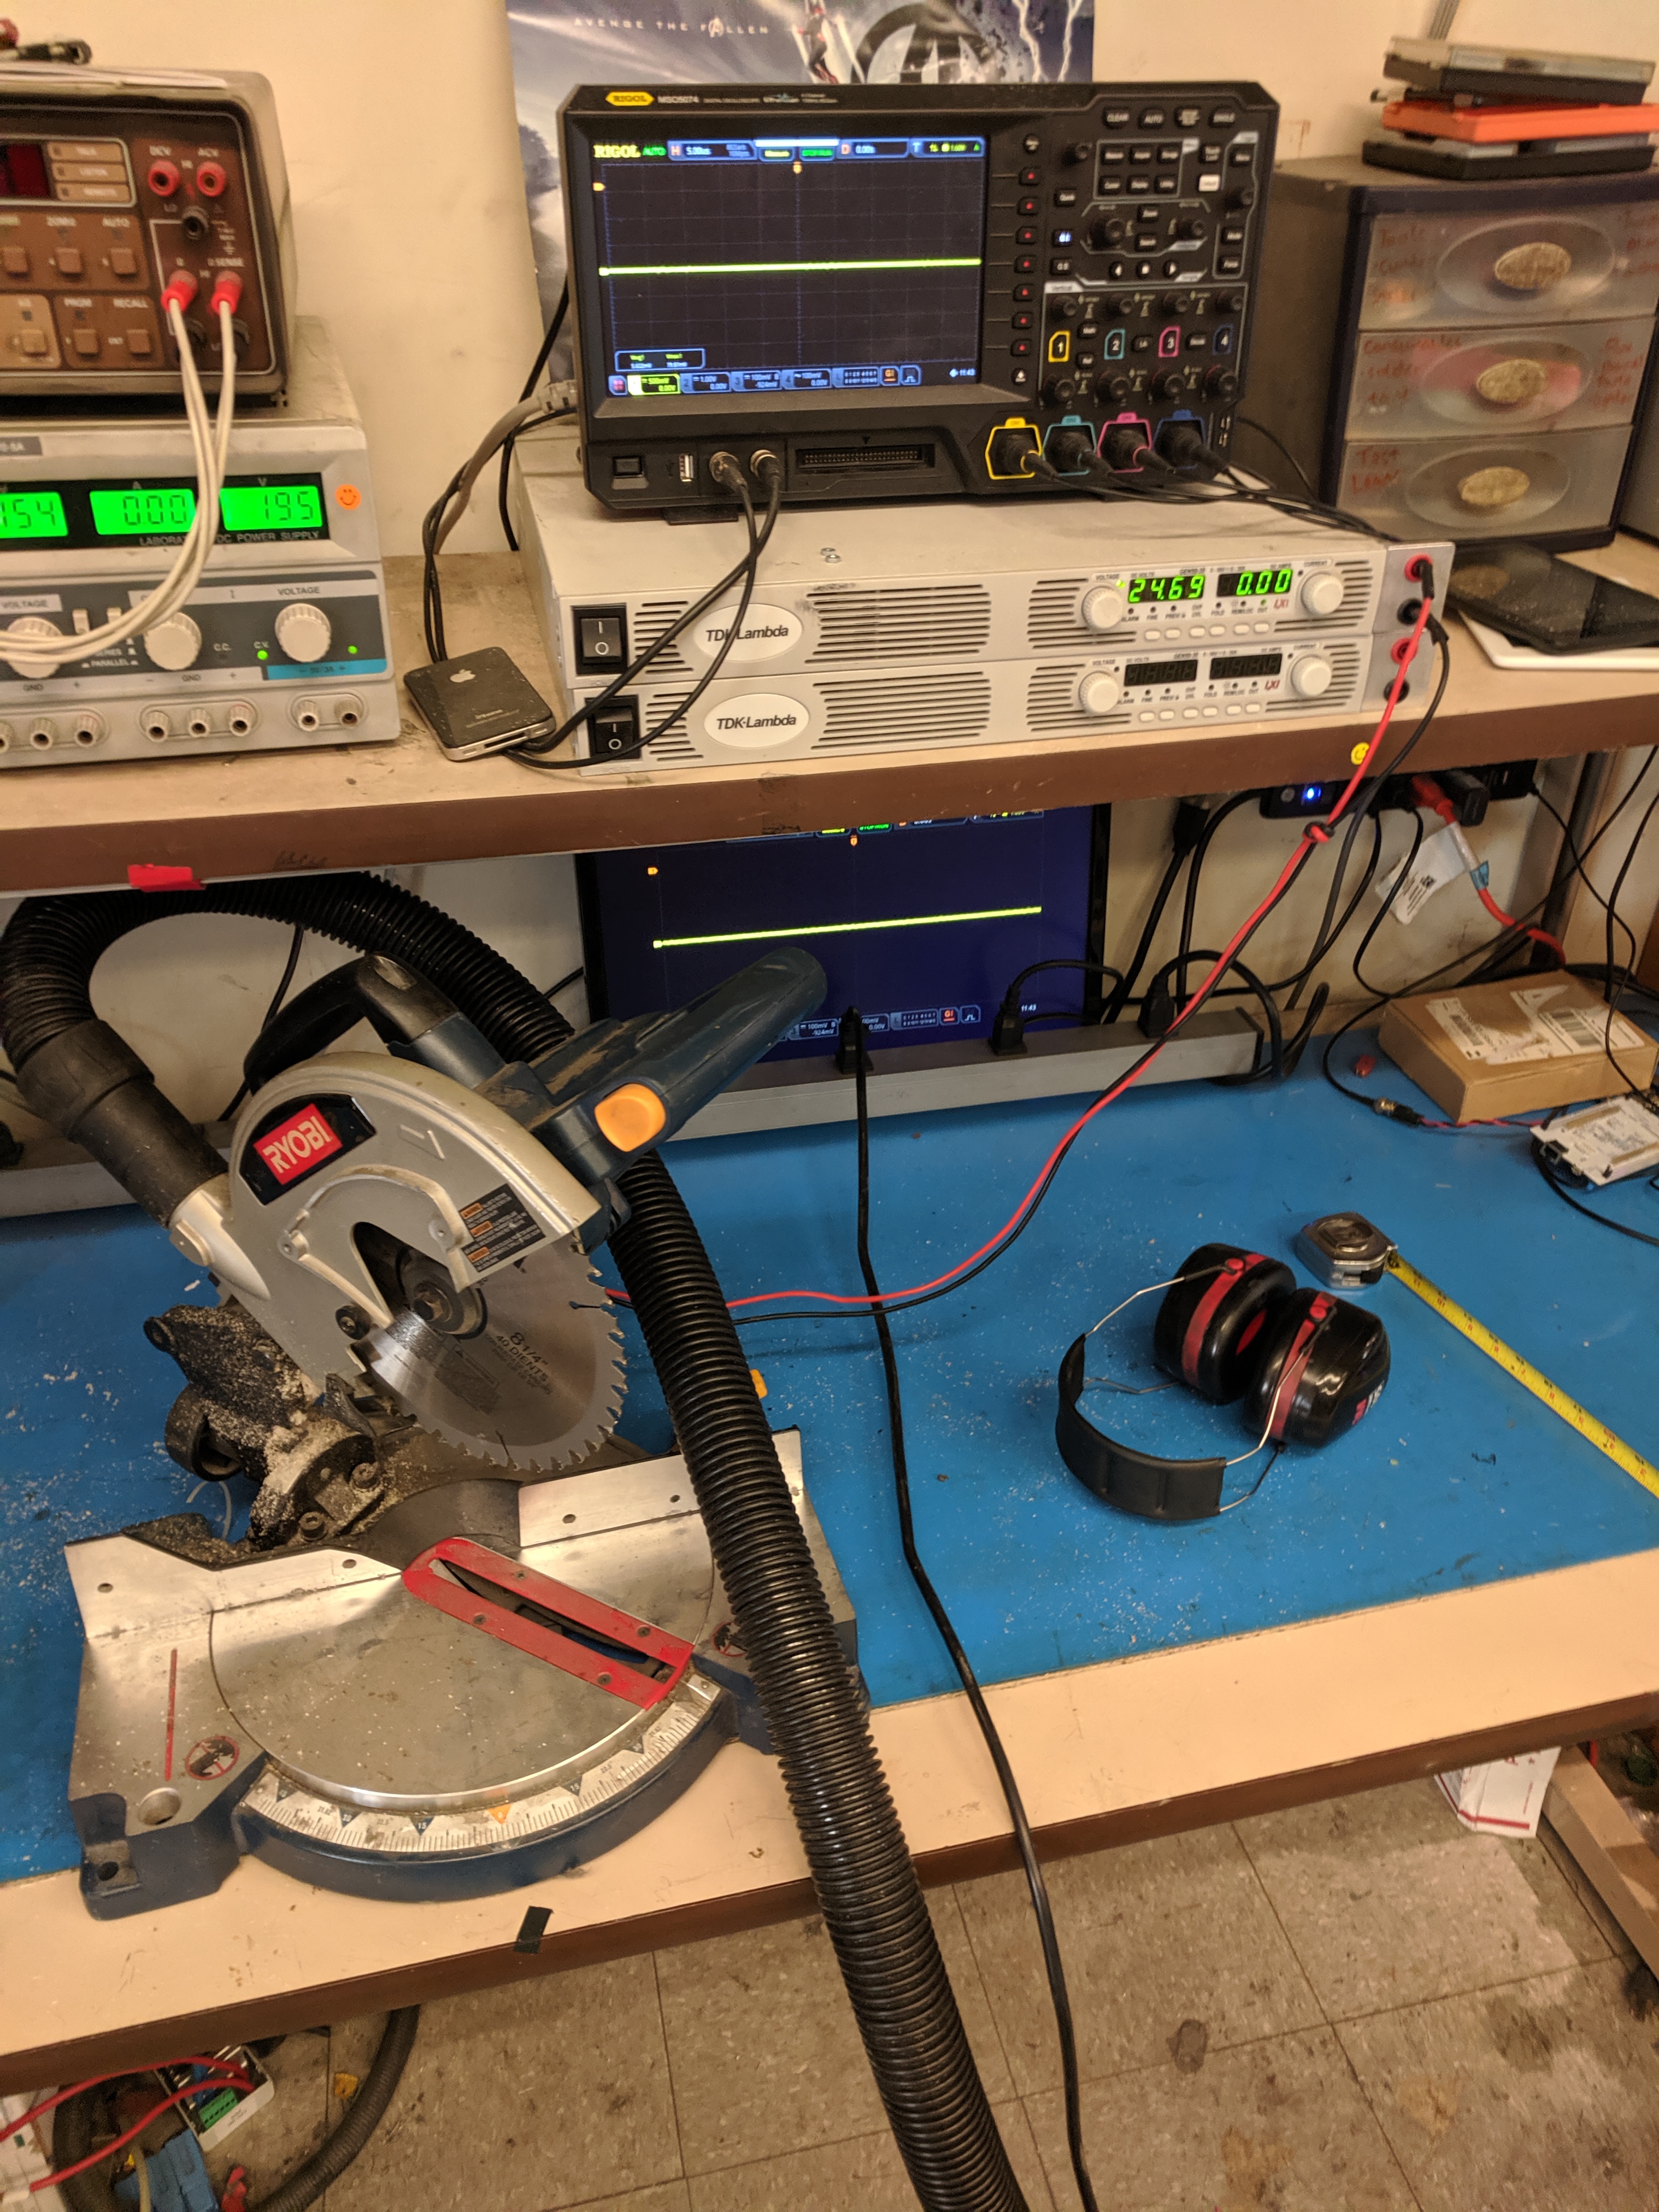
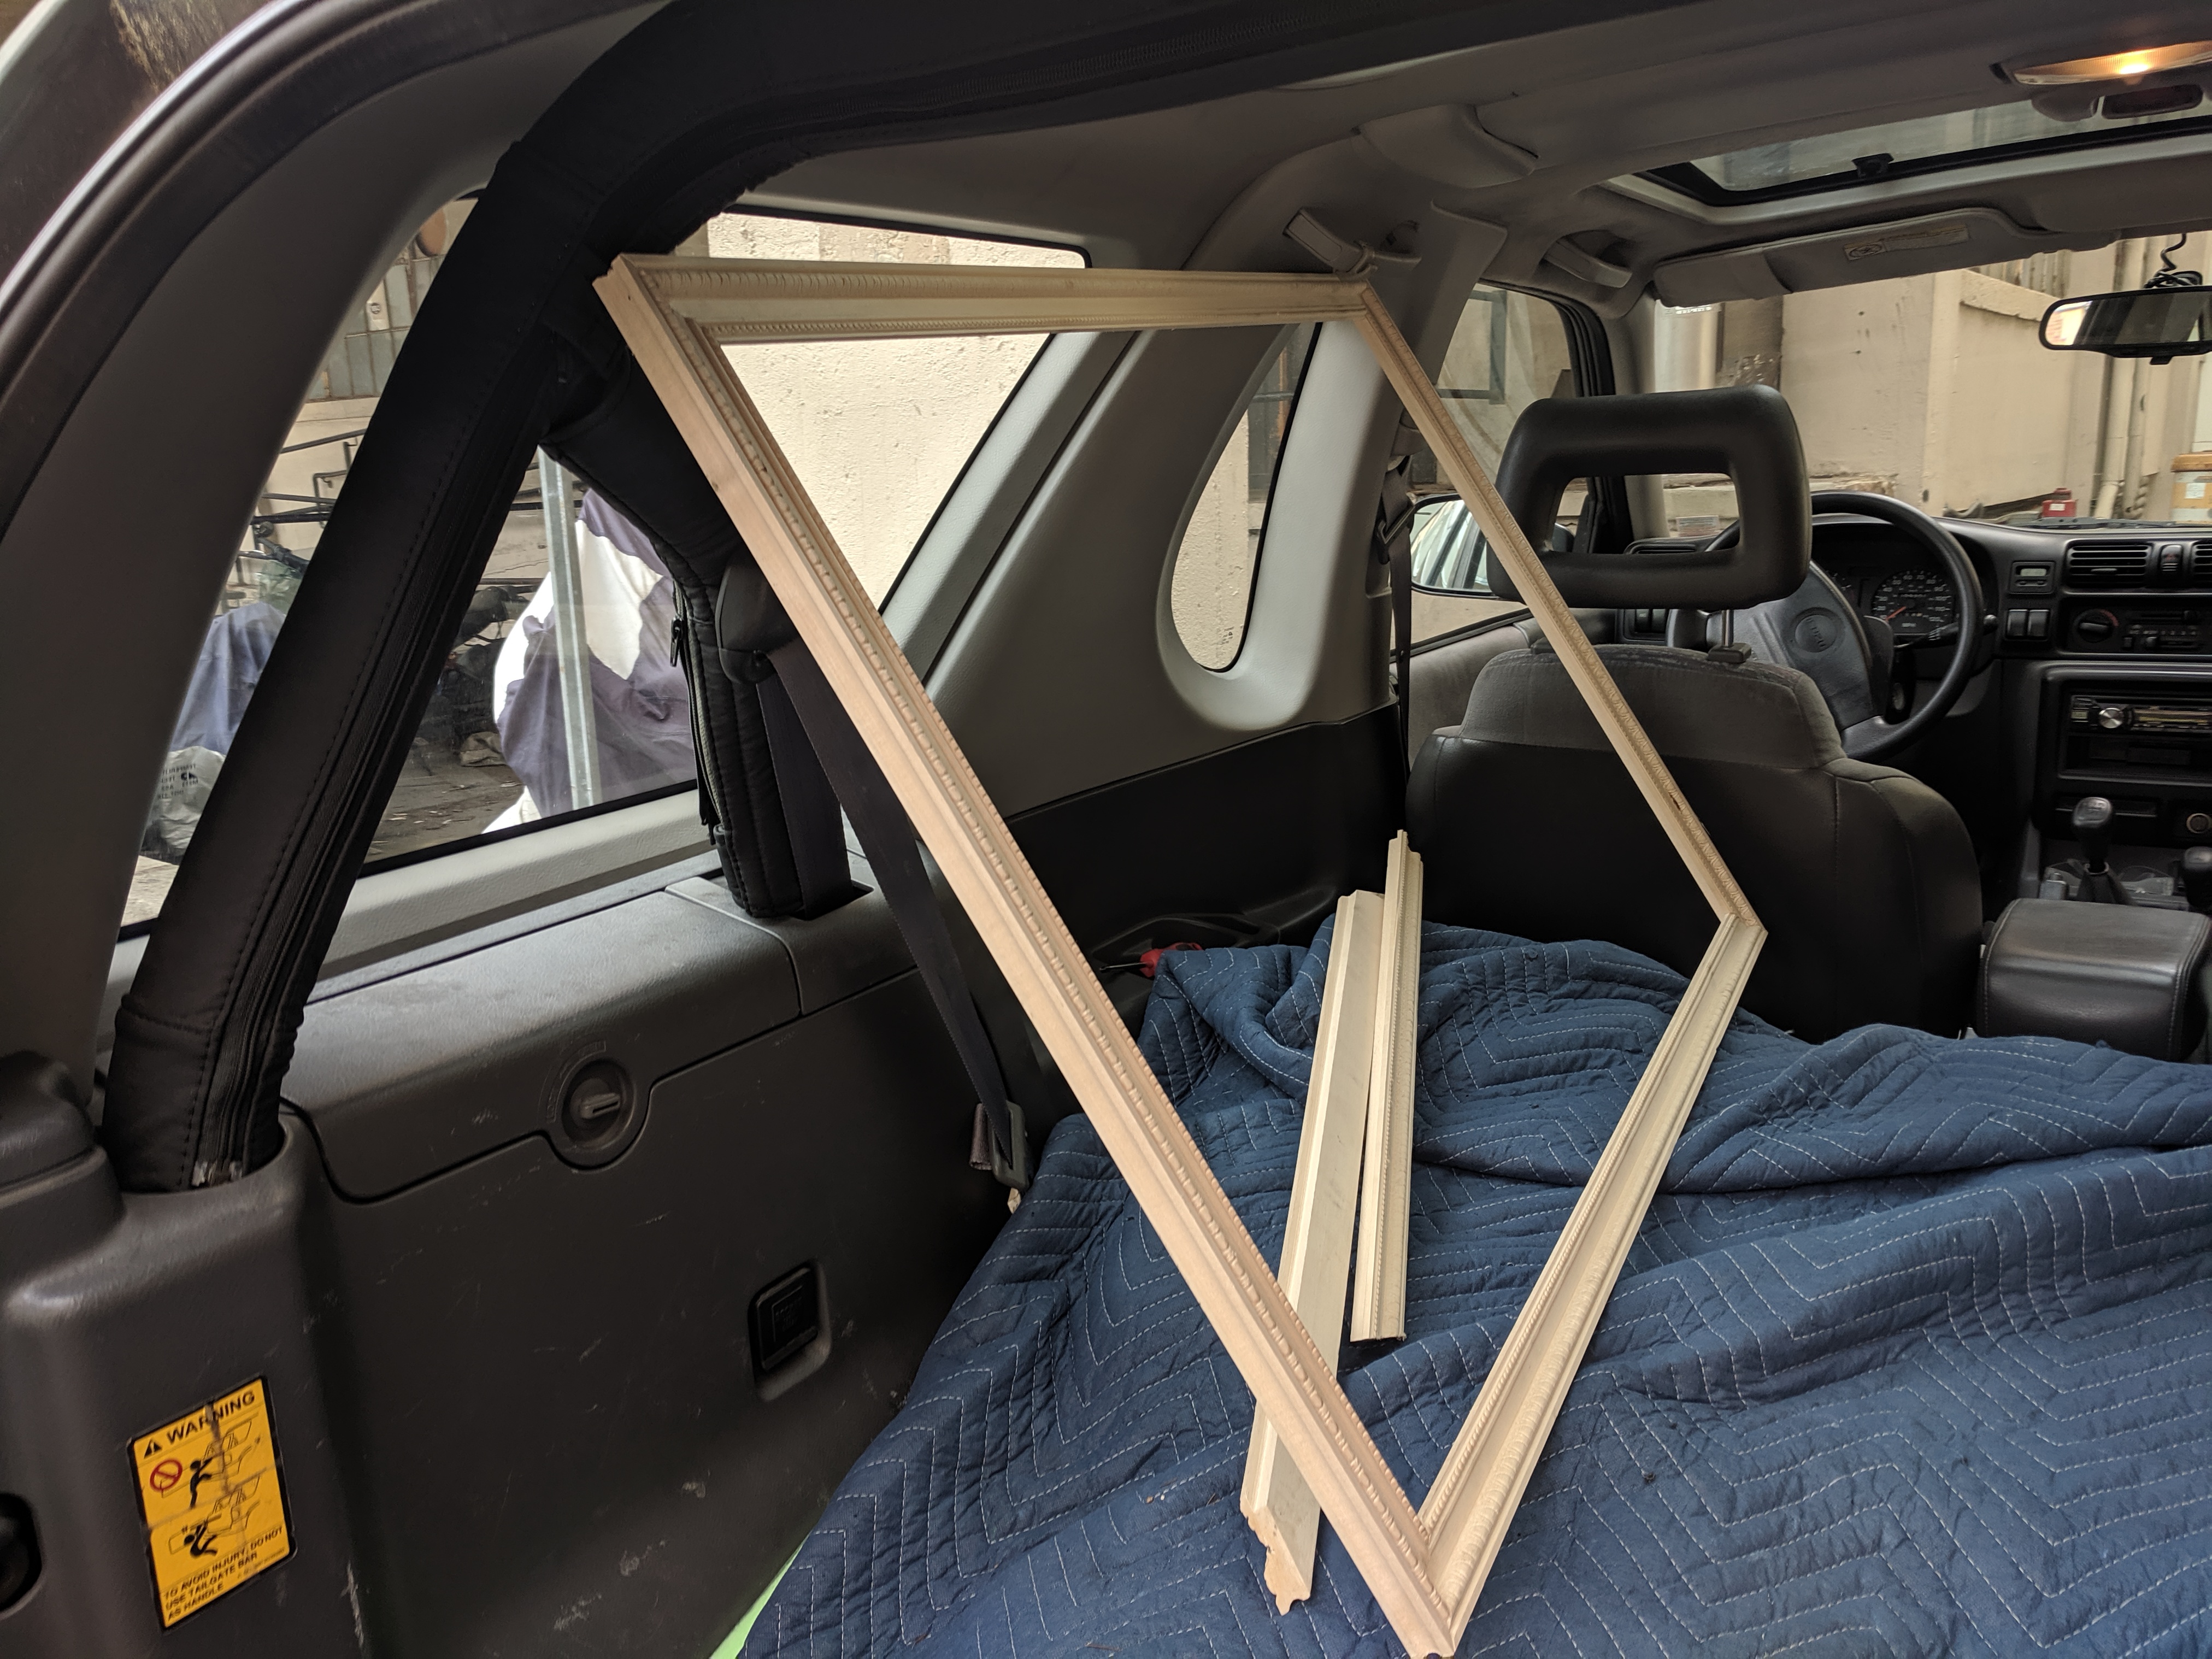
So after I got the frame material, I needed to cut the frame pieces to size with right-angled cuts. The obvious tool for this was a Miter saw, so I headed on over to MITERS to use the Miter saw. In an odd turn of events, it turns out our Miter saw was battery-powered and someone threw out the battery. So I took a hiatus from this project to rectify the inability to turn the saw on (See the repair project I posted about wiring a saw running off a D.C. power supply --- Not crazy complicated, but a nice project nonetheless). Once that was done, I came back and cut the pieces to size.
Now came the gluing. My initial plan was to carefully glue the corners together and clamp them tight with 4 large wood clamps. This turned out to be a chaotic mess, with me eventually throwing in the towel. But before I completely scrapped this project, my persistence kicked in and I said... "No, I am going to make this work, and if it looks ugly... then and only then will I throw this project out the window!". So stubbornly, I dug some small finishing nails out and attempted to affix the frame pieces together. But I failed with the smallest finishing nails I had access to, so I went up a size and it worked perfectly... or at least almost perfectly, I had a bit of splitting caused by the nails. So with a combination of a bit of glue and finishing nails... Then I came across Picture Frame nails... which are designed to be nailed in the corners on the backside of the picture frame to hold the pieces together. So next frame, I am definitely doing that!
Next, I stained the frame with a darker color and let it dry. I then got a piece of custom acrylic cut and sourced from a local supplier for (~$20) for the front pane. For the backing plate, I acquired a nice piece of black poster board and then cut both the poster board and the map to size. Mounting the topo-map and the poster board into the frame after it had dried. For this, I used some custom picture frame nails for holding glass in place. Finally, I used a hanging setup for easy mounting when given as a gift.
Things to note for future frames:
- Get framing nails specifically for assembly.
- Look for a better way to make a backing plate.
- Definitely use acrylic again, it's super clear and compared to glass it's quite lightweight.
- Don't use wood glue, it messes with the stain's ability to seep into the wood, causing discoloration.