[11.30.16] Chinese Induction Heater

Description of Project
Creating a experimental setup designed around a Chinese induction heater which allows for the insertion of alumina crucibles.
Processes Applied:


Summary:
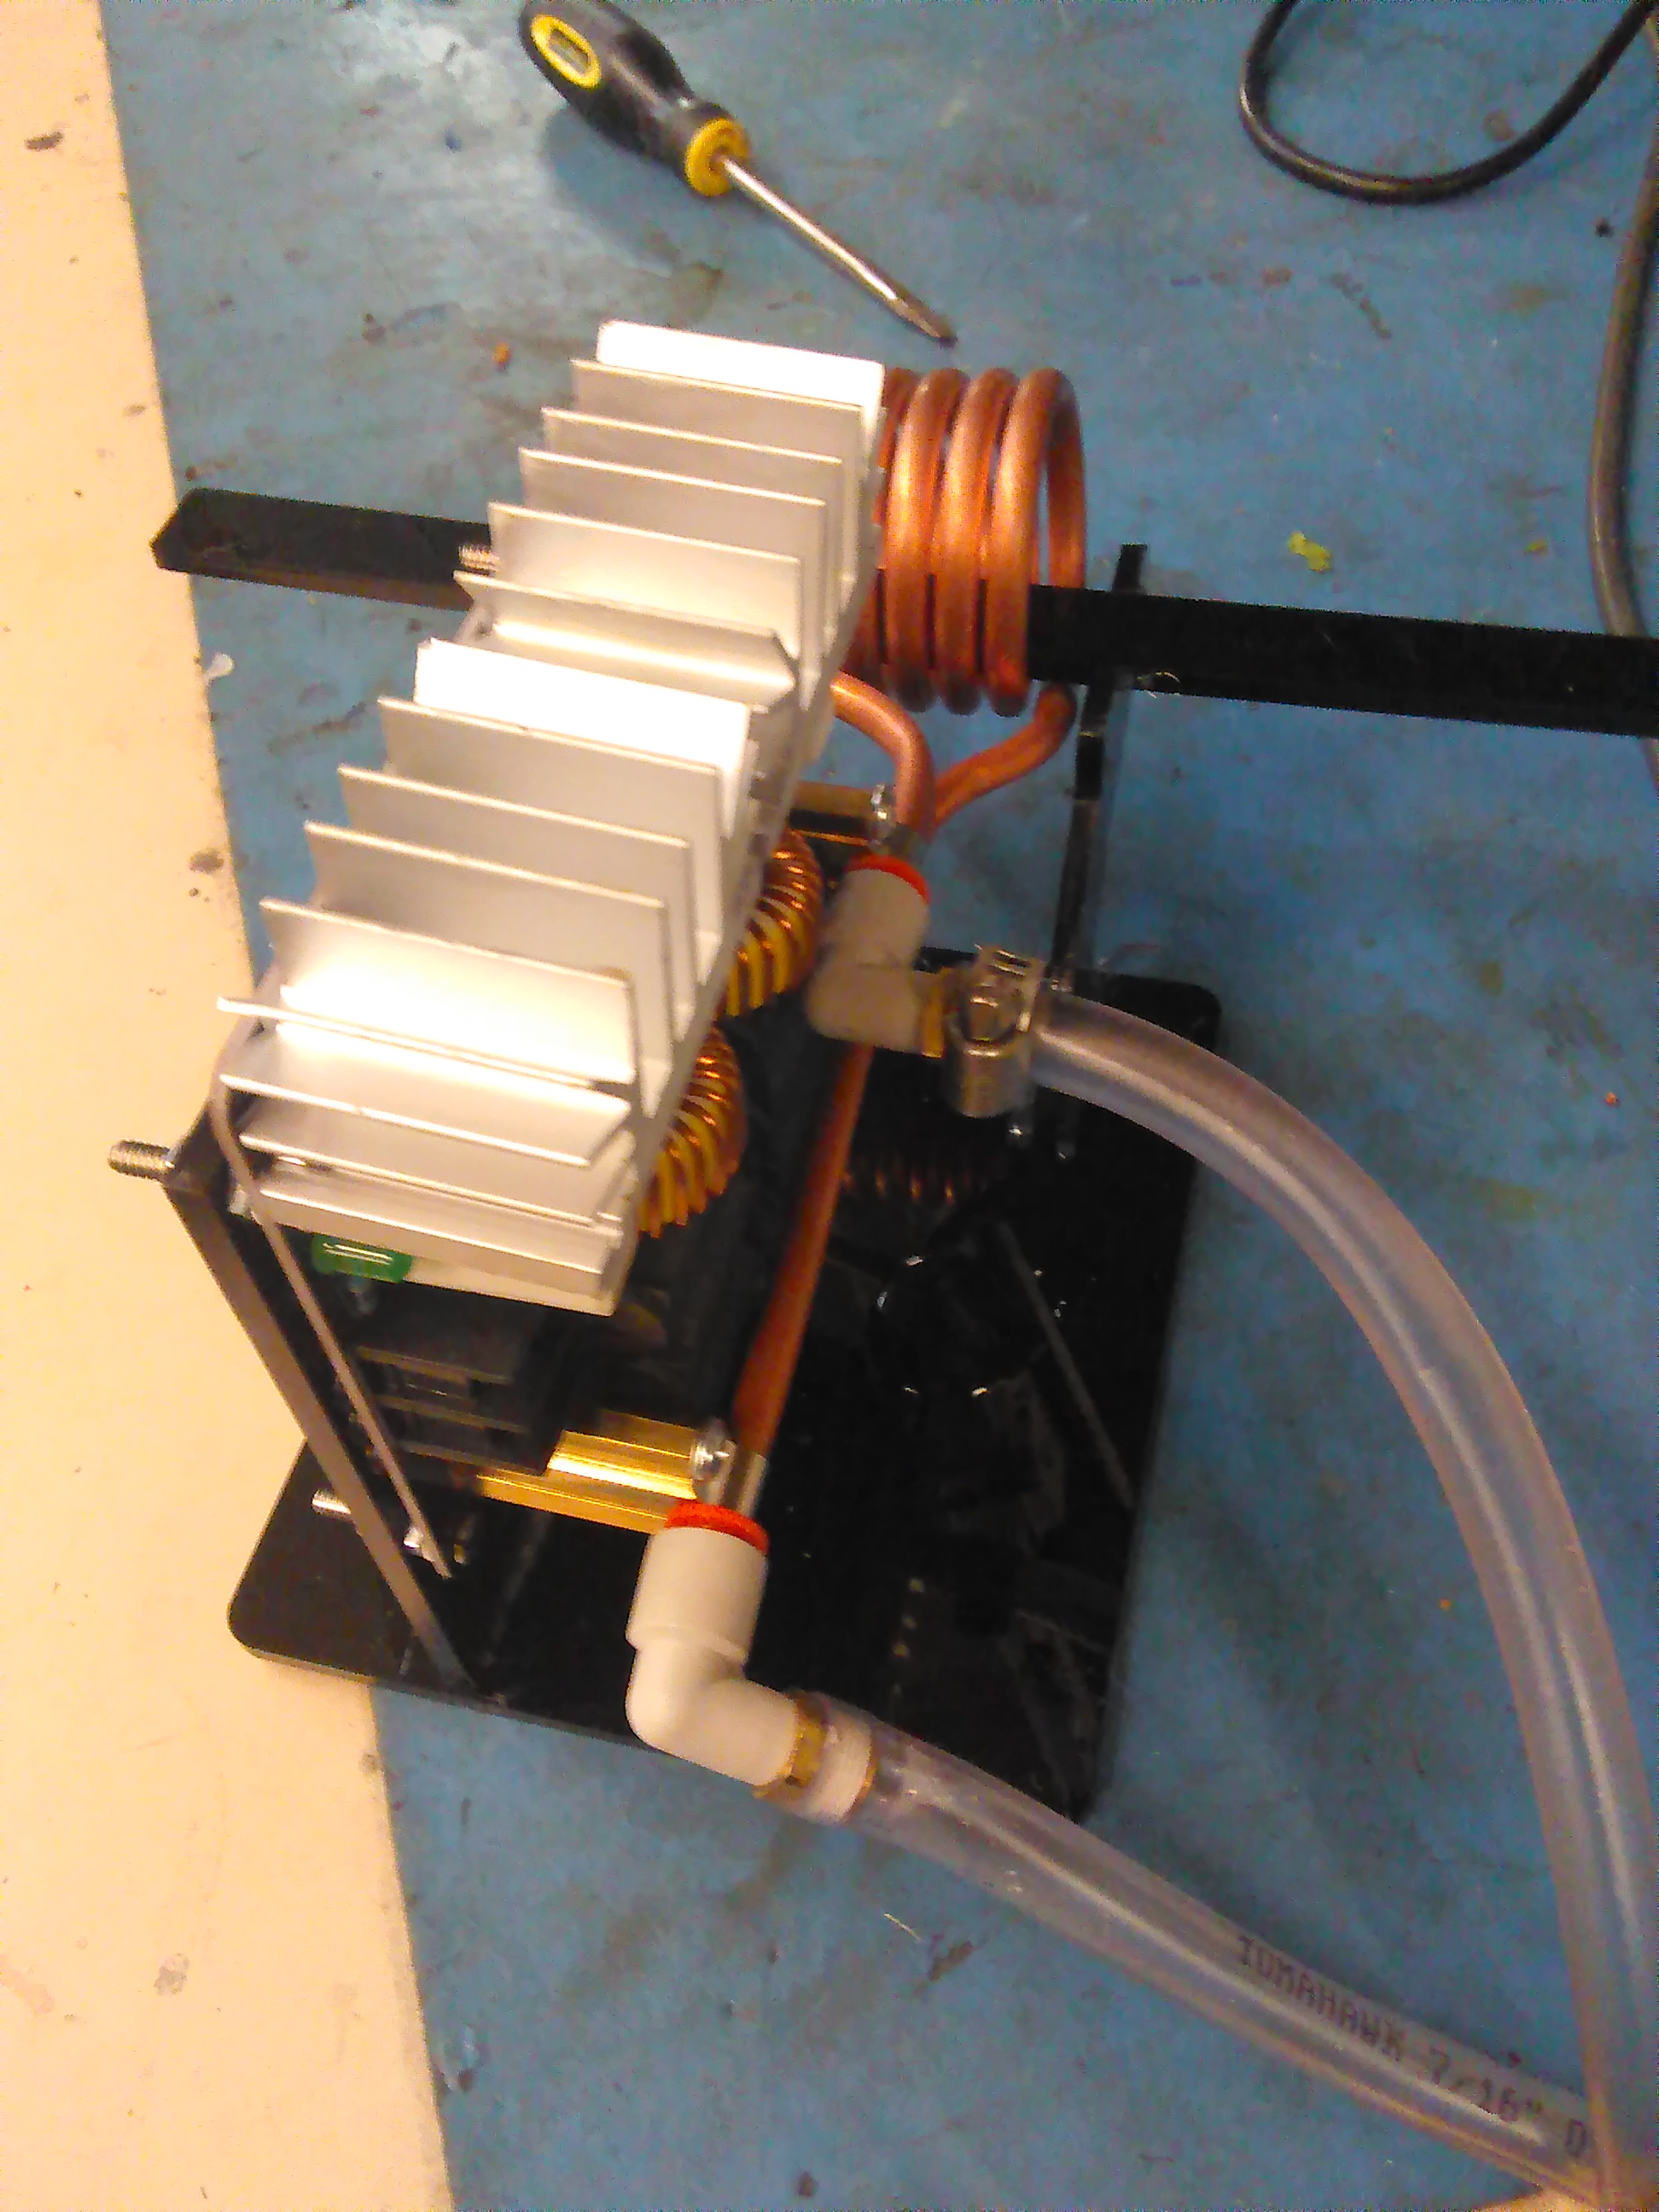
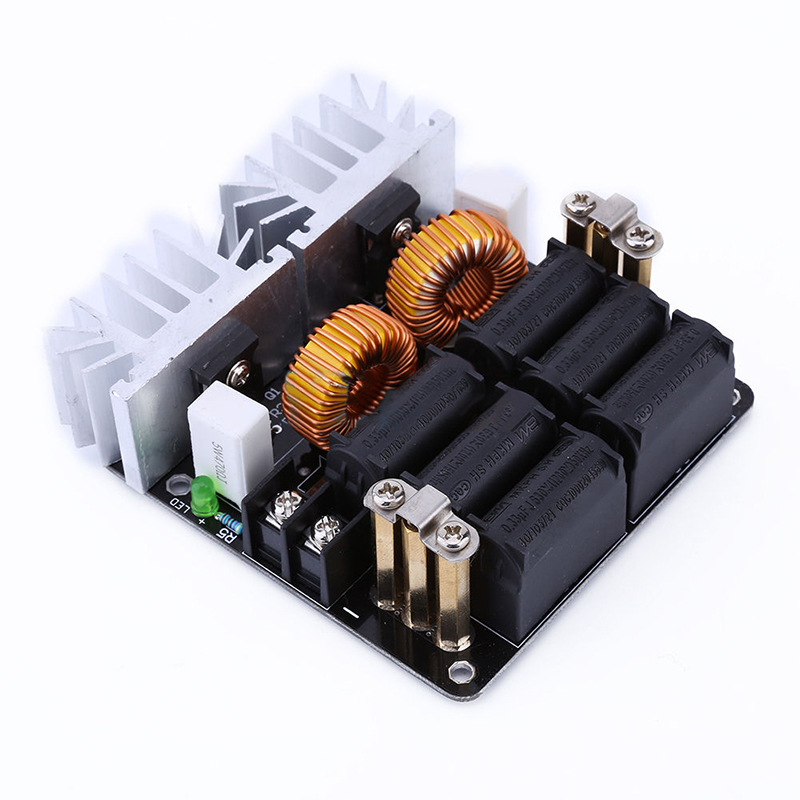
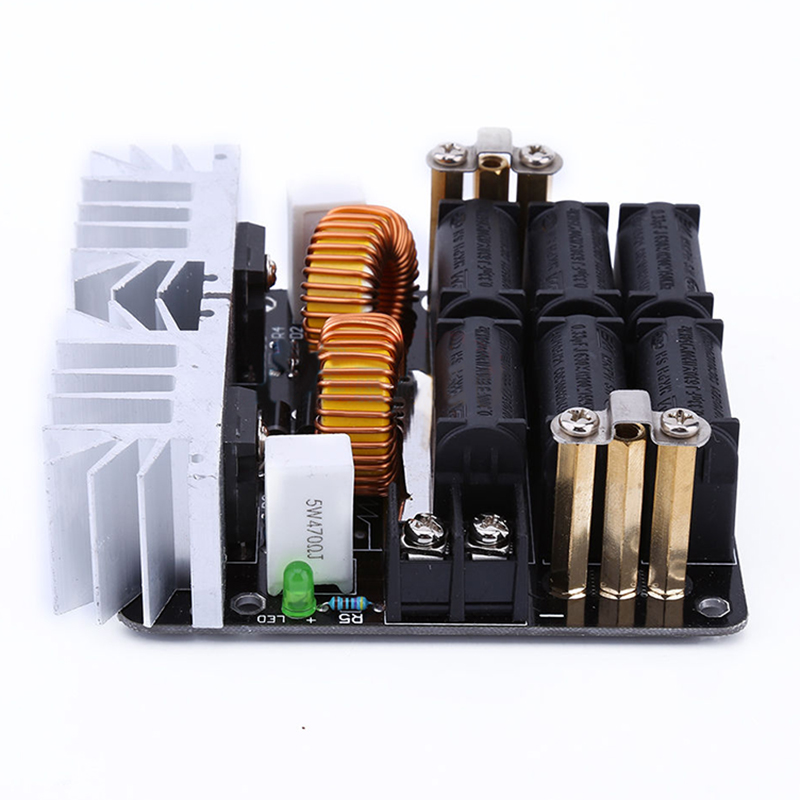
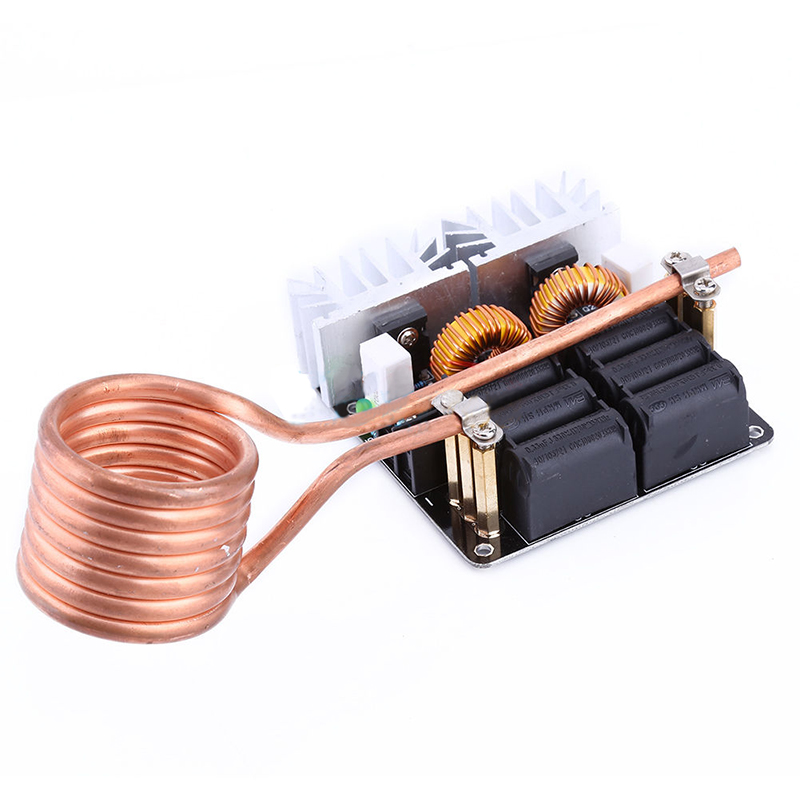
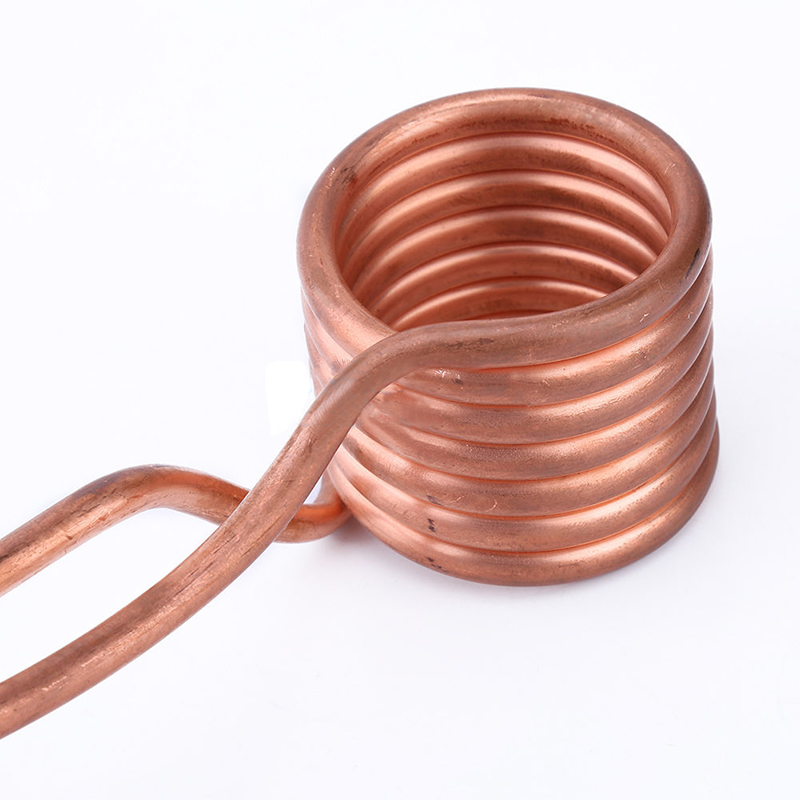
For an experiment I needed a setup that allowed me to slowly slide an aluminum crucible through the center of the coil of an induction heater. I decided to design around a 1000W 20A induction heater that was acquired from eBay for ~$30.
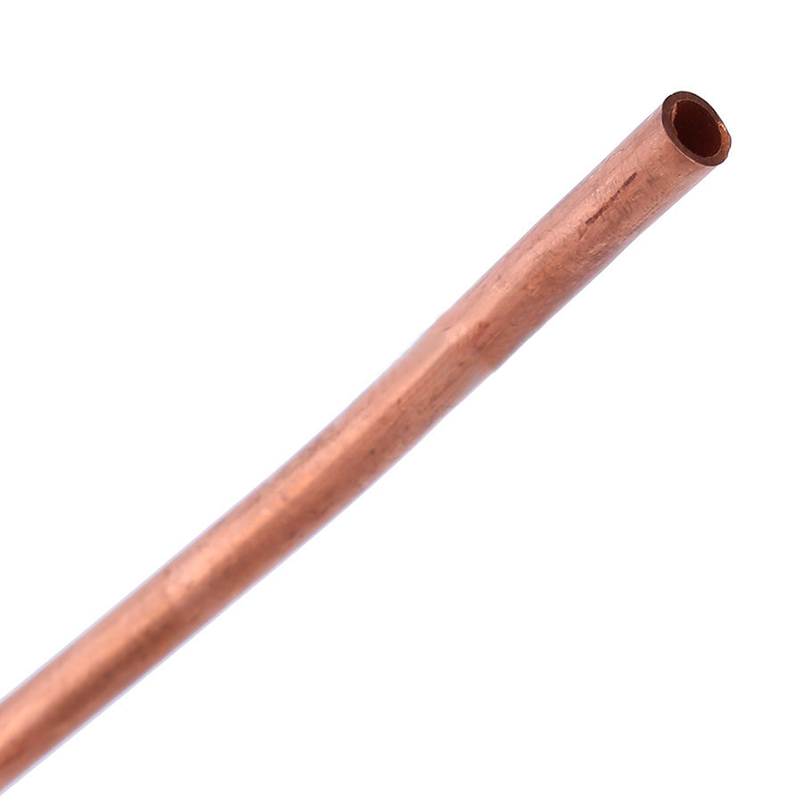
I designed my stand around the use of a laser cutter and a sheet of black acrylic. This was both for ease as well as being a non-conductive material, which is important because I want to reduce any stray inductance from the coil (especially for the shelf/bar that goes directly through the induction coil). The design was quite simple, I had a vertical plate which had a matching hole pattern to the mounting holes on the induction heater's circuit board, Two vertical arms to hold the shelf/bar/table through the center of the coil, and a base plate. All these pieces were press fit together using finger joints, and then glued together.
One of the important things to note in this device is that the coil needs to be water cooled or you will have a bad time. For my initial setup I used basic quick-connect 90 degree angle joints and standard hose tubing. As for my cooling and water pump system, I used the standard MITERS water reservoir... The Sink. The MITERS sink has a perfectly sized spout which allows for the affixing of your water hose. Usually what I do is jam the hose into the spout which fits tightly and pushes through ~+90% of the flow through the tubing, and then have the return path into the base of the sink. It is important to adjust the flow as not to put too much pressure on your quick connectors.
Overall this was a quick and straightforward setup, and worked perfectly. In the future I will probably create a more dedicated cooling look, but for now using the sink works great and reduces the number of components in the setup.