[07.31.19]A Simple Hacker Space Sign
Description of Project
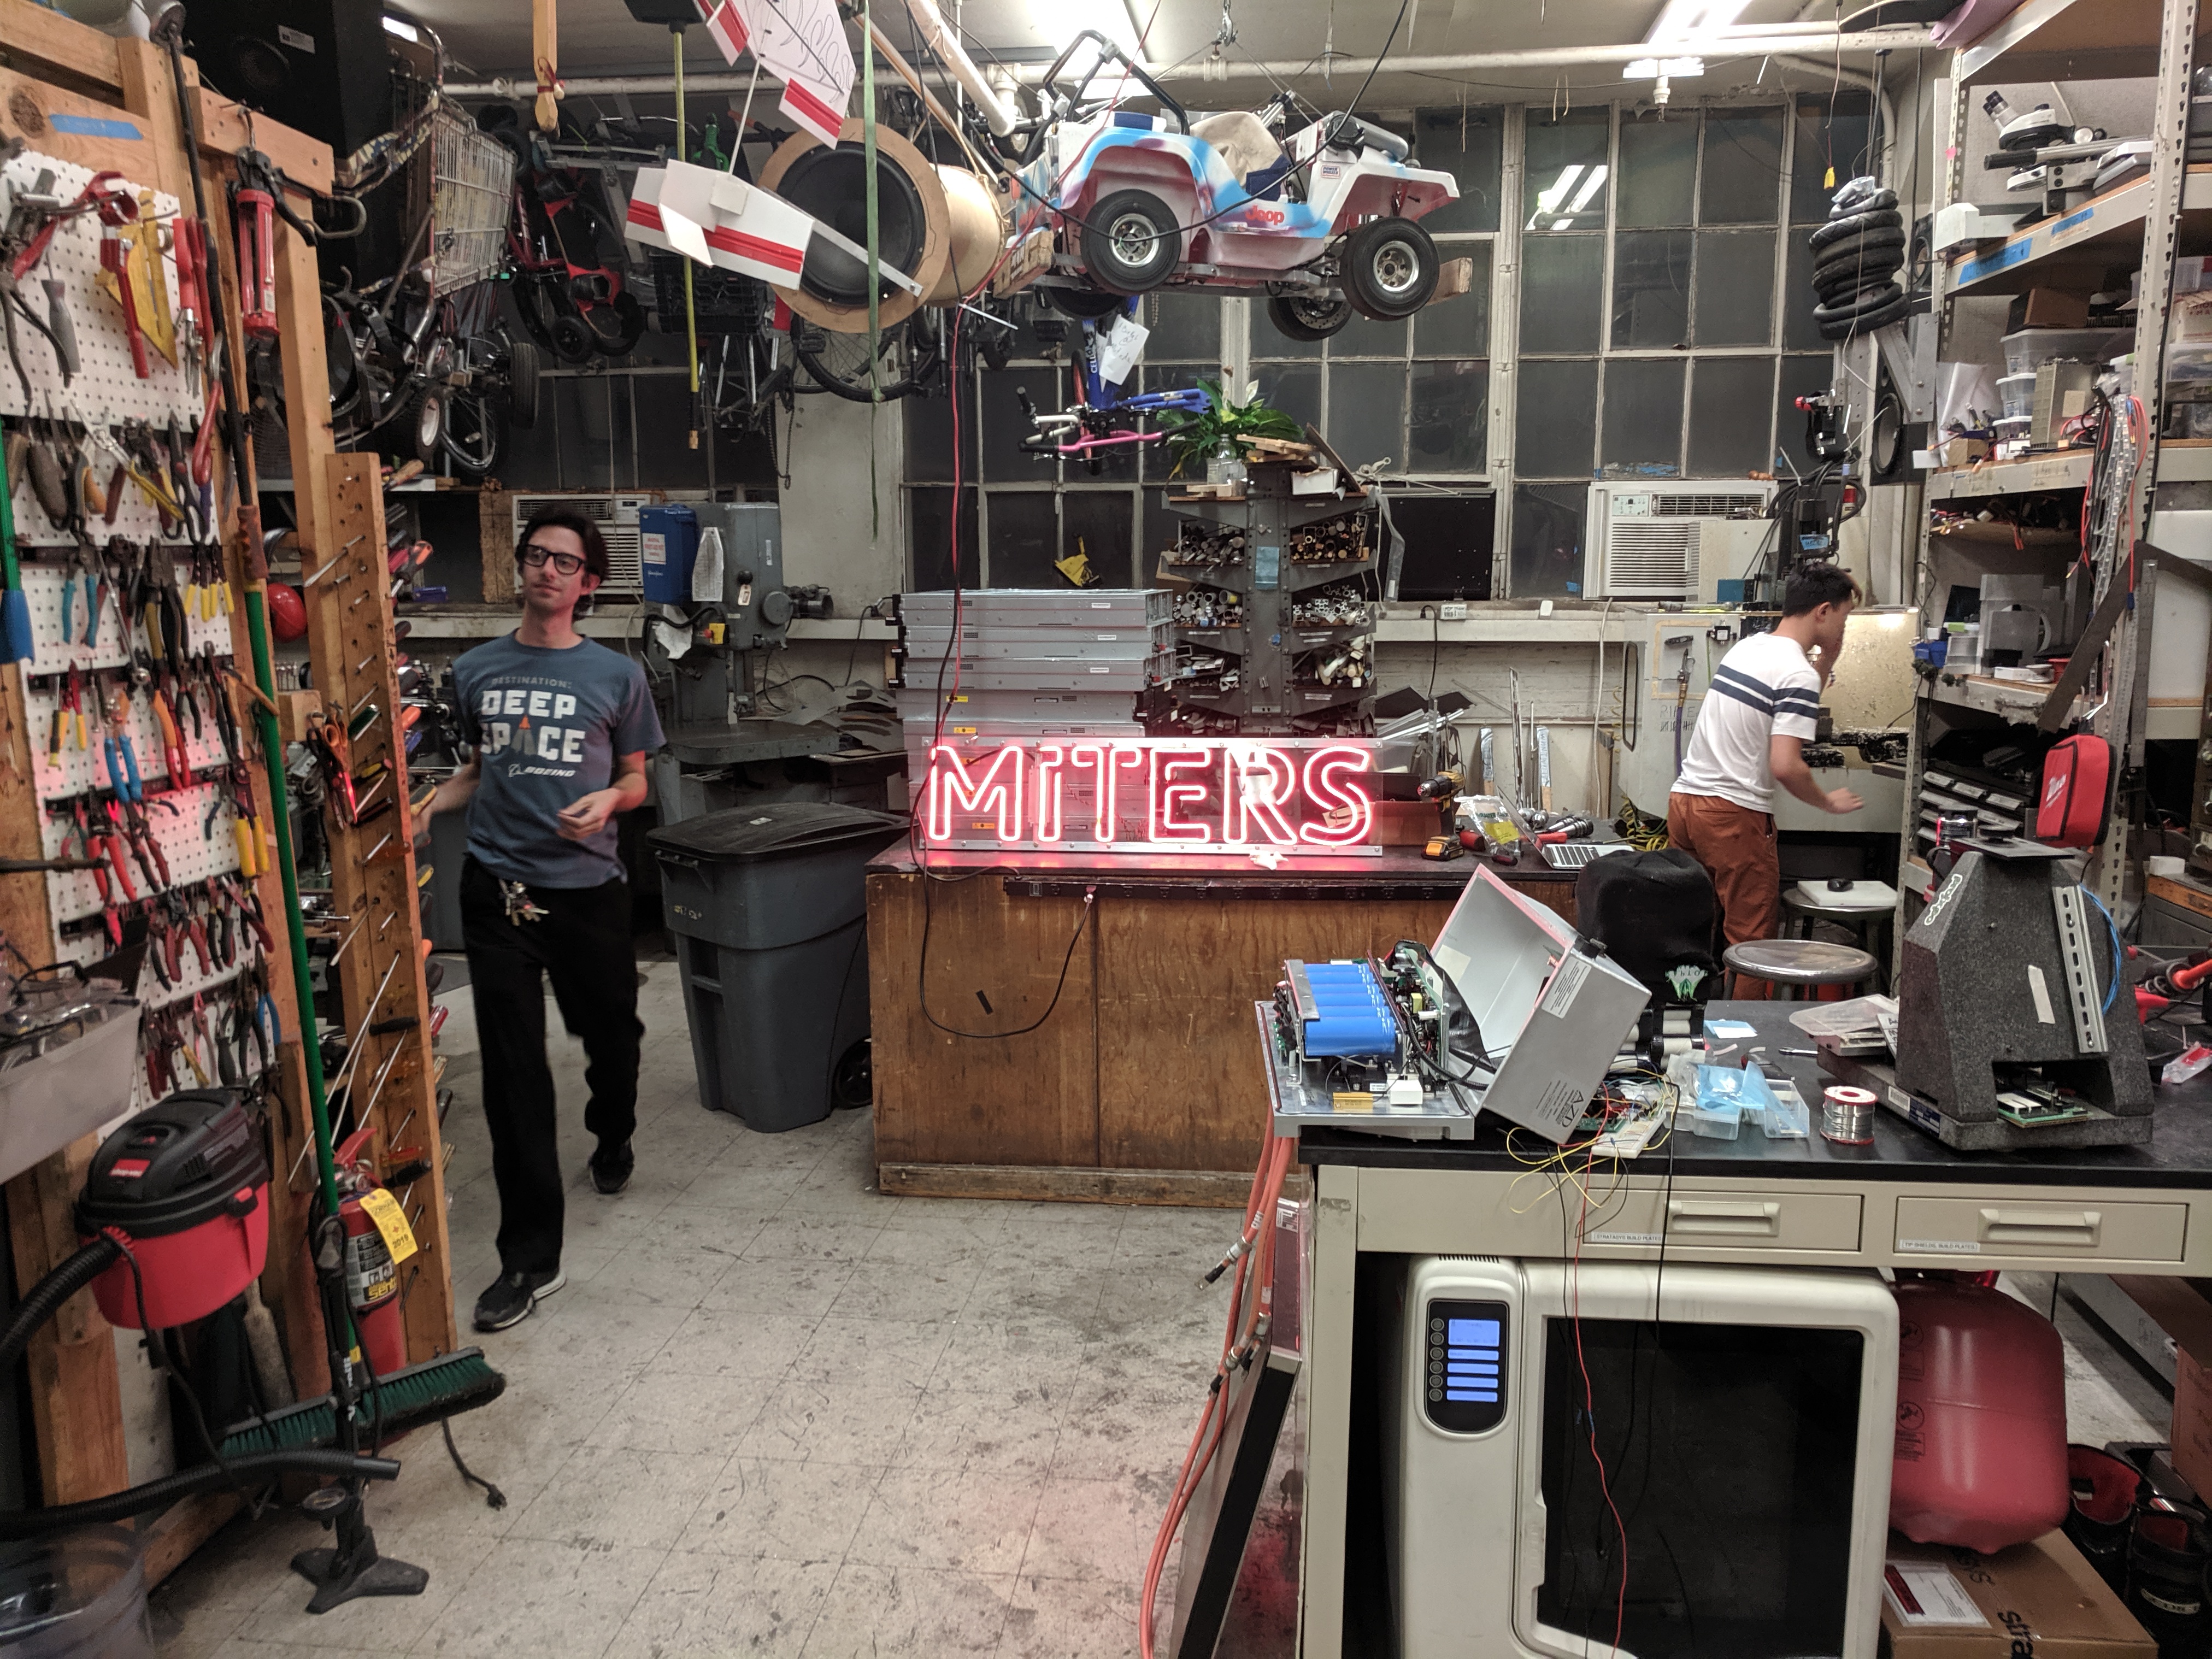
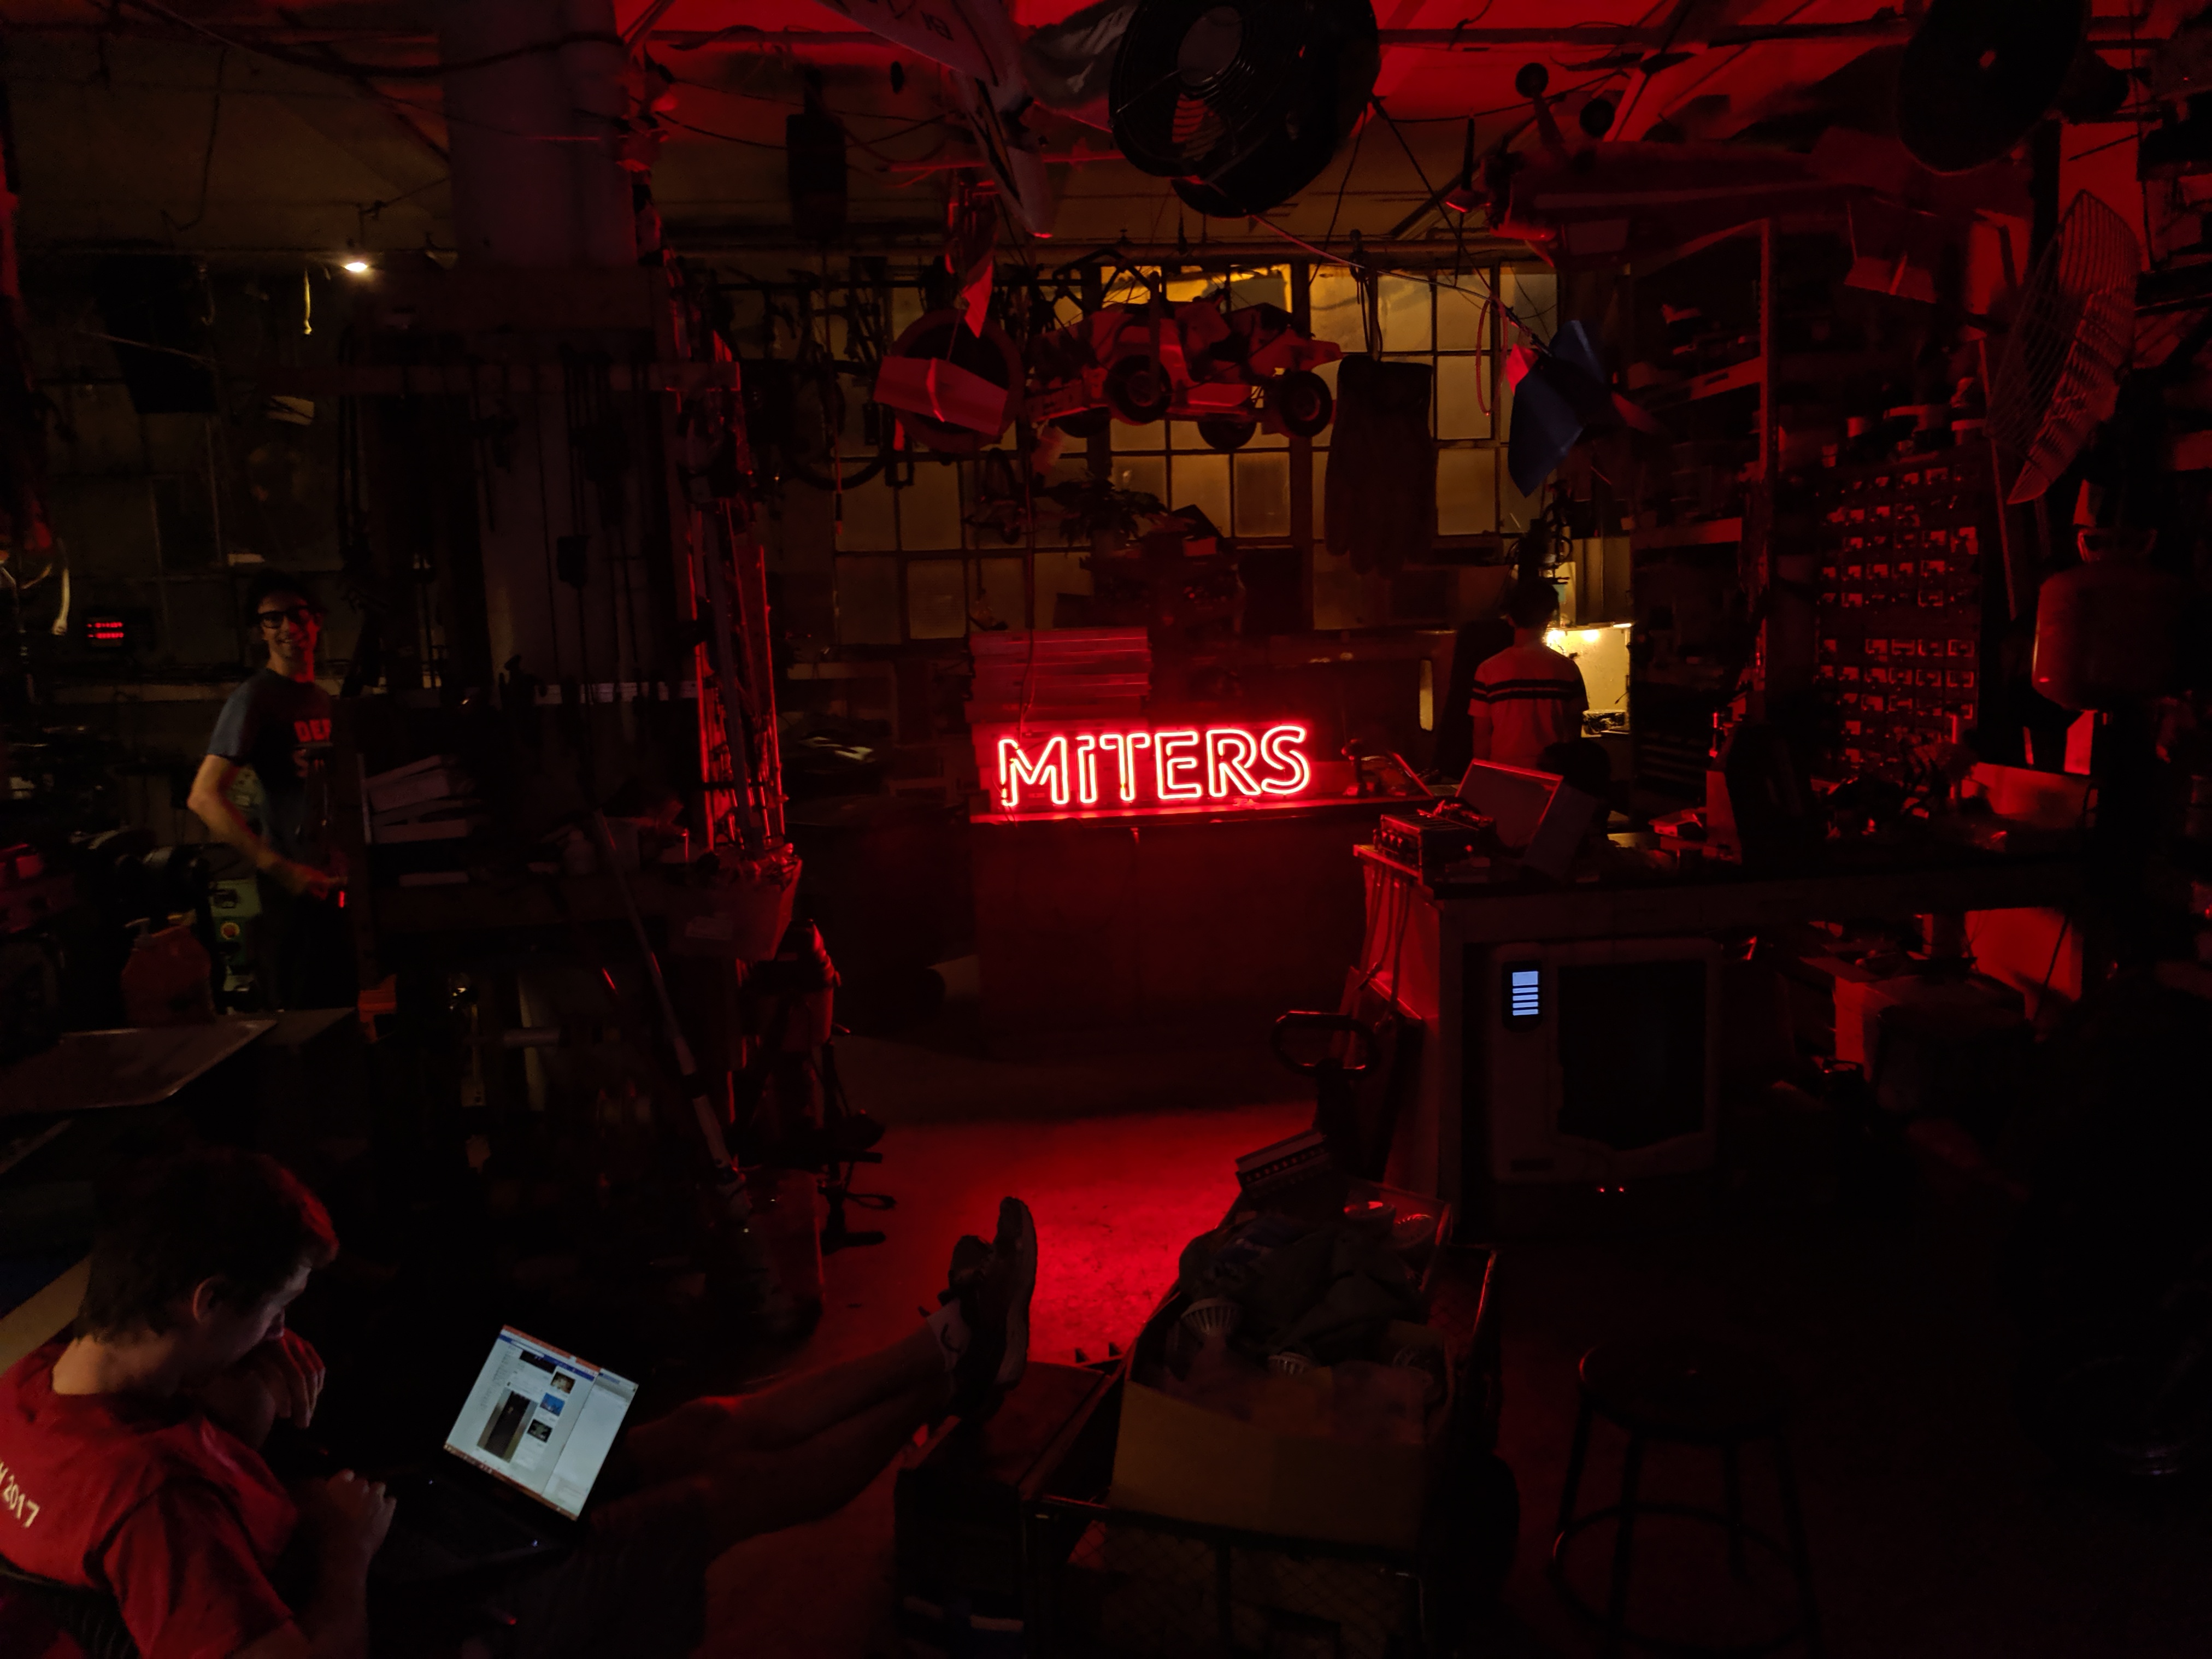
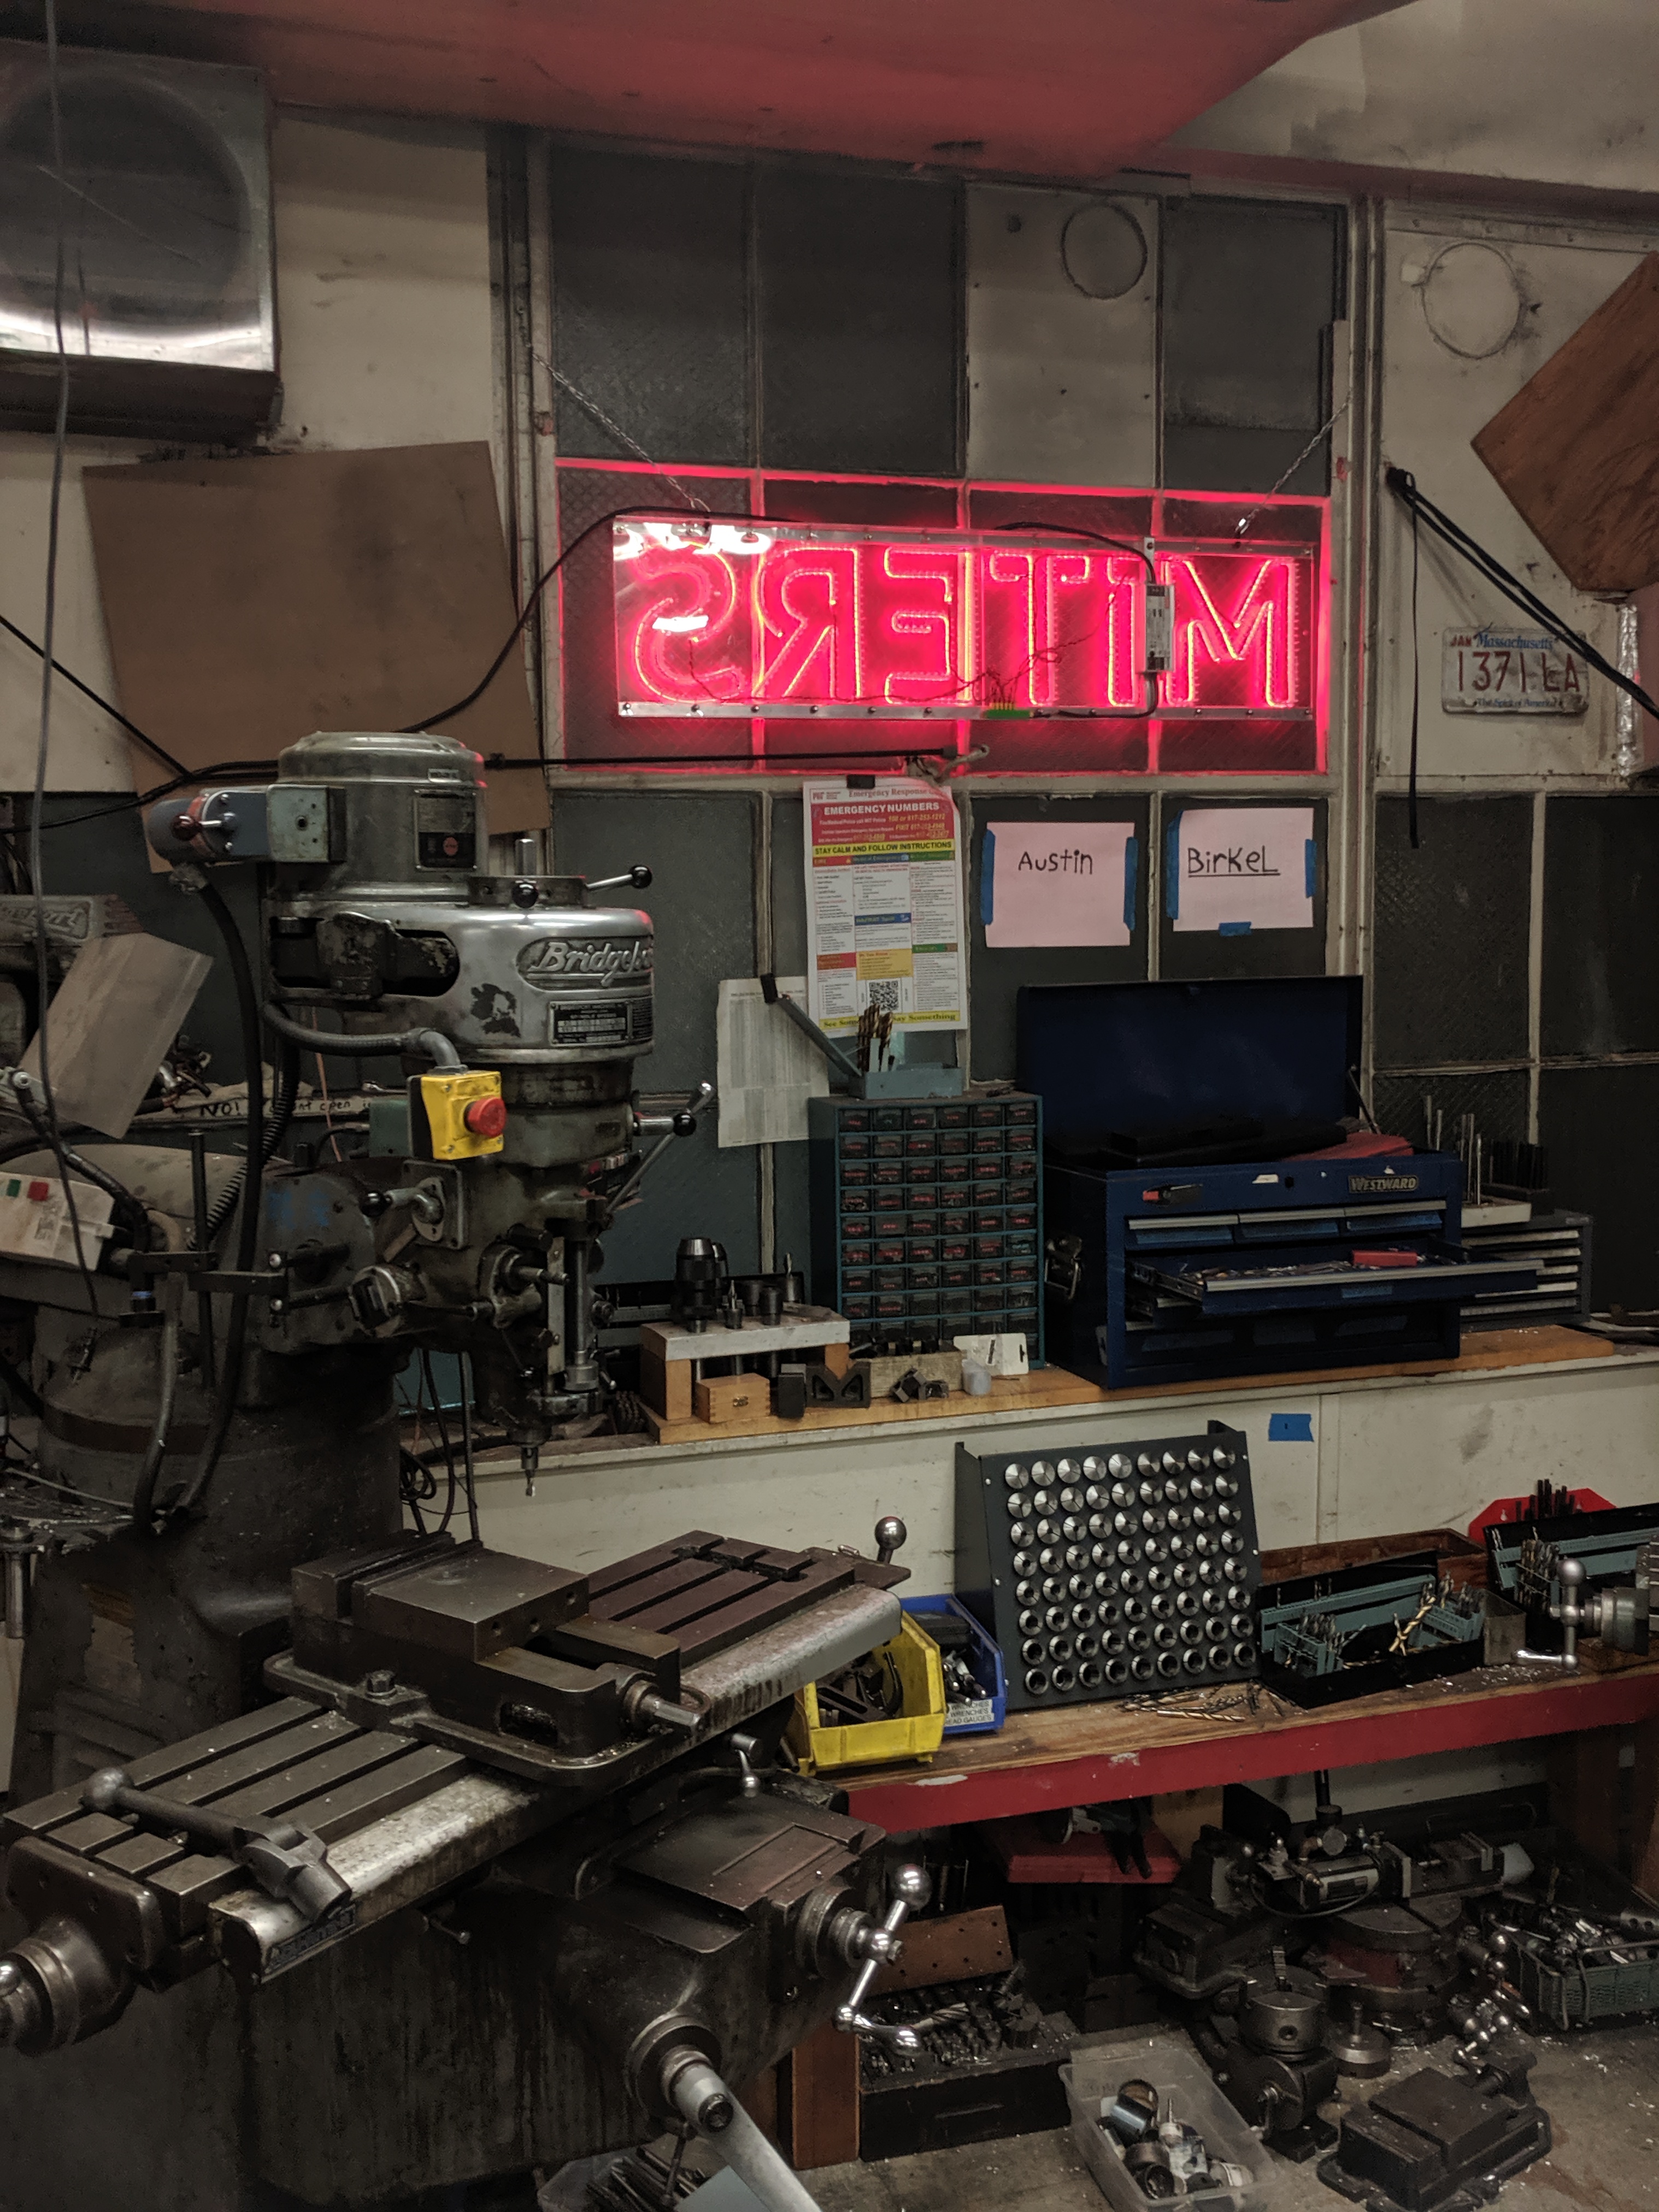
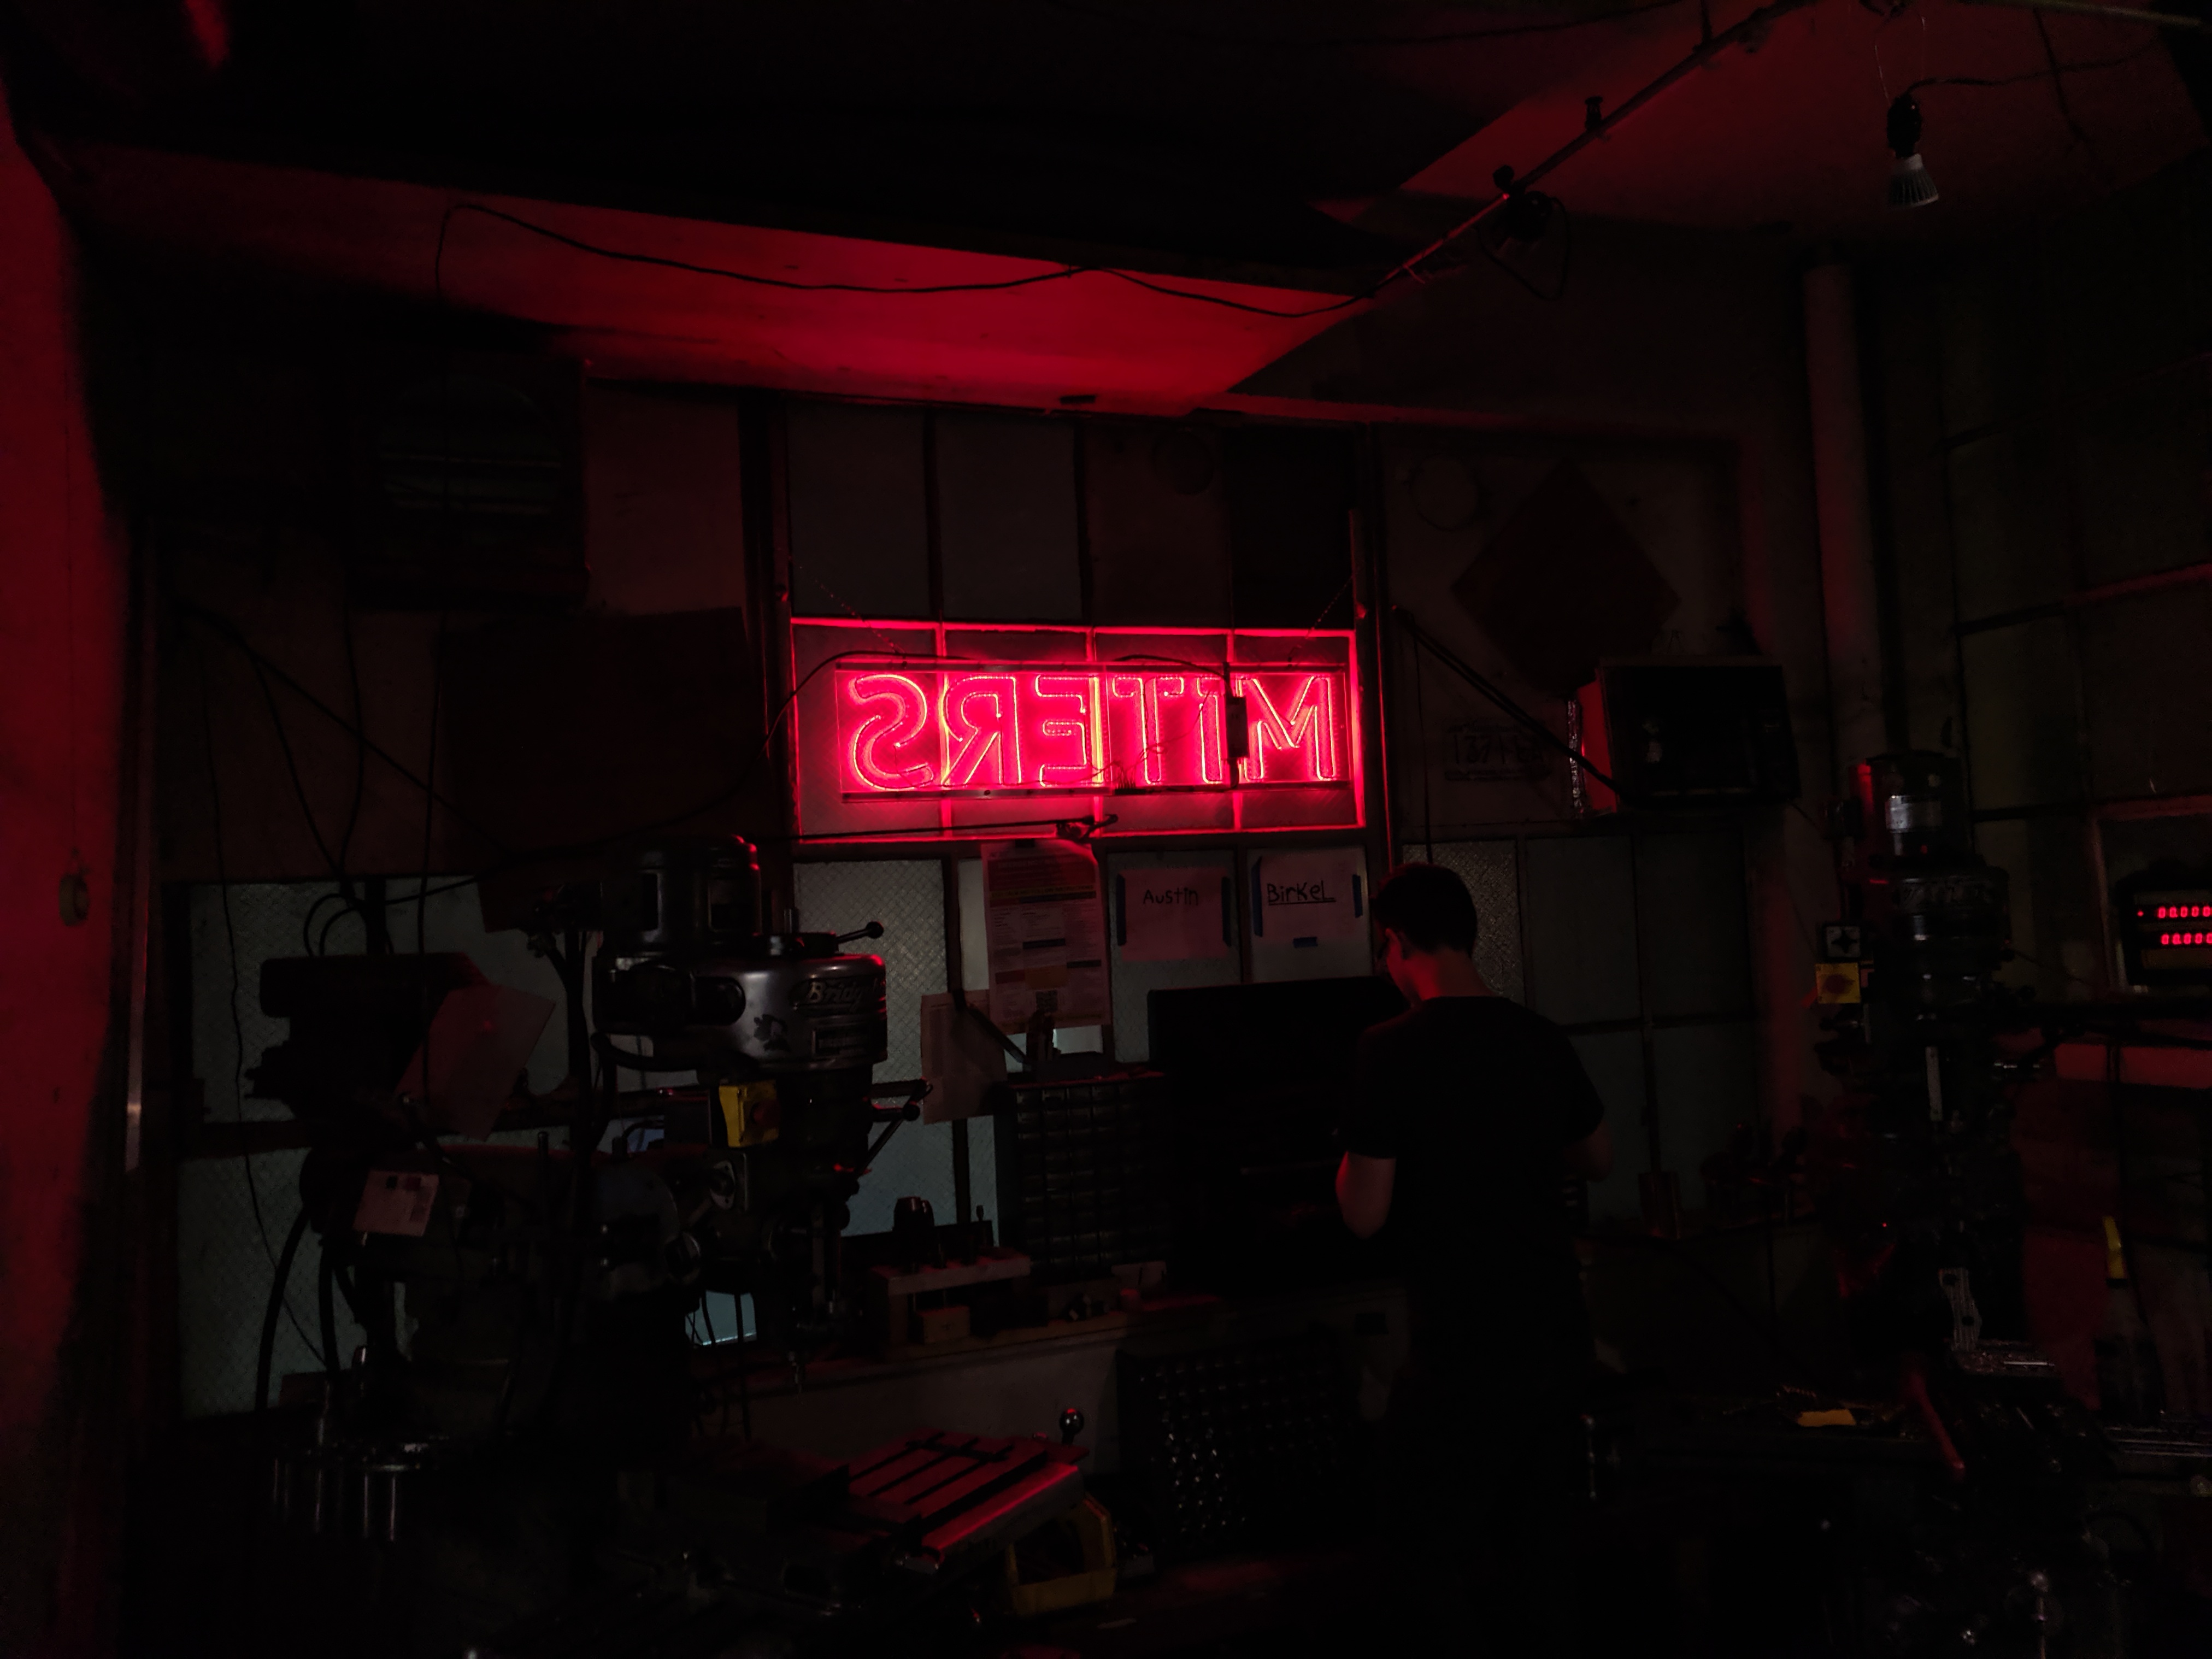
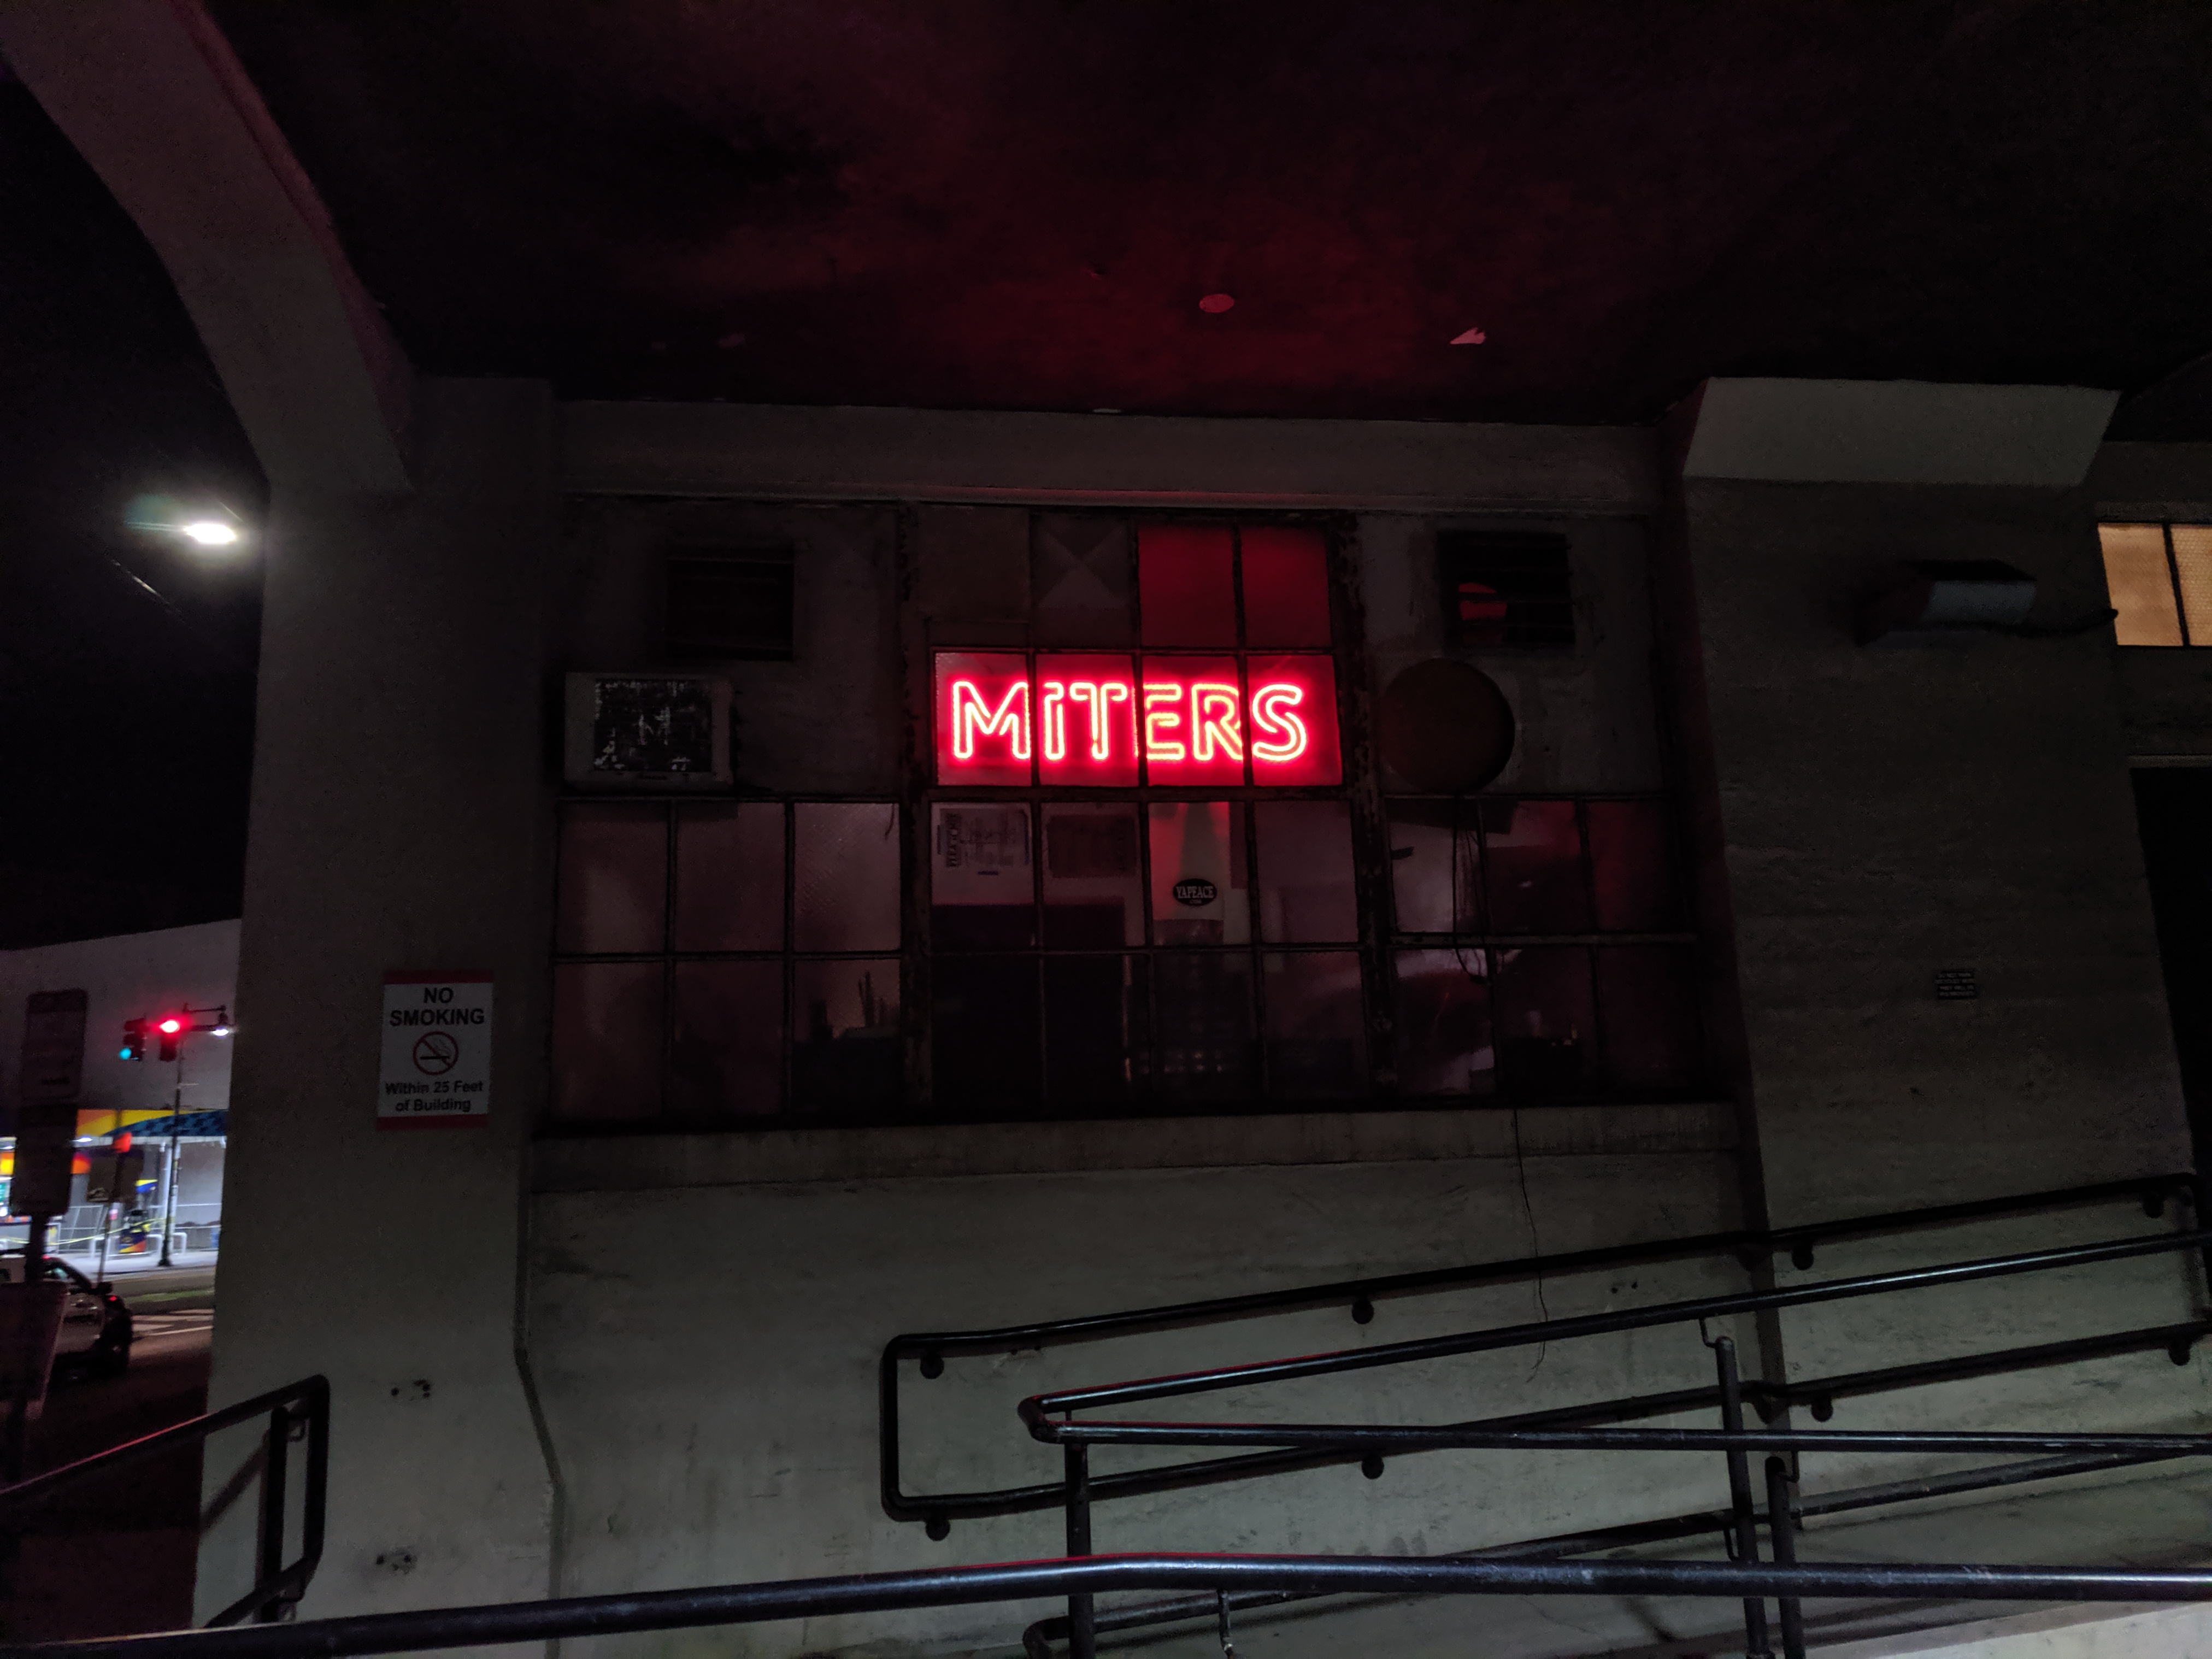
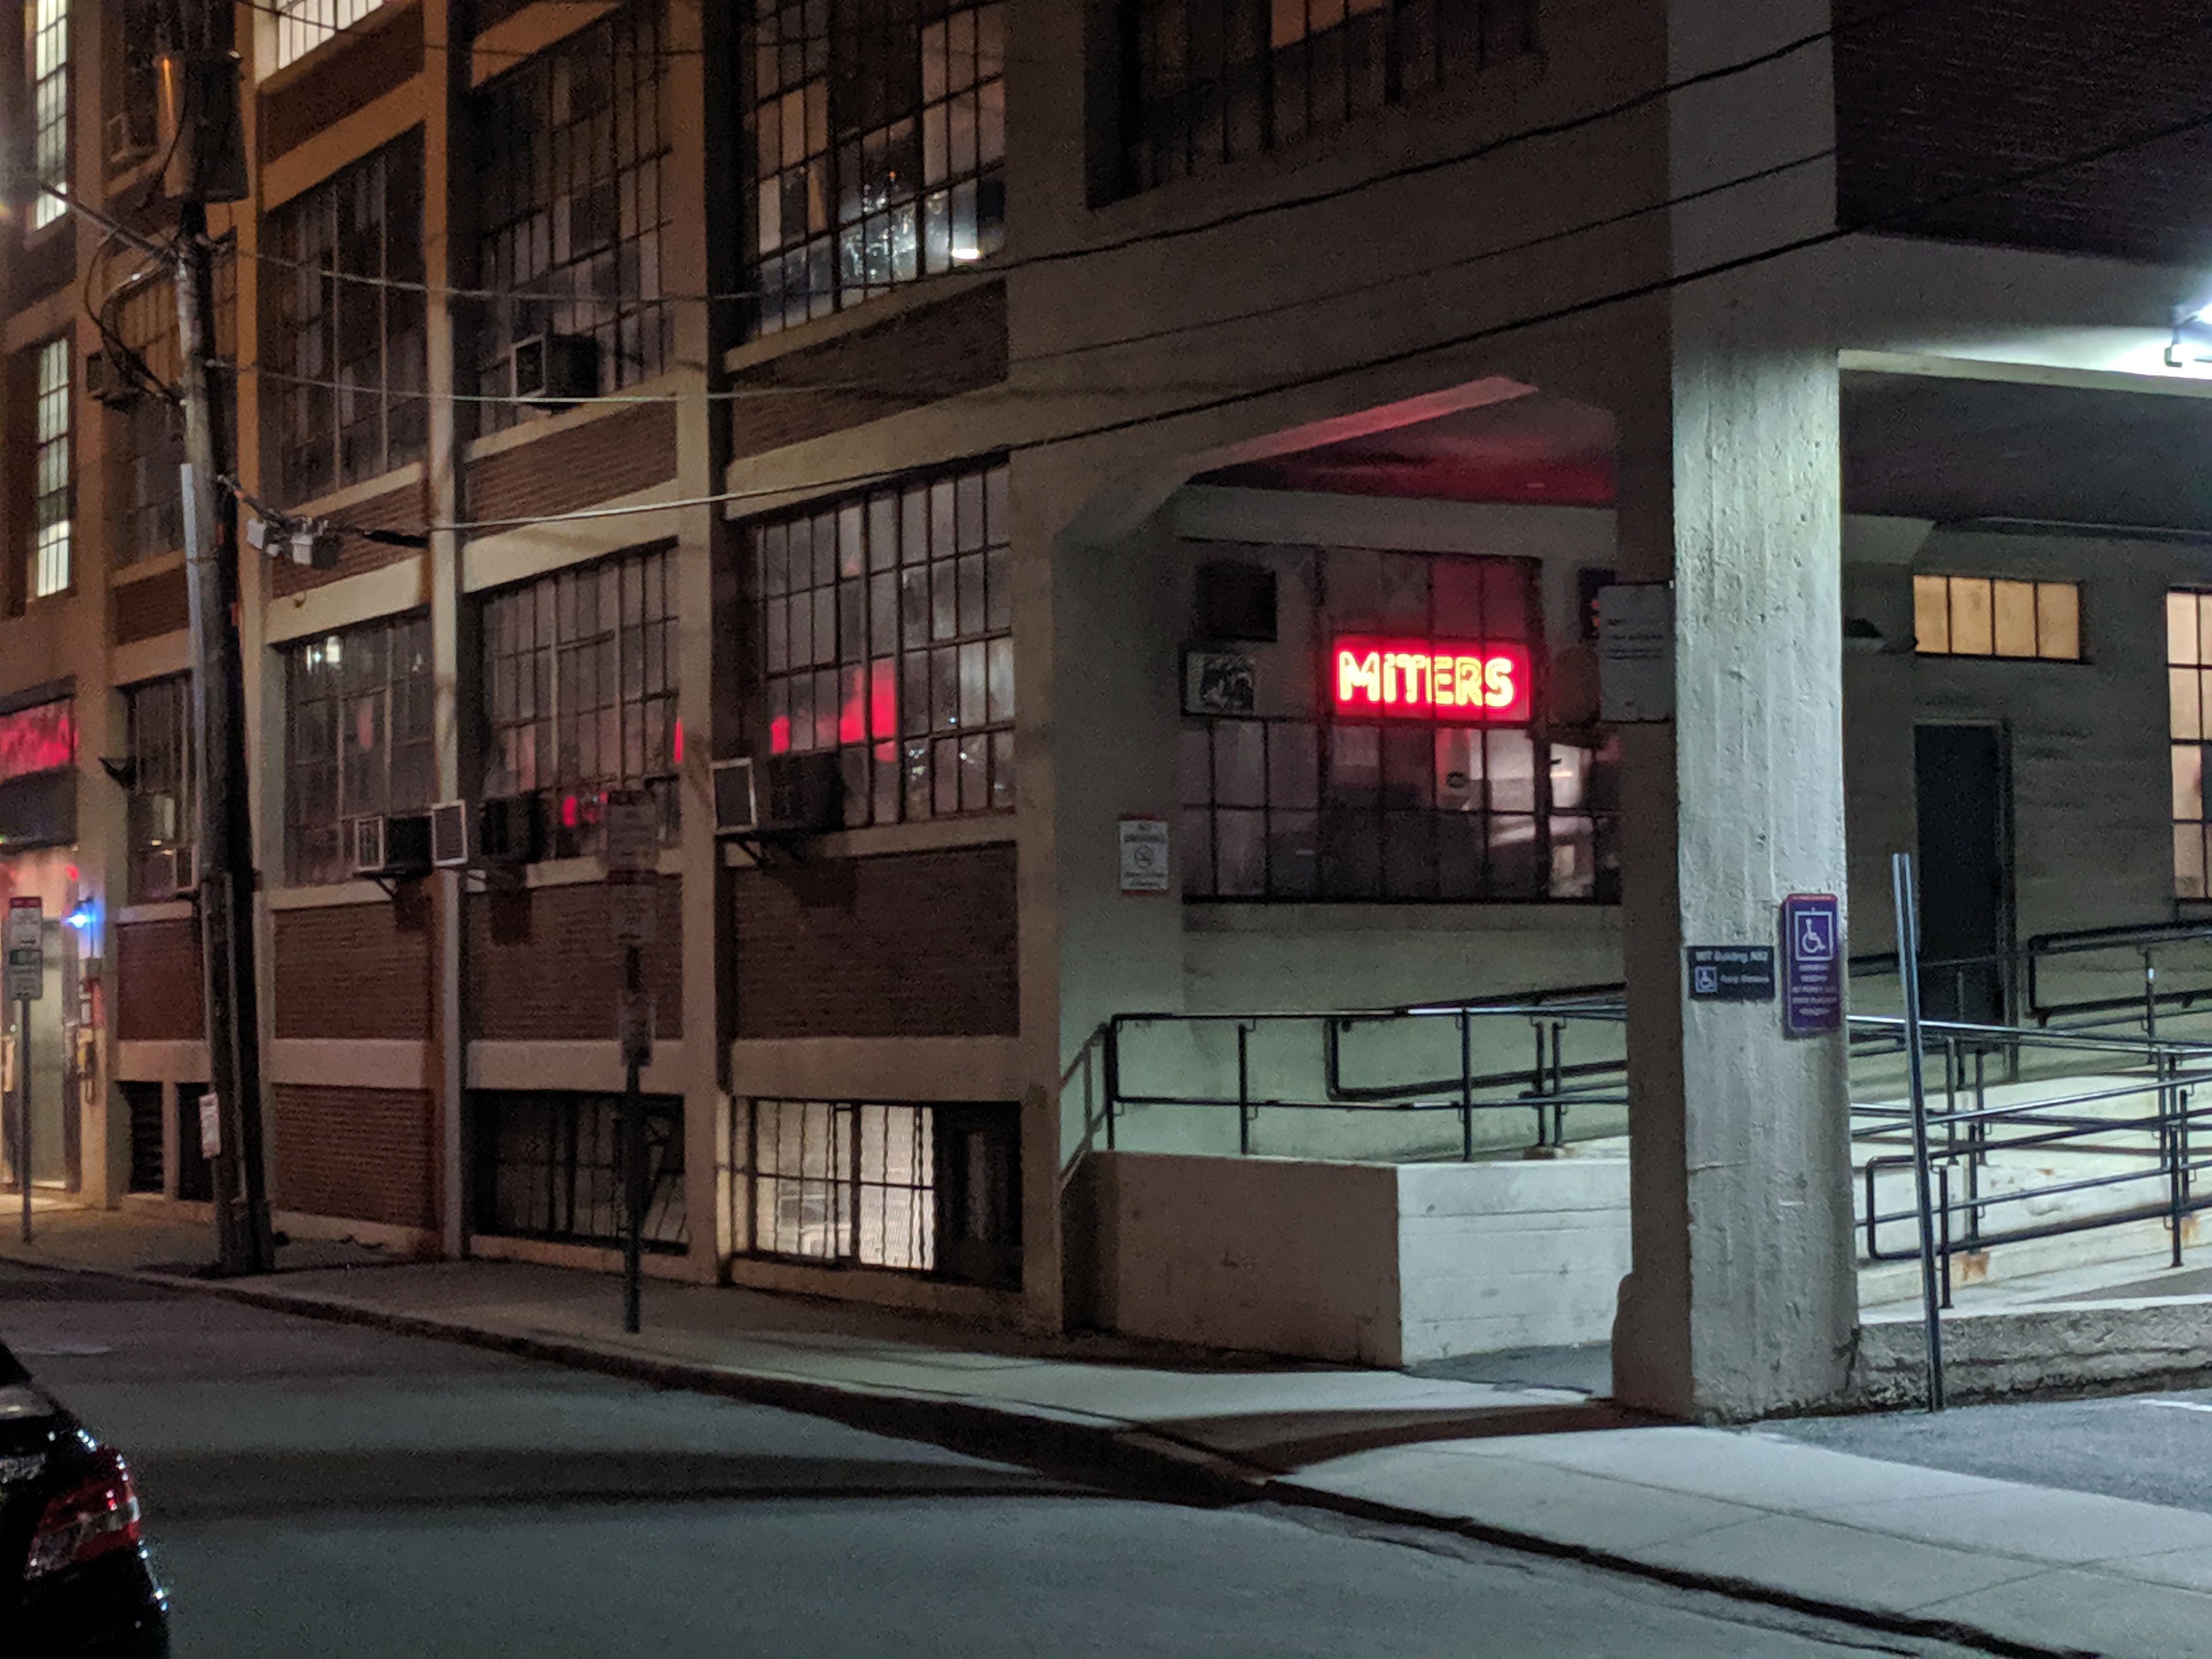
In my opinion a key component in setting the feel for a hacker space is the sign. I finally made a decision to build a sign for MITERS that lives up to the space and the projects that are made there.
Processes Applied:


Summary:
This project was started after playing around with these new fancy LED strips (12v Silicone tube LED strips) on my bike light setup which I wrote about in the 2019 summer edition of the MITERS Journal. The goal now being to create a fancy LED sign for the hacker-space/MIT club MITERS.
The sign's design is a bit straightforward but is quite a time intensive build. The focus of the design was to create a robust and easy to repair sign so that it might stand the test of time against the ravages of a hacker space. The design incorporates two laser cut sheets of acrylic that mounts to aluminum angle stock.
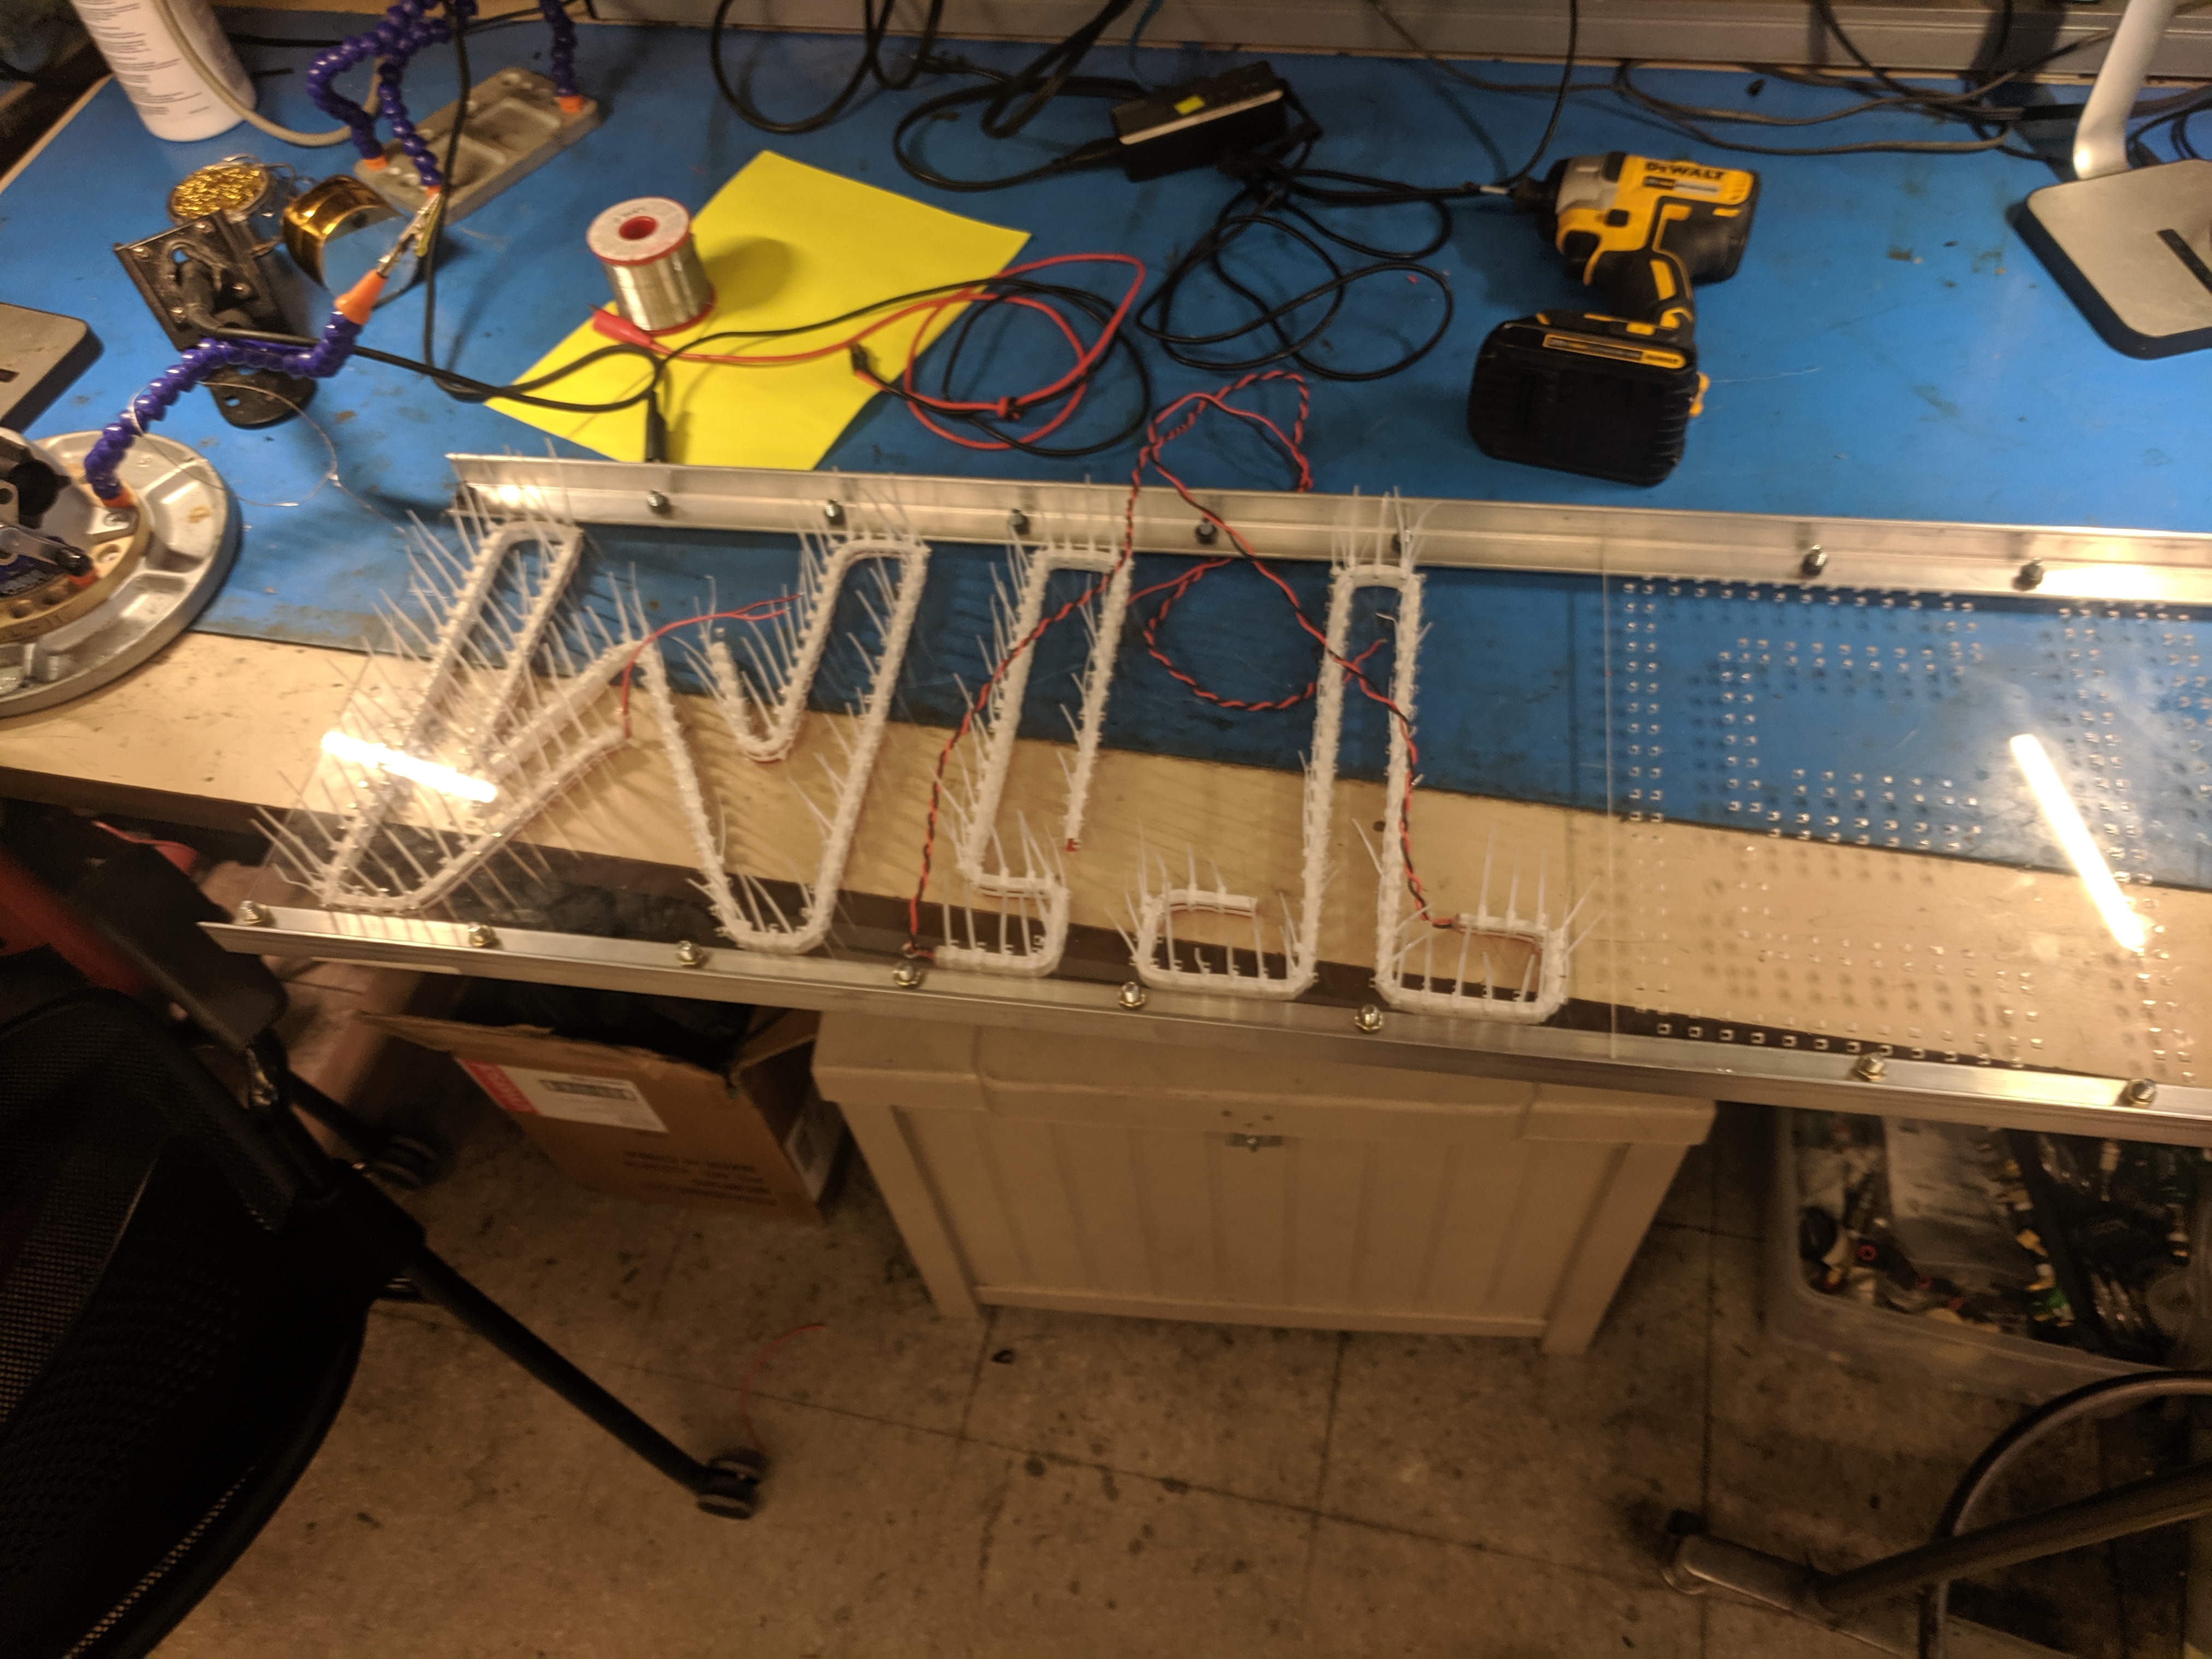
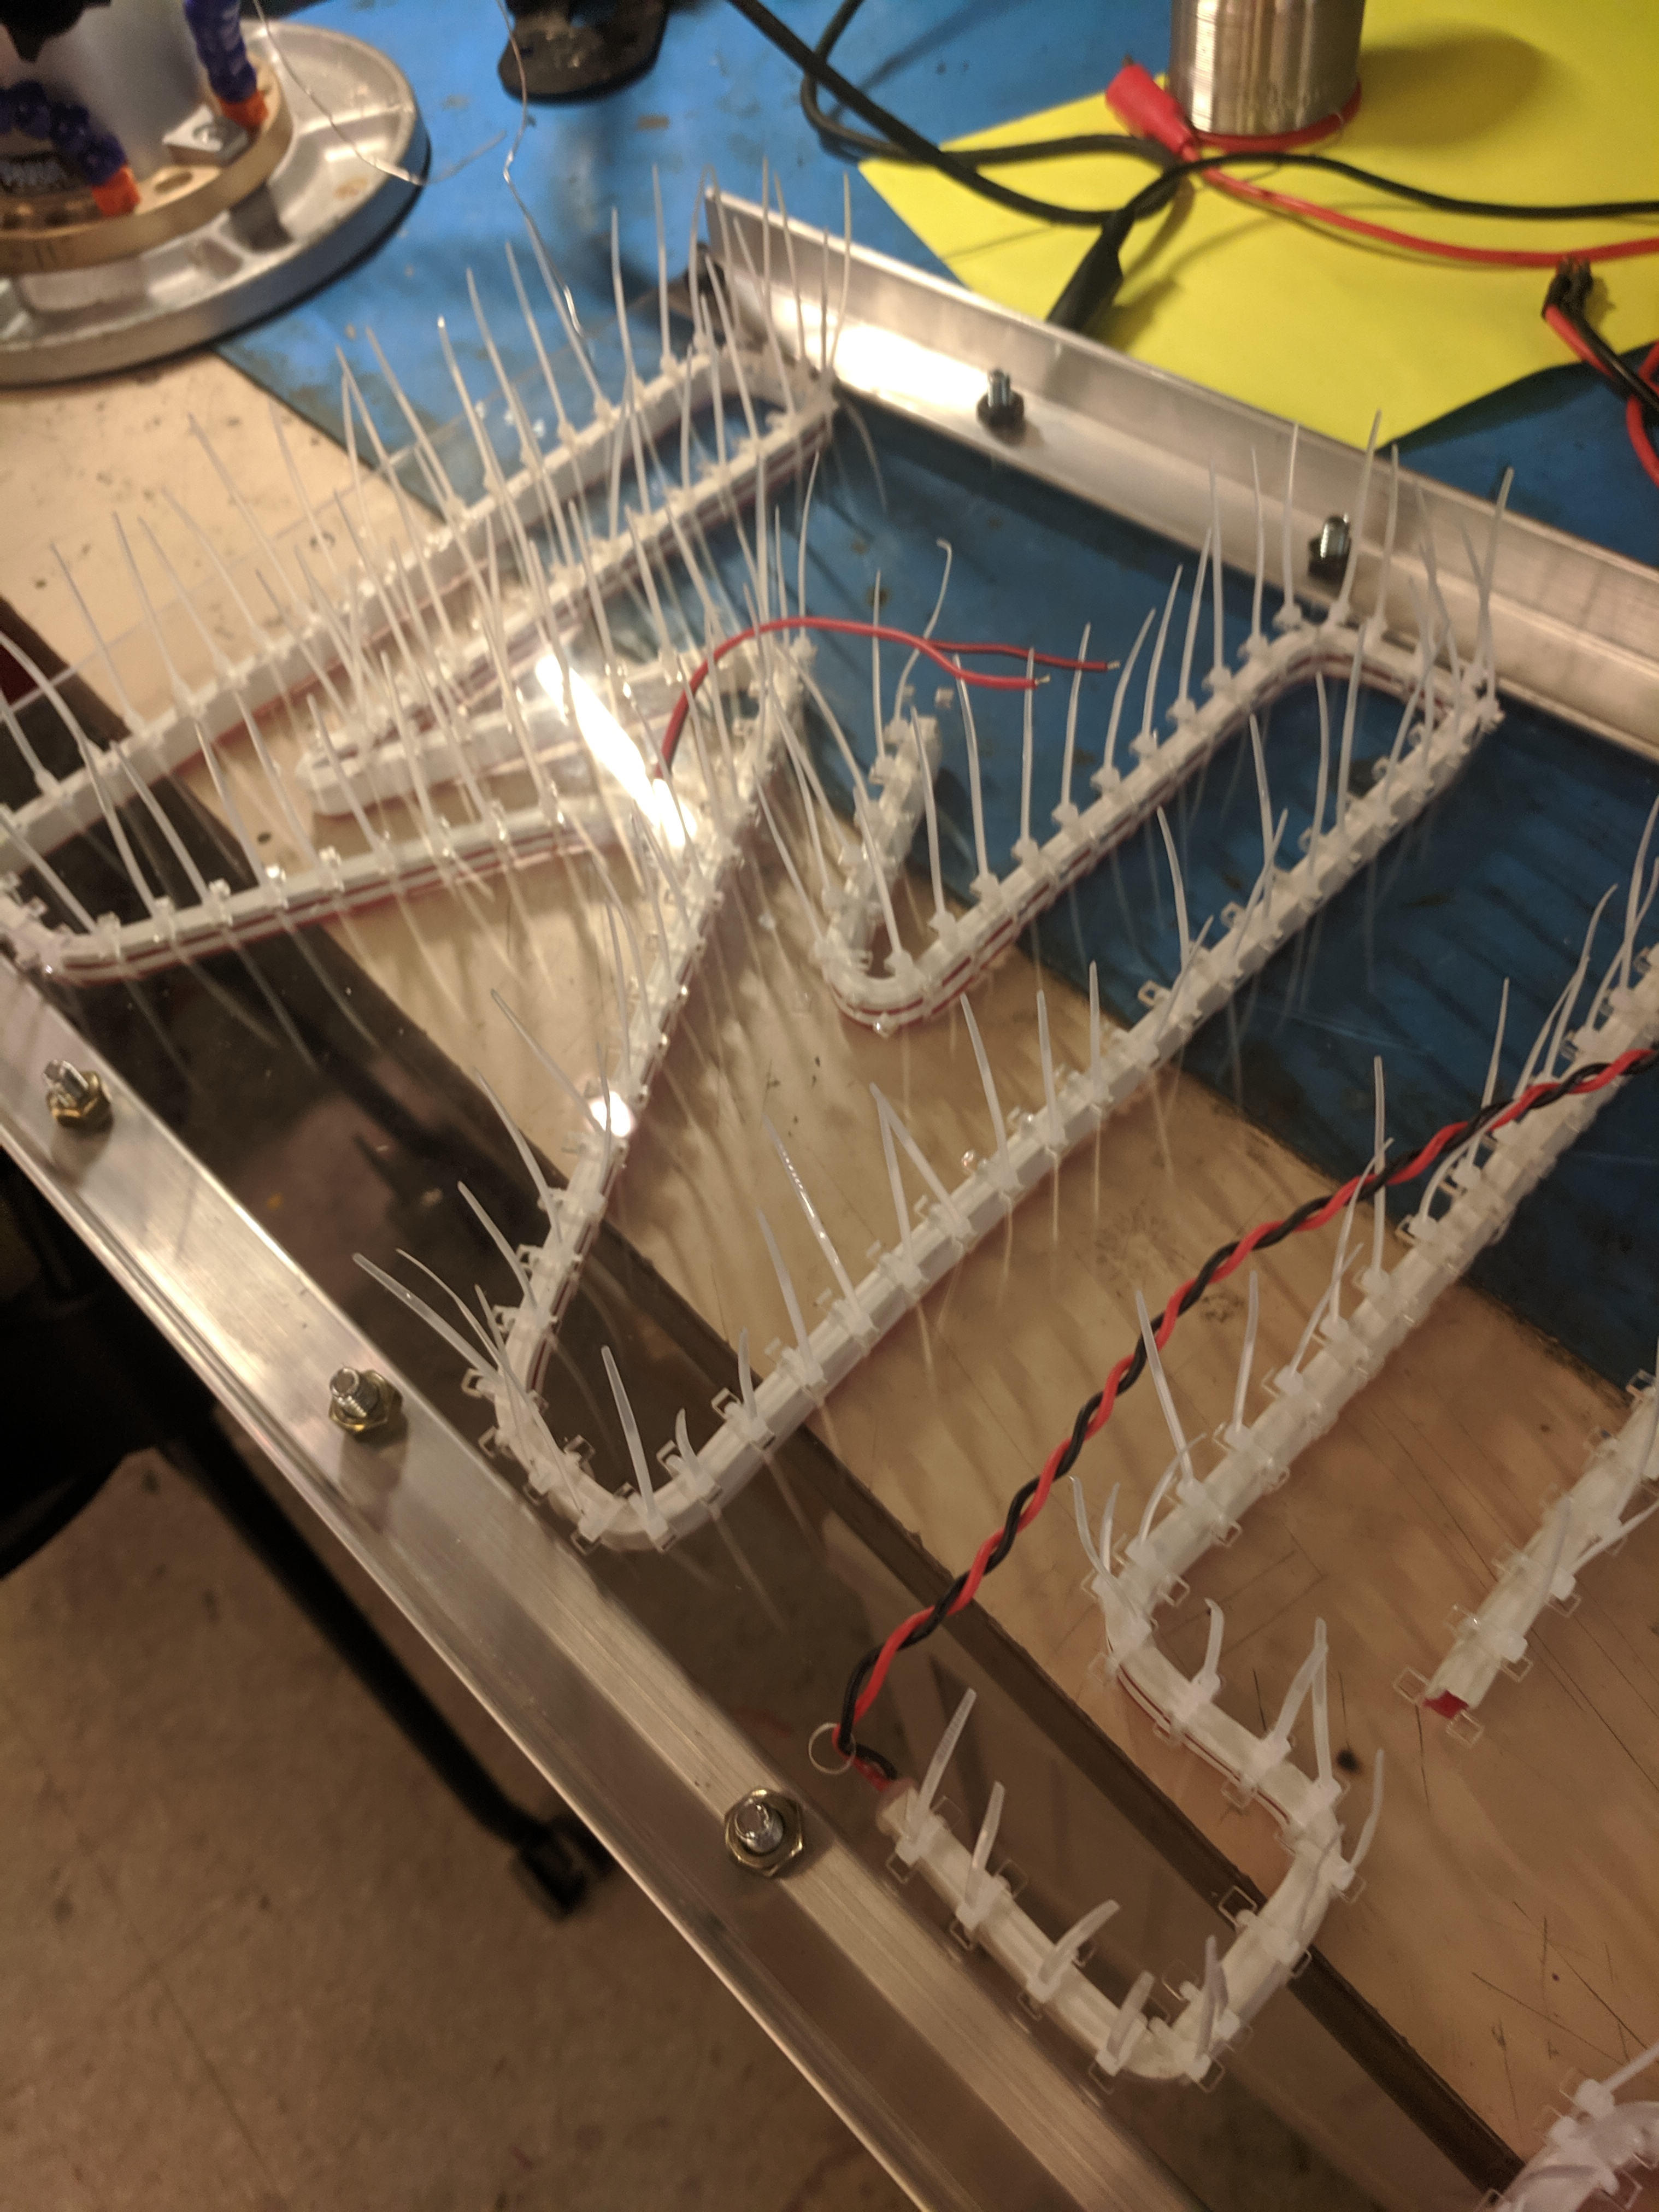
The Letters: For the layout of the letters I used the font Library 3 AM and carefully setup holes along the path of the letters in Solidworks. To achieve this I had to convert the text into lines and points. From there I created an array of holes spaced 6mm apart (Width of the LED strip) and slightly larger than the small clear zip-ties I purchased from ebay.
Mounting: Initially I designed the LED strips to be temporarily mounted by zipties and glue the LED strips directly to the acrylic sheets. But after I had laid out the first letter and displayed the result to my roommates, a simple reply from one of them "Man you can't even see the zip ties! unless you are a few inches from the sign.". After a few minutes of talking, it just made sense to drop the use of glue to allow for simple replacement of the LED strips in case they die.
Frame: The frame is a pretty straightforward design, multiple bolts to hold the acrylic sheets to the aluminium angle stock. This makes the sign more rigid as well as creating a point for mounting hardware which was eventually installed; simple chain and bolt setup.
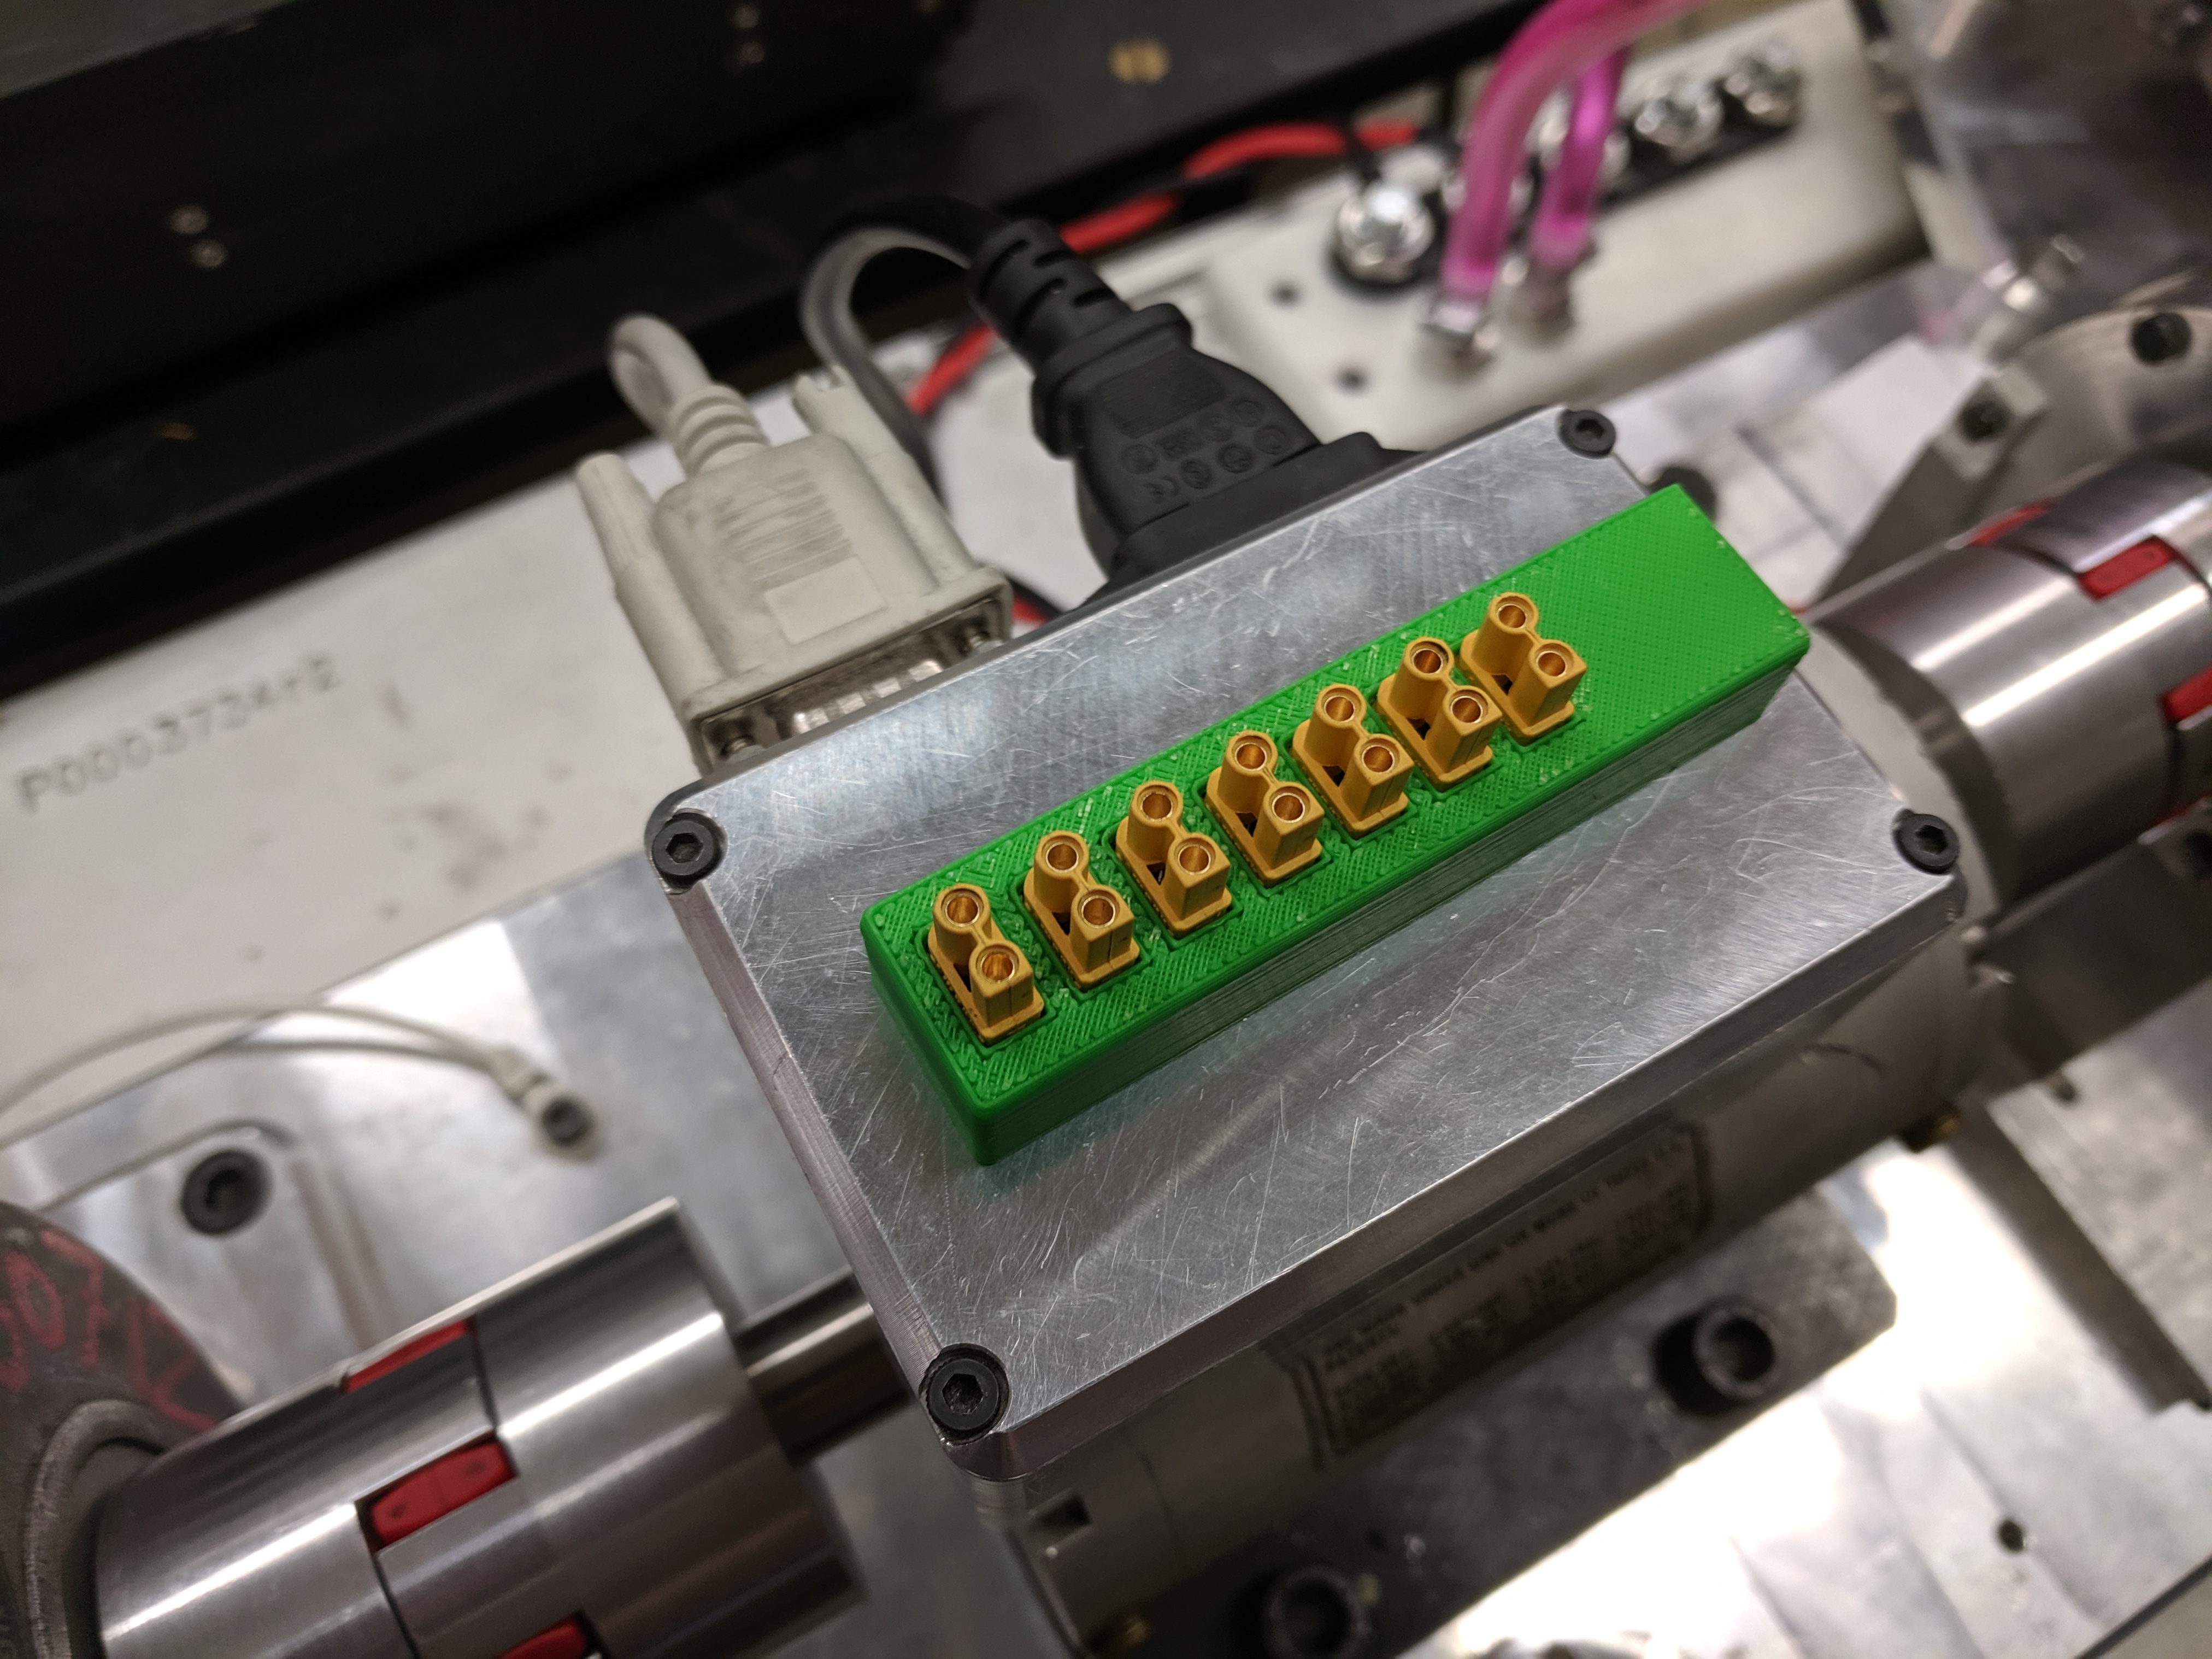
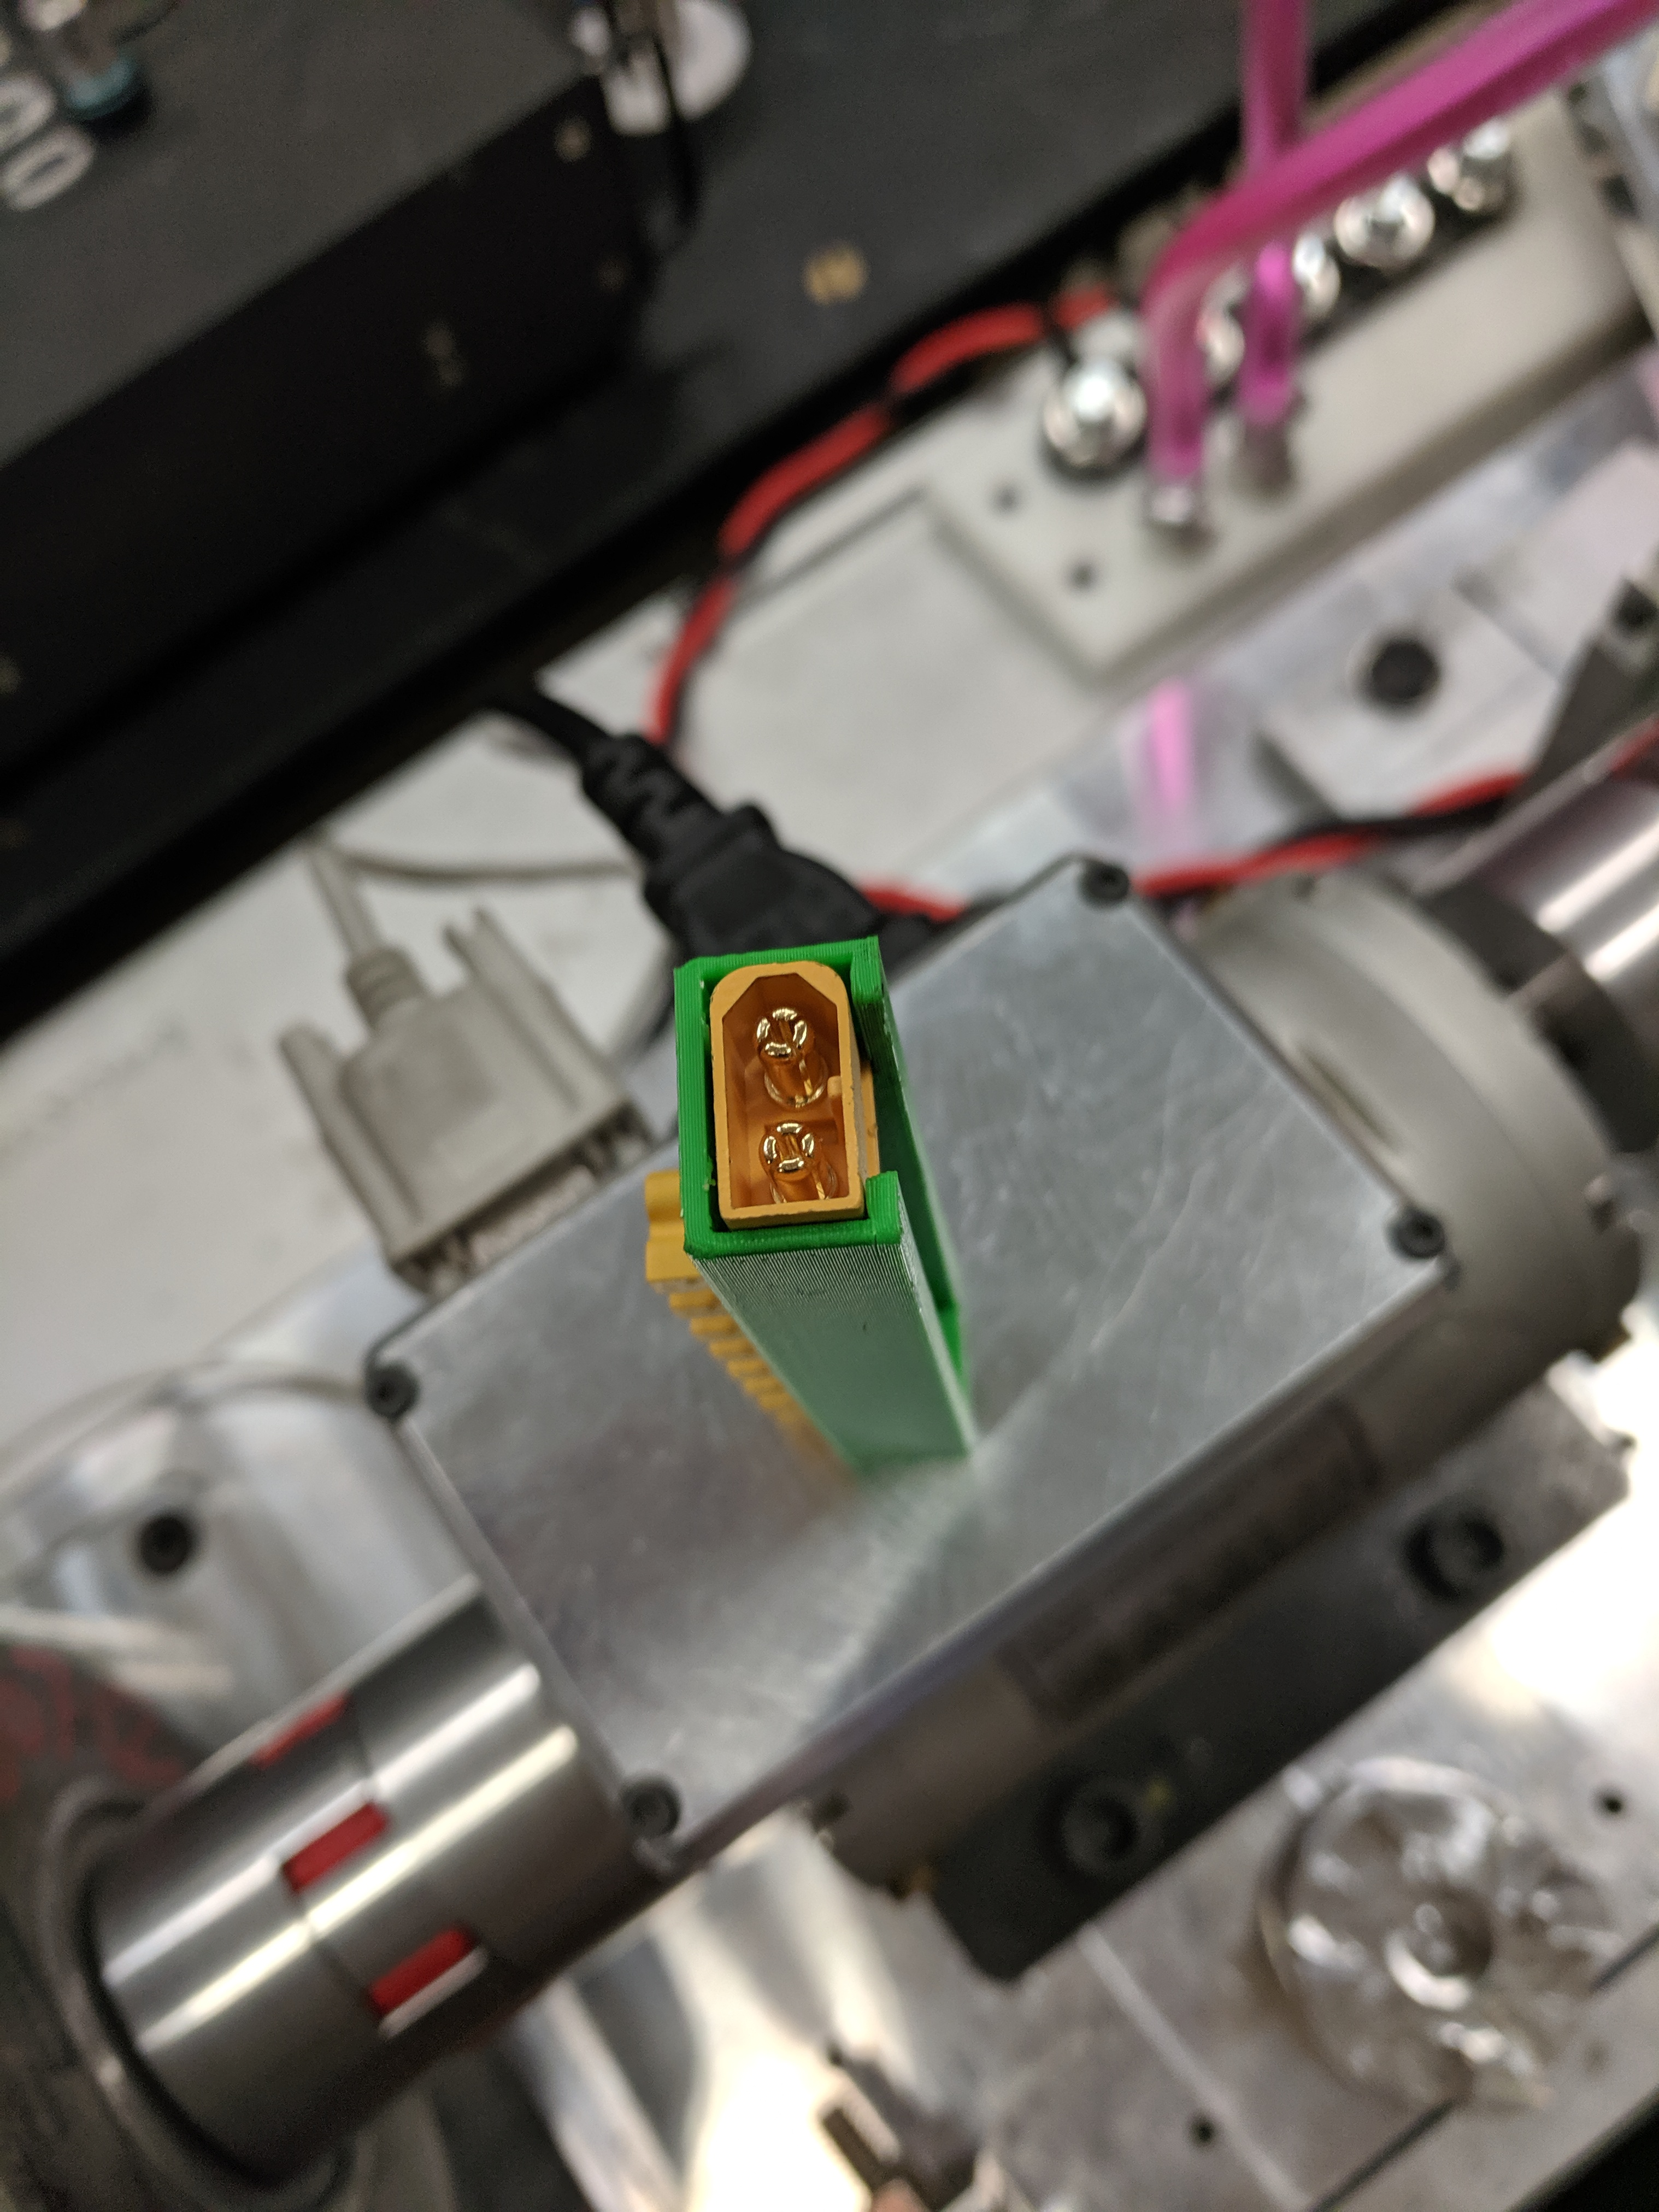
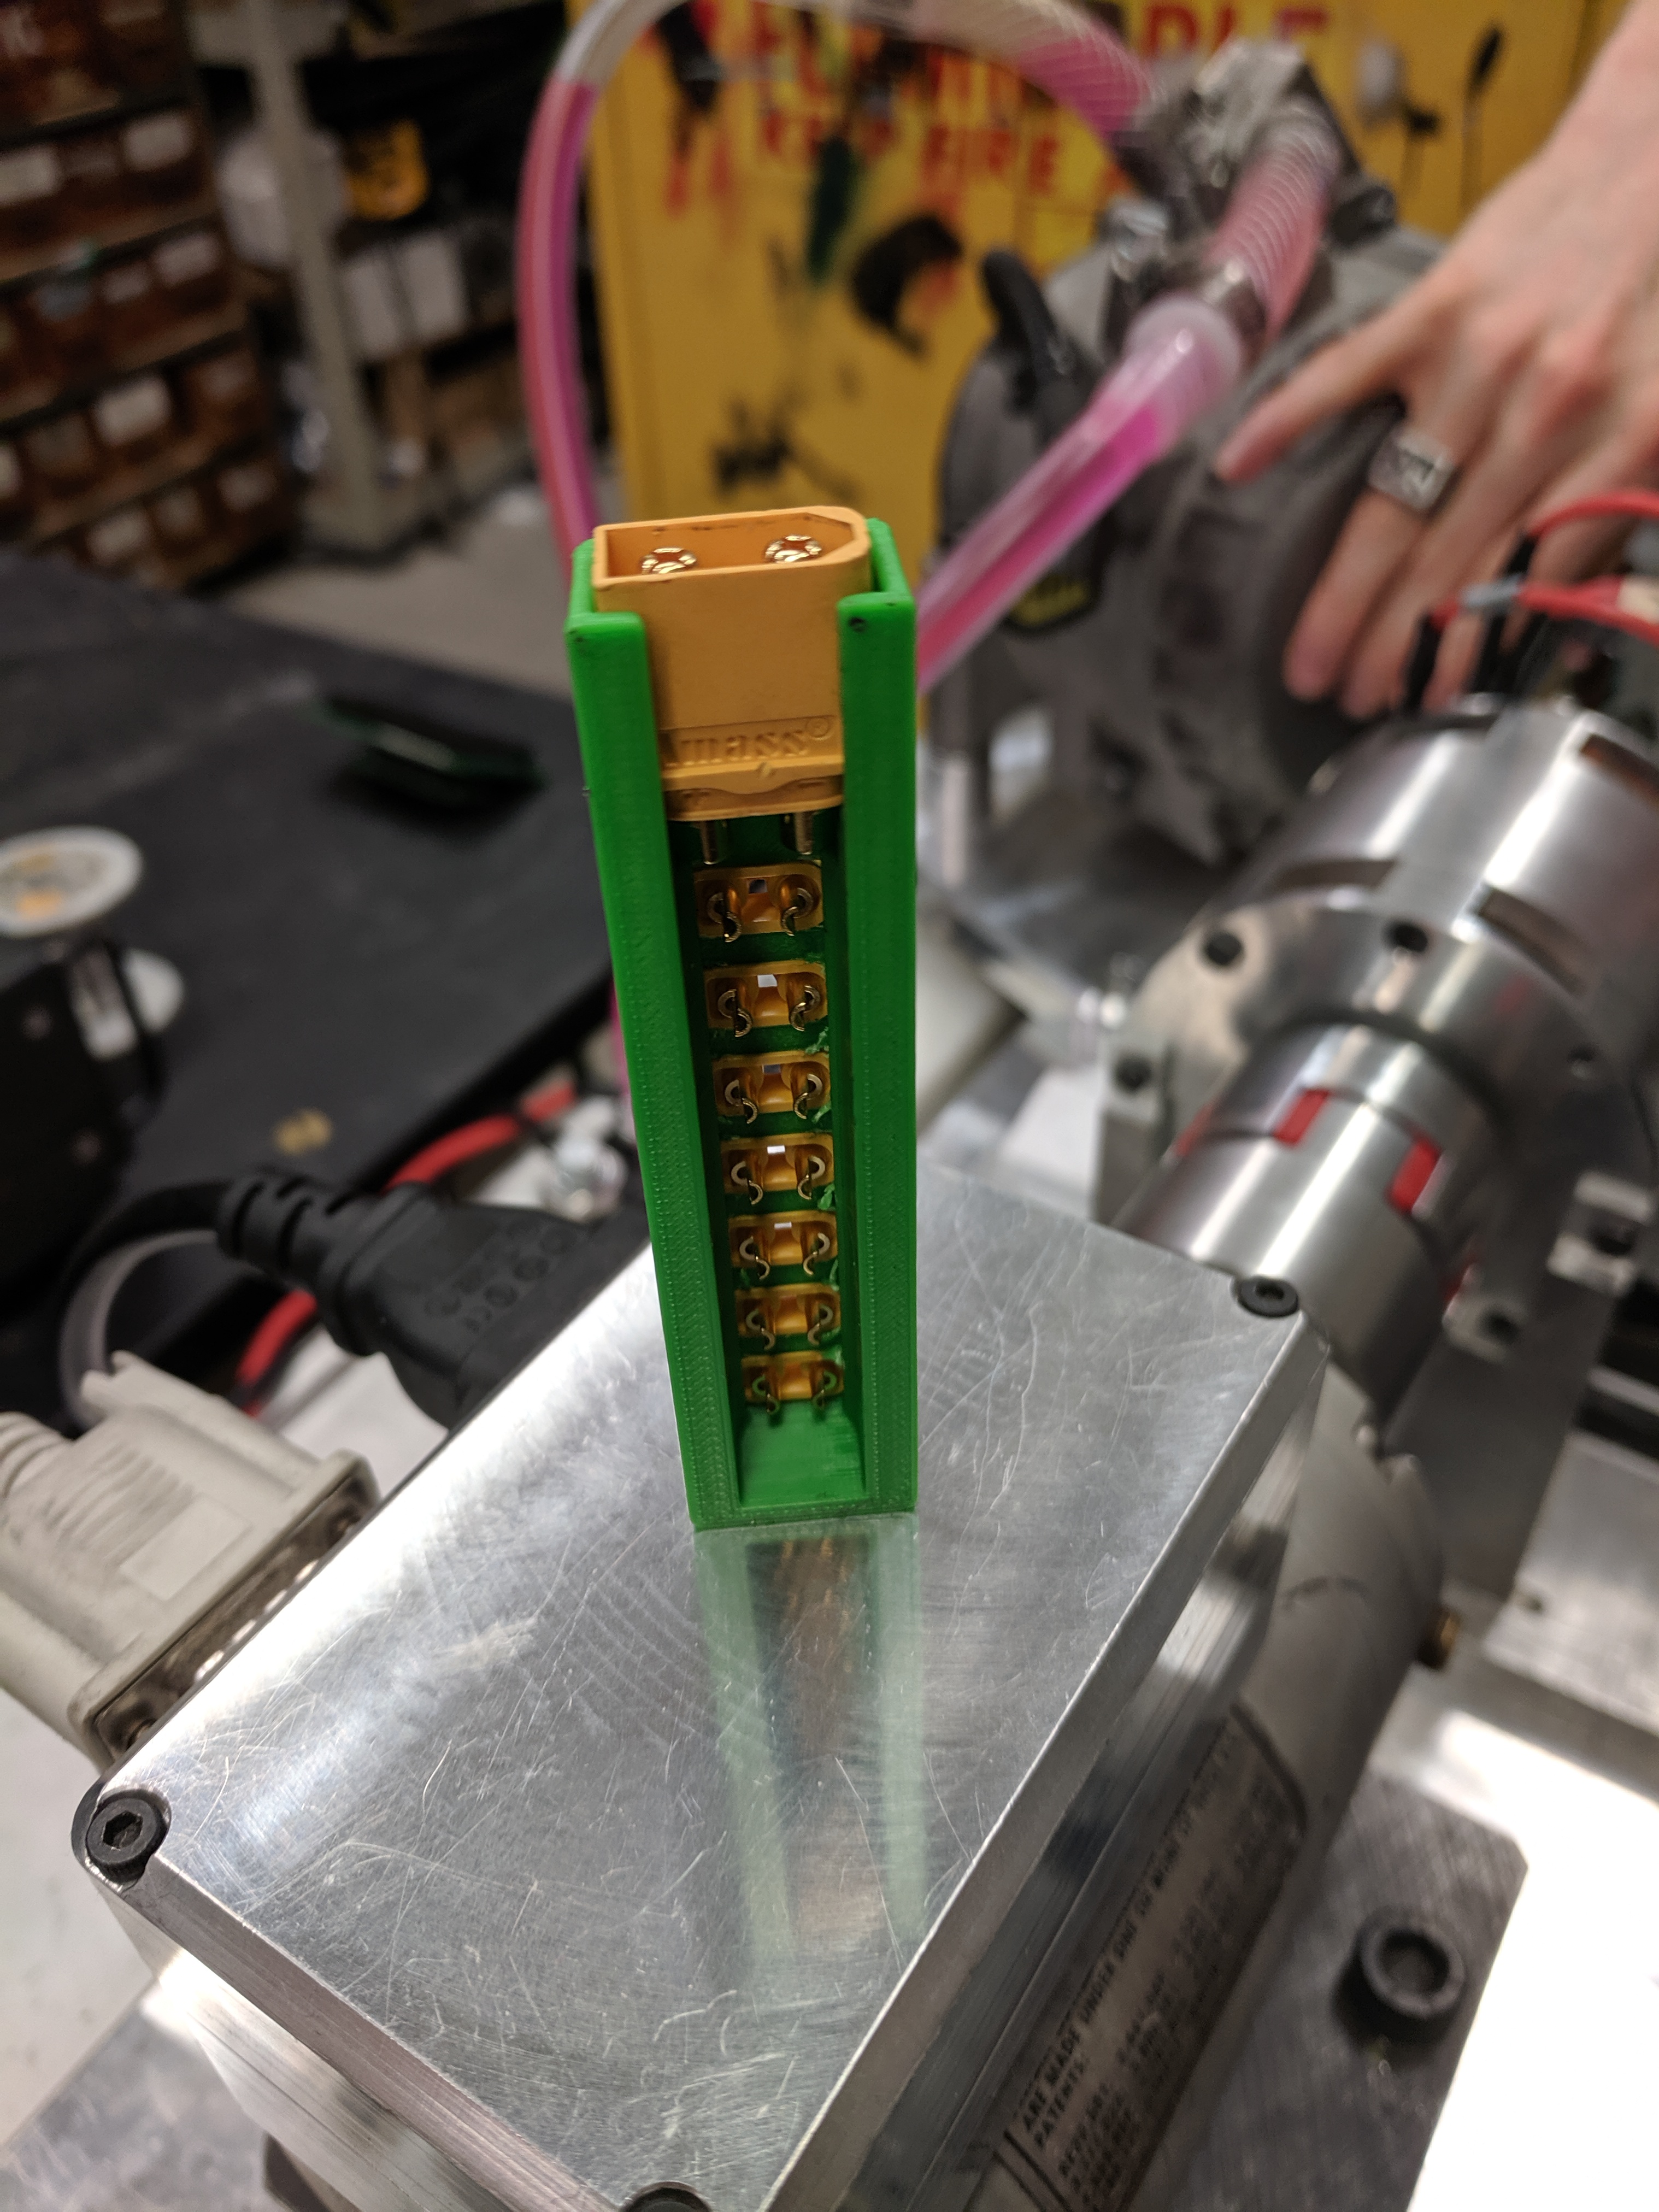
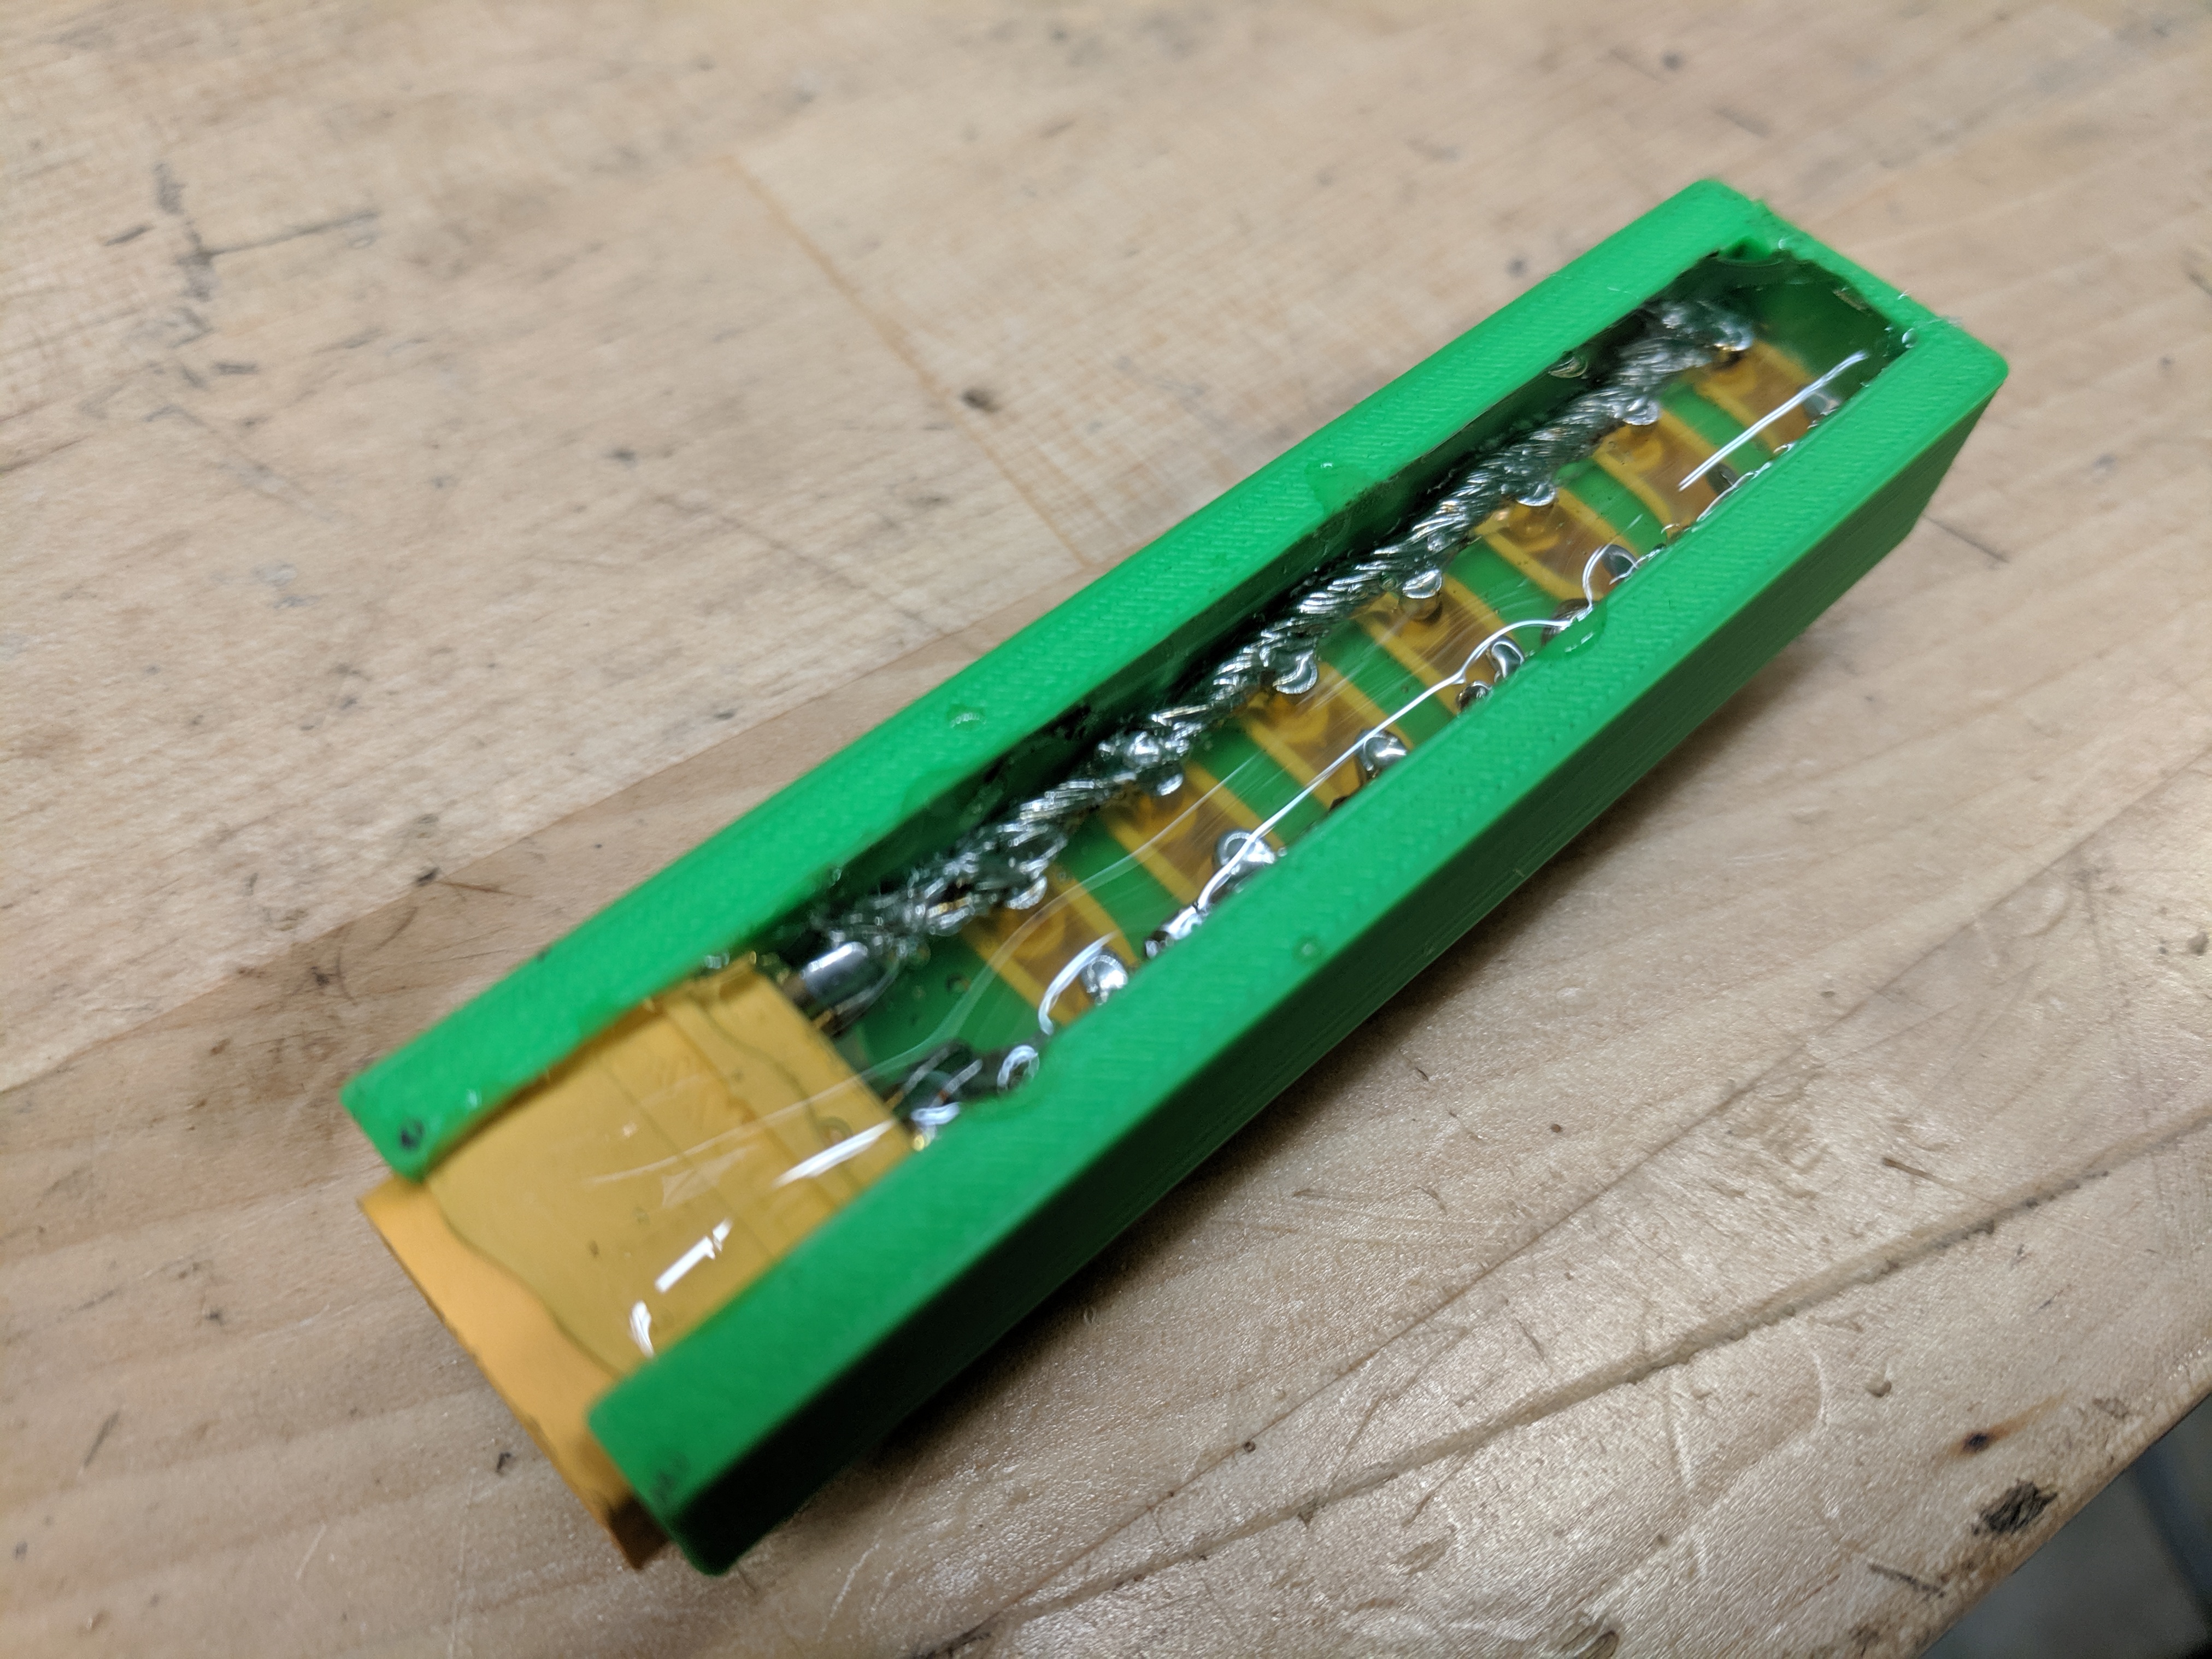
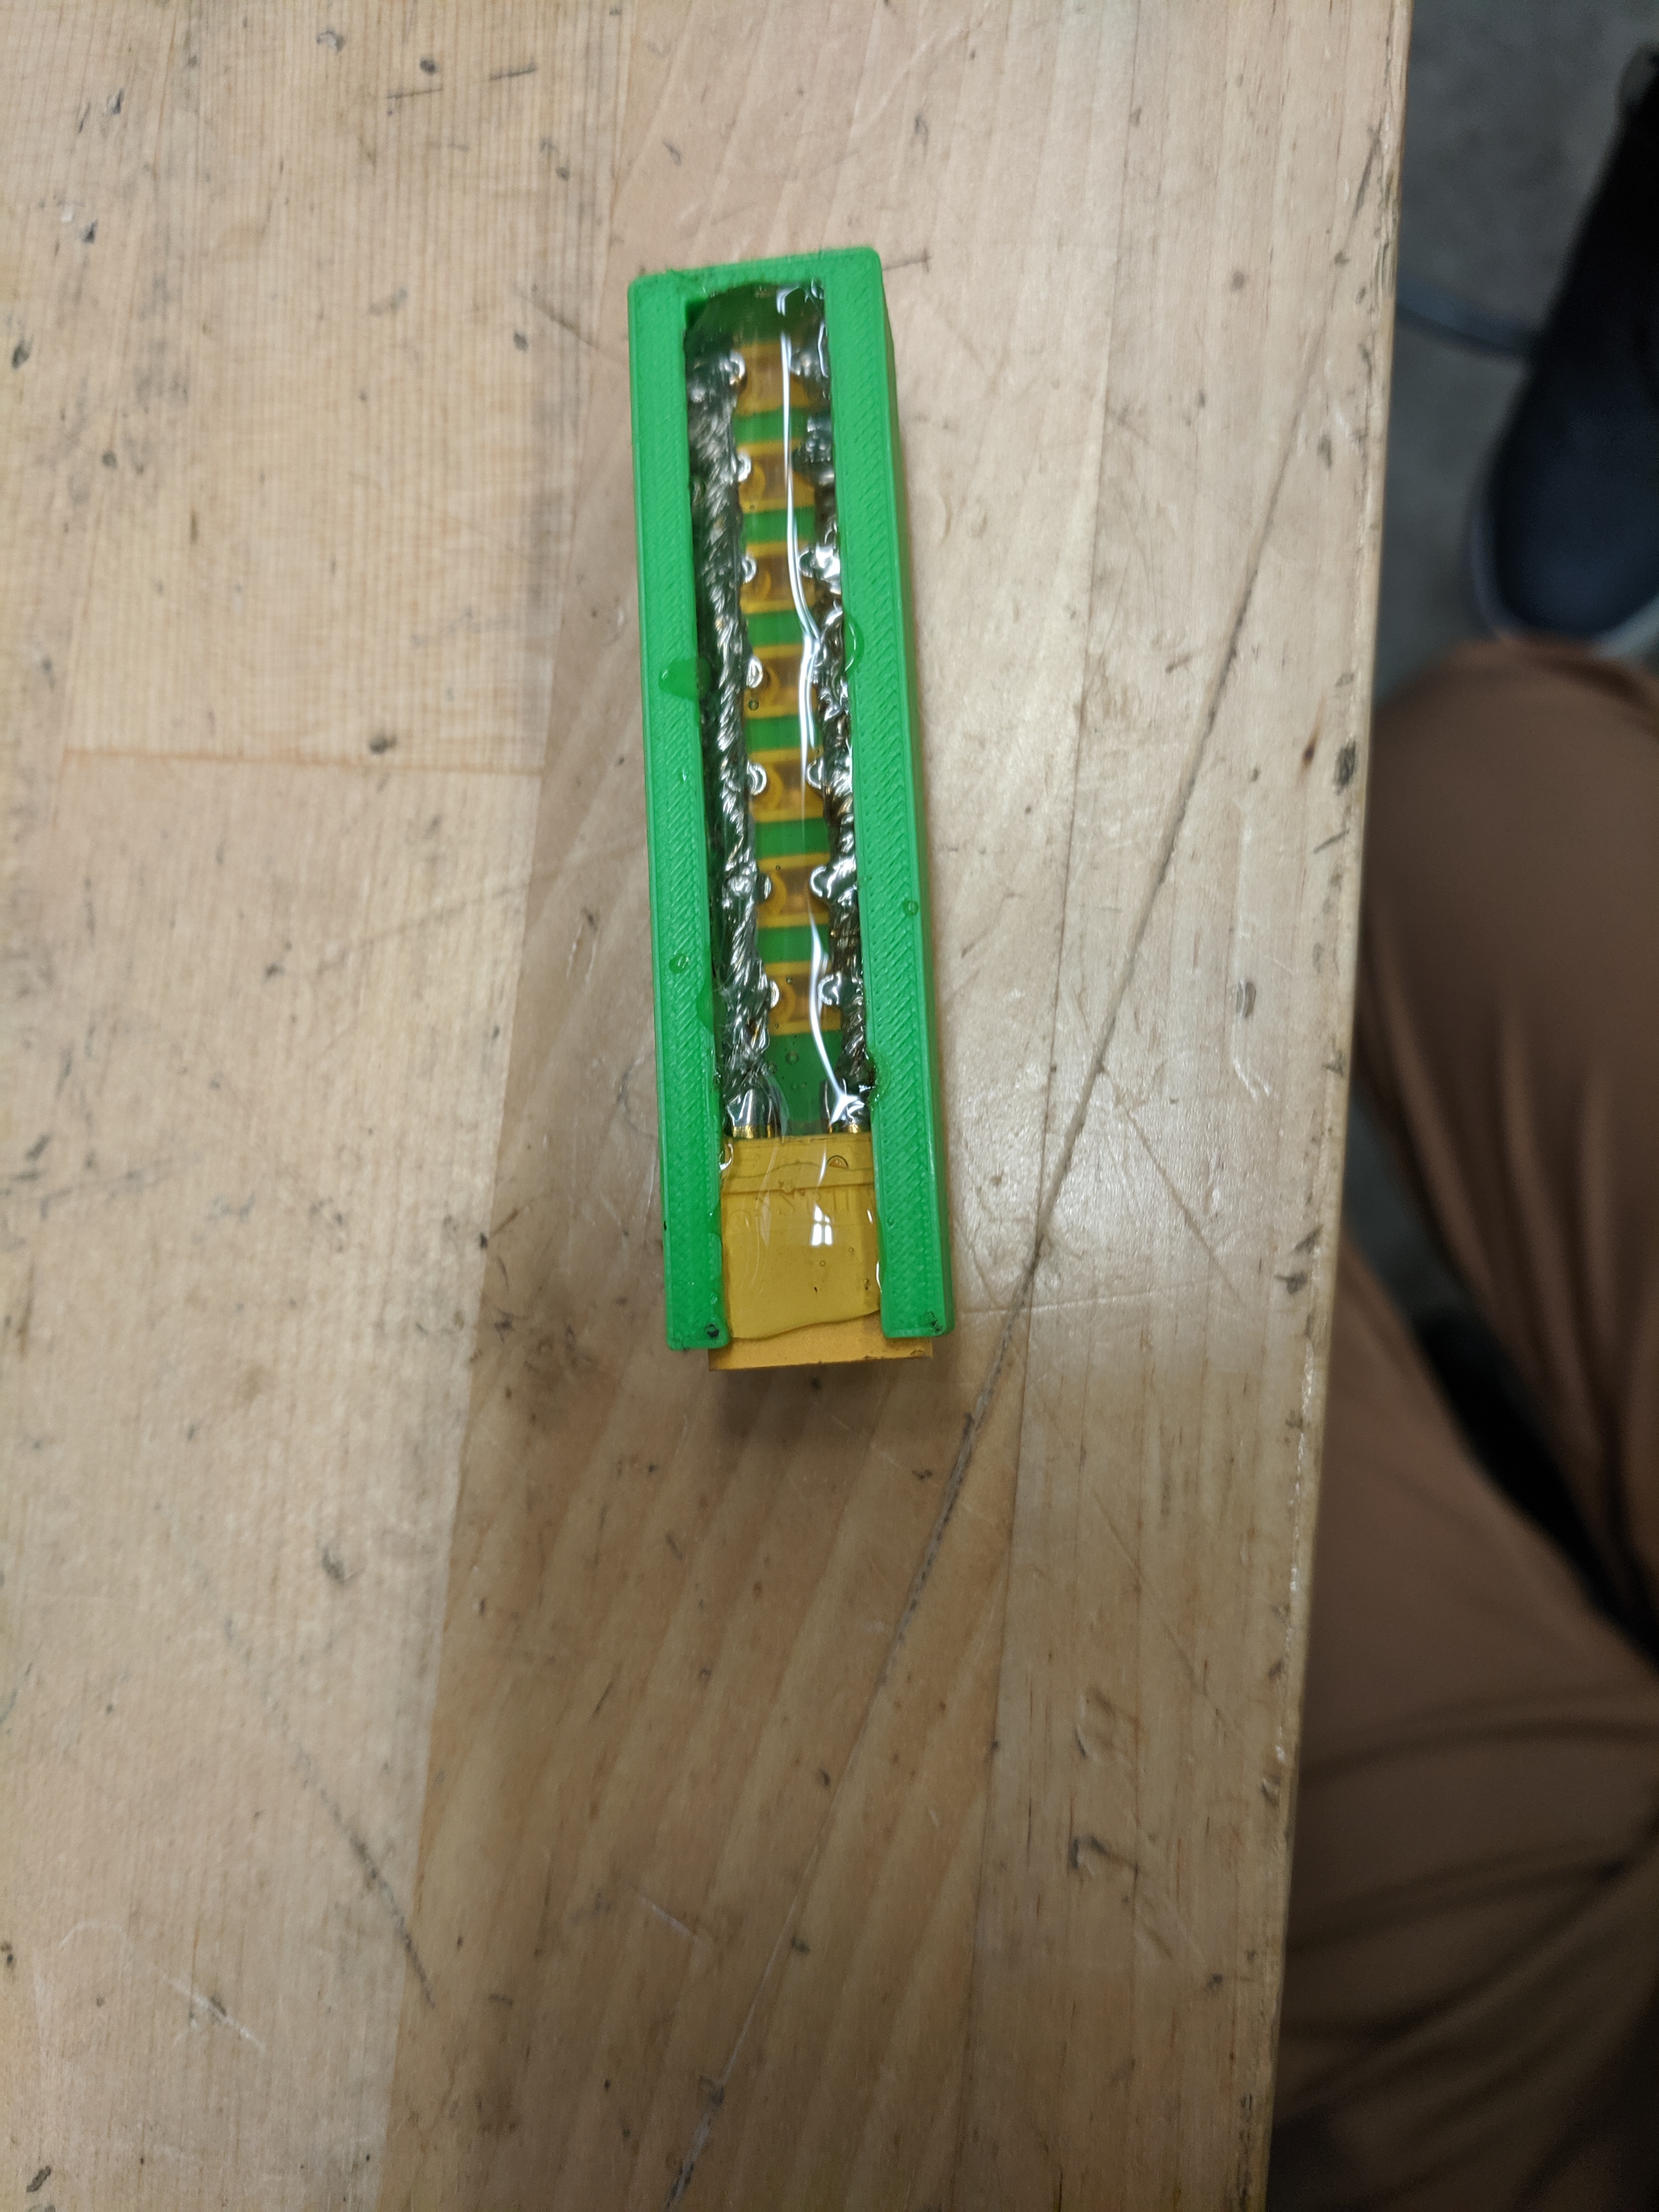
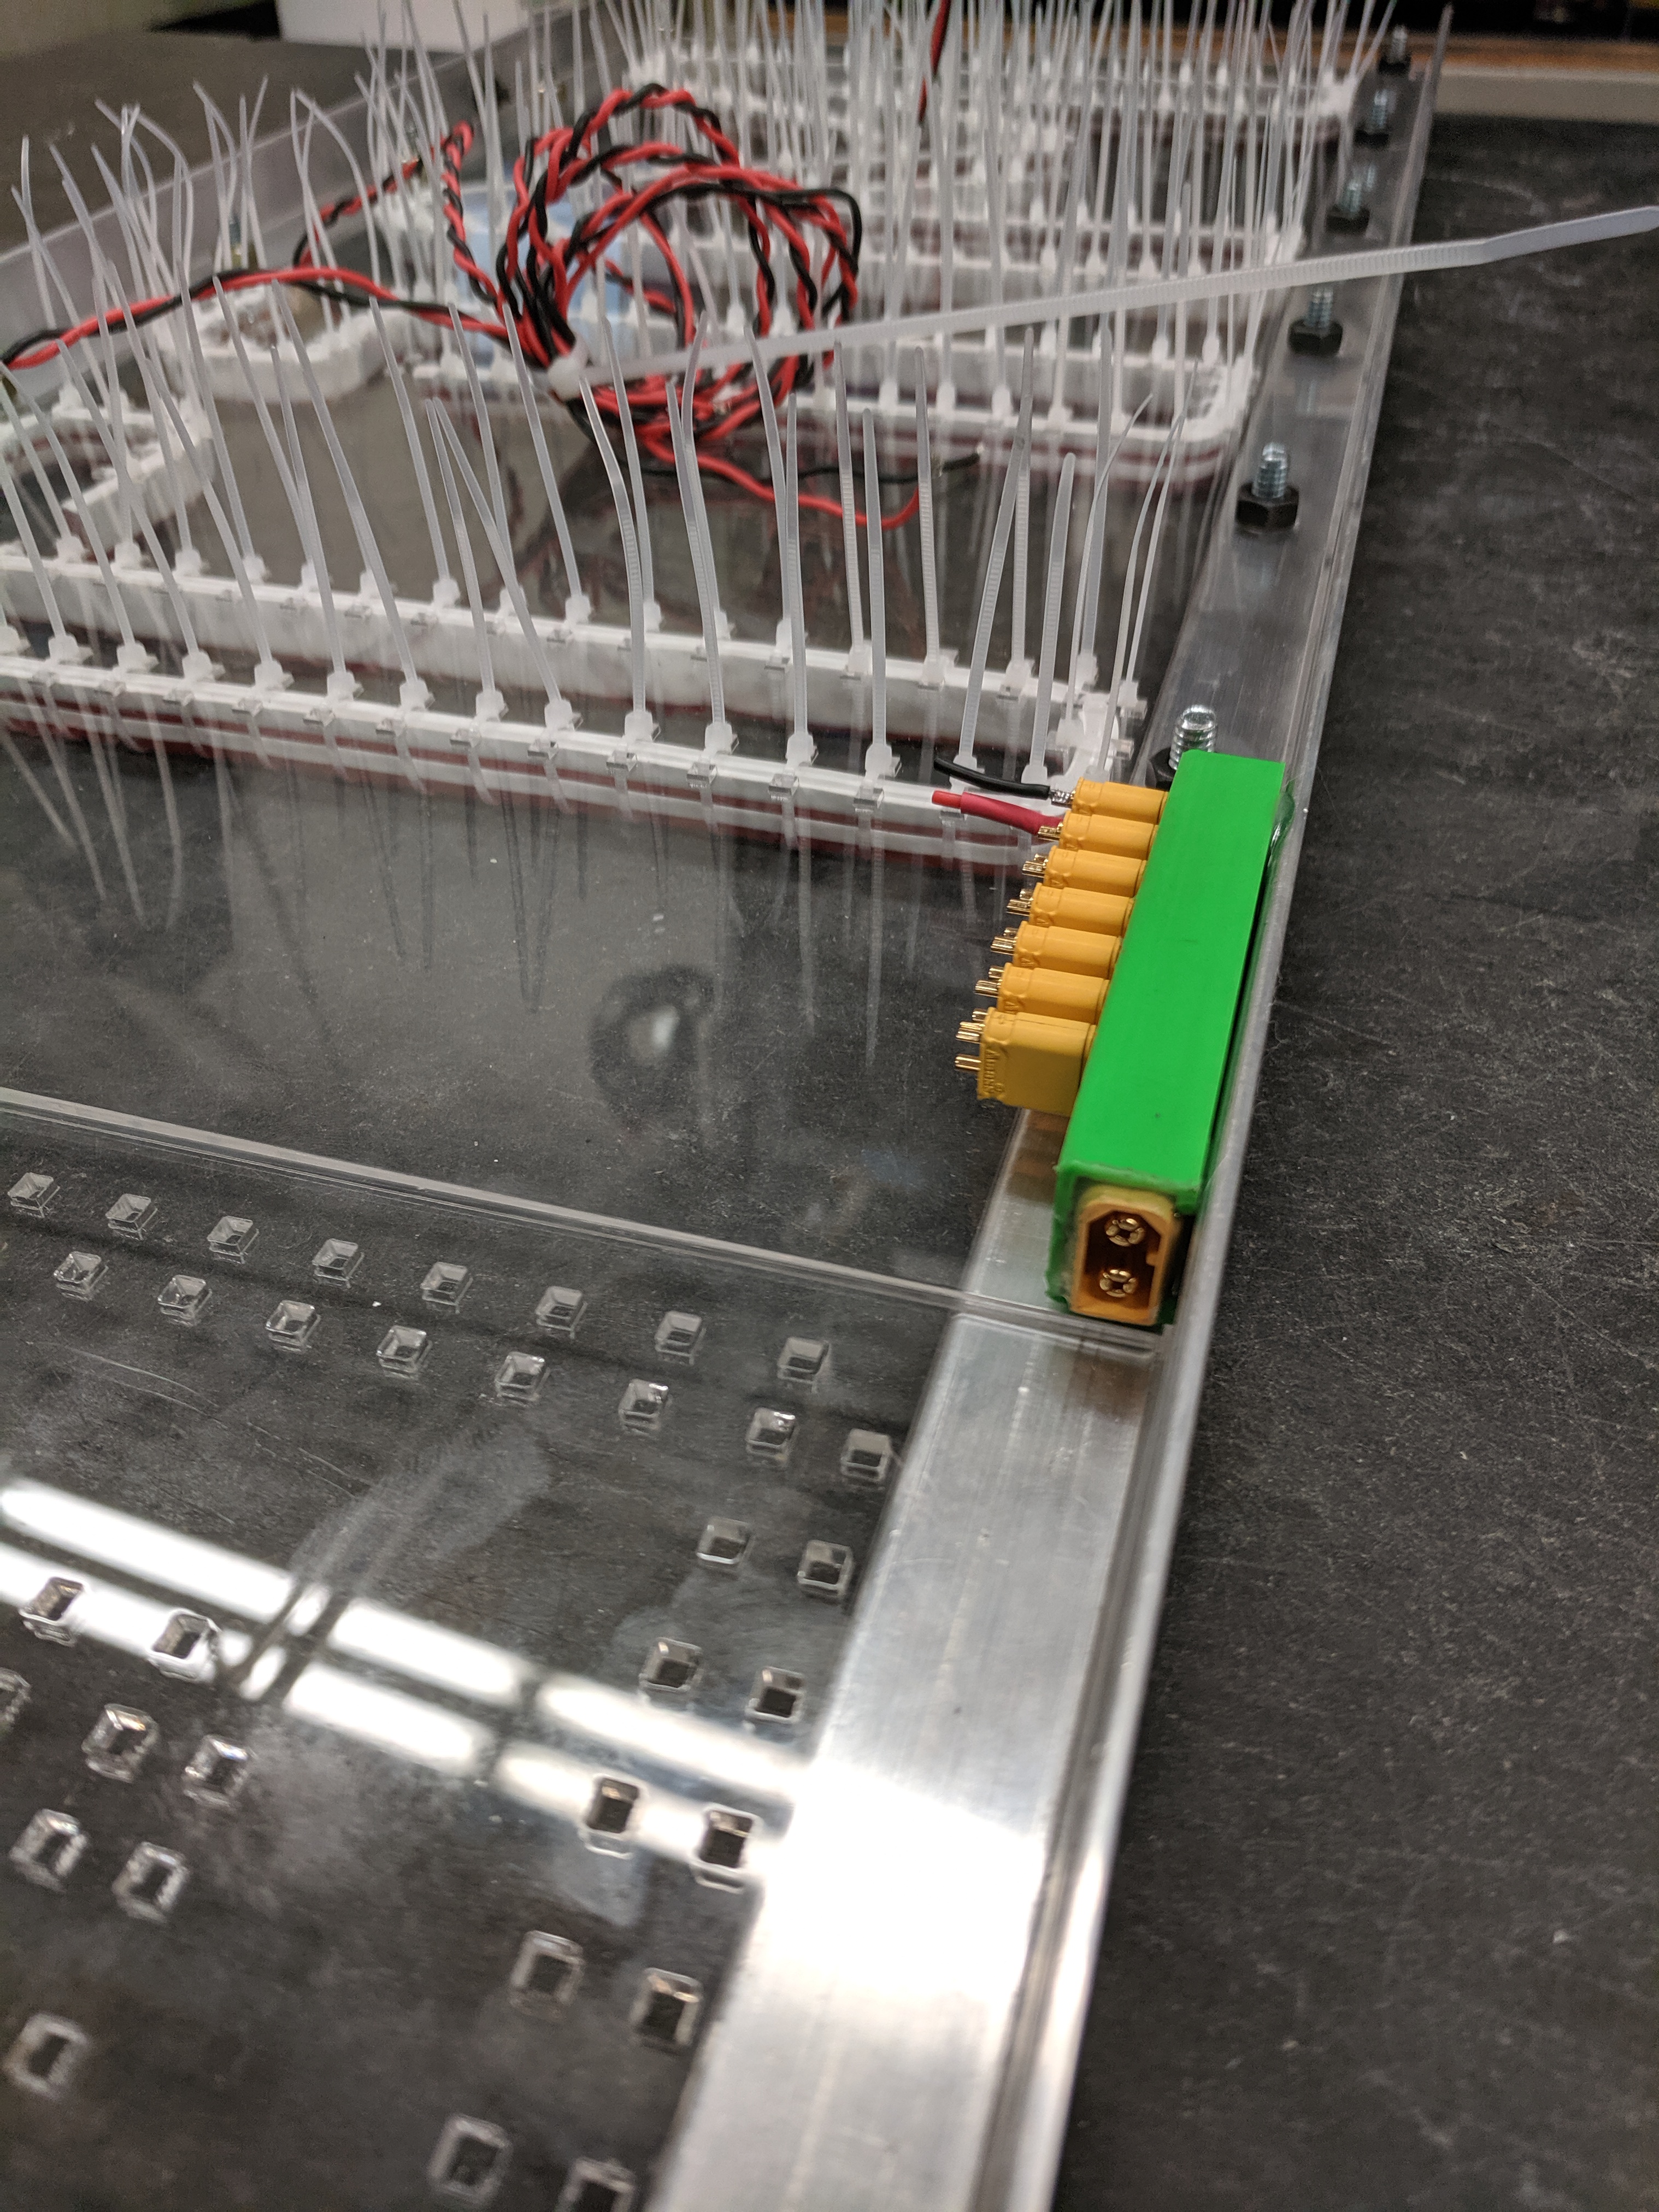
Electrical: Due to the nature of the LEDs (Mono-color) only two wires were needed, so I create a distribution hub with XT30's, an XT60, 3D printing, and Hot-glue potting. This distribution hub was directly powered from a Mean-well LED power supply.
The LED's themselves were cut to length, then a (+) and (-) lead were soldered on. I then used hotglue to fill in the hole, and finally I closed the end with heat shrink and a pair of pliers.
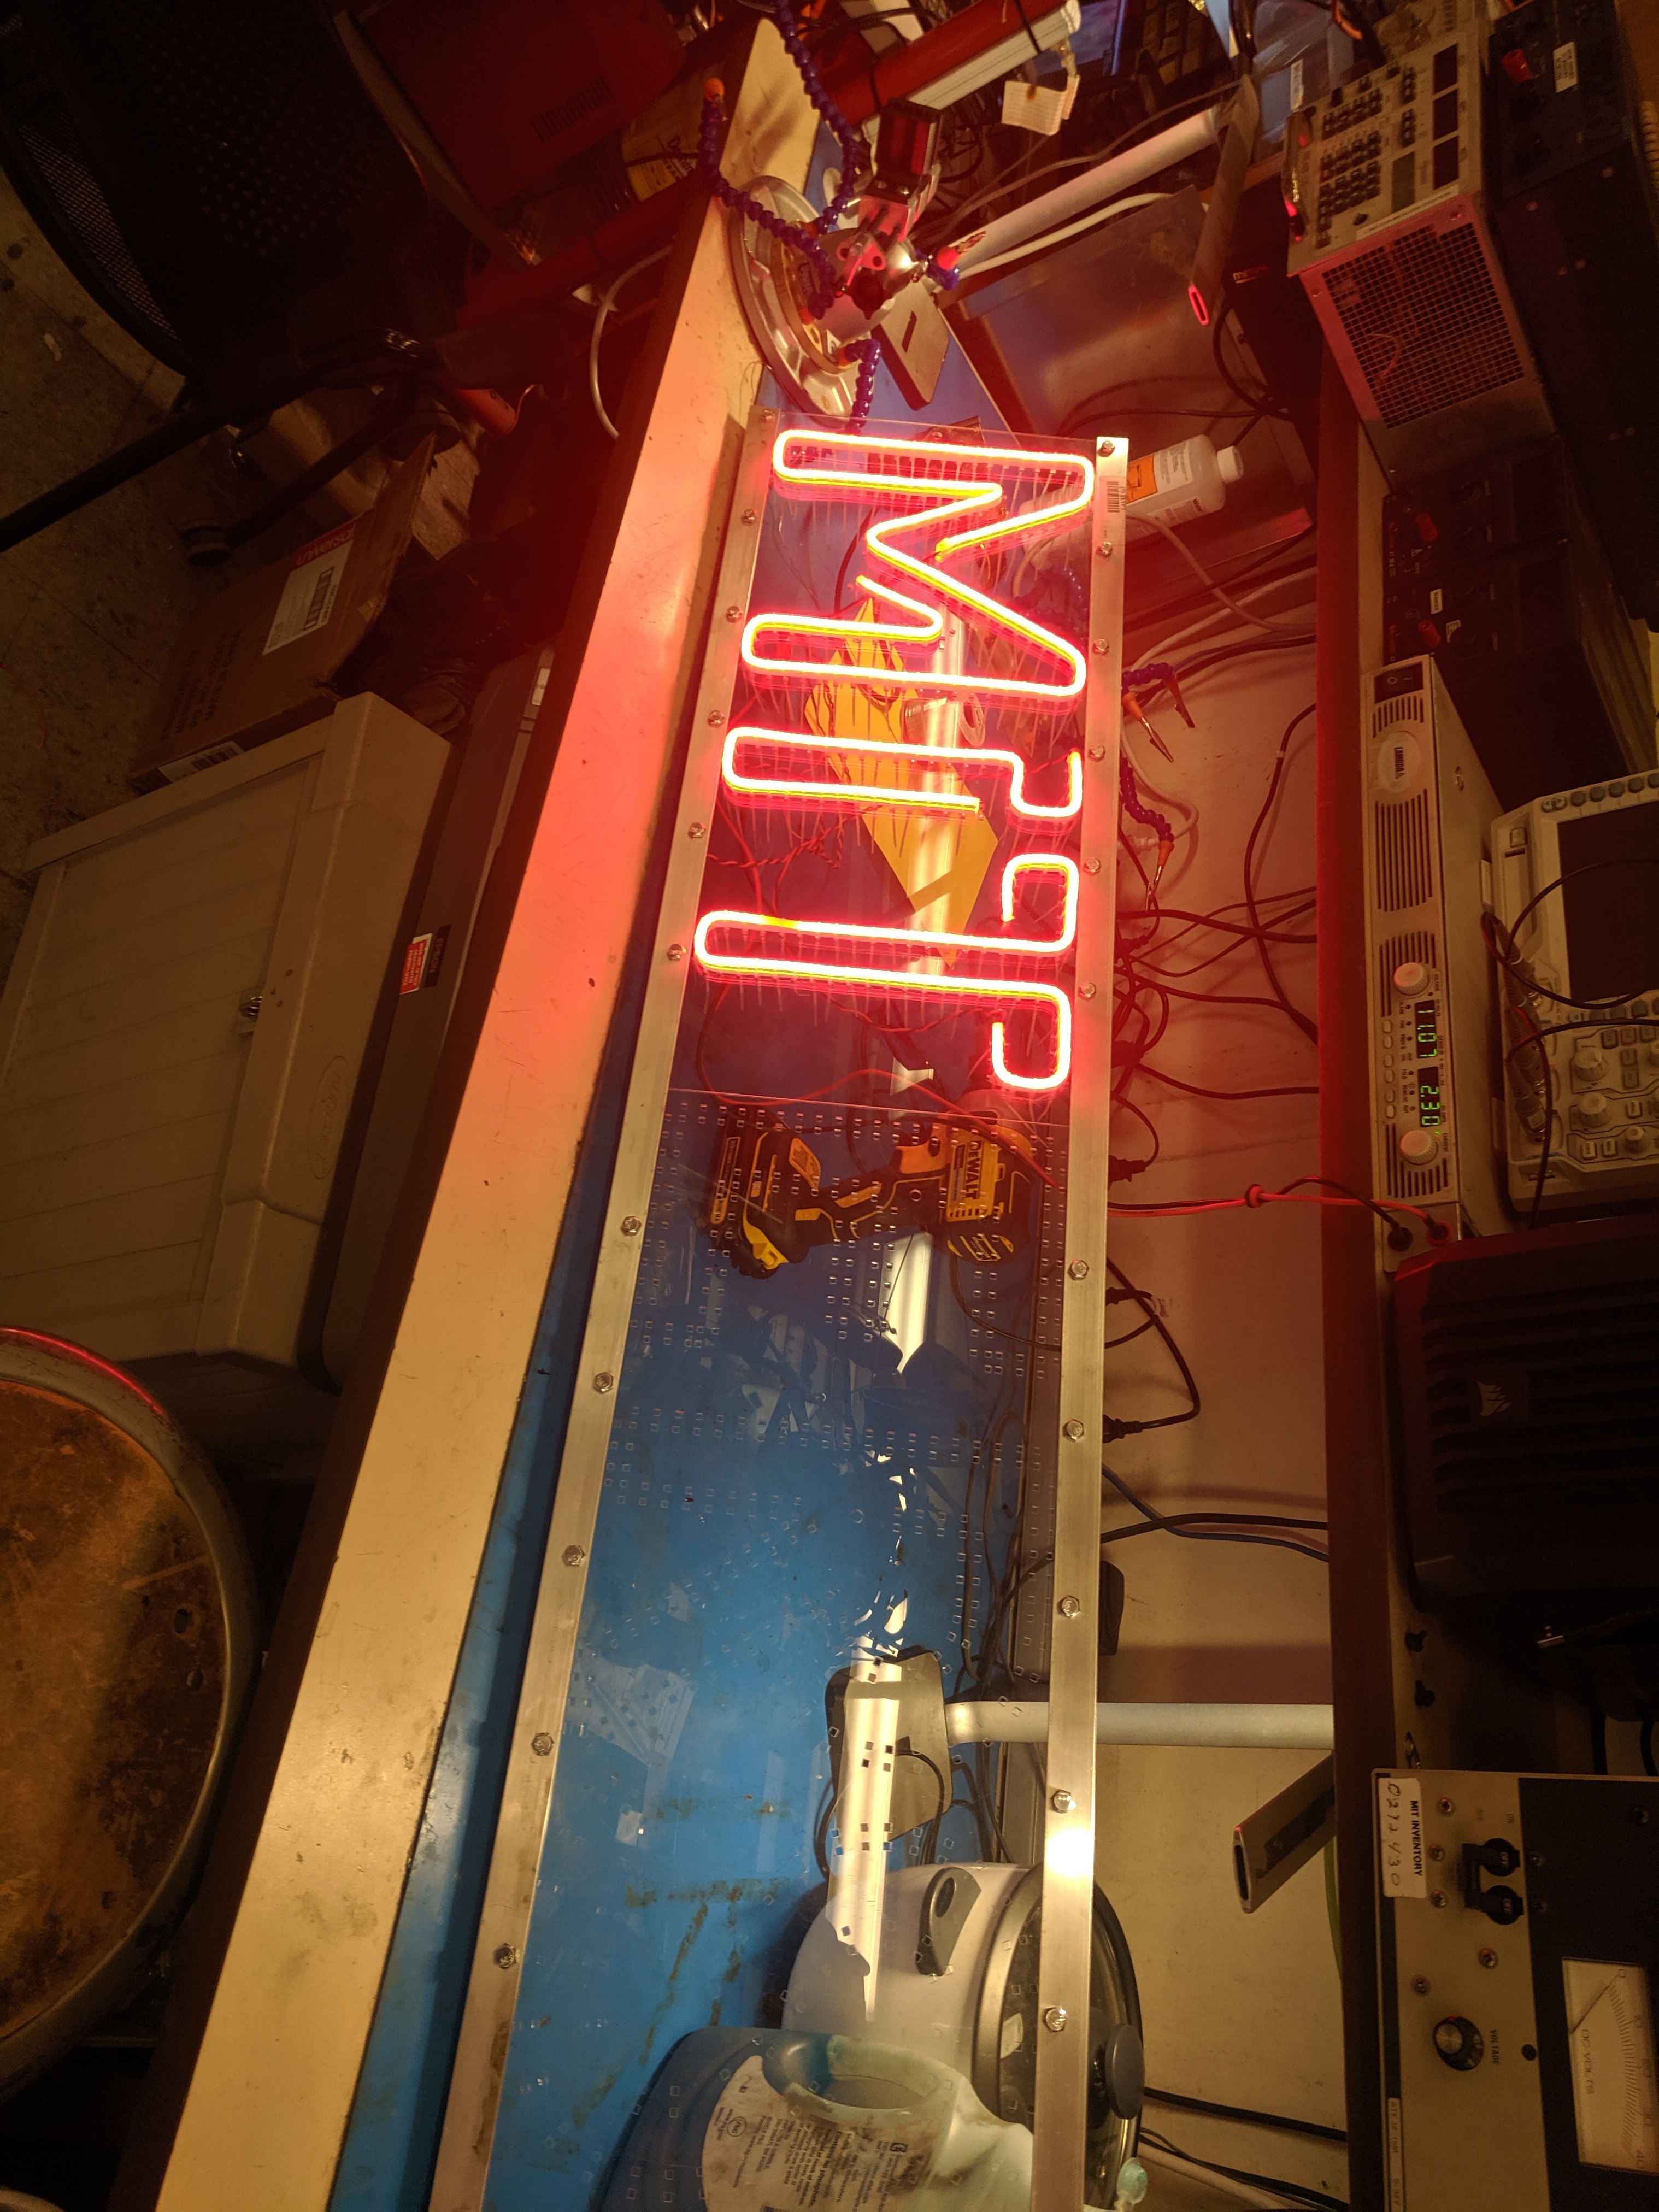
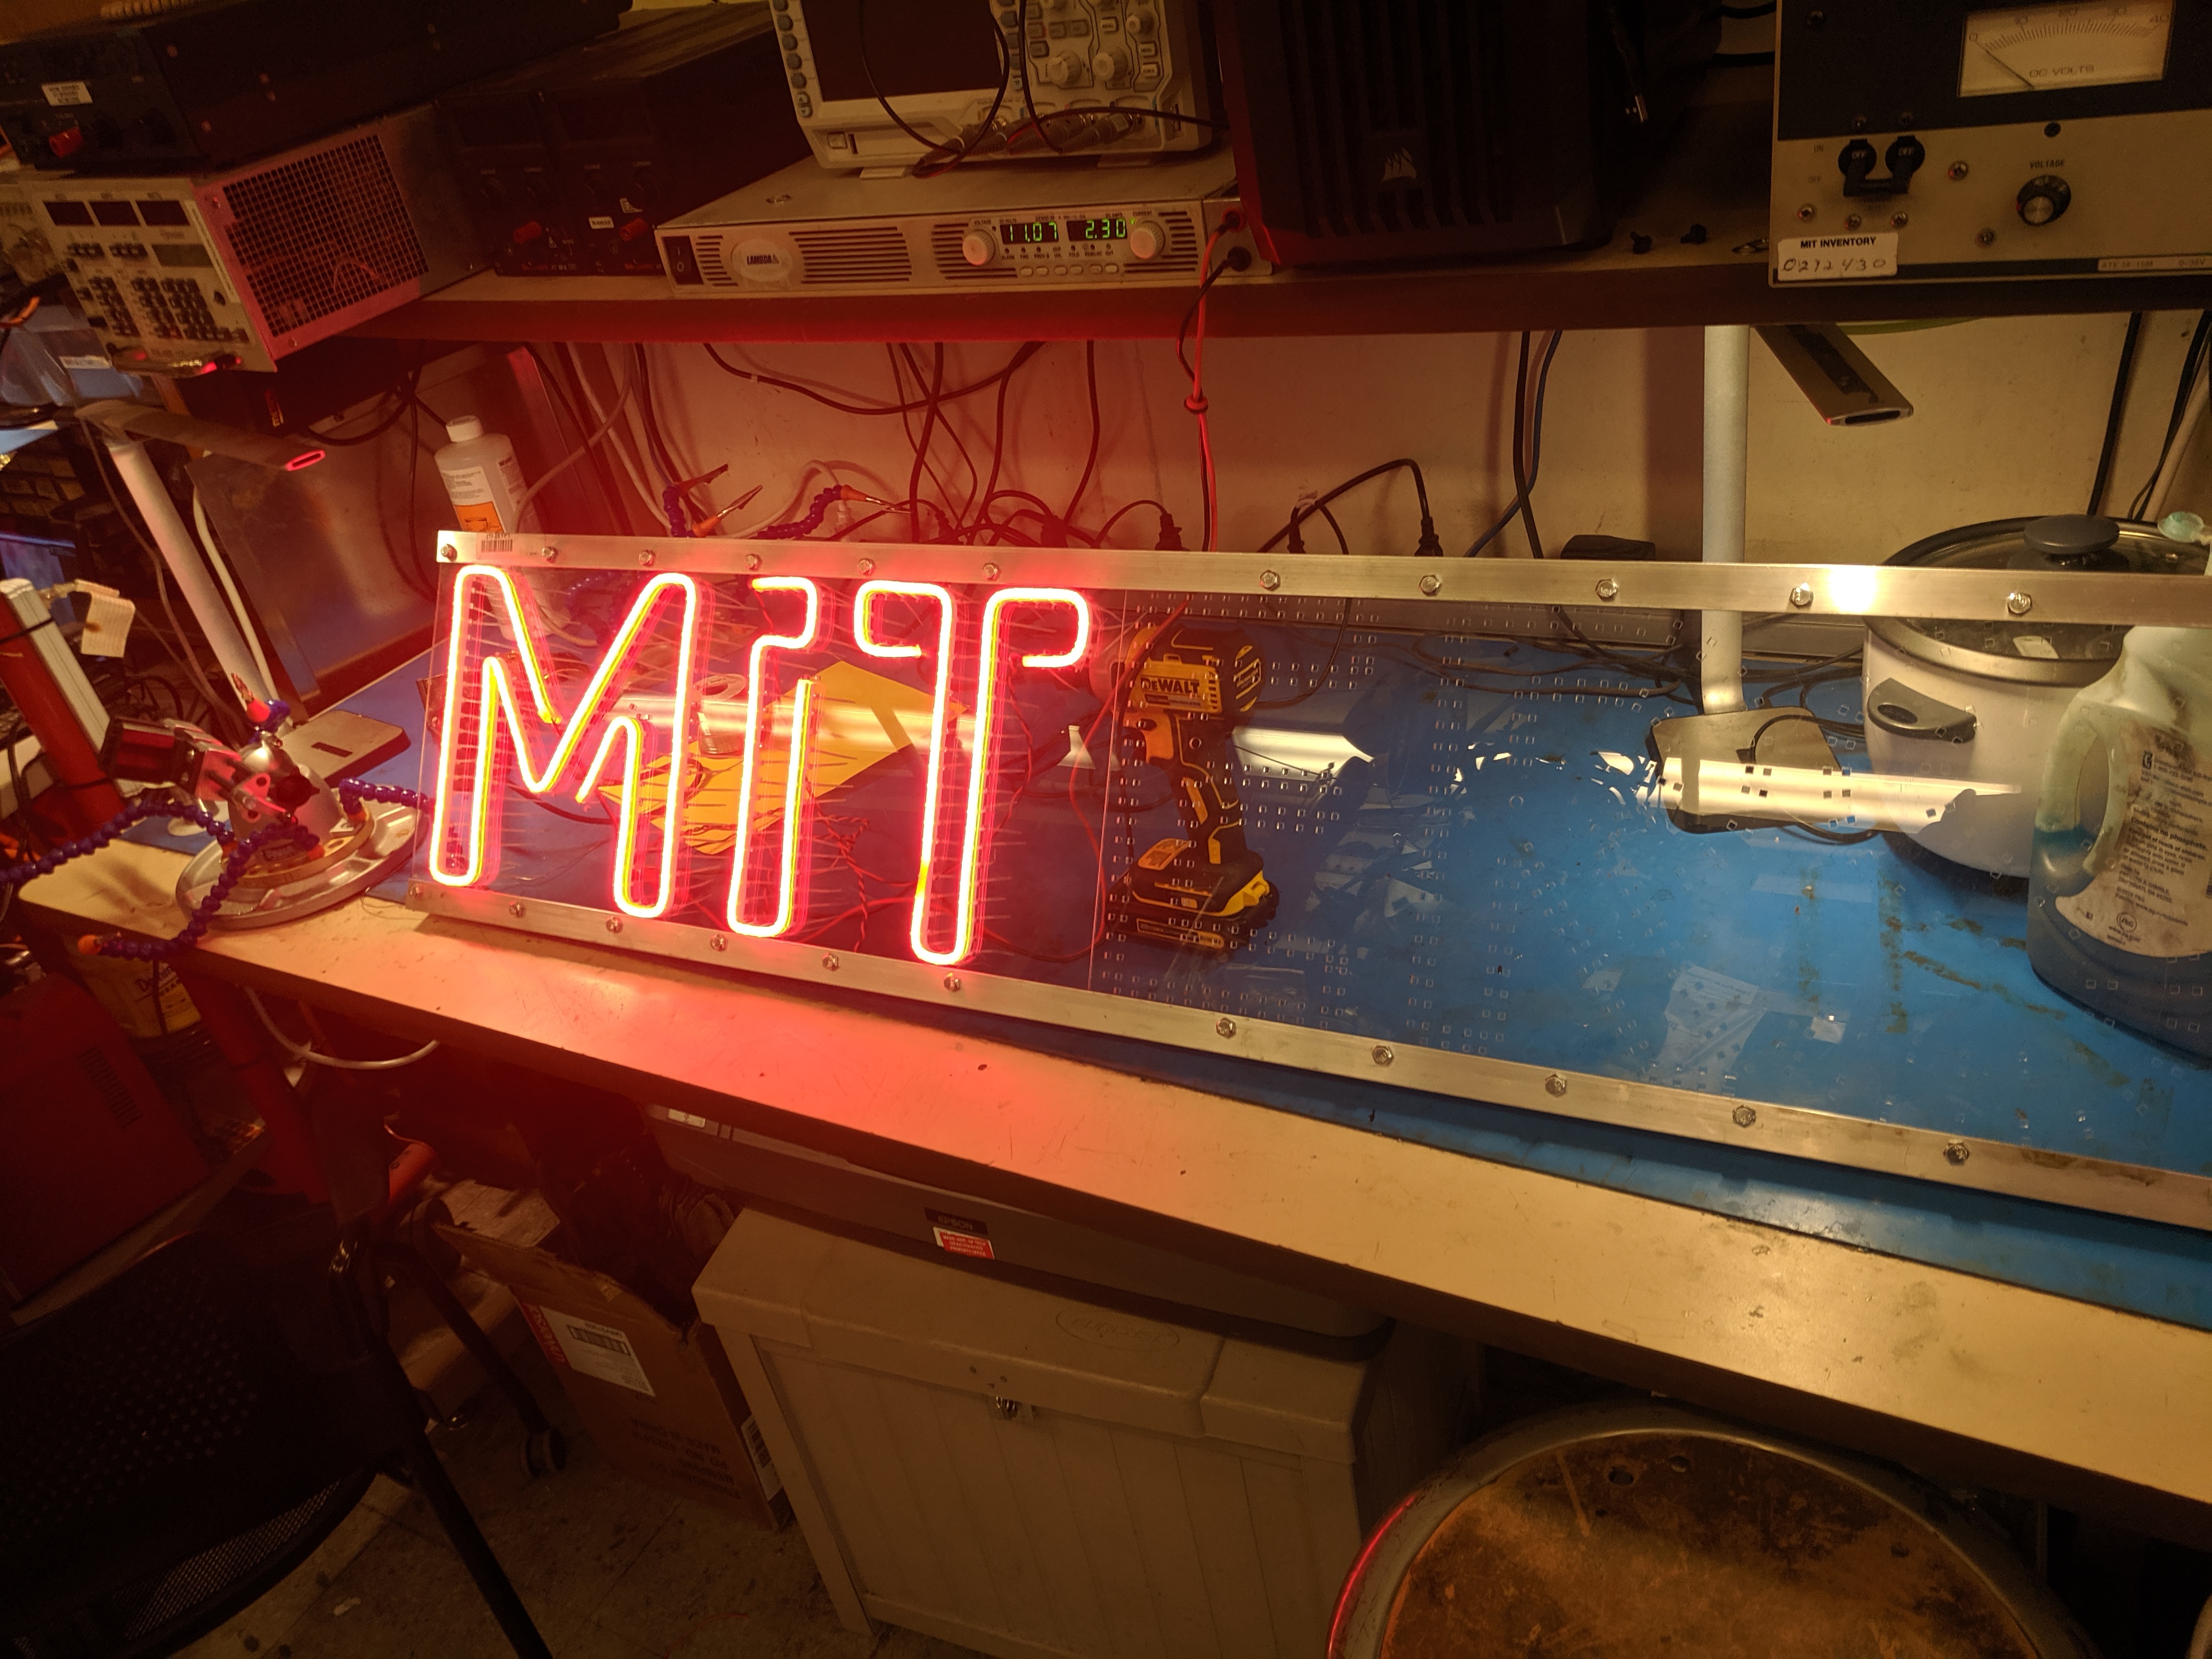
I think the biggest thing to note is that I am running the LEDs at a lower current than they can normally operate at 12 volts, and the LEDs are still crazy bright.
So just to counter any "But its not NEON!", this sign is designed to be easily moved multiple times of year to events, replaced in case of damage, and survive the rigors of a hacker space like MITERS. Although I think Neon is awesome, this solution allows for a low-cost, robust sign design without the worries that a glass neon signs entail.