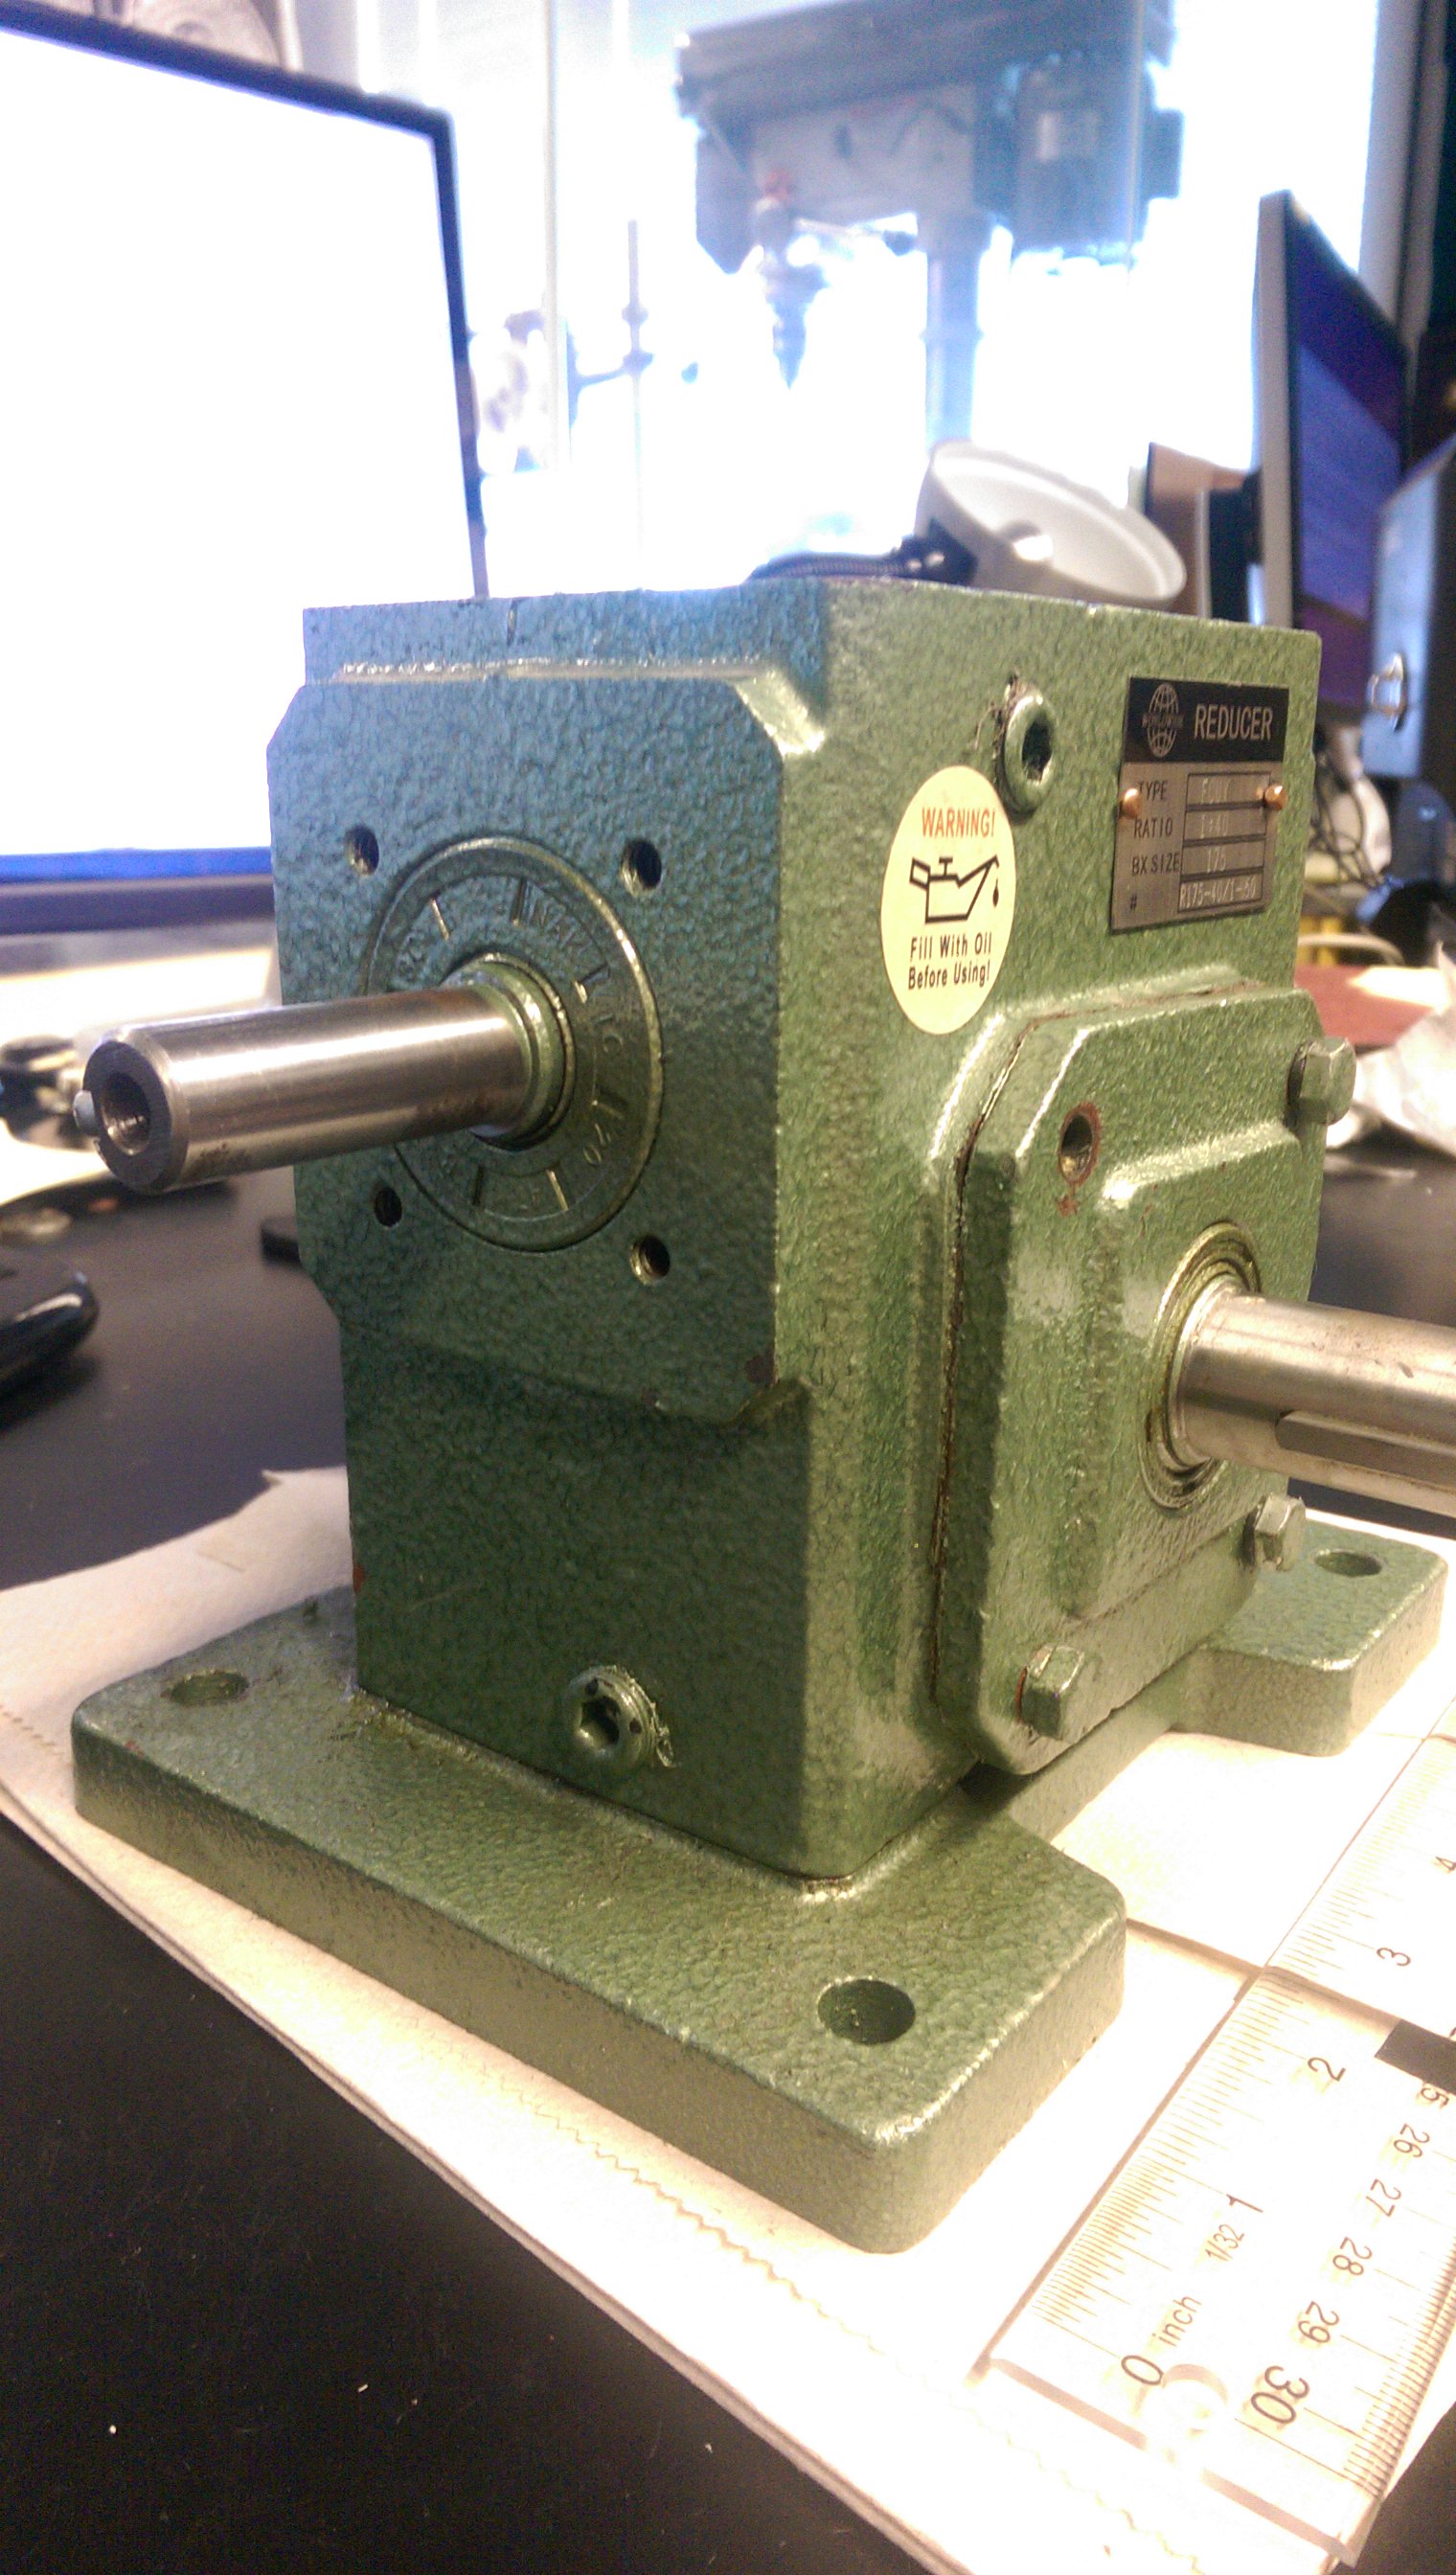
[8.21.15] Gear Reducer Refurb.

Description of Project
To clean out an older thrown out gear reducer, replace the gaskets and fill with new oil.
Processes Applied:

Summary:
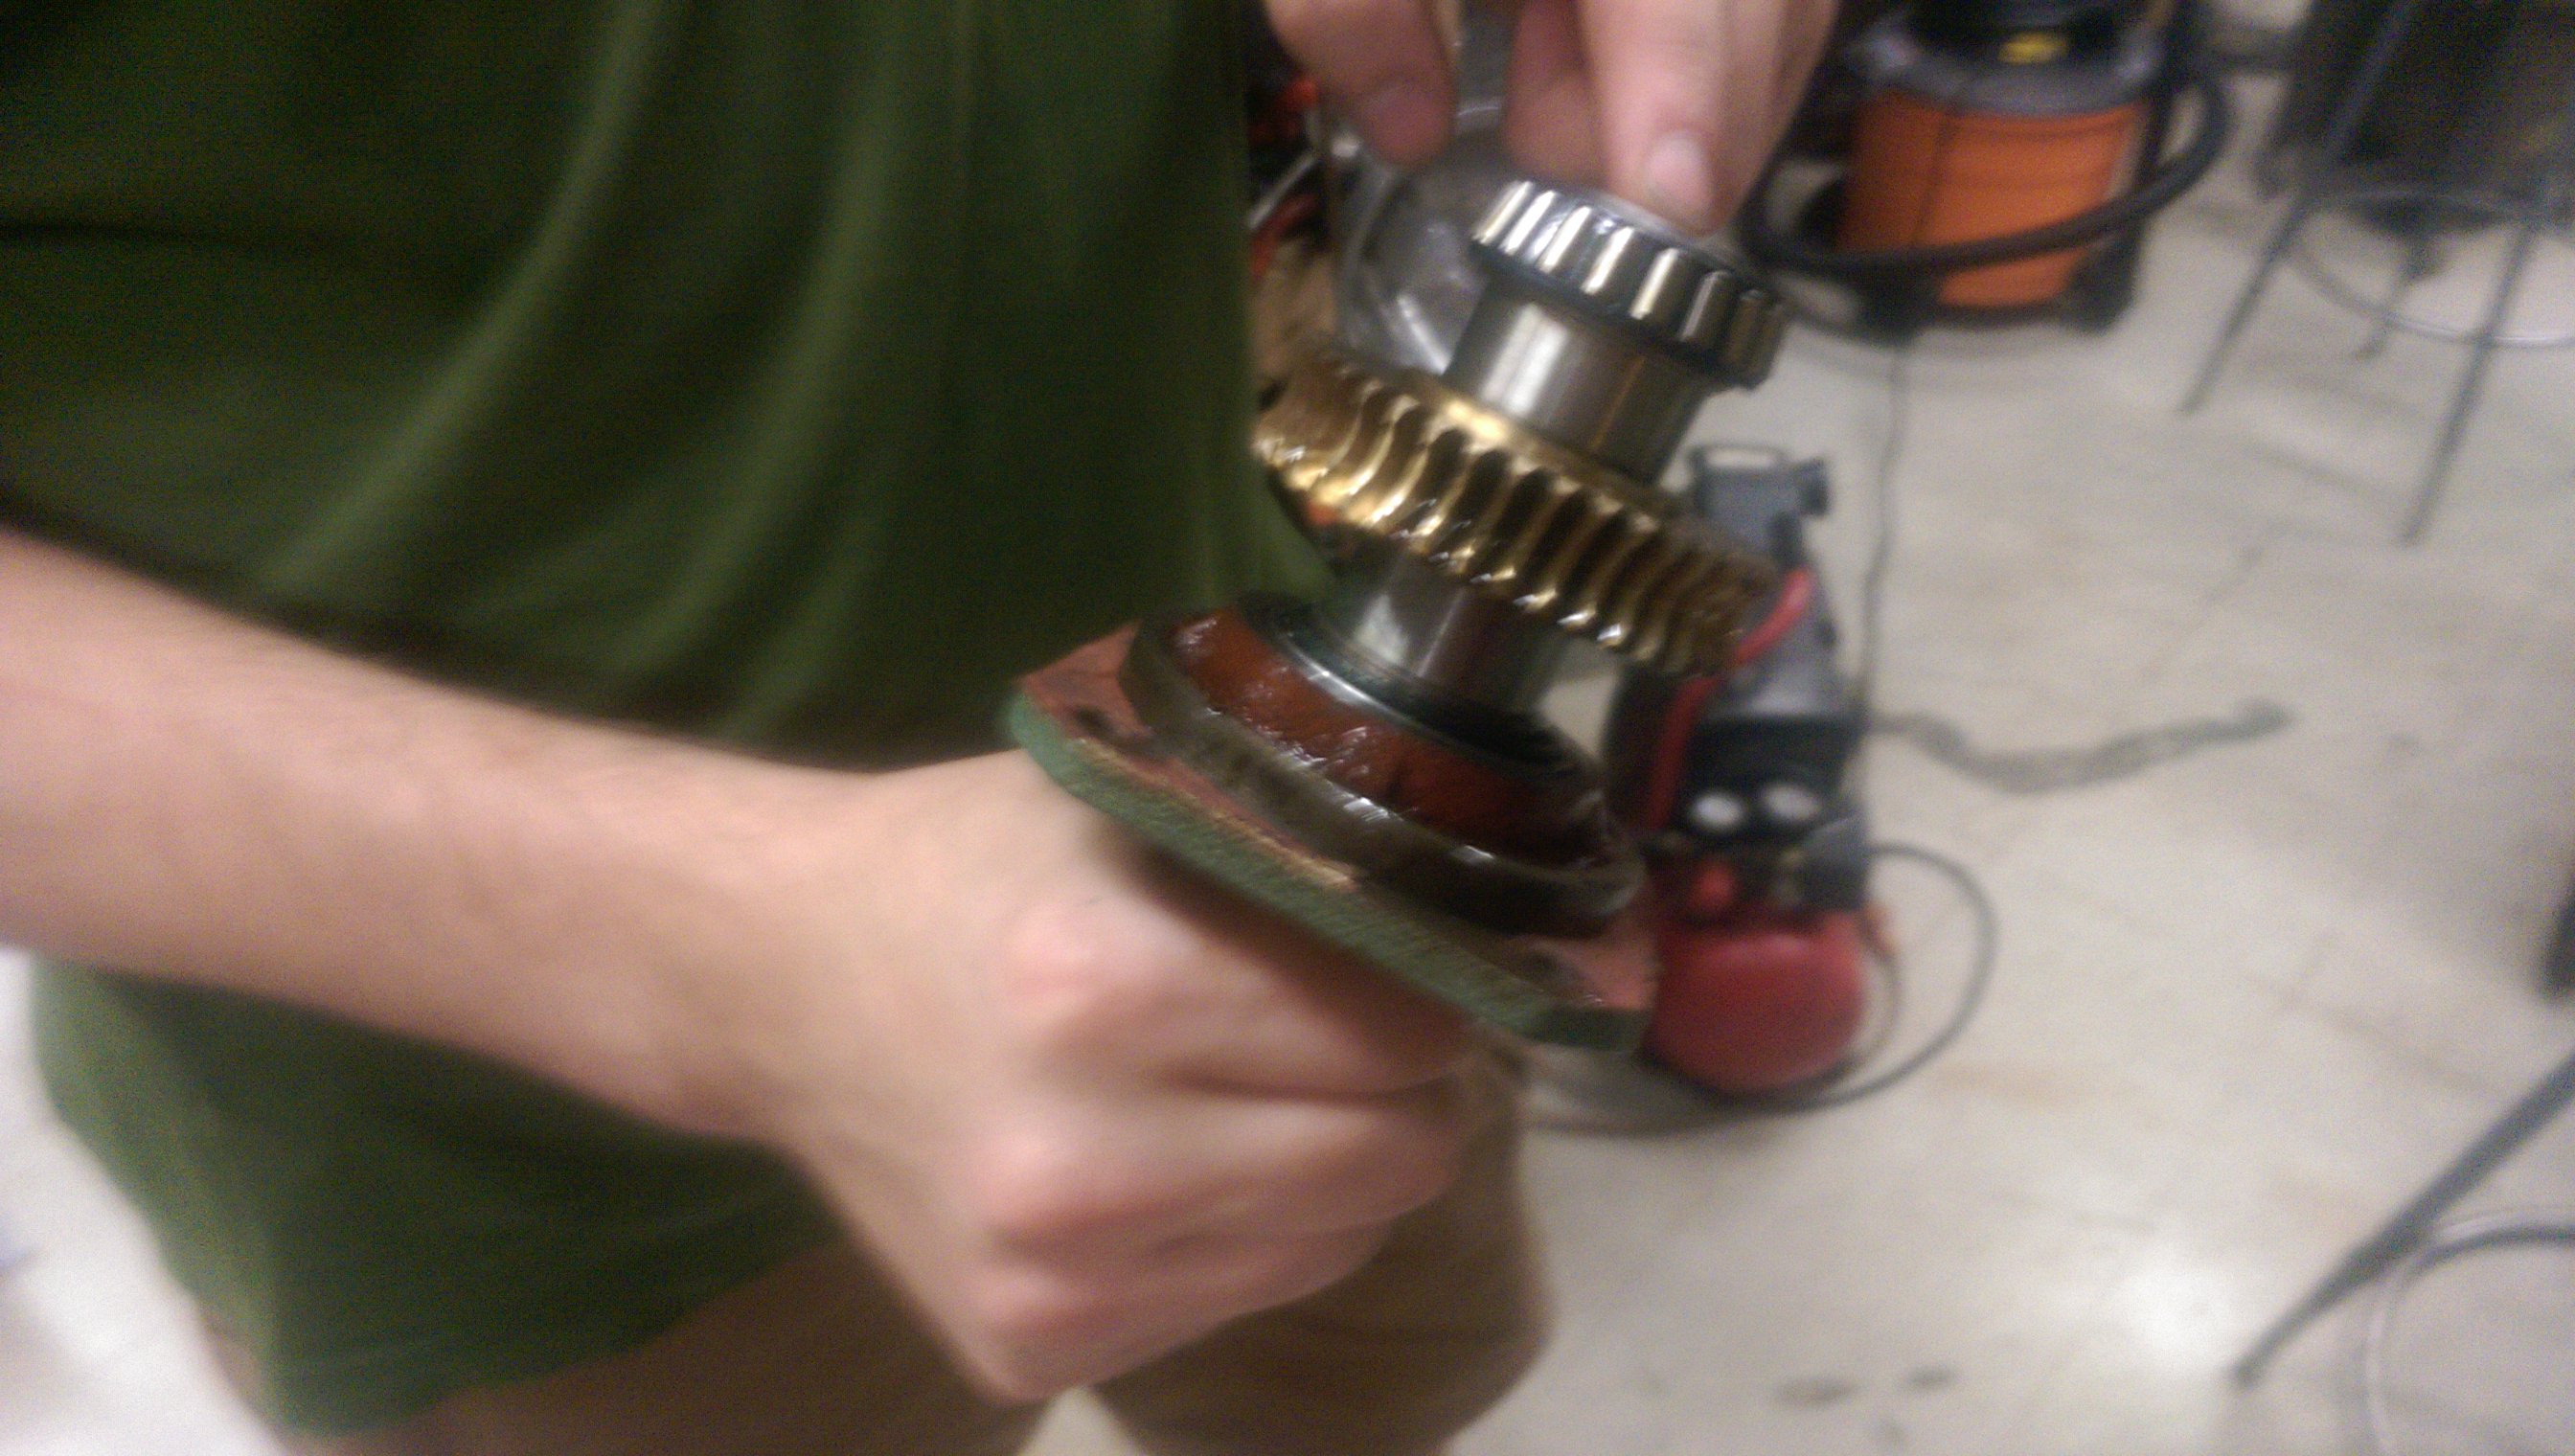
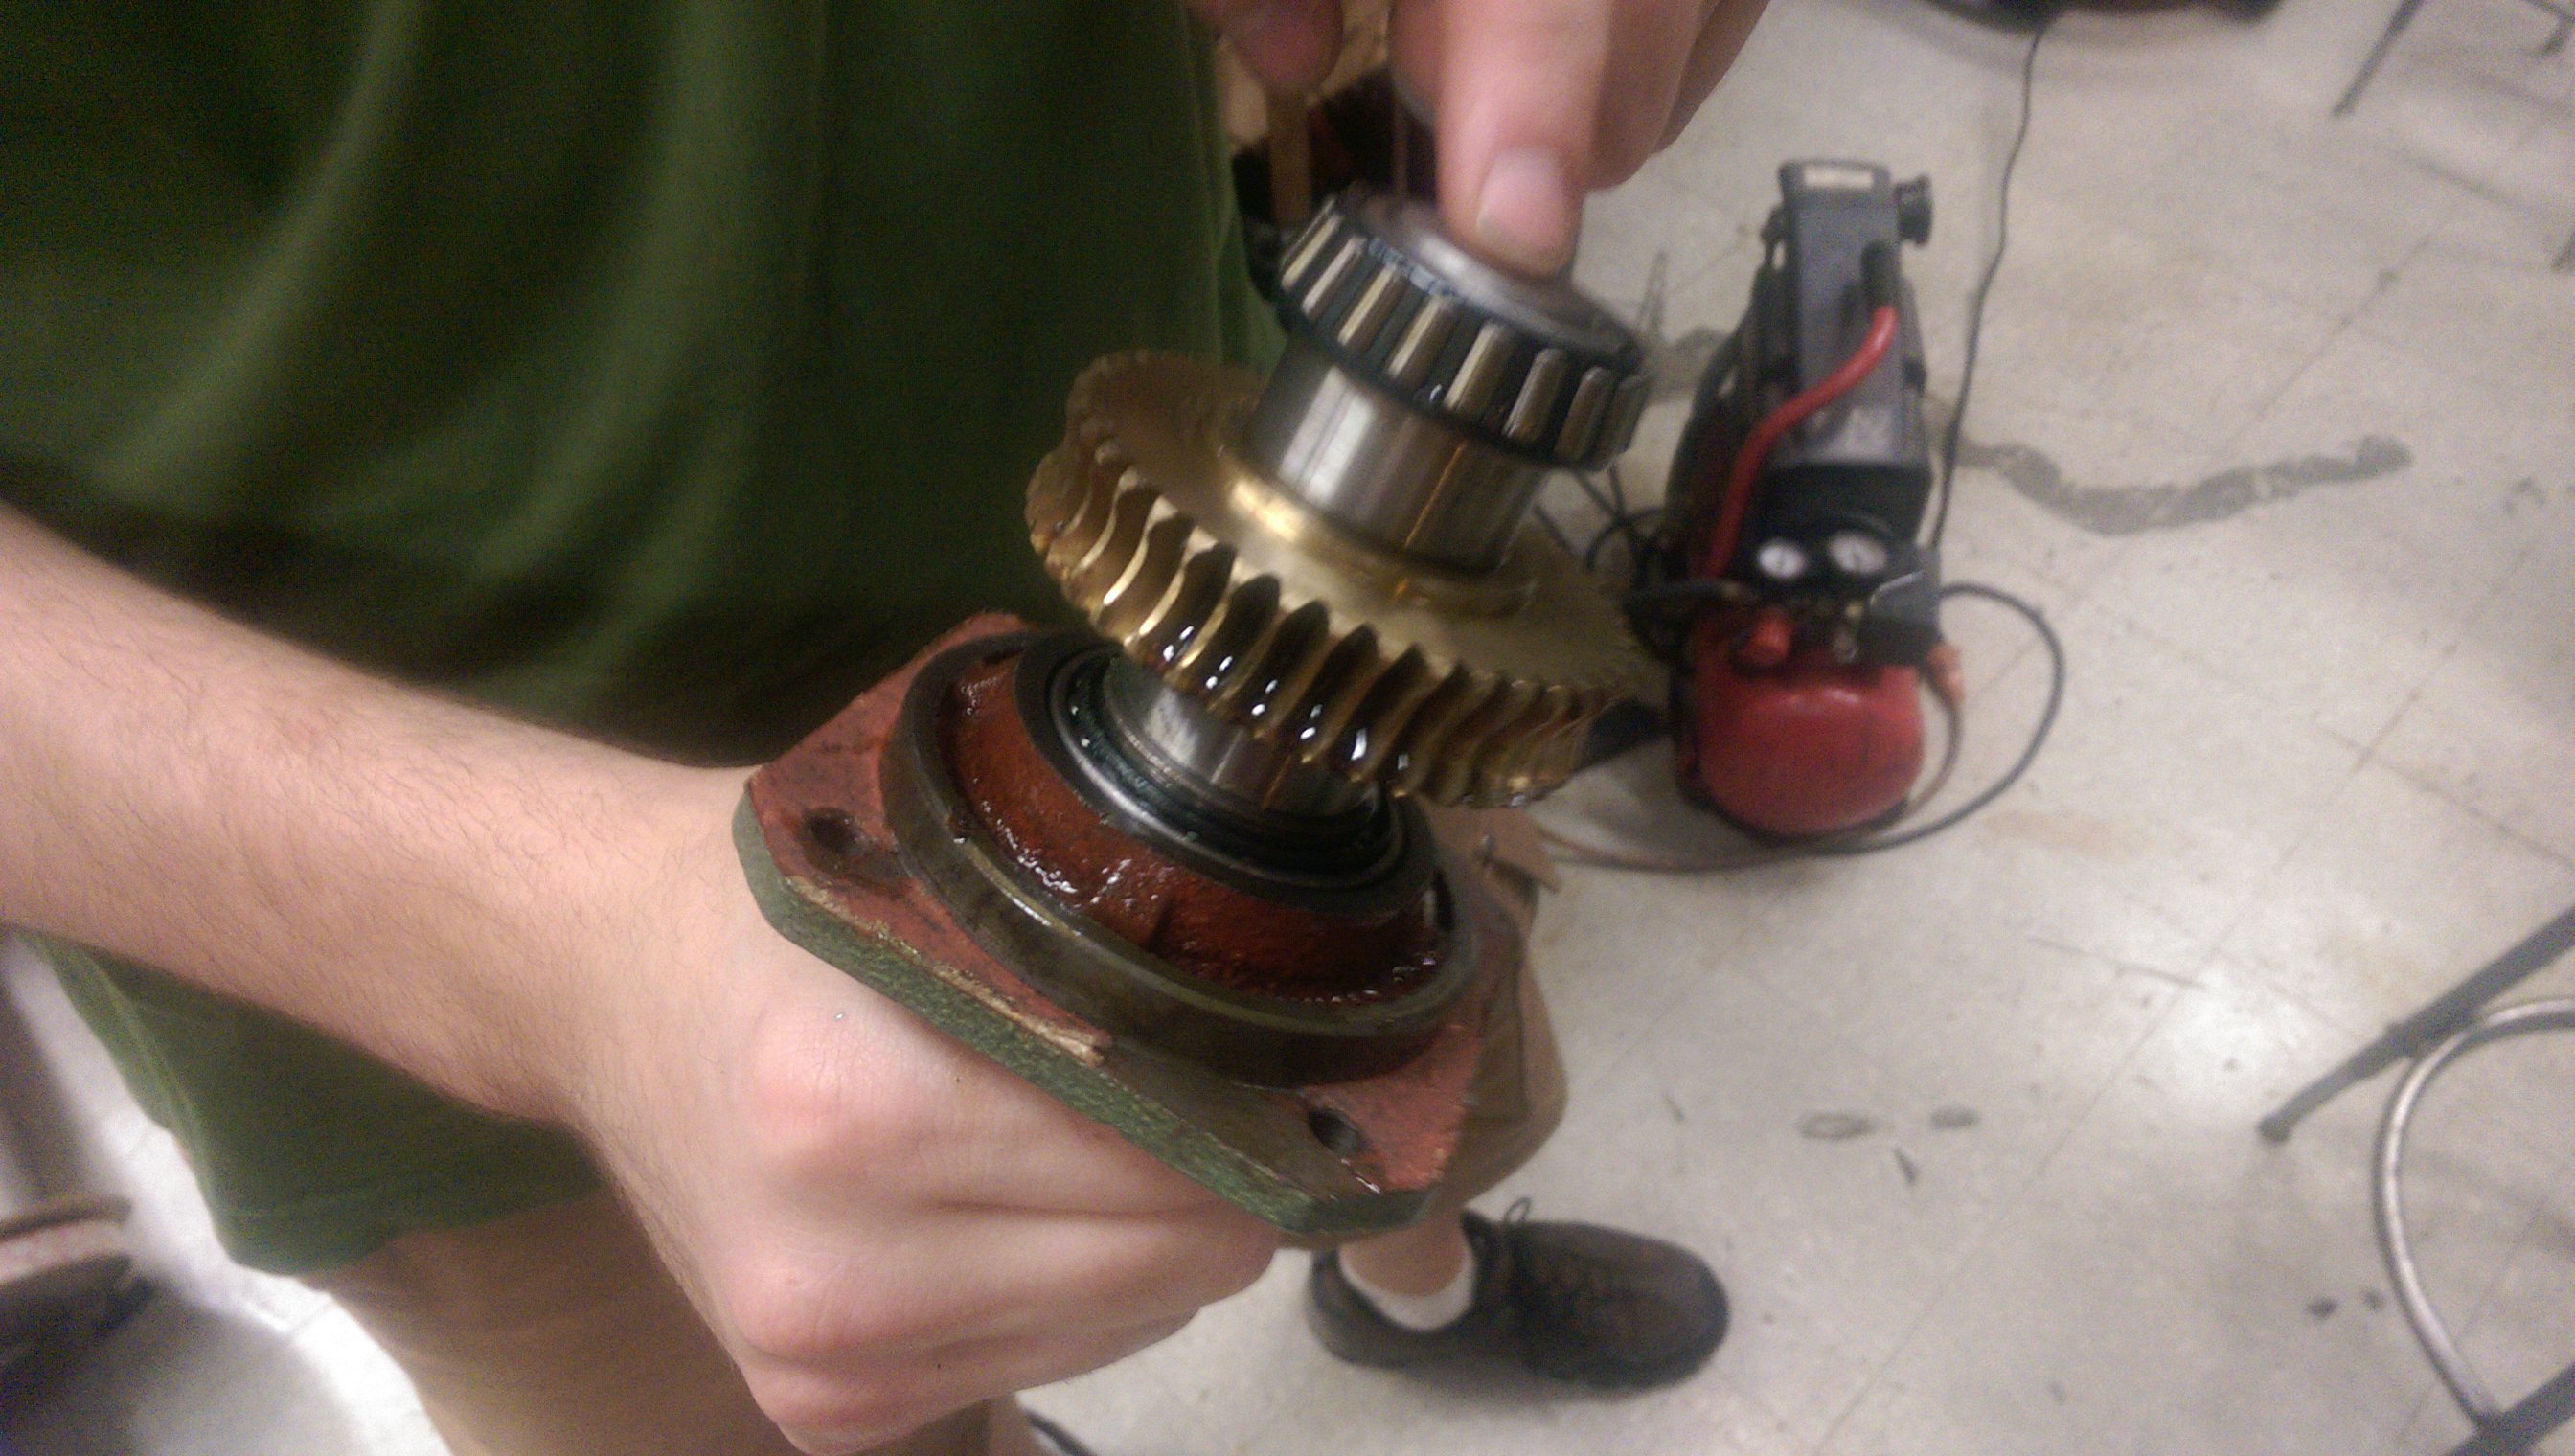
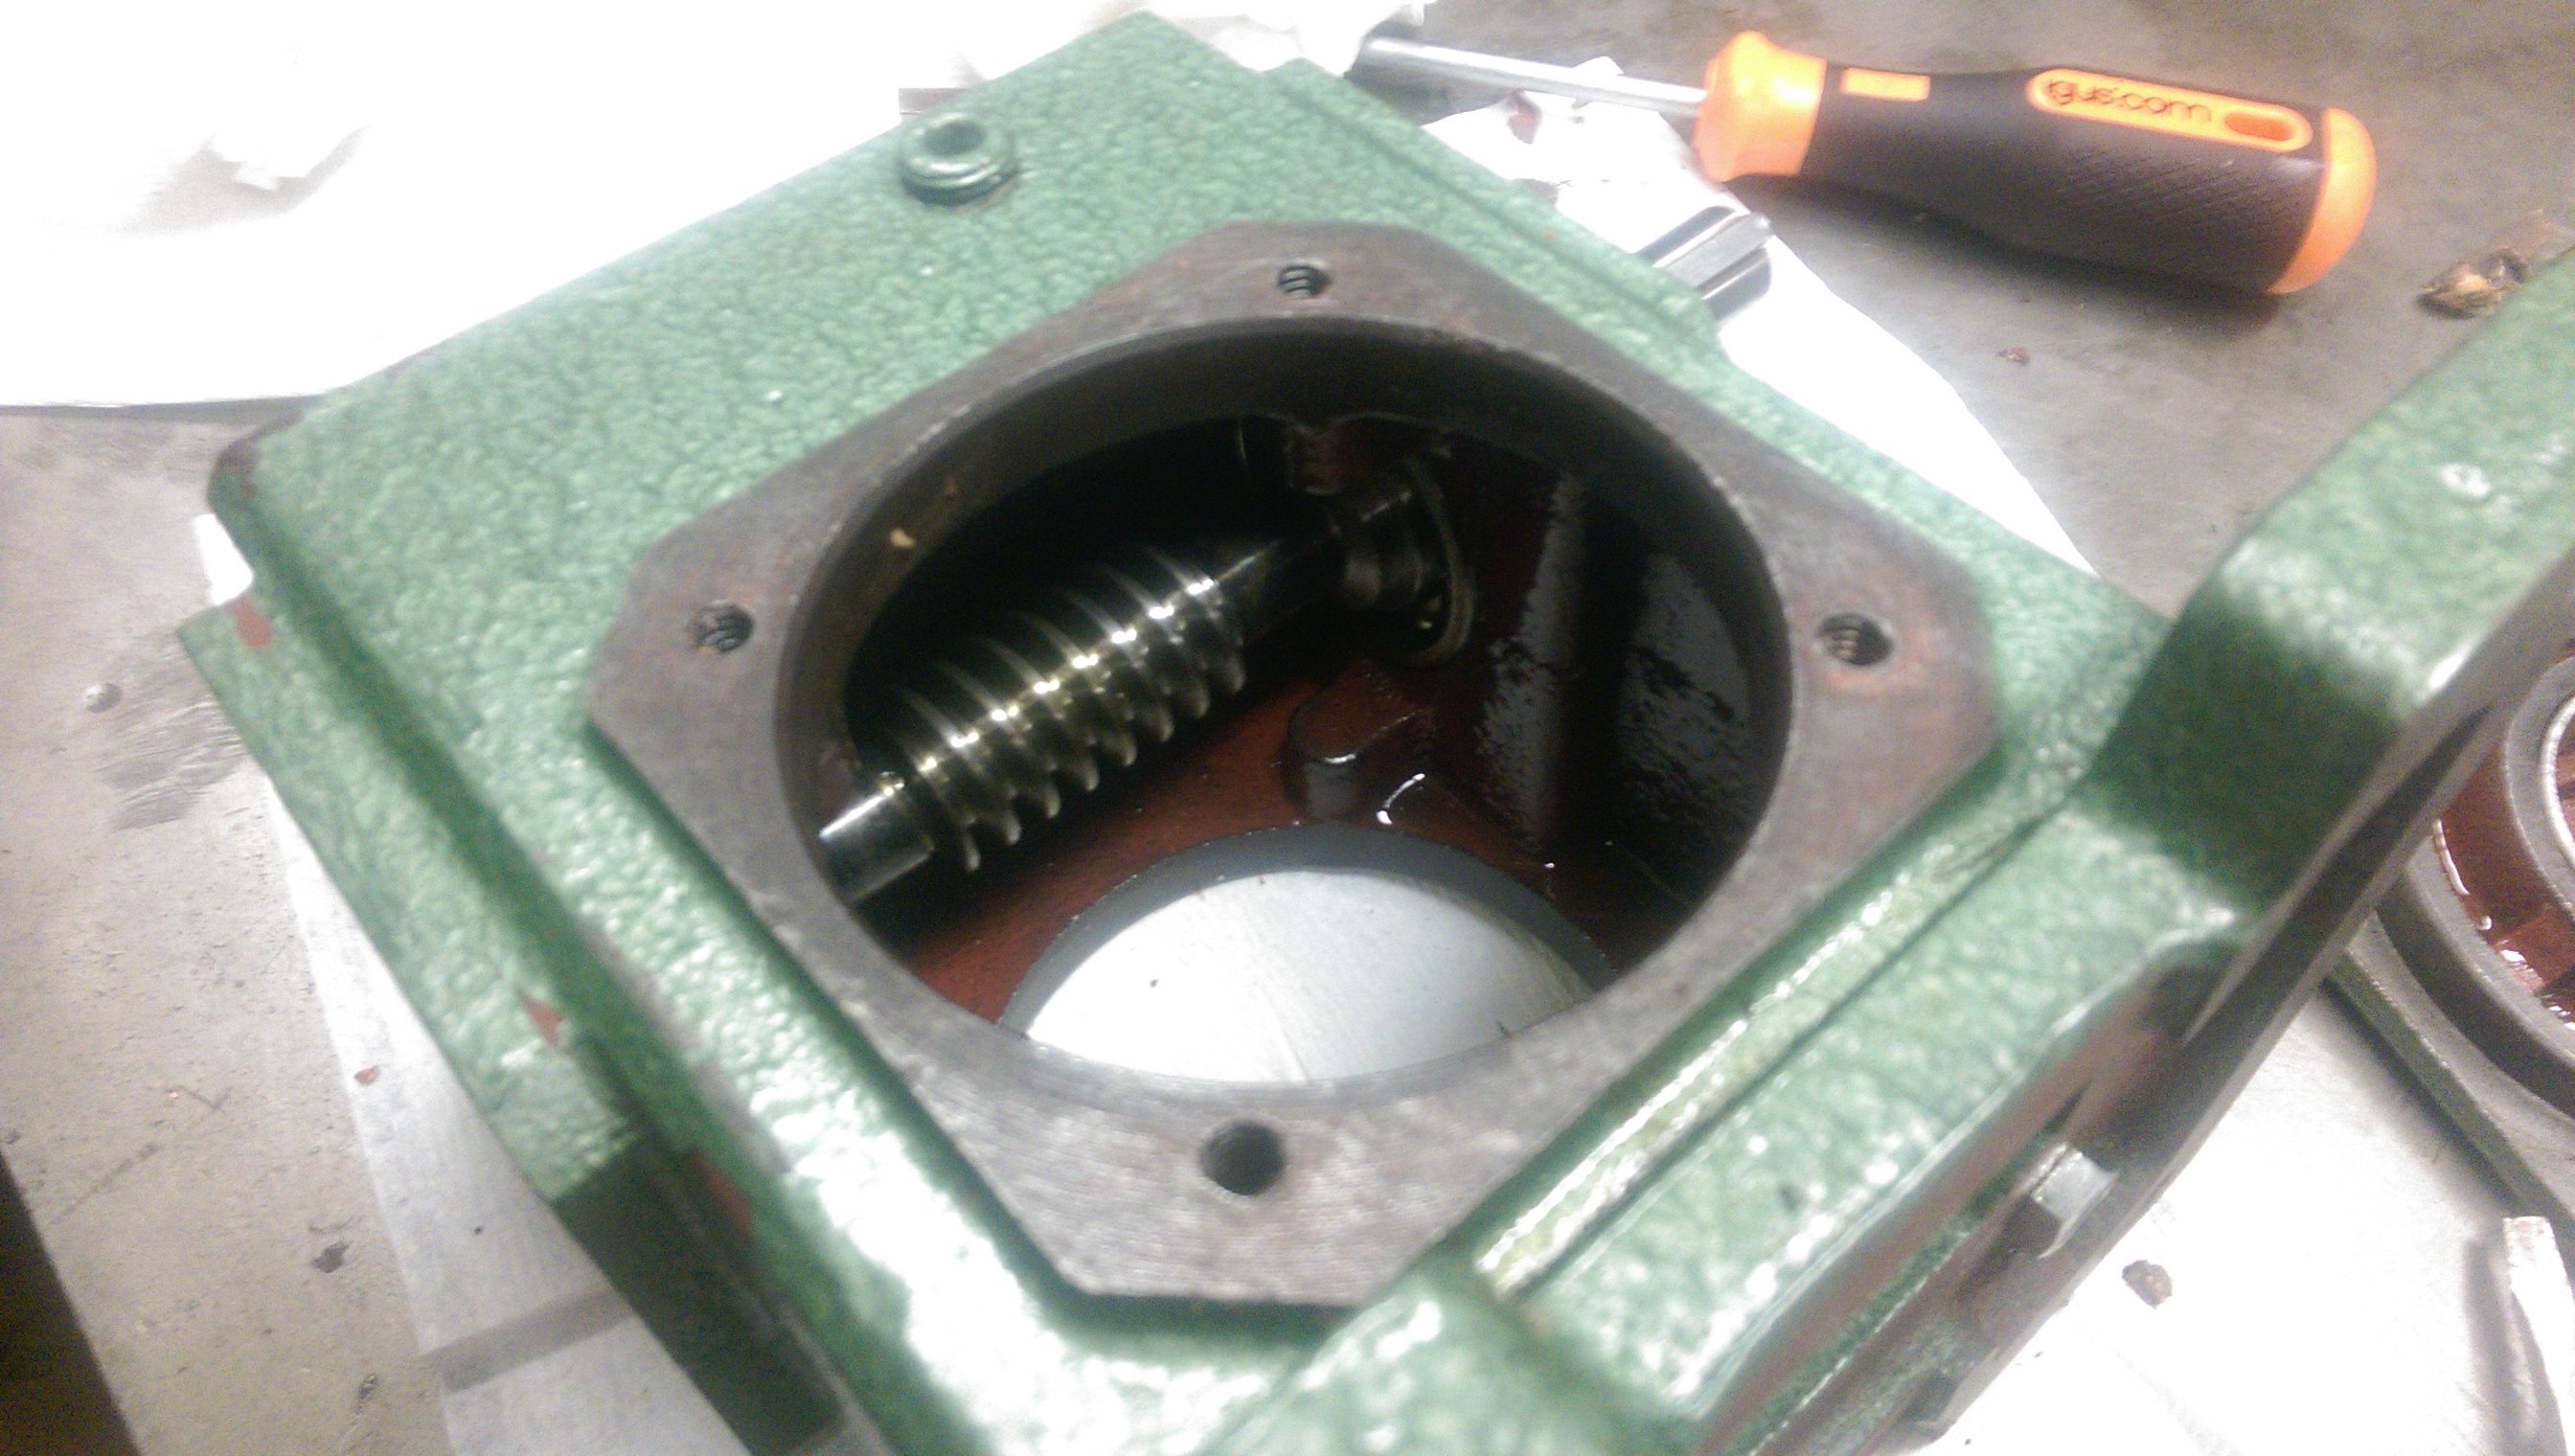
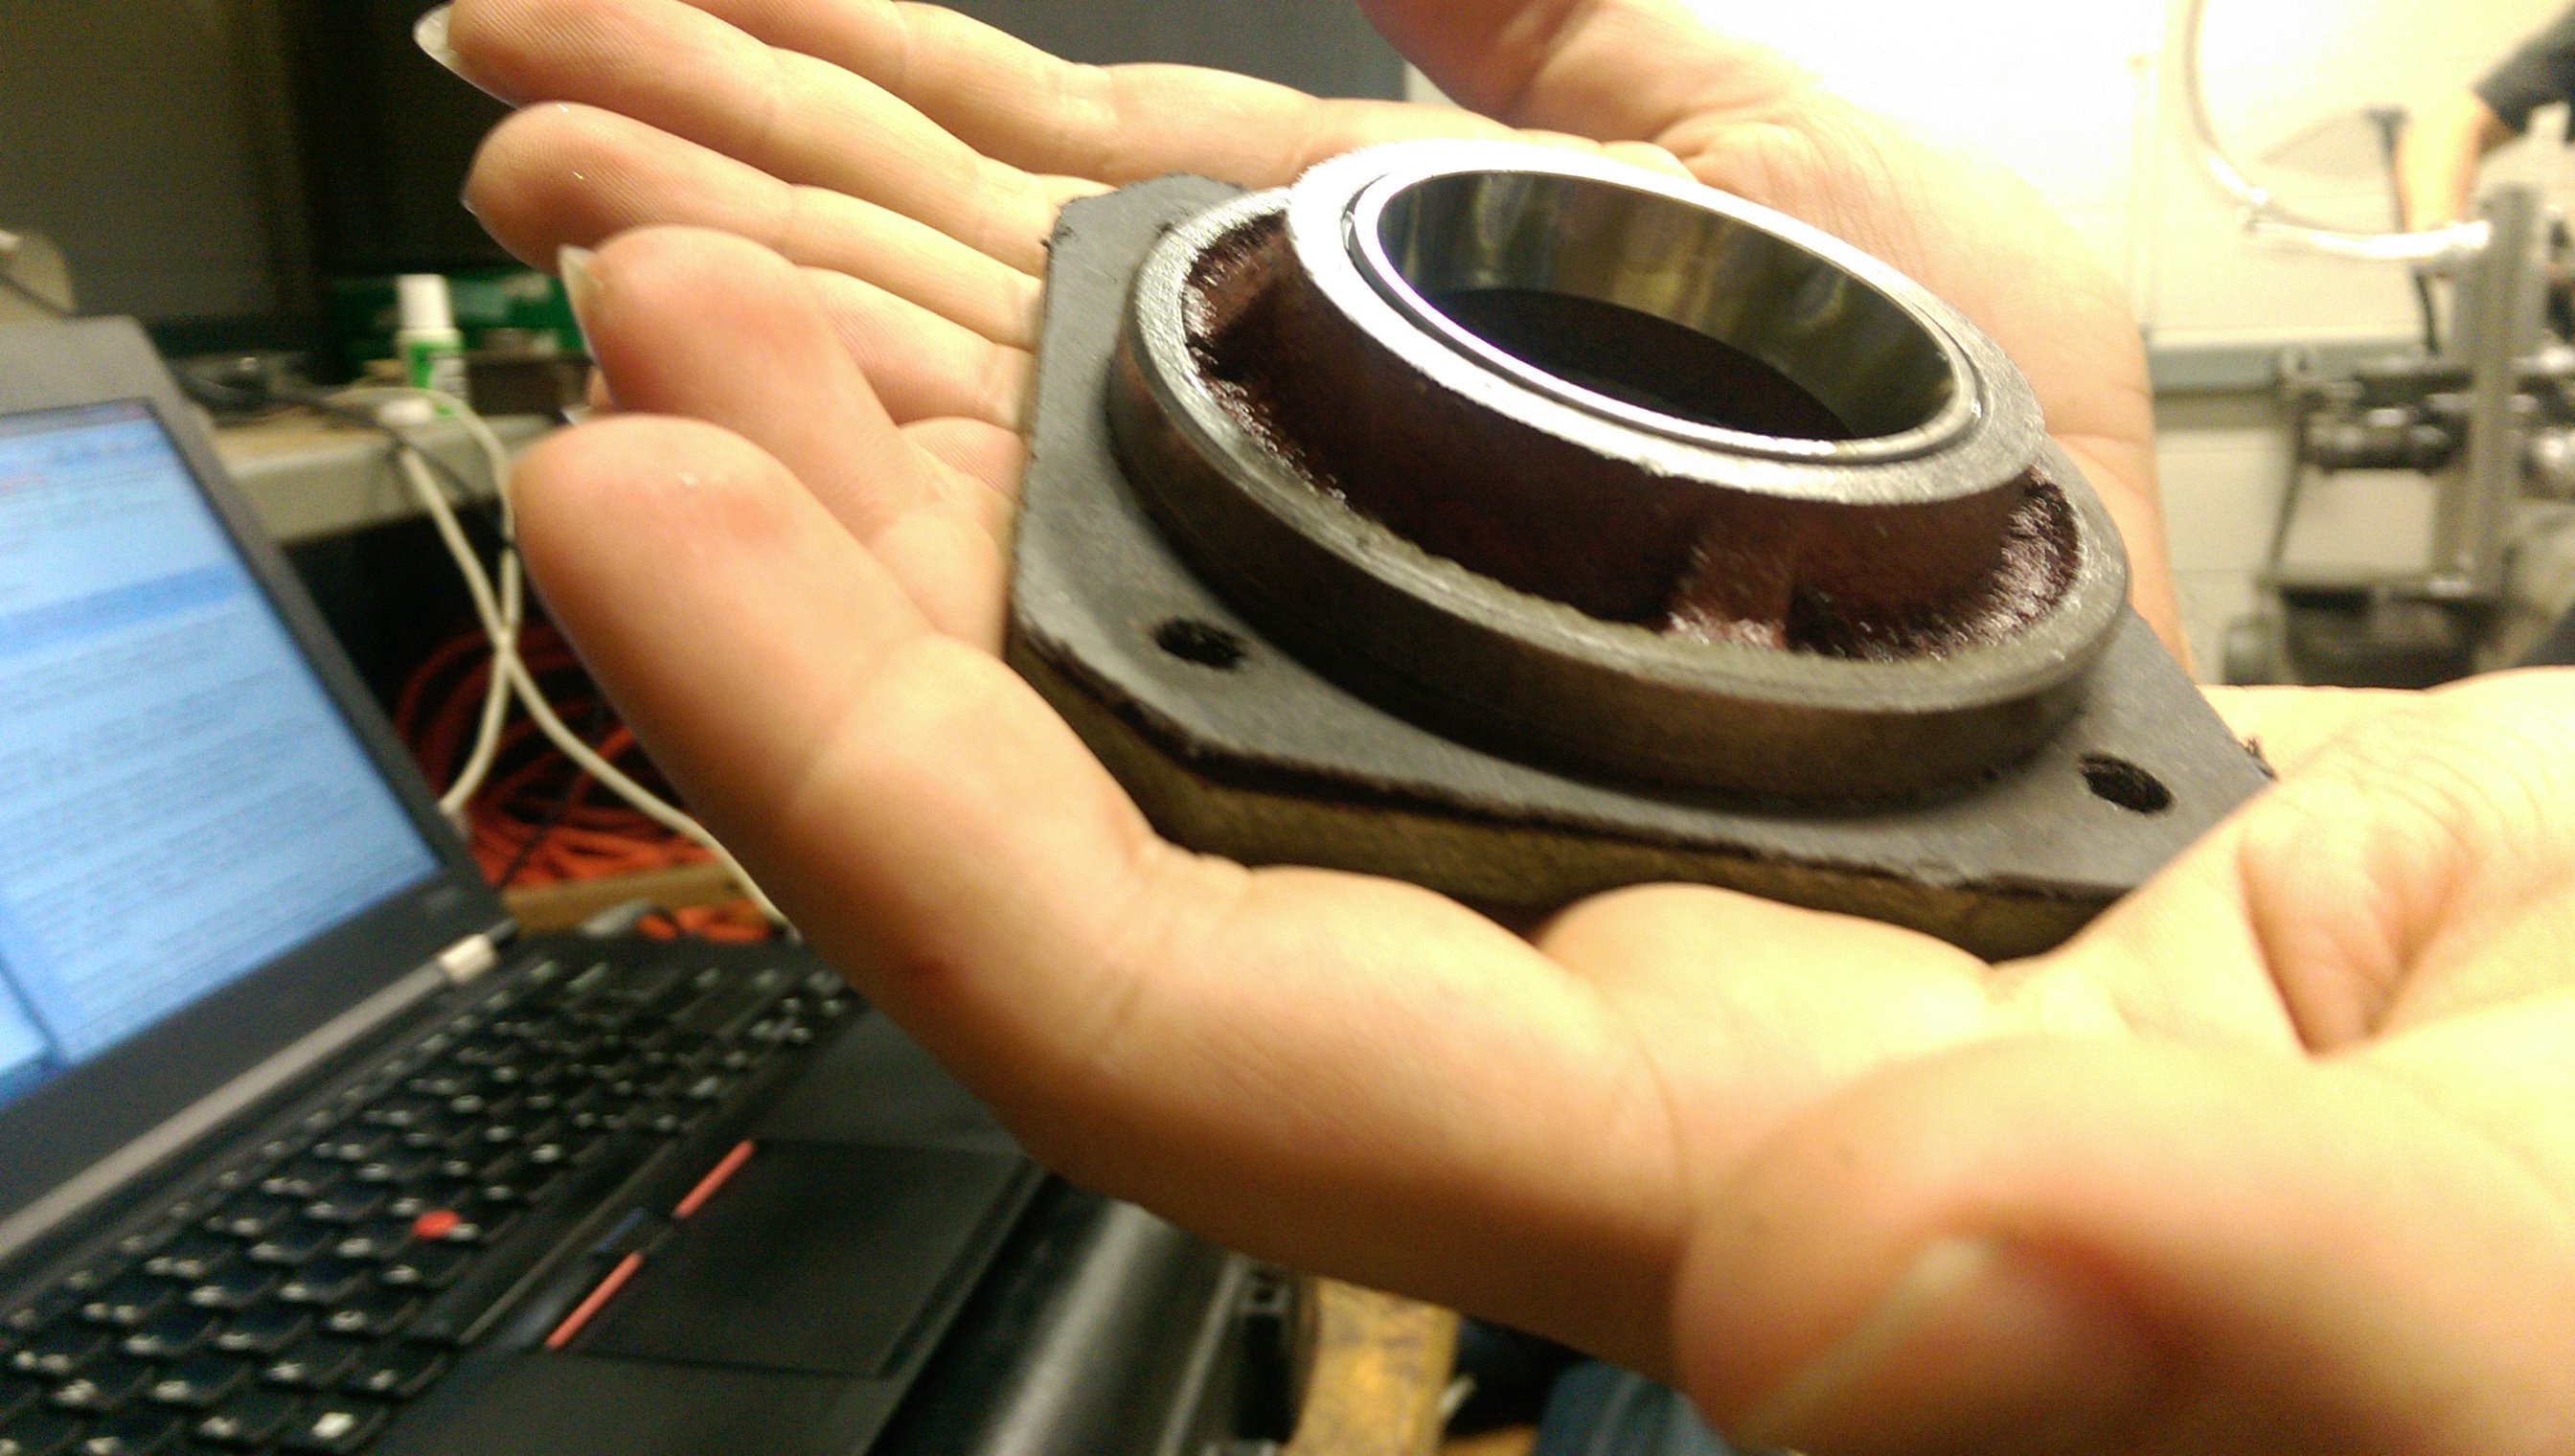
The main purpose of this project was to assess the integrity of the worm-gear drive in the gear reducer and then replace the components required to get it into prime working condition. Luckily enough the worm and worm-gear were in great shape and the main issues with the system were dirty lubricant and failing gaskets.
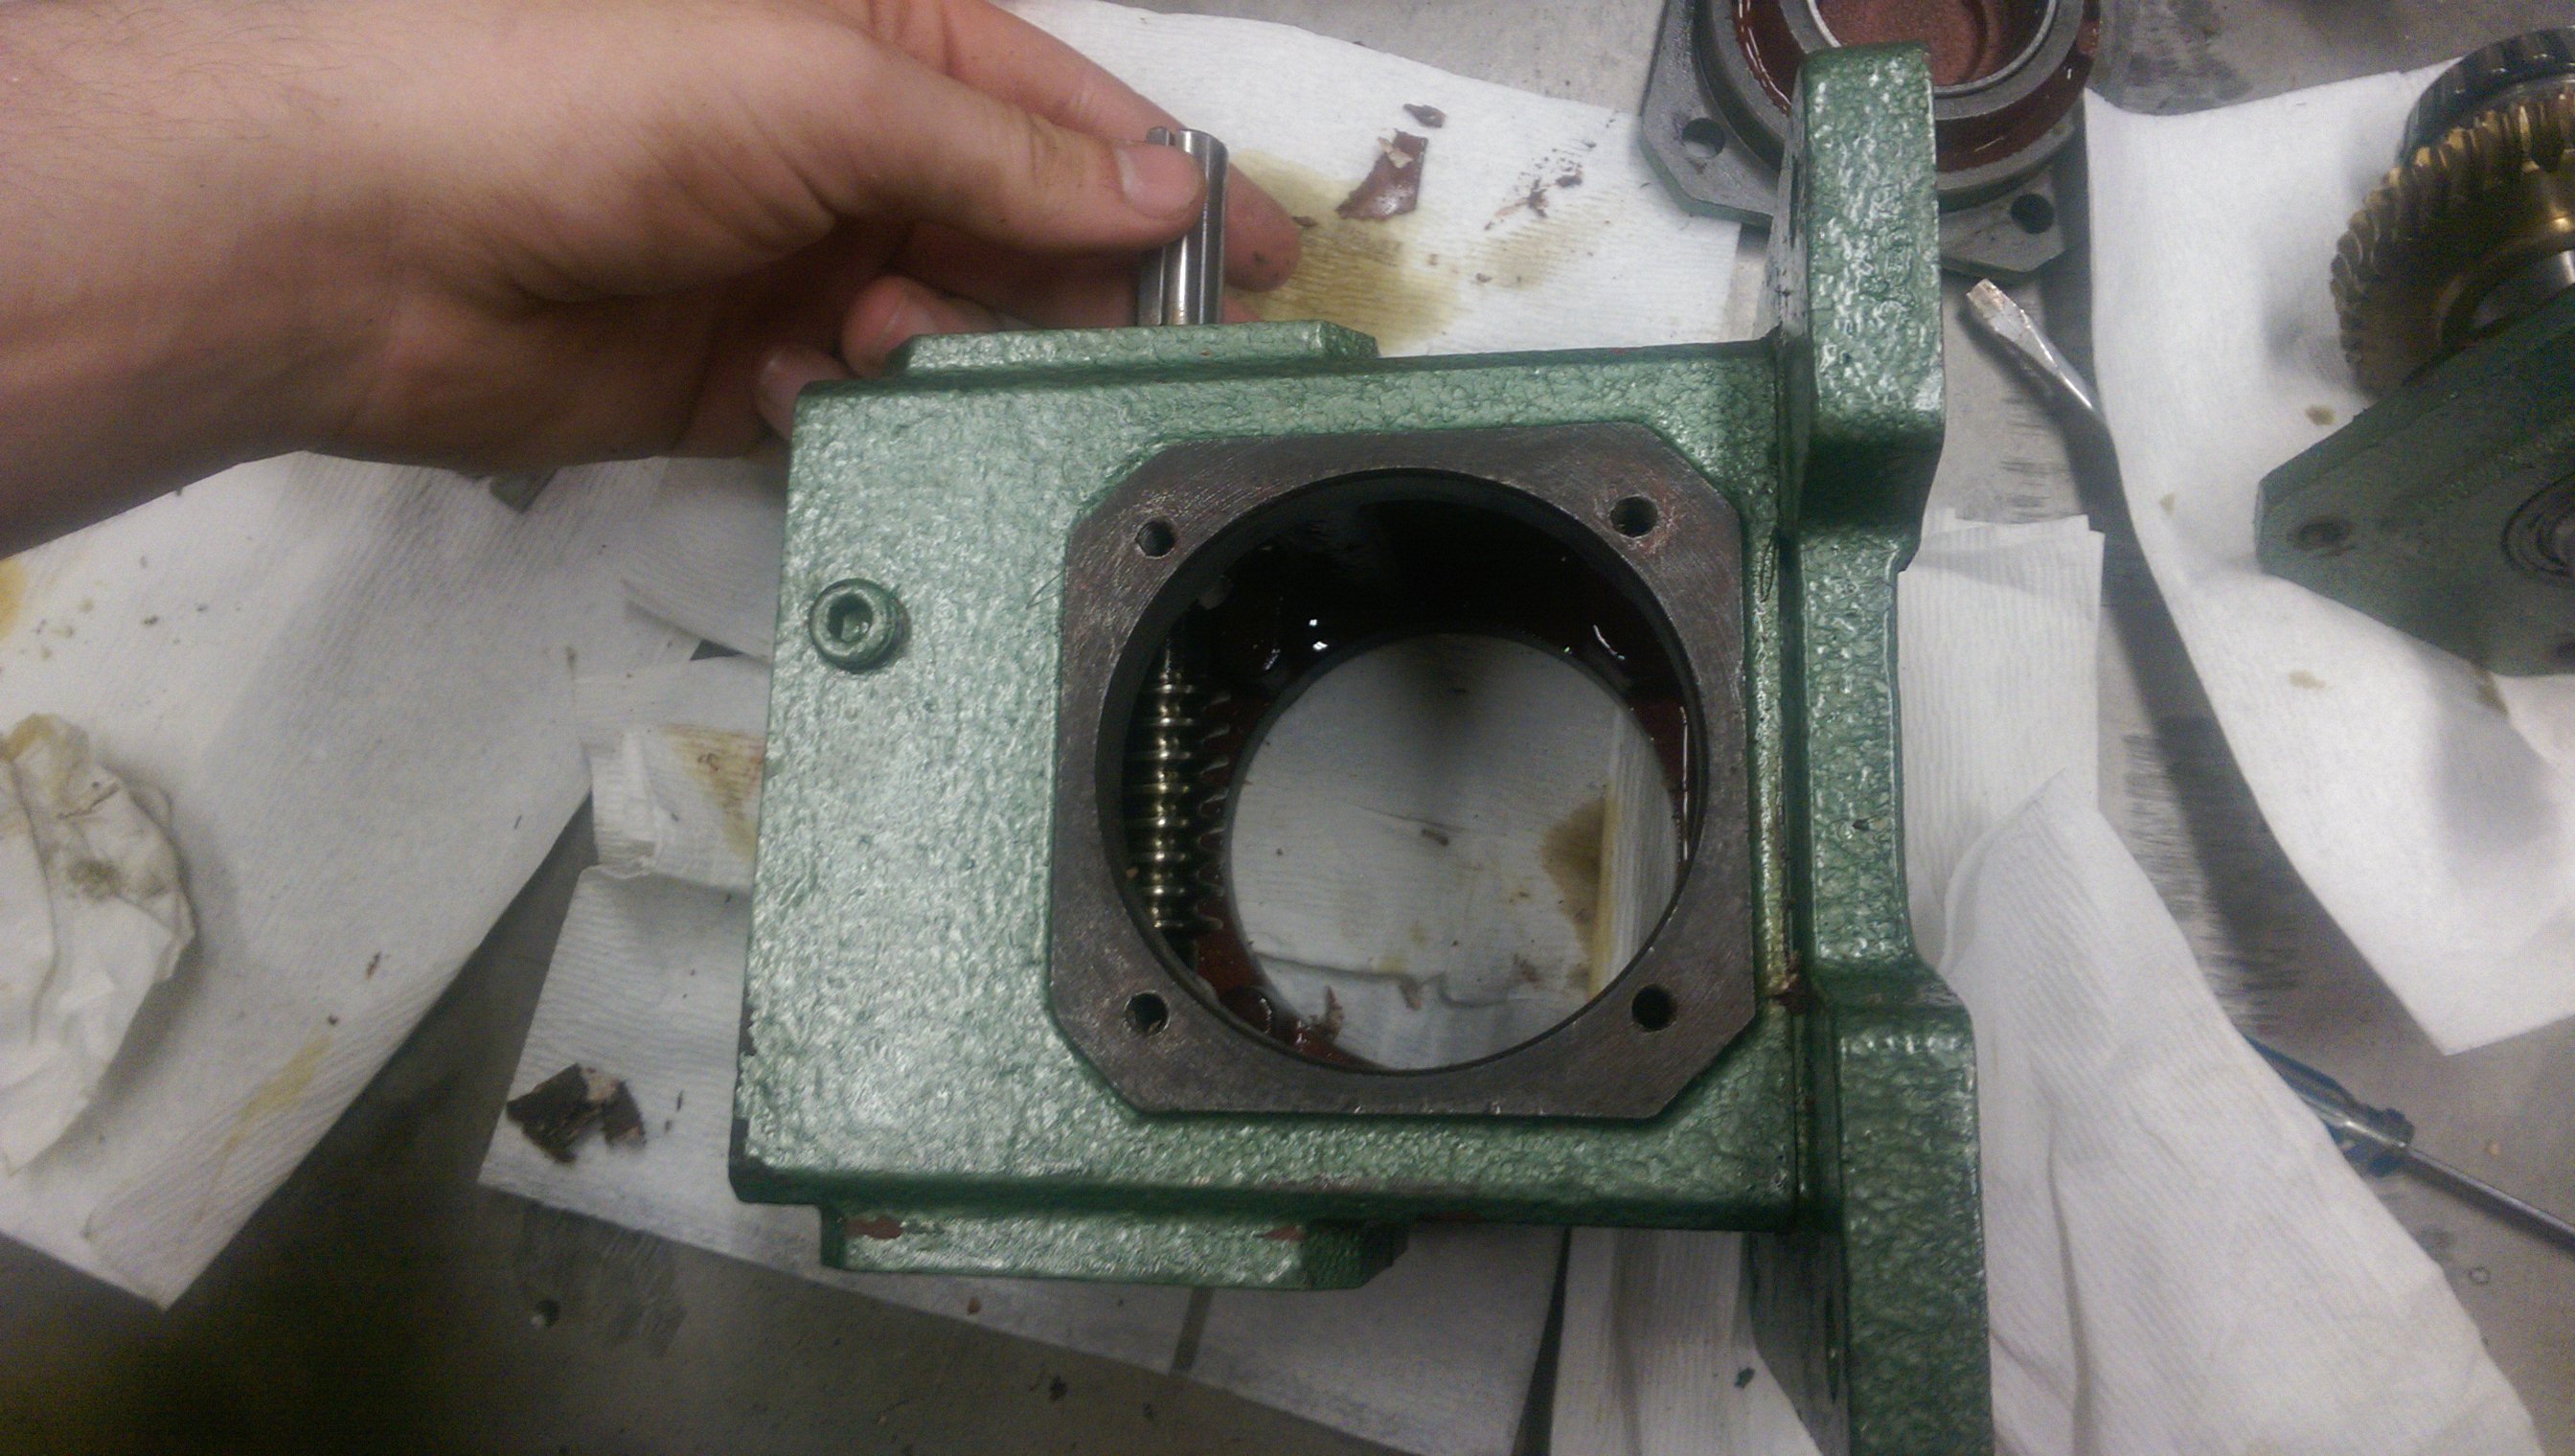
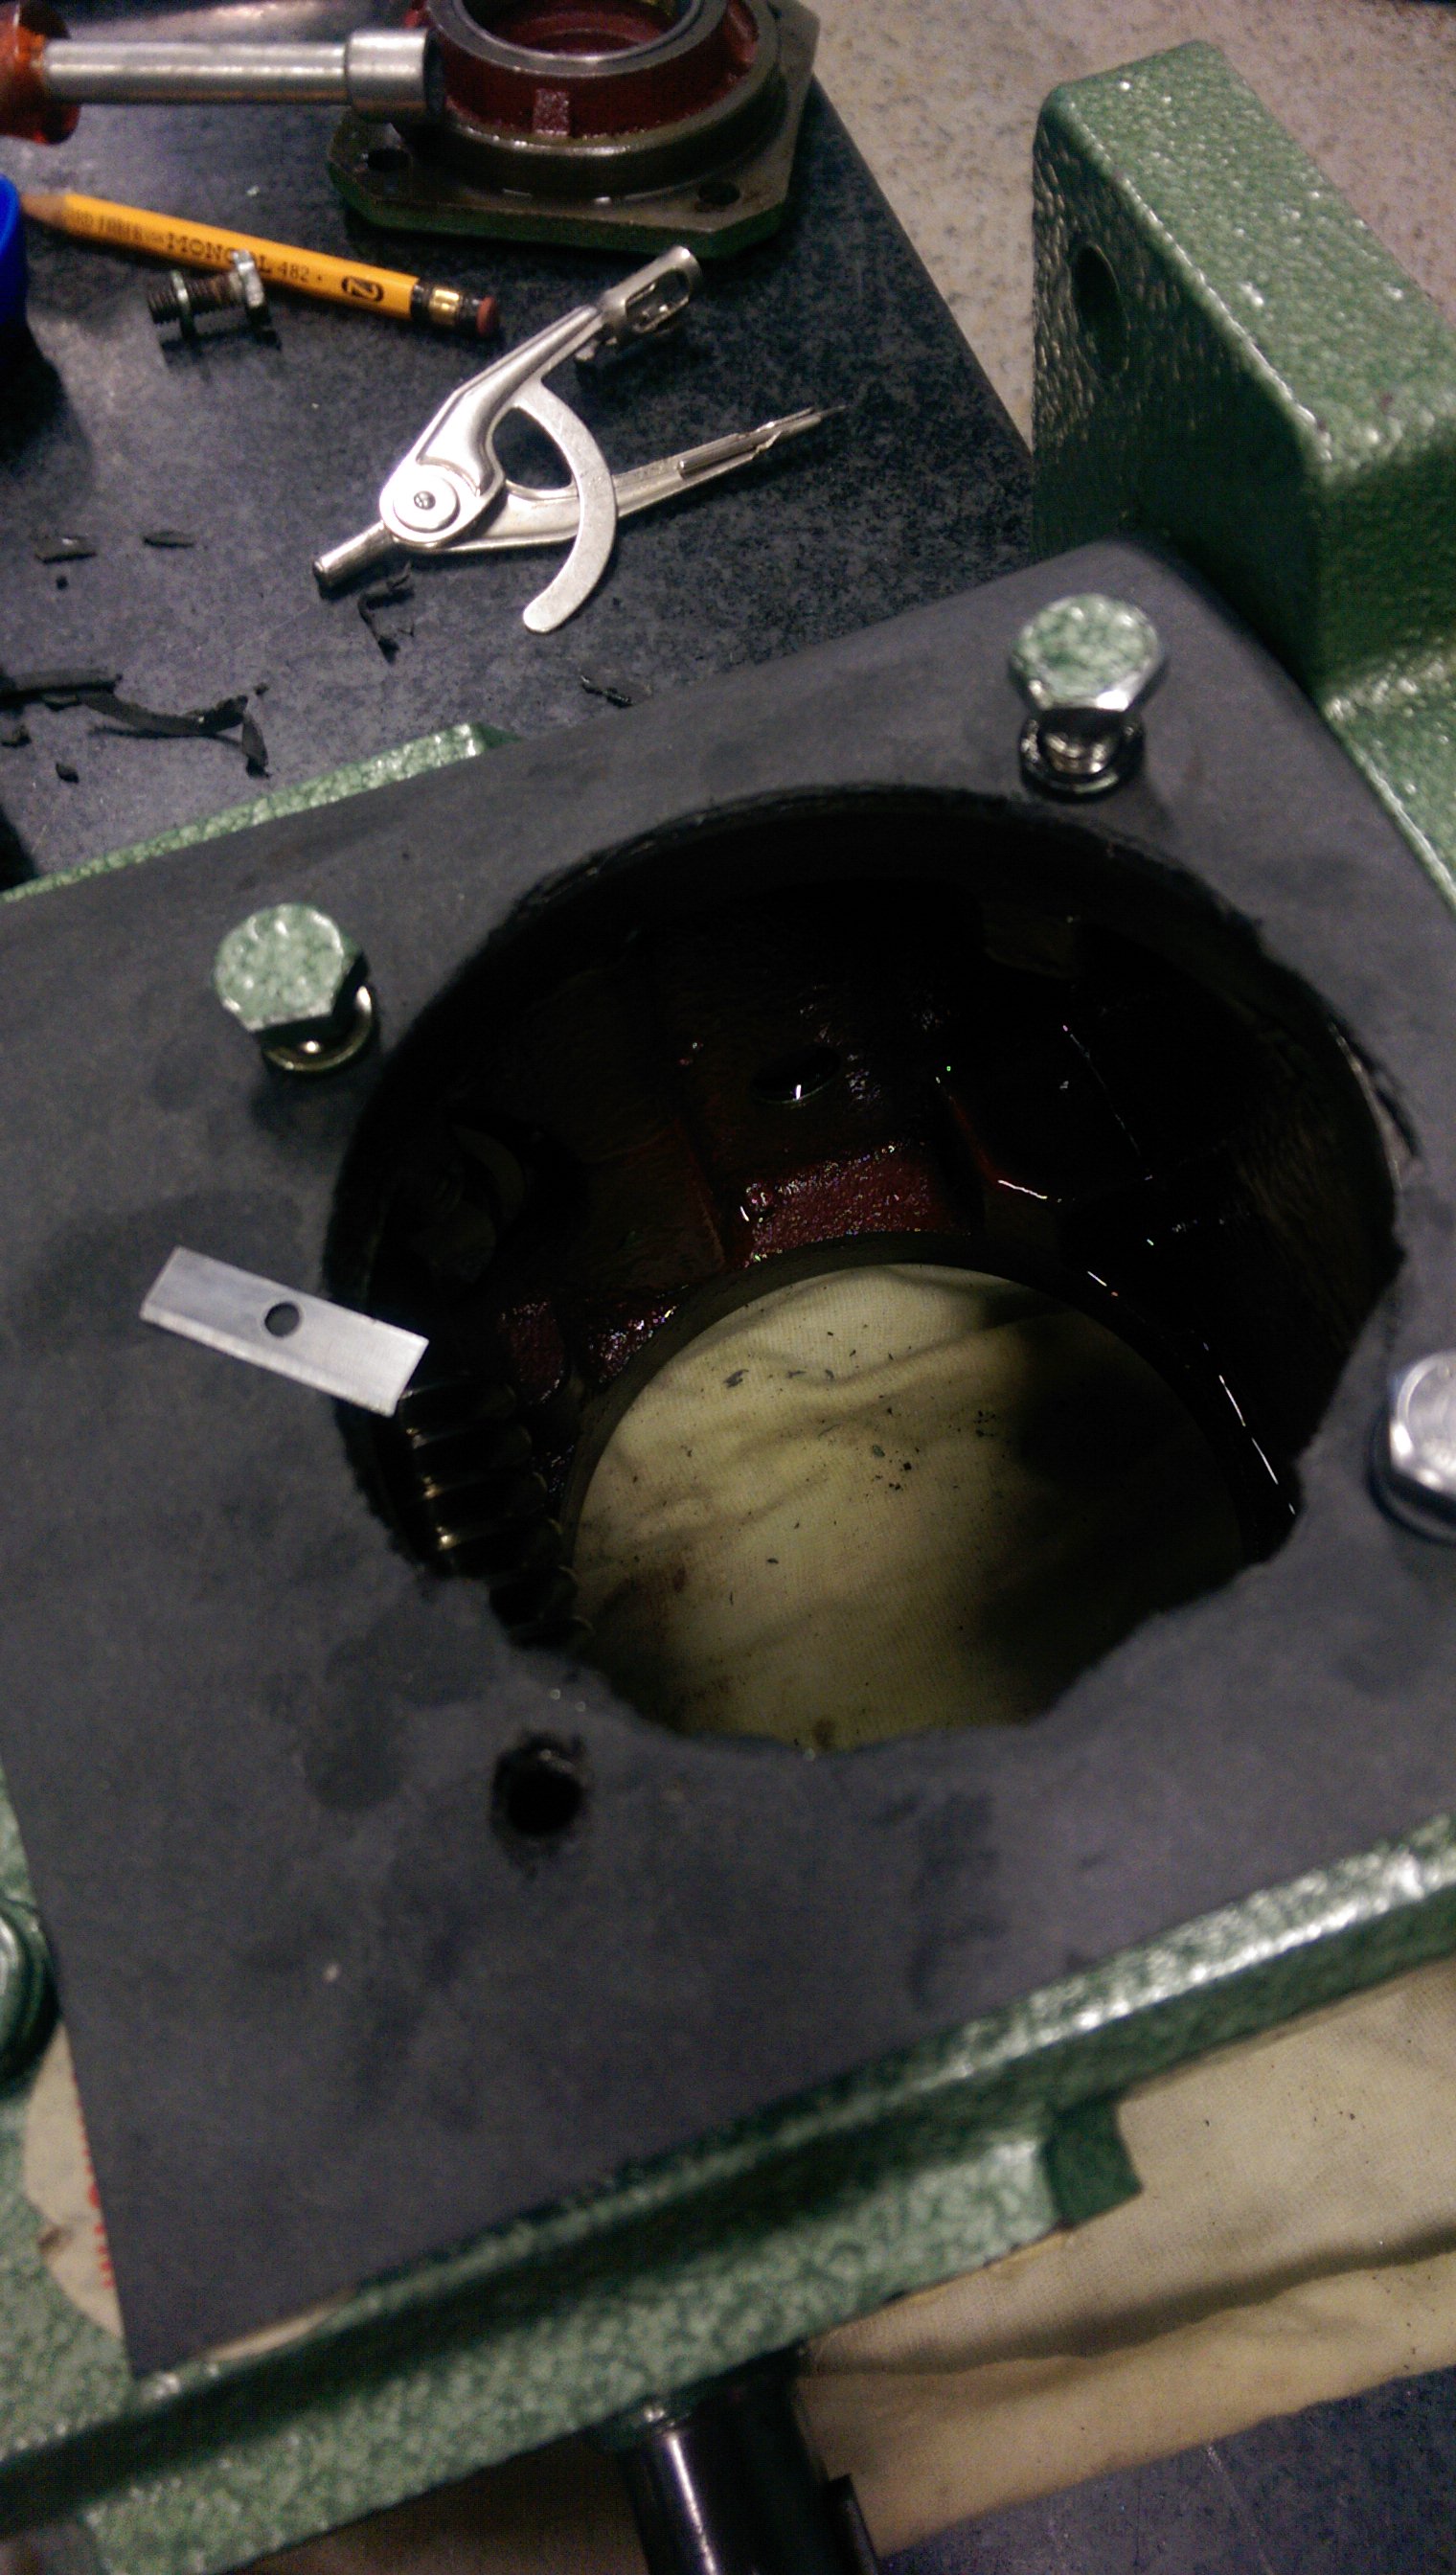
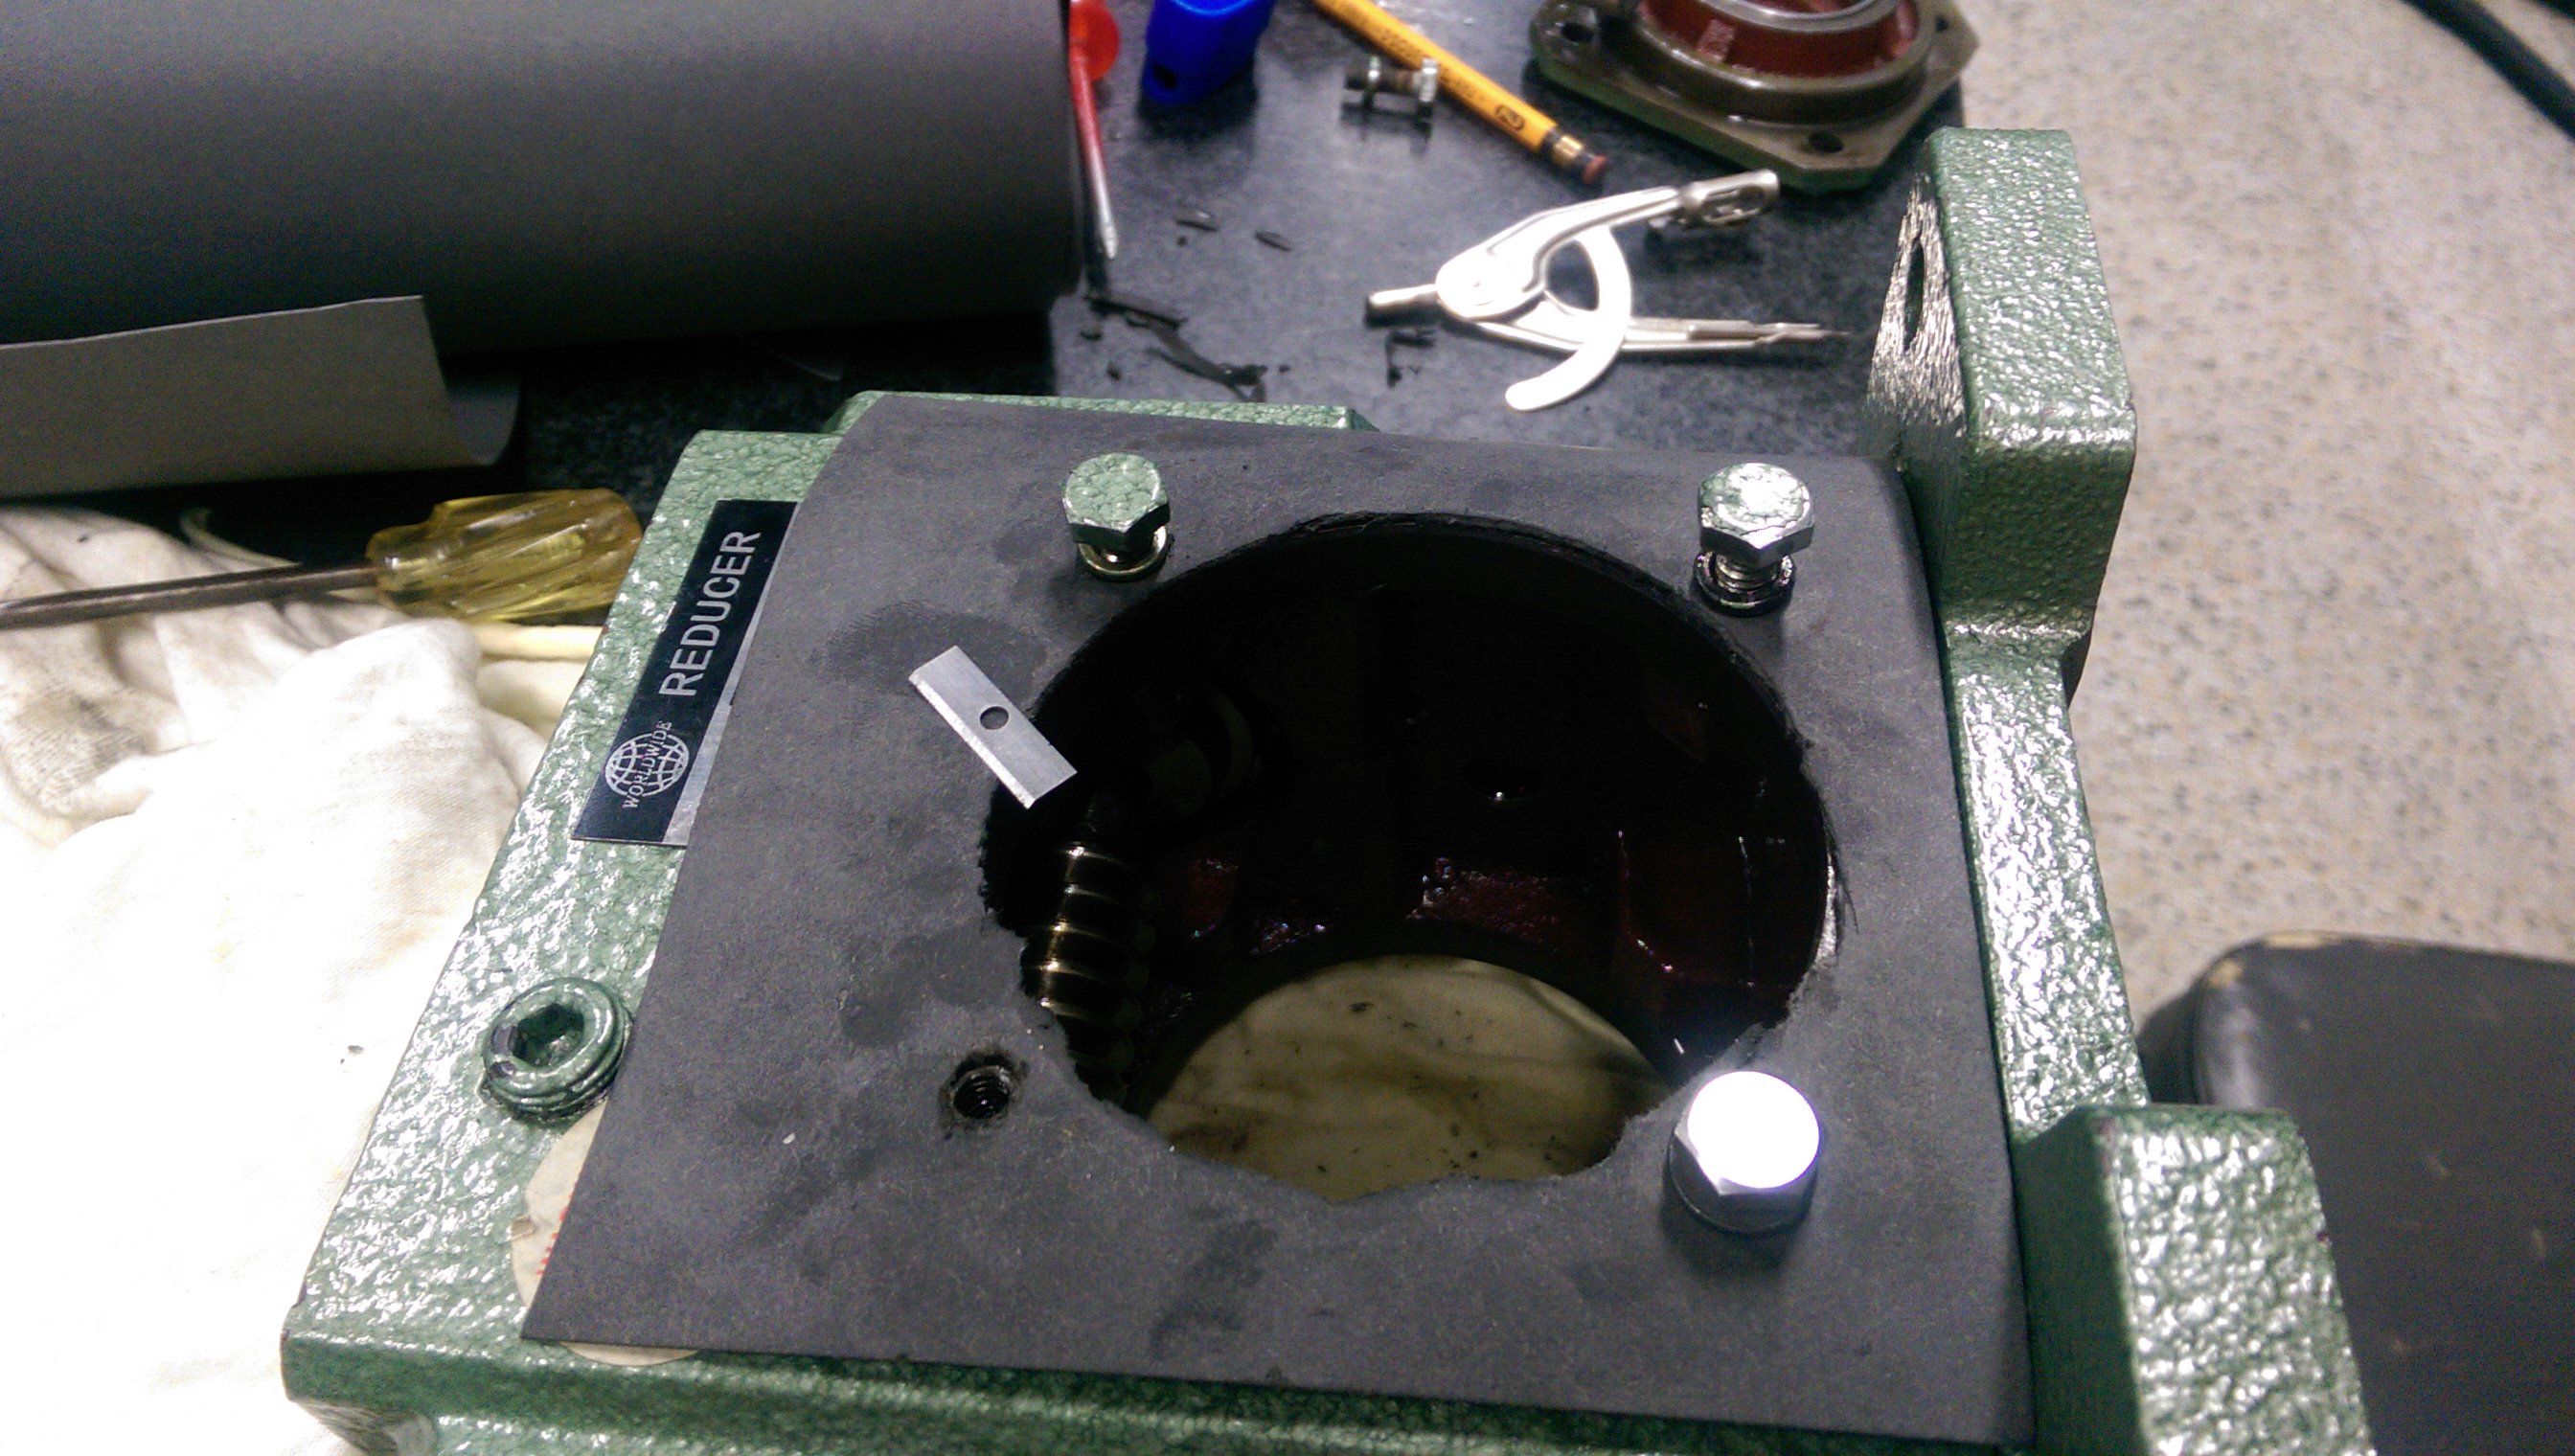
To remove the old, oil-impregnated gasket, I used a spare razor blade to carefully scrape the material off of the mating surfaces. This was a time-intensive process where you will be inclined to do something easier, but using the razor blade reduces the potential for damaging or denting the mating surface. It is important to not damage these surfaces because it can increase the likelihood of a leak.
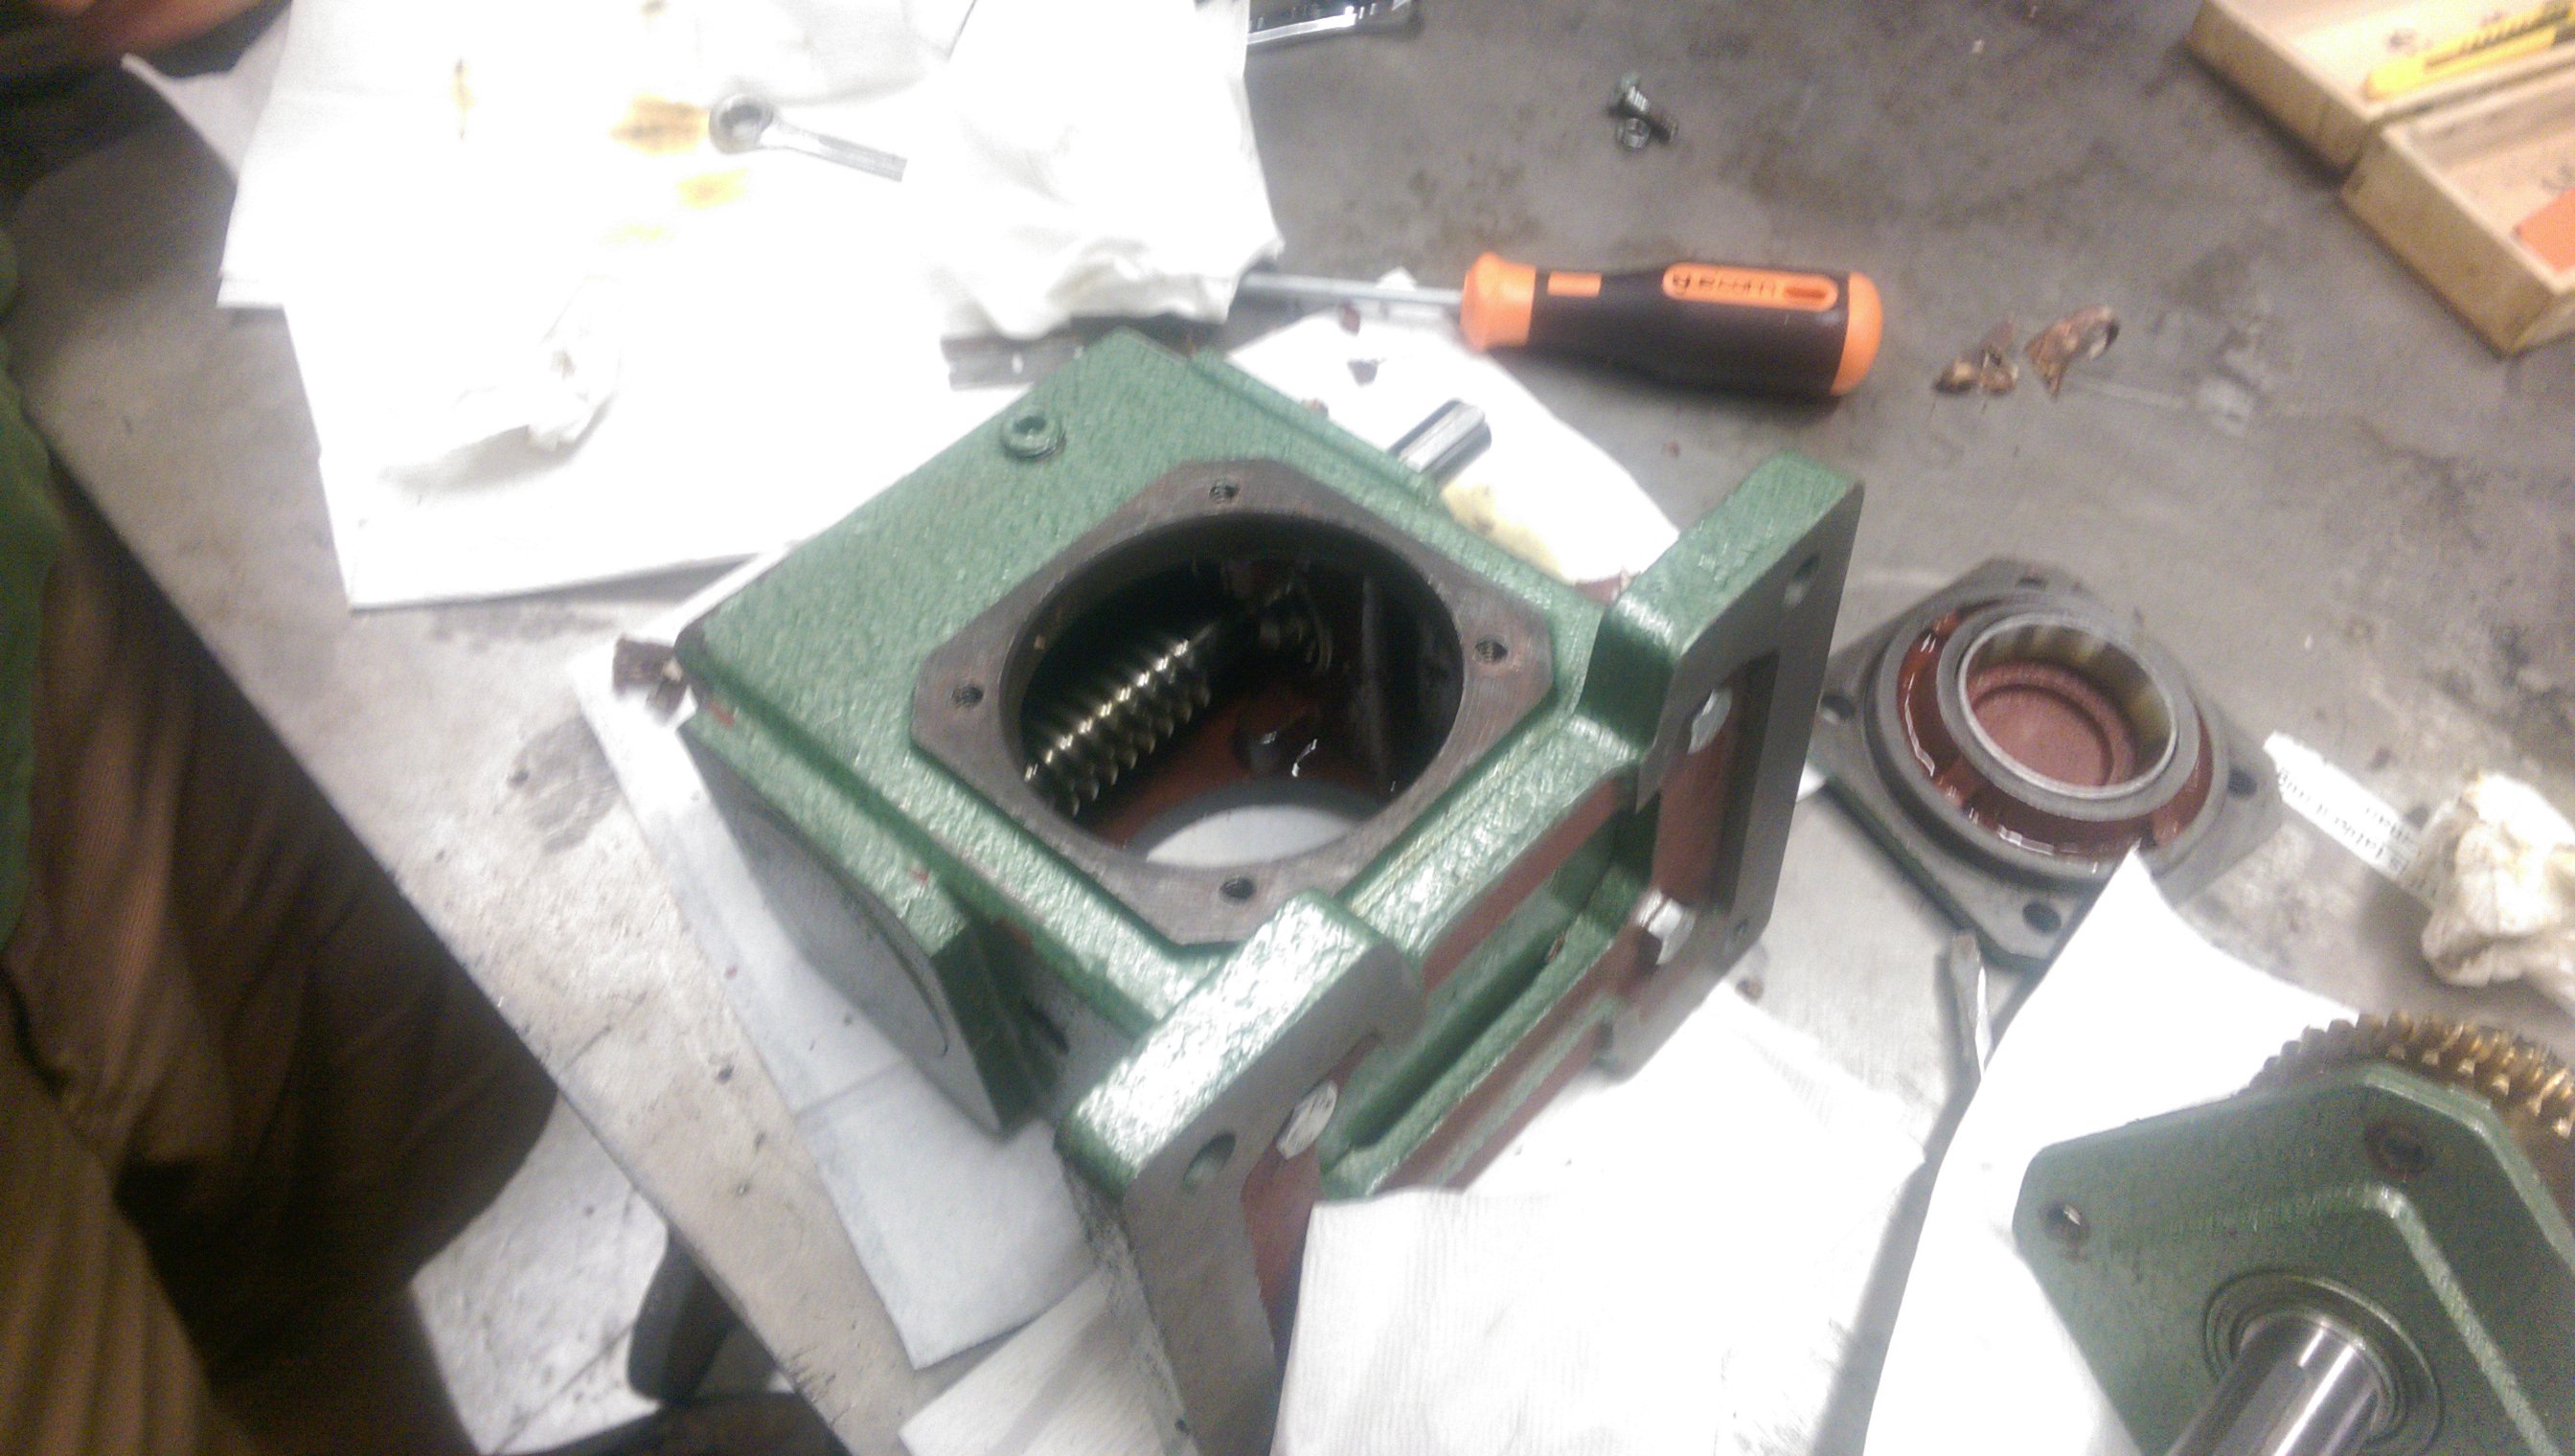
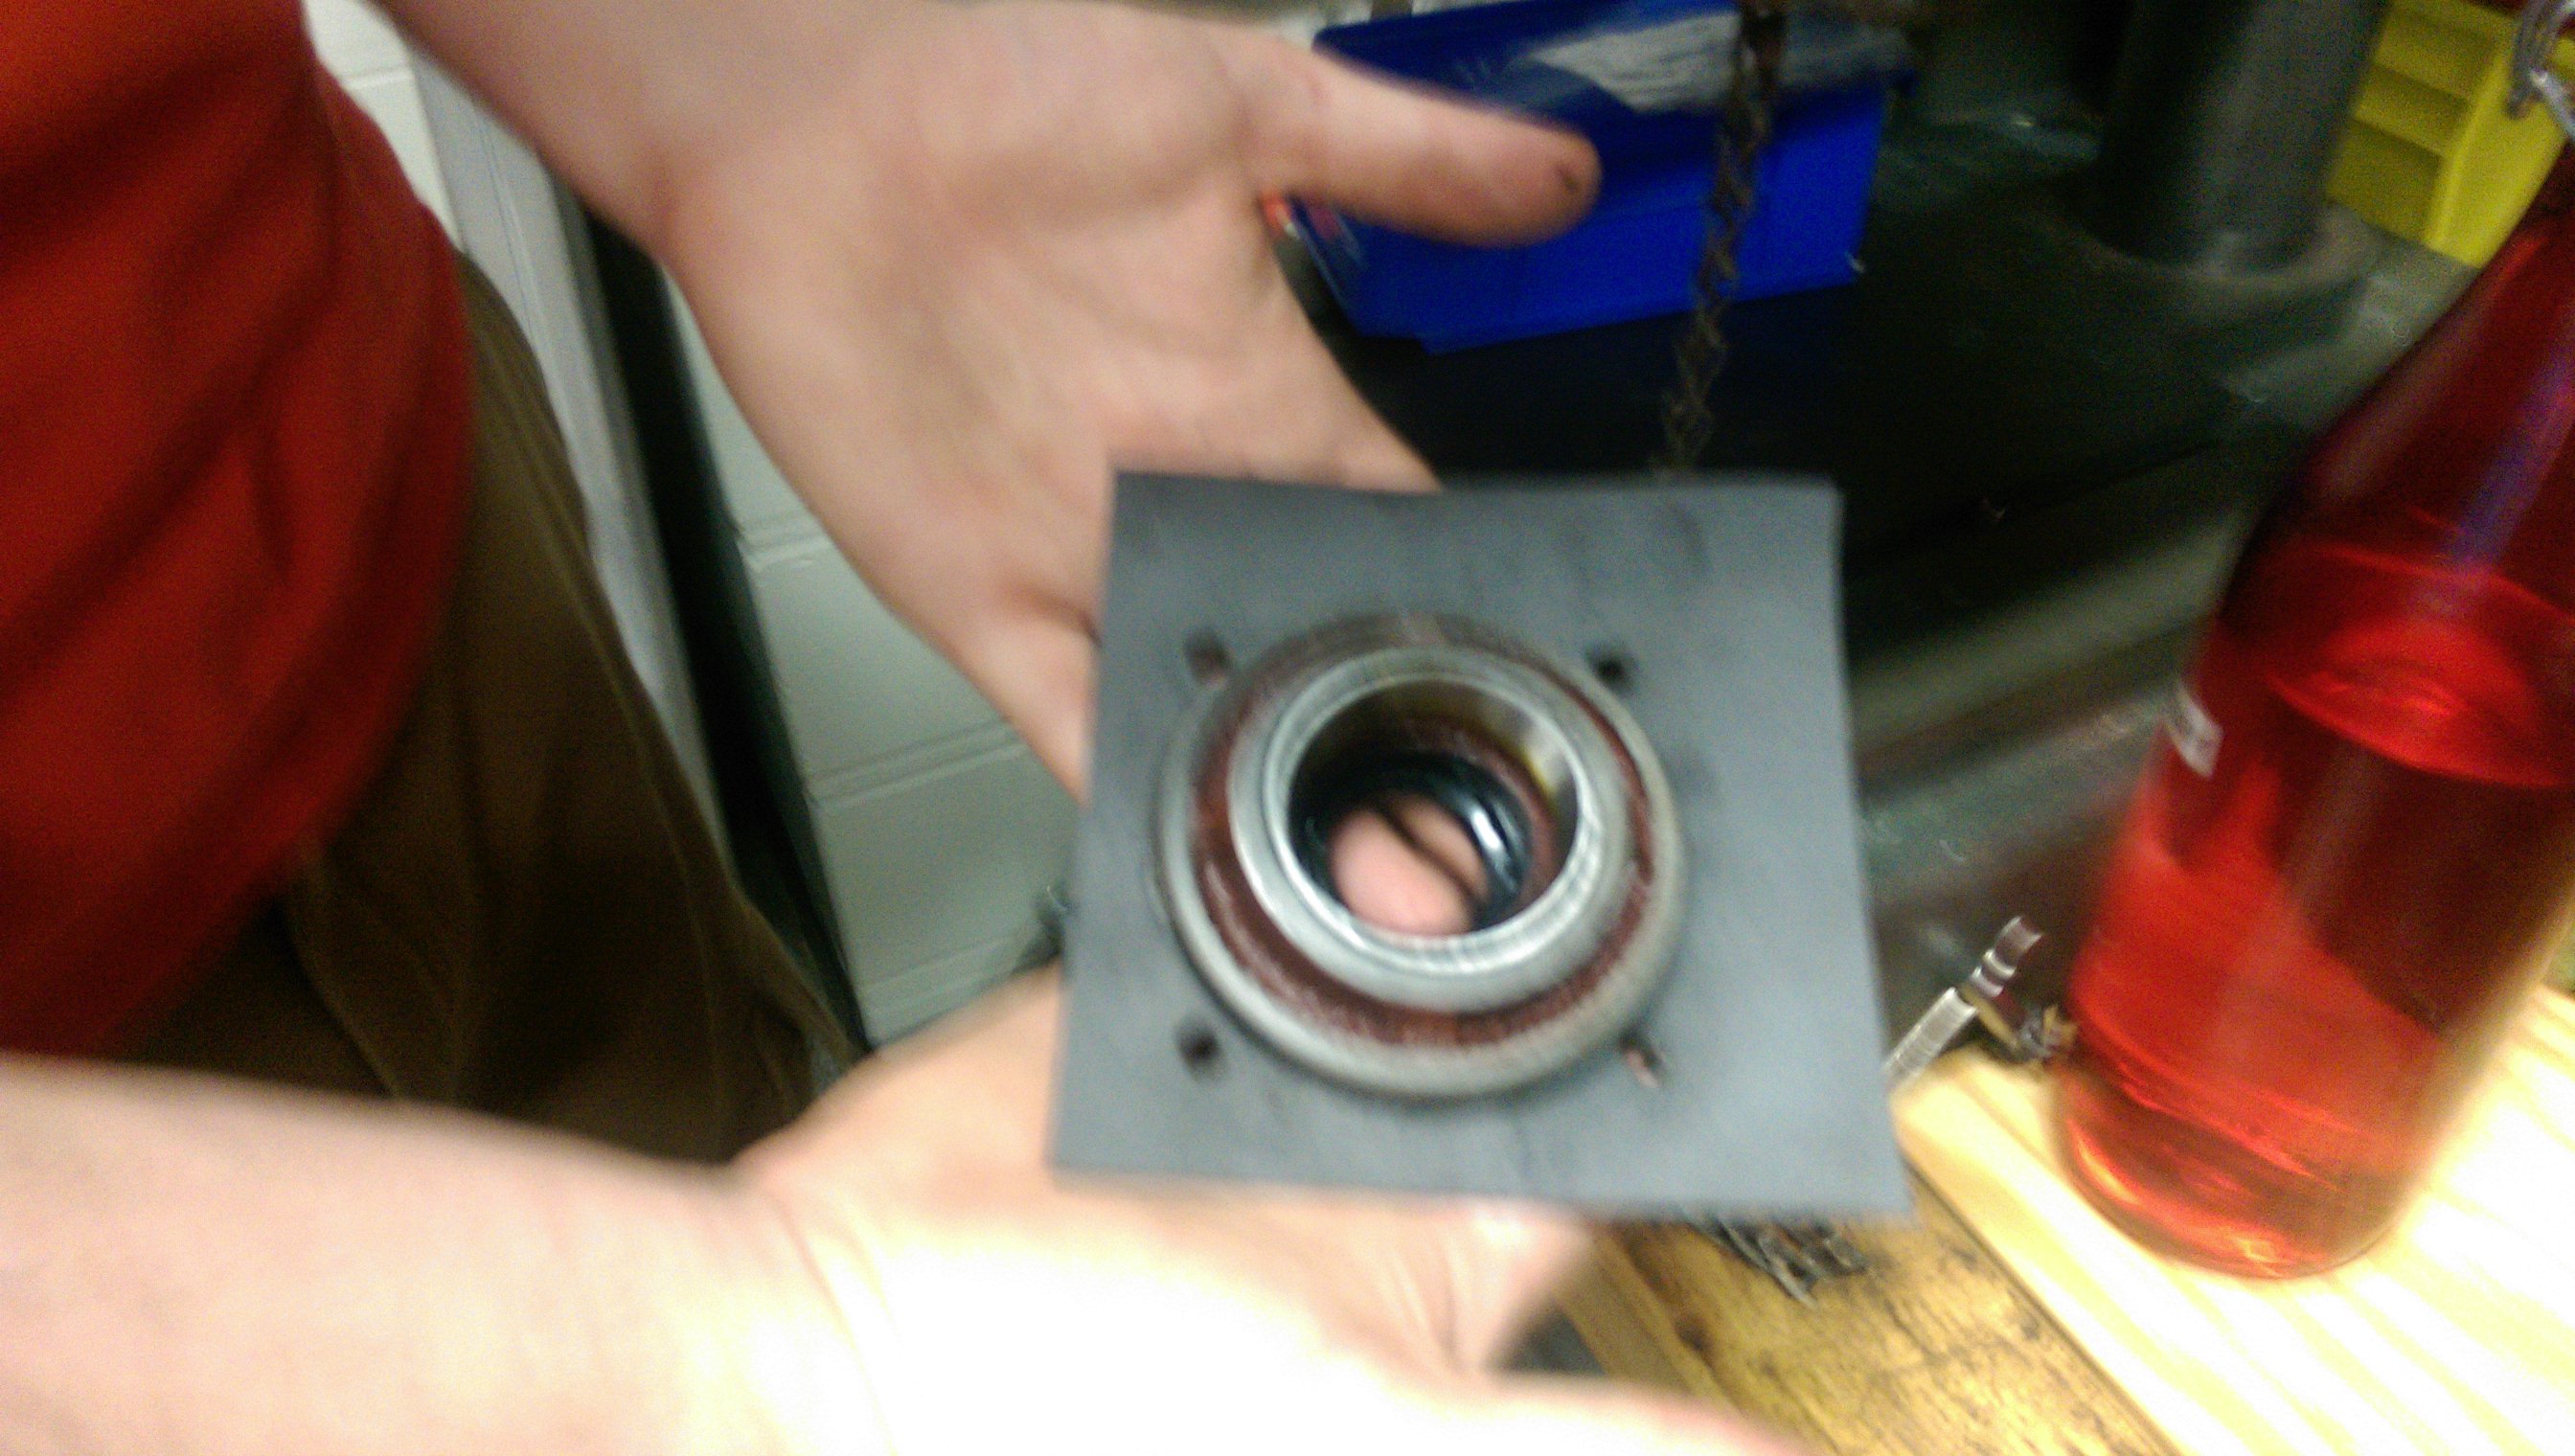
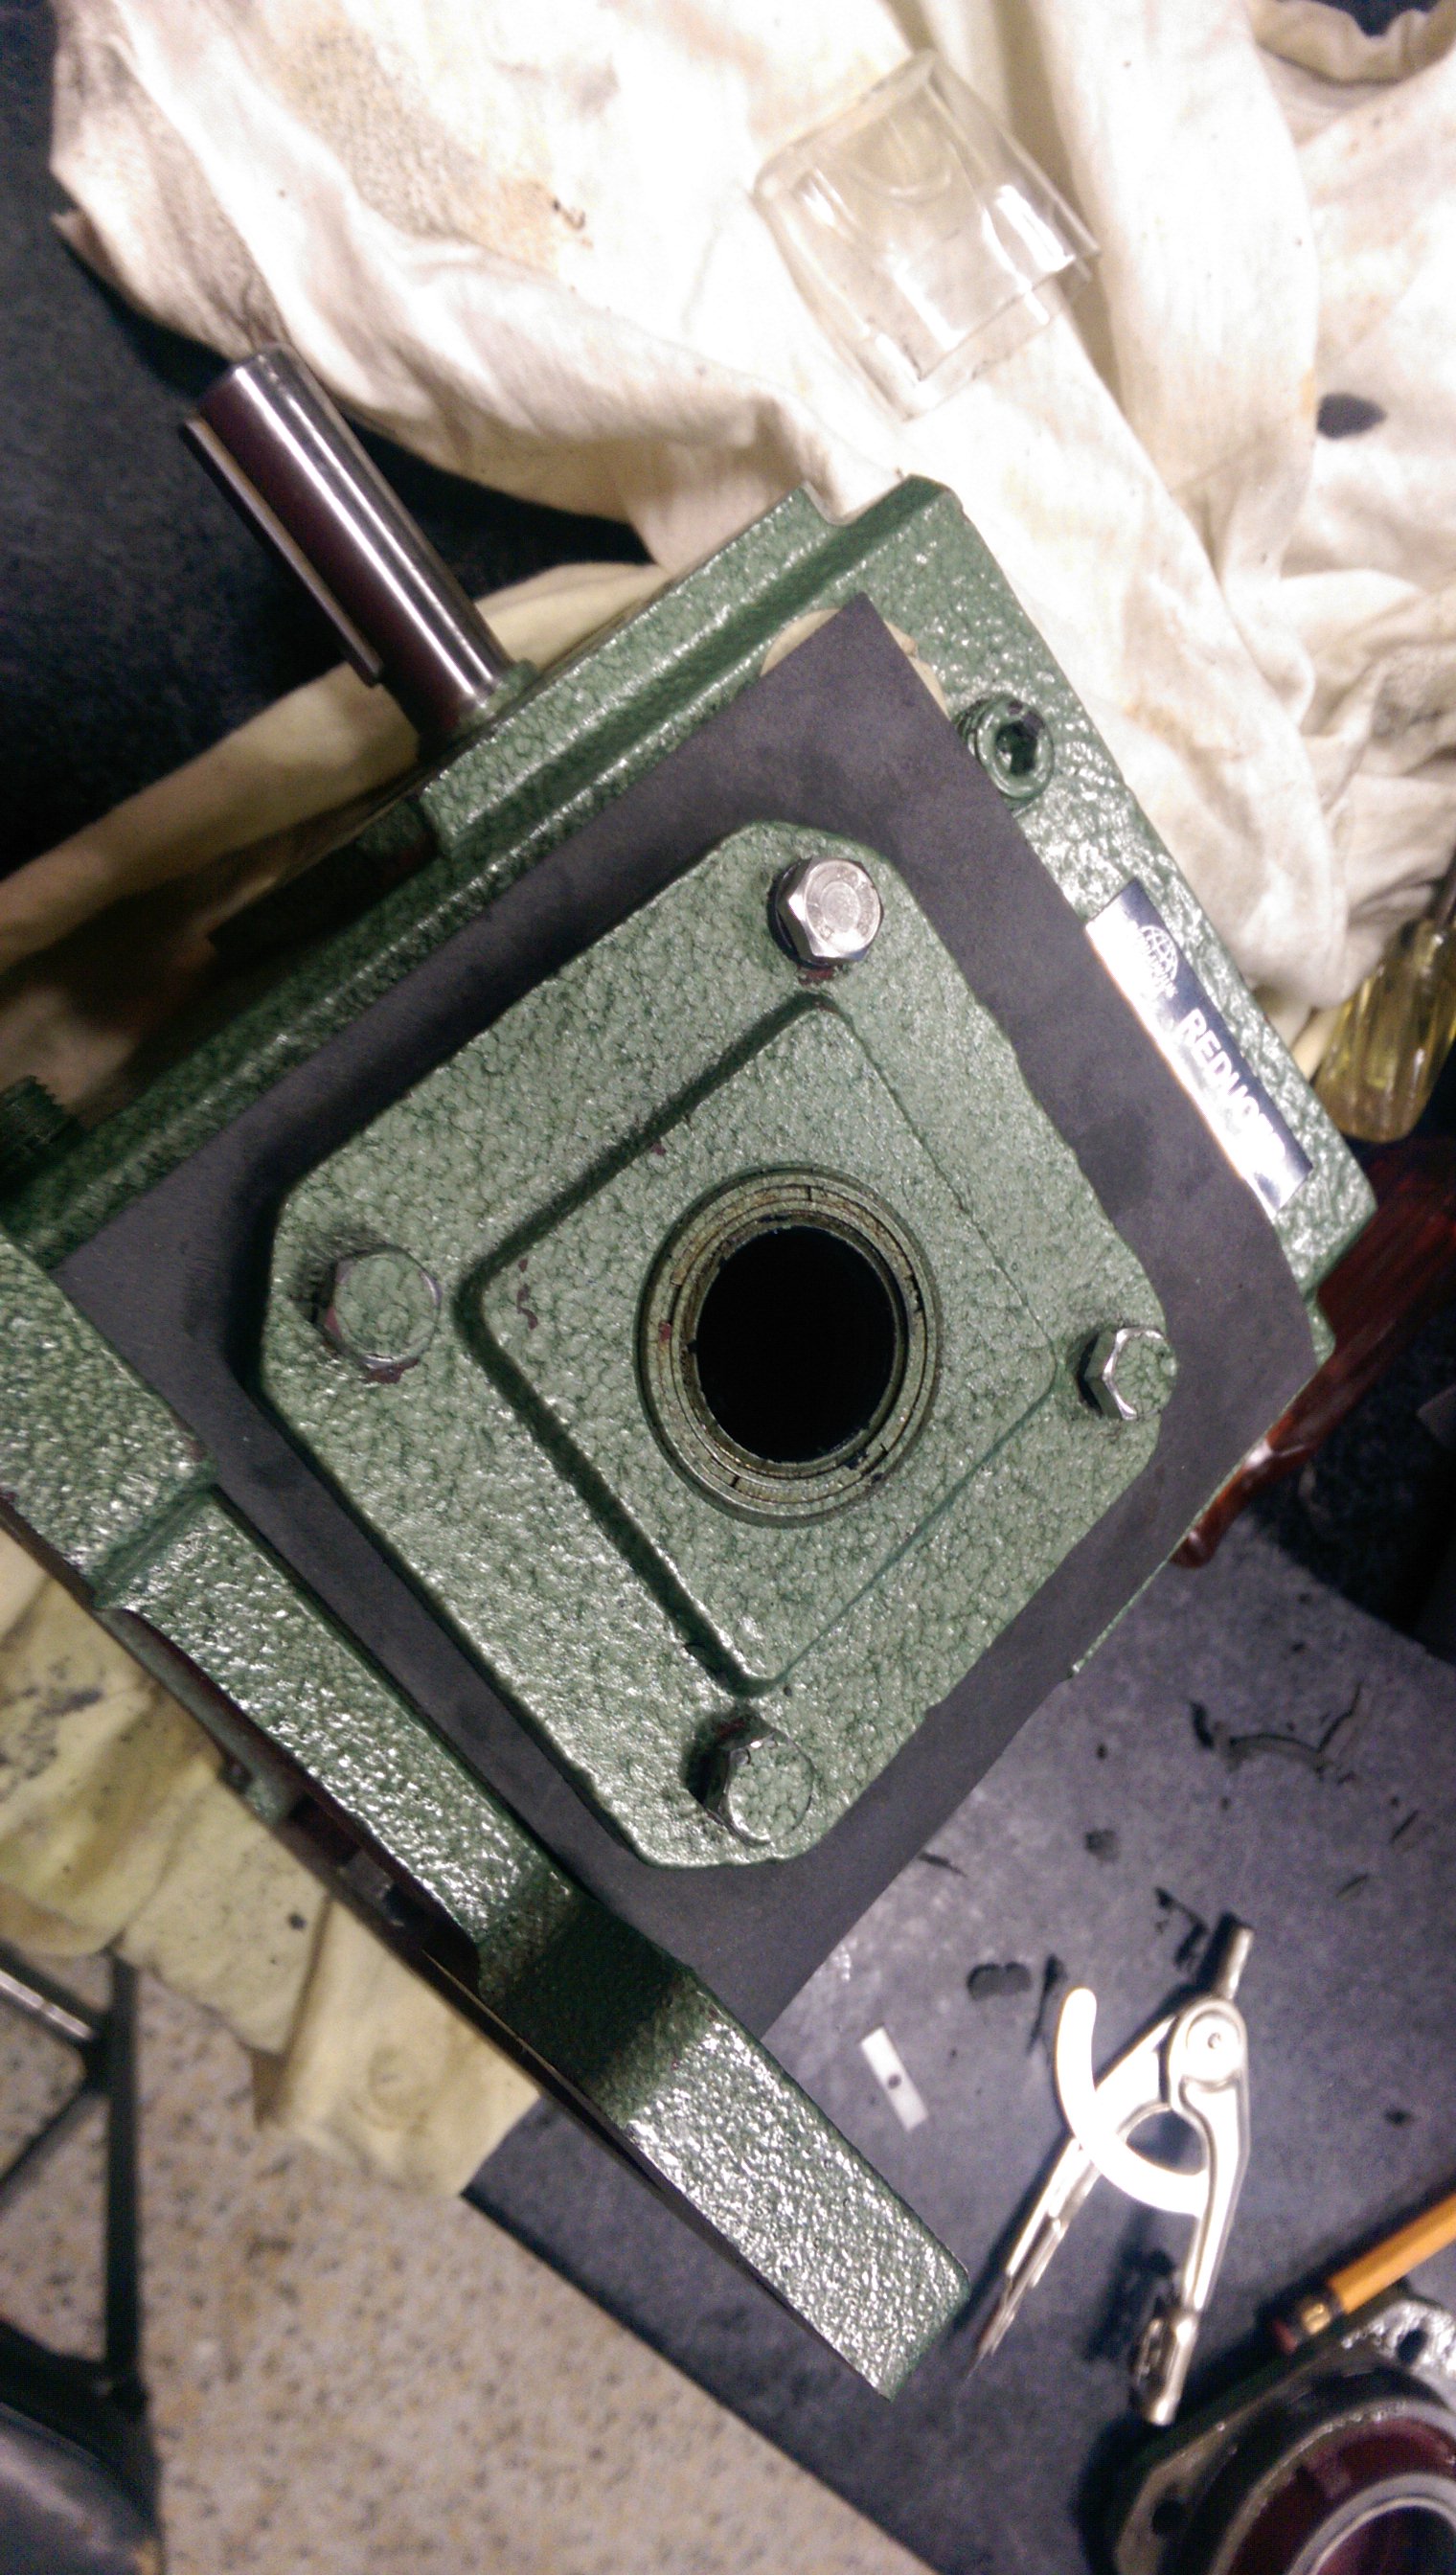
Once I had the surfaces cleared of old gasket material, I wiped them down with a clean cloth. I then cut 4 holes in the new gasket material, for alignment. Once I did this, I carefully cut a hole out following the inside wall of the gear reducer face. After this step, I carefully bolted the two mating surfaces together (loosely) and cut all excess material away. I repeated these steps for the back gasket. Once both gaskets were finished, I inserted the worm-gear and then bolted the faces to the main body (Making sure to tighten the bolts as to compress the gasket material).
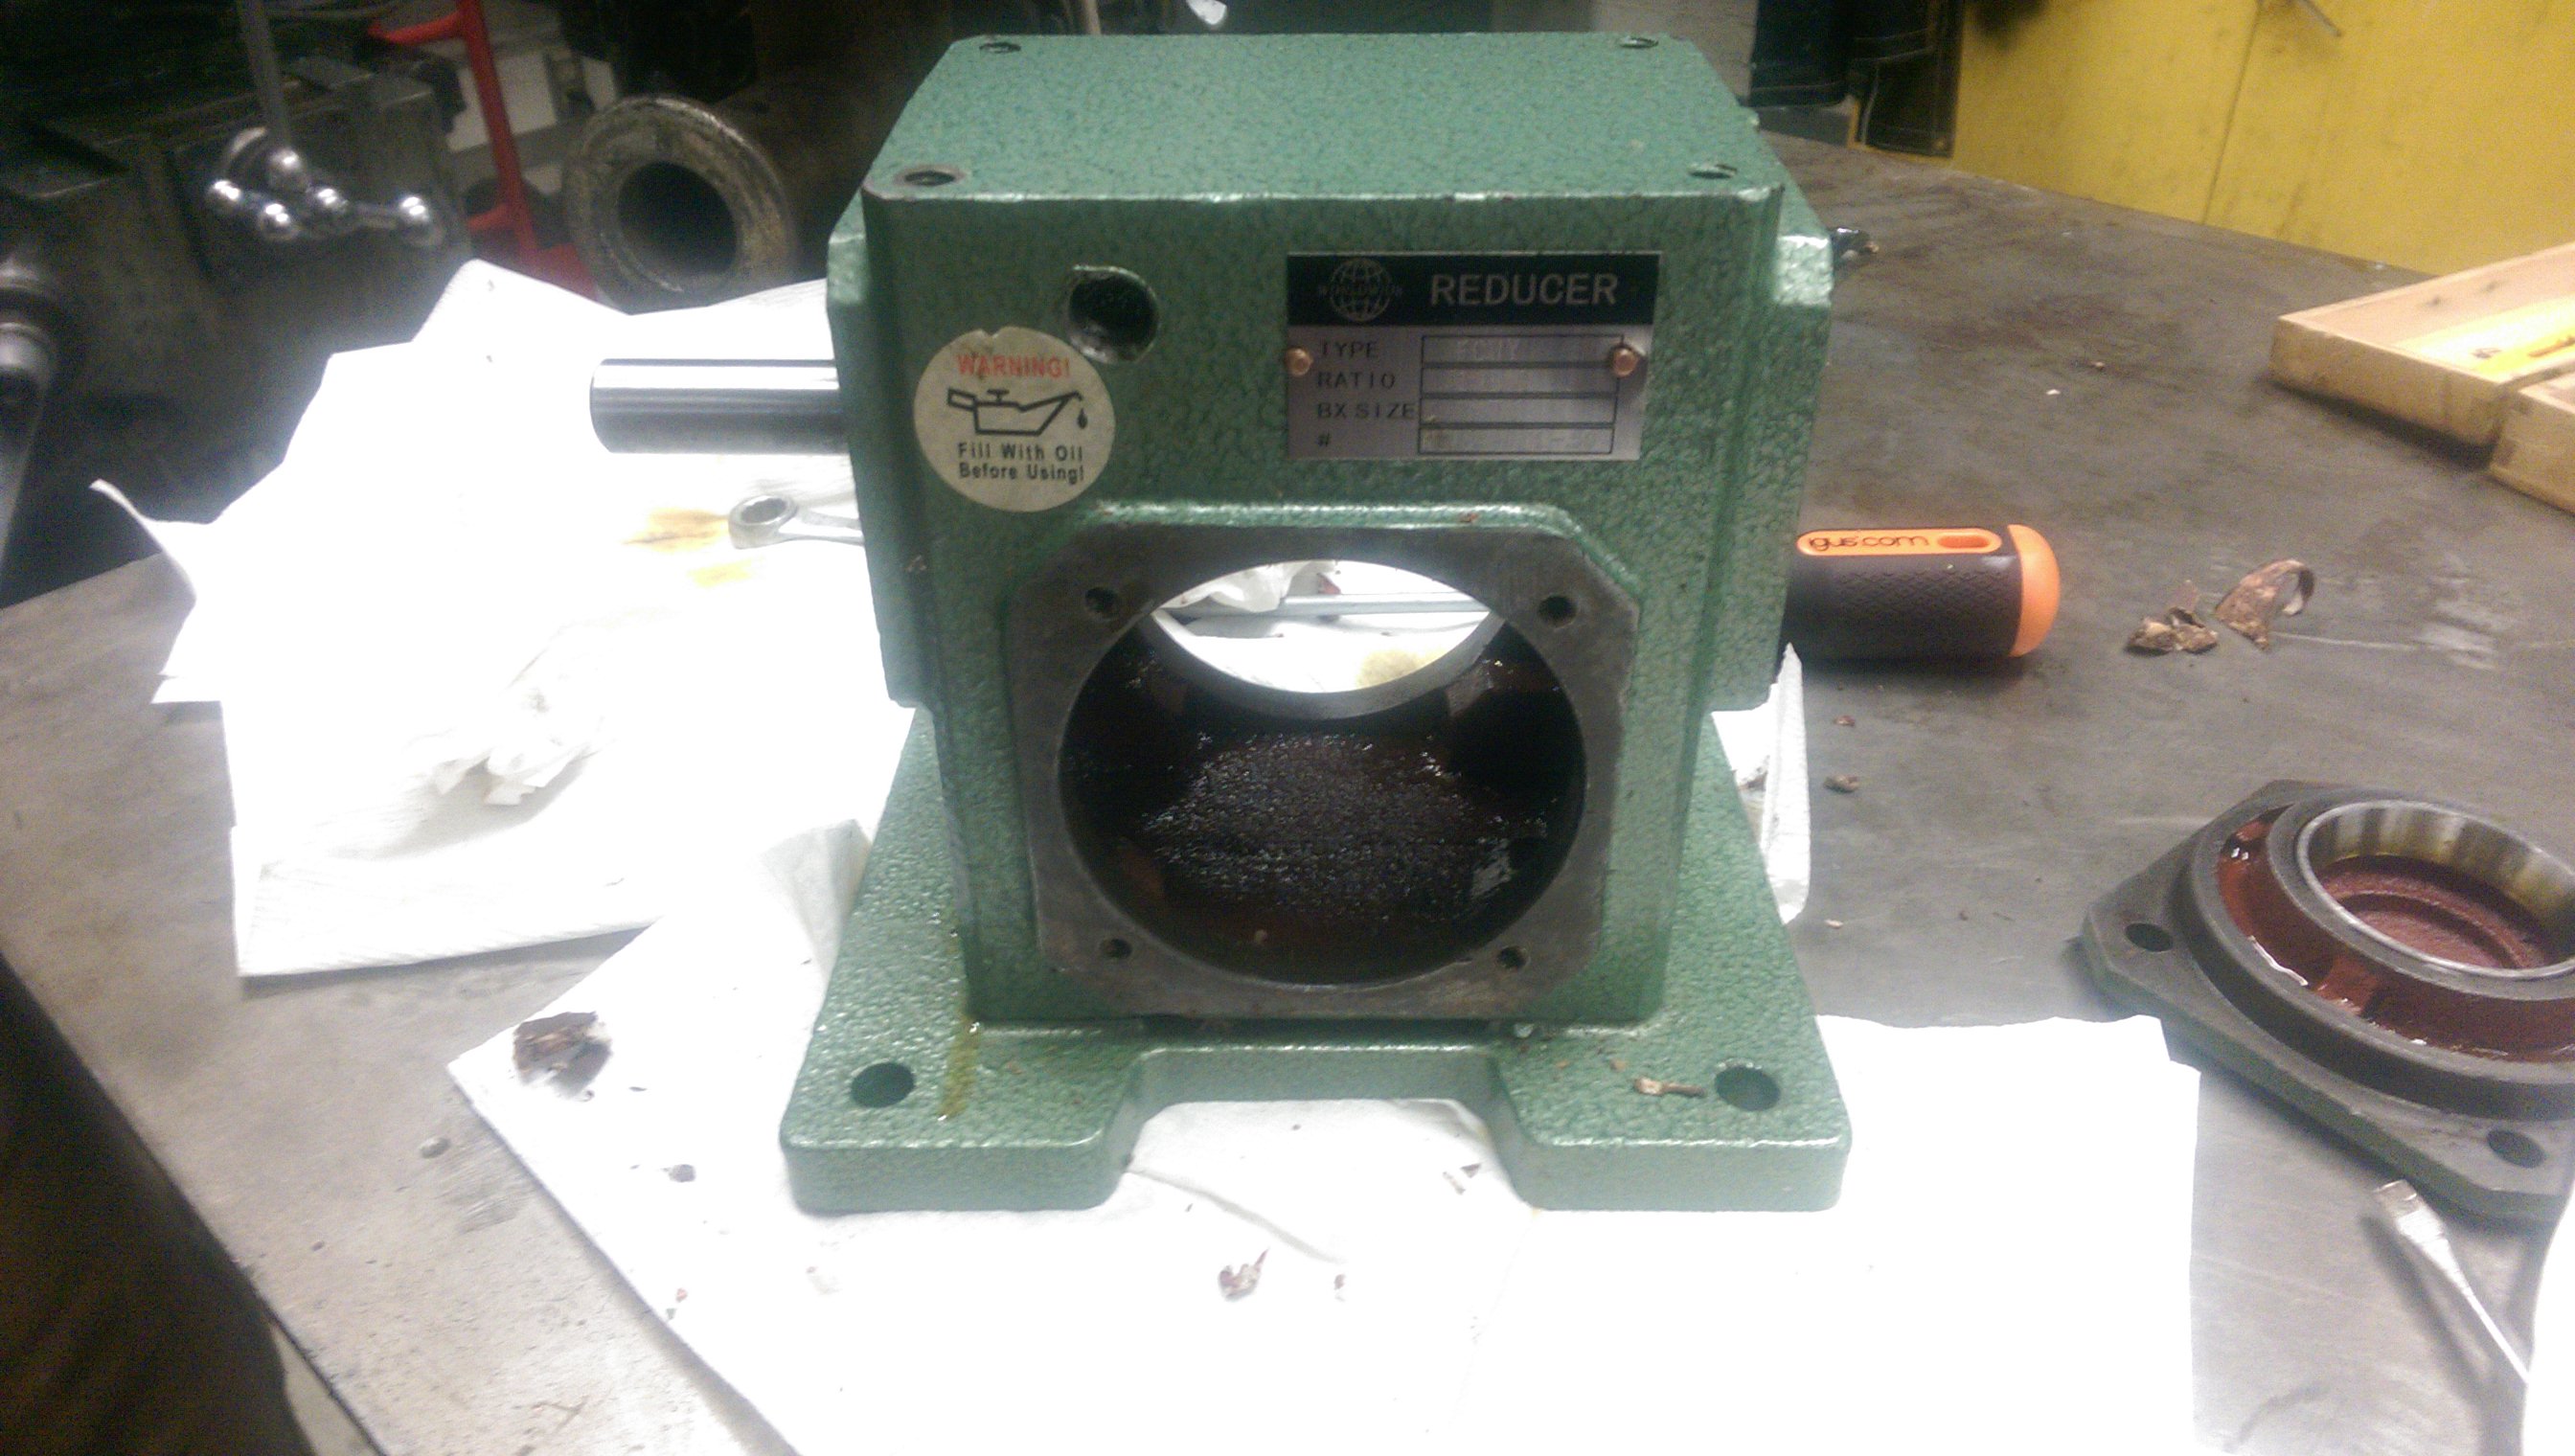
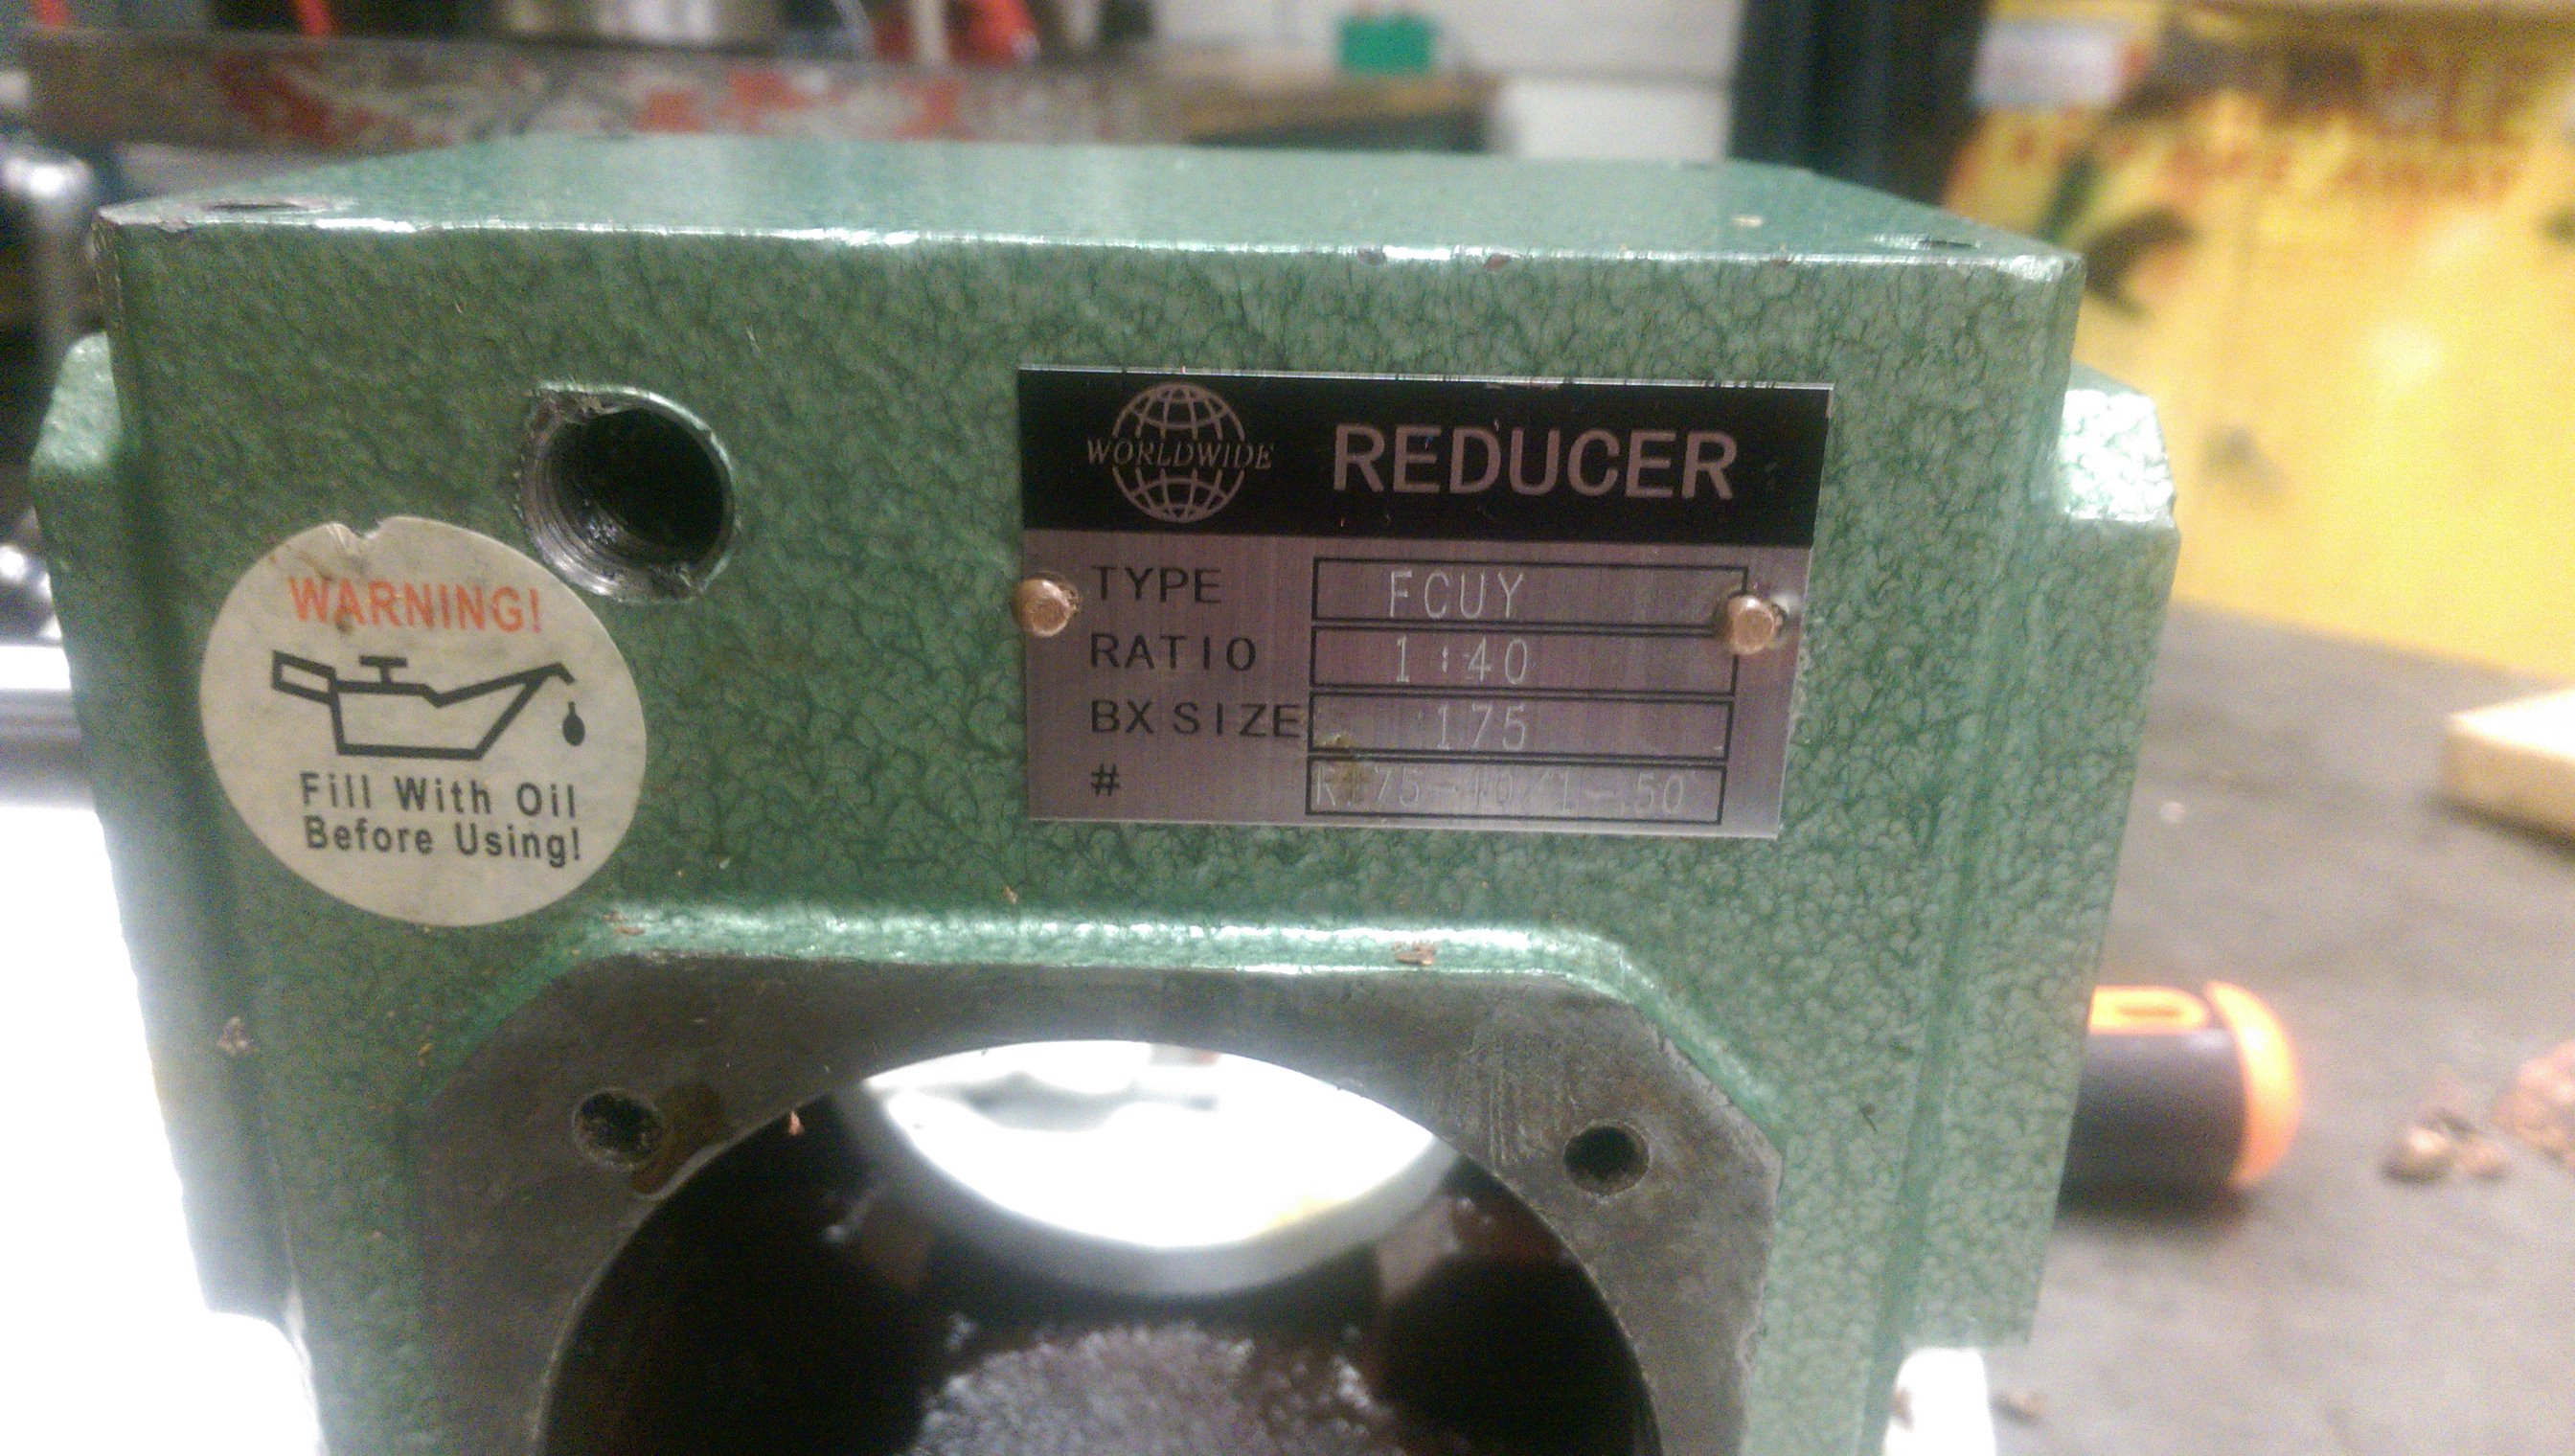
Most gear systems like this will have two set screws, one to allow you to fill the system with new gear oil, and one to drain old gear oil. This allows you to not damage the gaskets with constantly opening and closing the system, while enabling you to change out dirty and old gear oil.
While filling up the system with new gear oil, make sure to rotate the gears every so often so as to allow for the oil to move and fill the many gaps and air pockets in the system.