[07.14.14]Home-made Cutting Boards: Simple Wood-working
Description of Project
This project came out of the desire to build new things for my upcoming move and to work with wood for a change. So the project was aimed at creating a quality cutting board at an affordable price.
Processes Applied:

Summary:
- Titebond III wood glue (Foodgrade wood glue) - $7.97
- Howard - Butcher Block Conditioner (Food Grade Mineral Oil & Natural Waxes) - $8.98
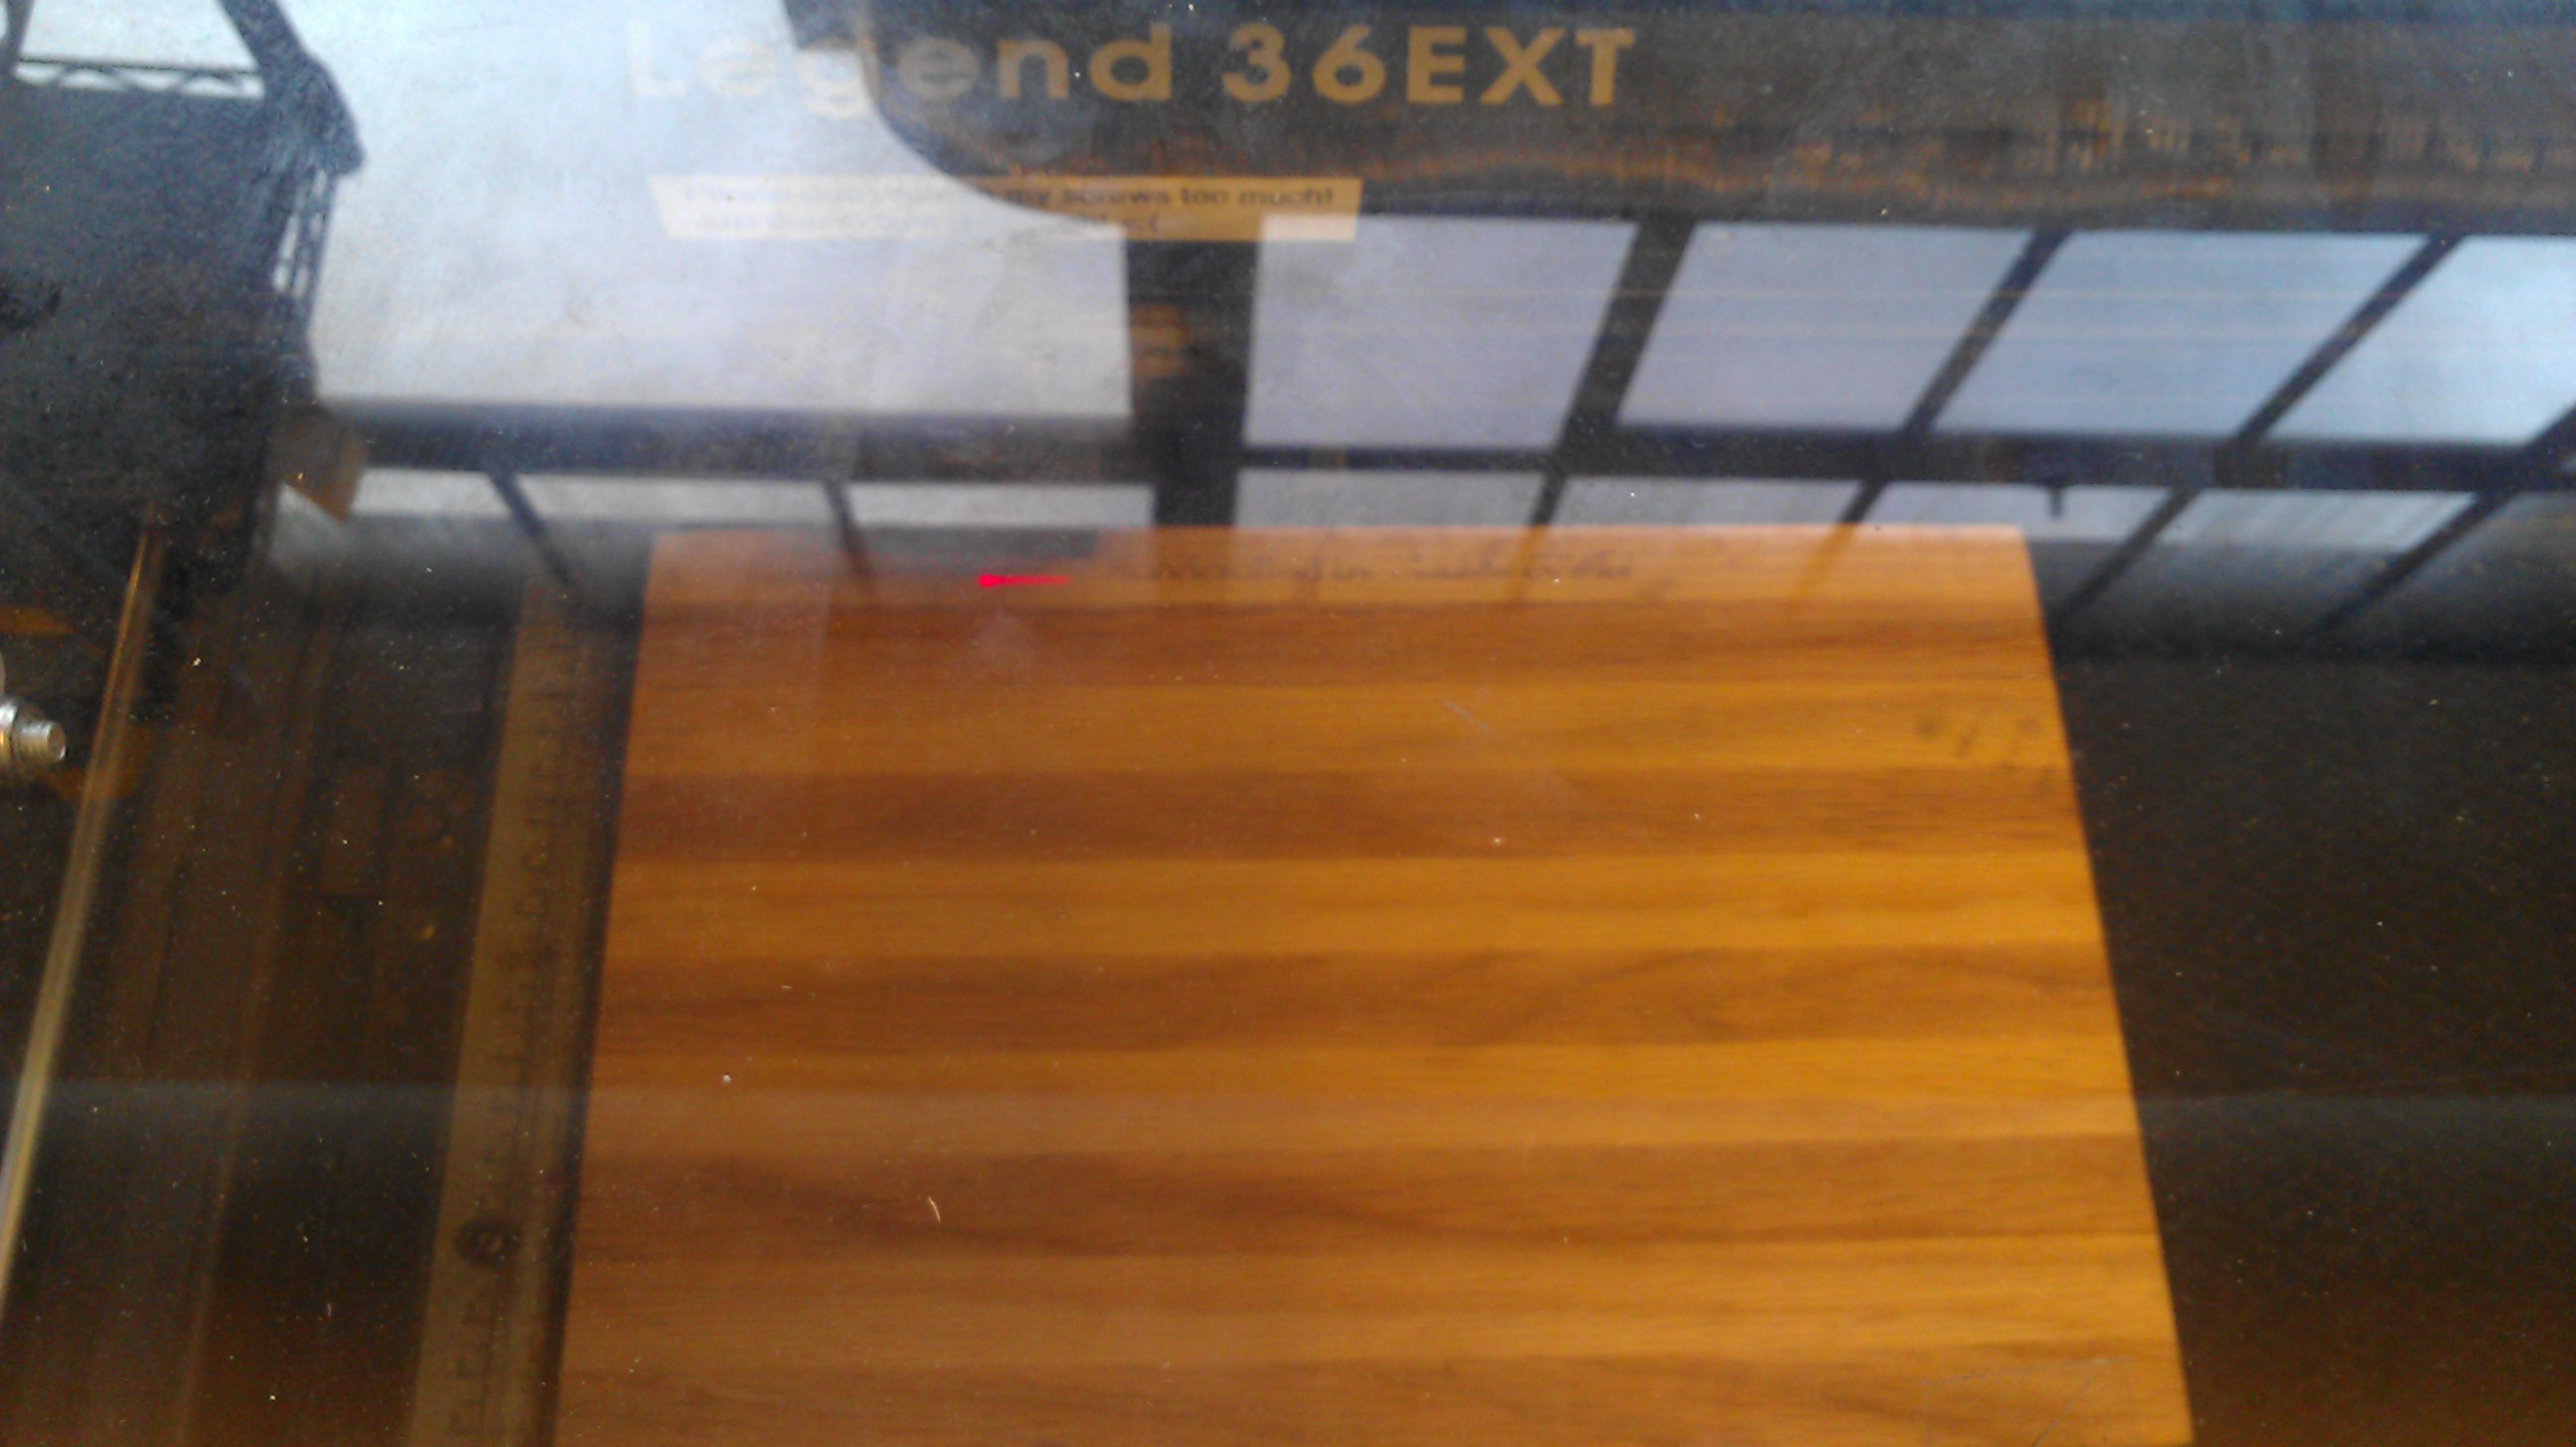
- (2x) 11Ft. pieces of Red Oak (hard-wood) - ~$18 total
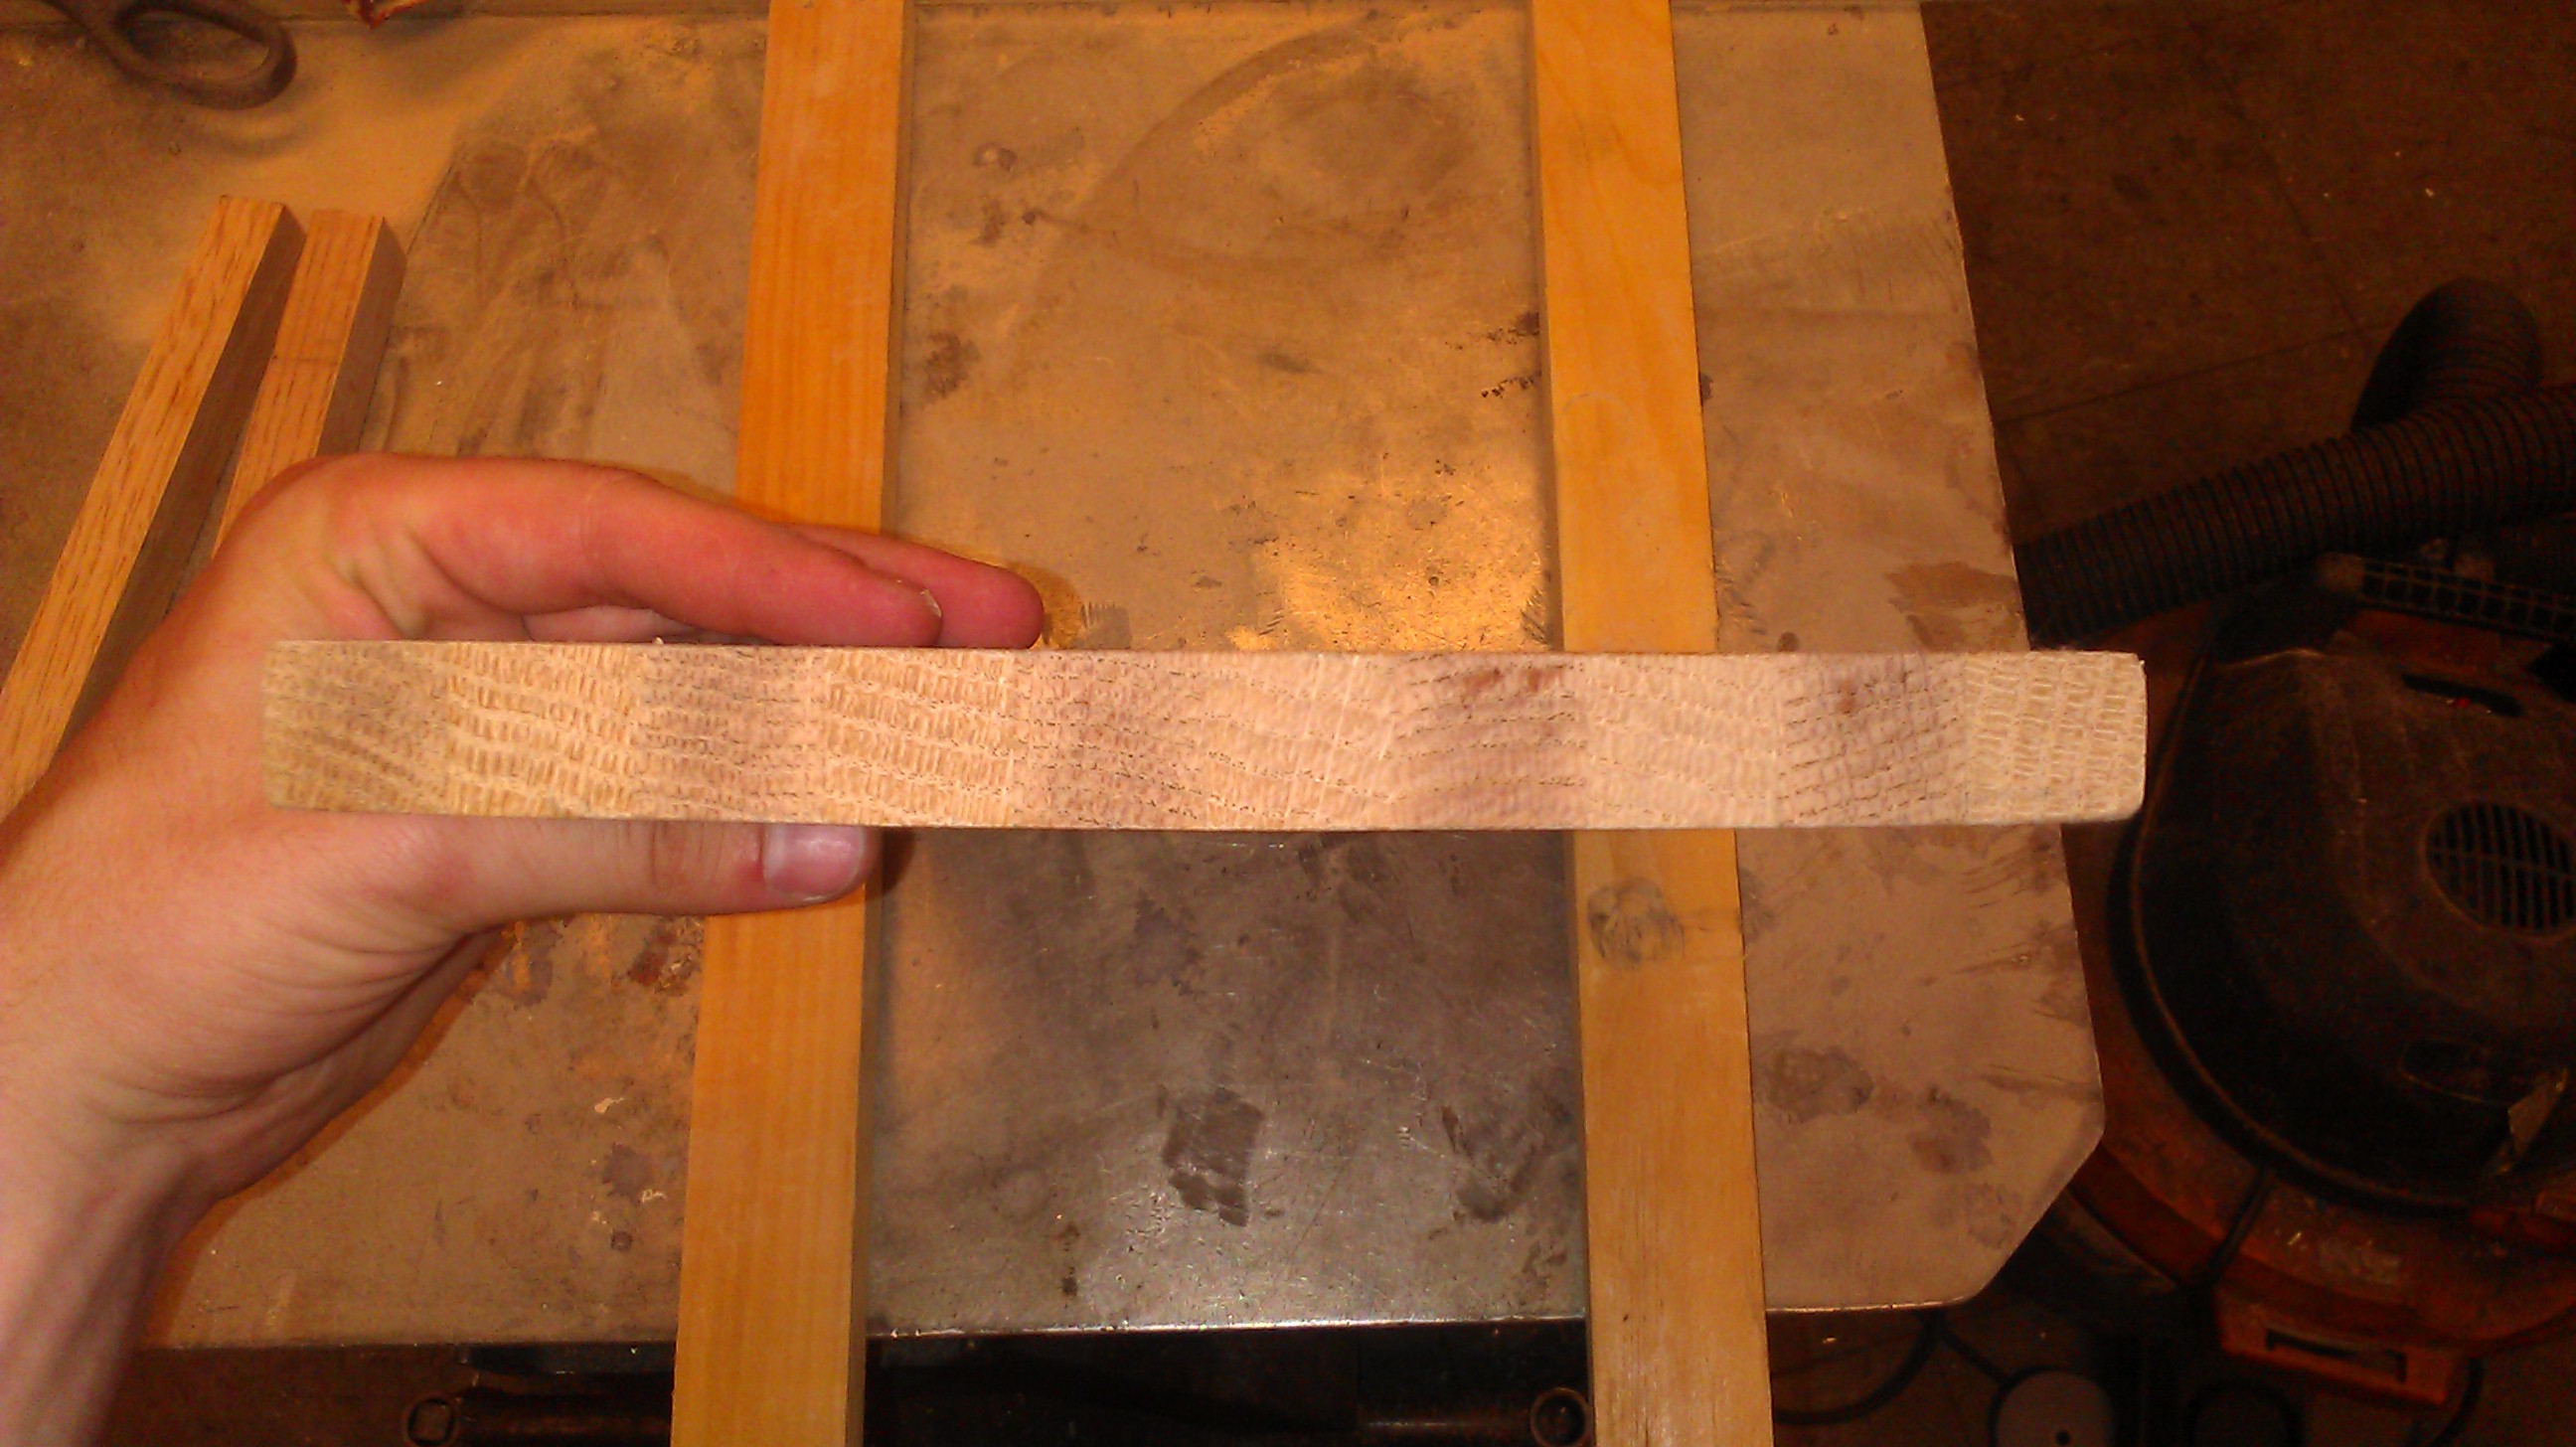
The first major step is cutting your pieces of wood into rough length of your desired cutting board length. Ultimately you will be removing material from both ends to clean up the ends post-gluing, this means you lose some length after all is said an done (Take this into account). The simple way of doing this is by cutting one piece to the desired length and then using this one piece as a gauge for the rest of your cuts. I did this outside with a handsaw, and was very simple with the correct cutting techniques.
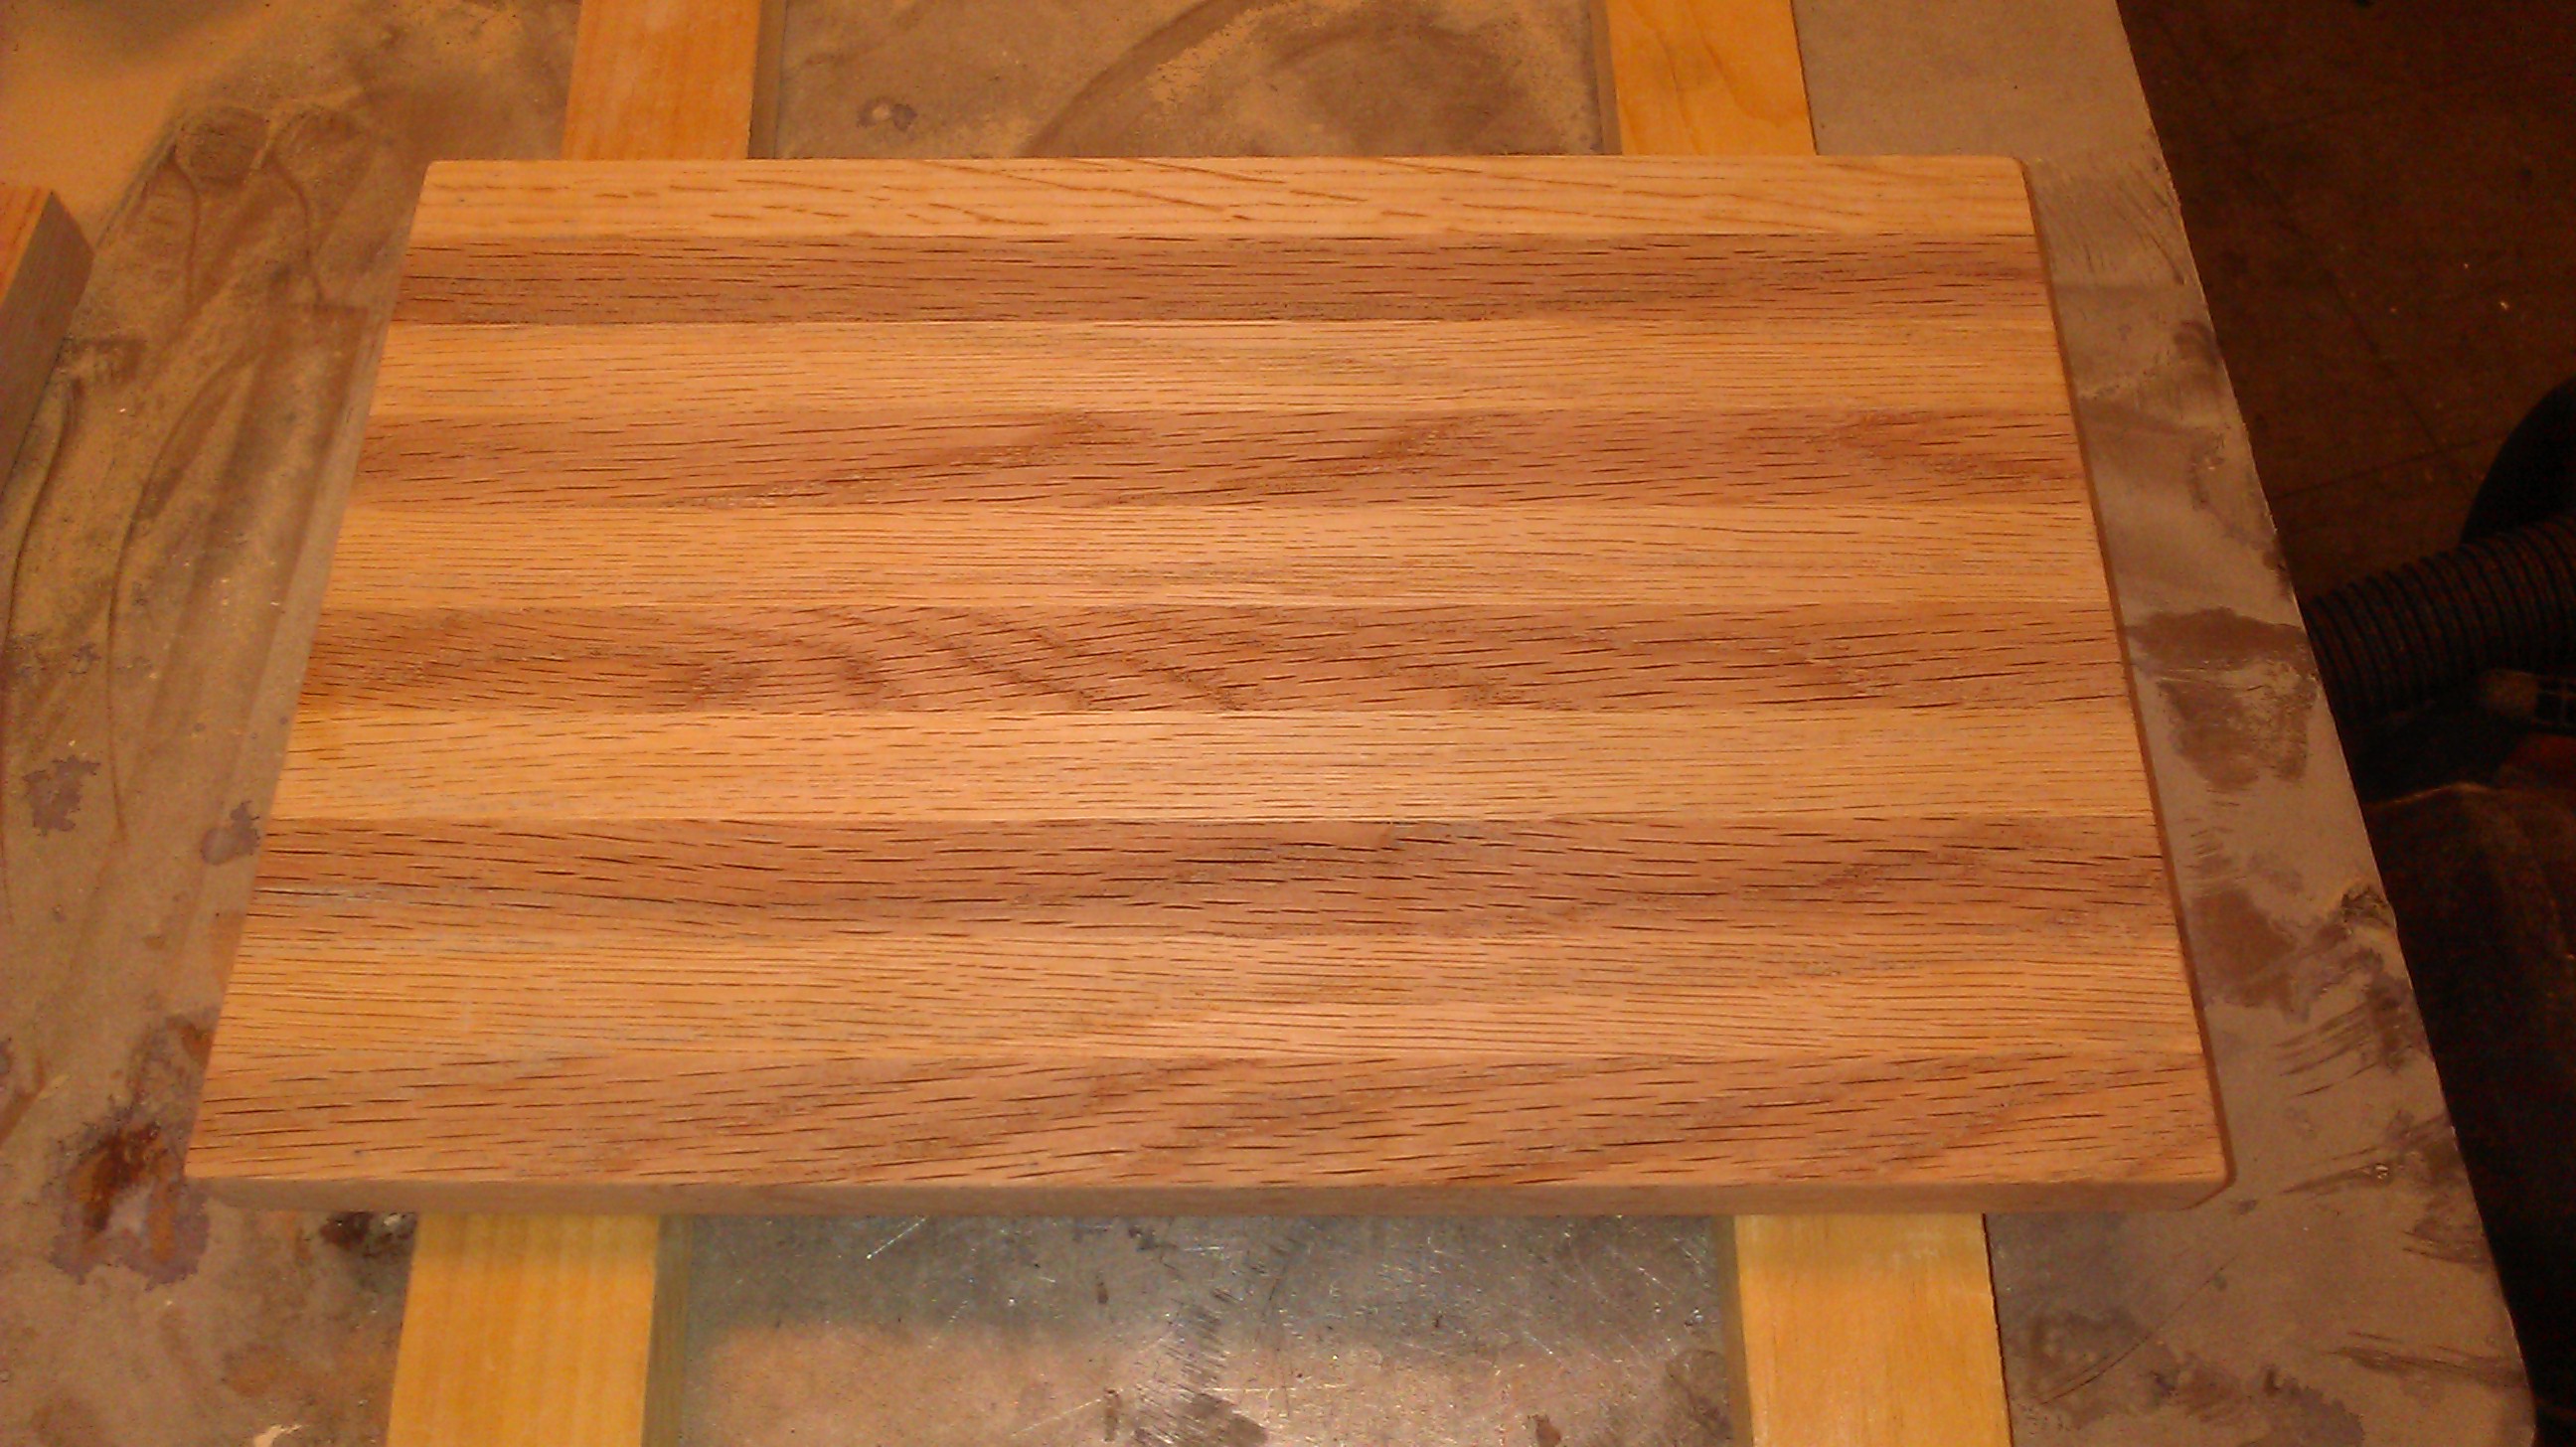
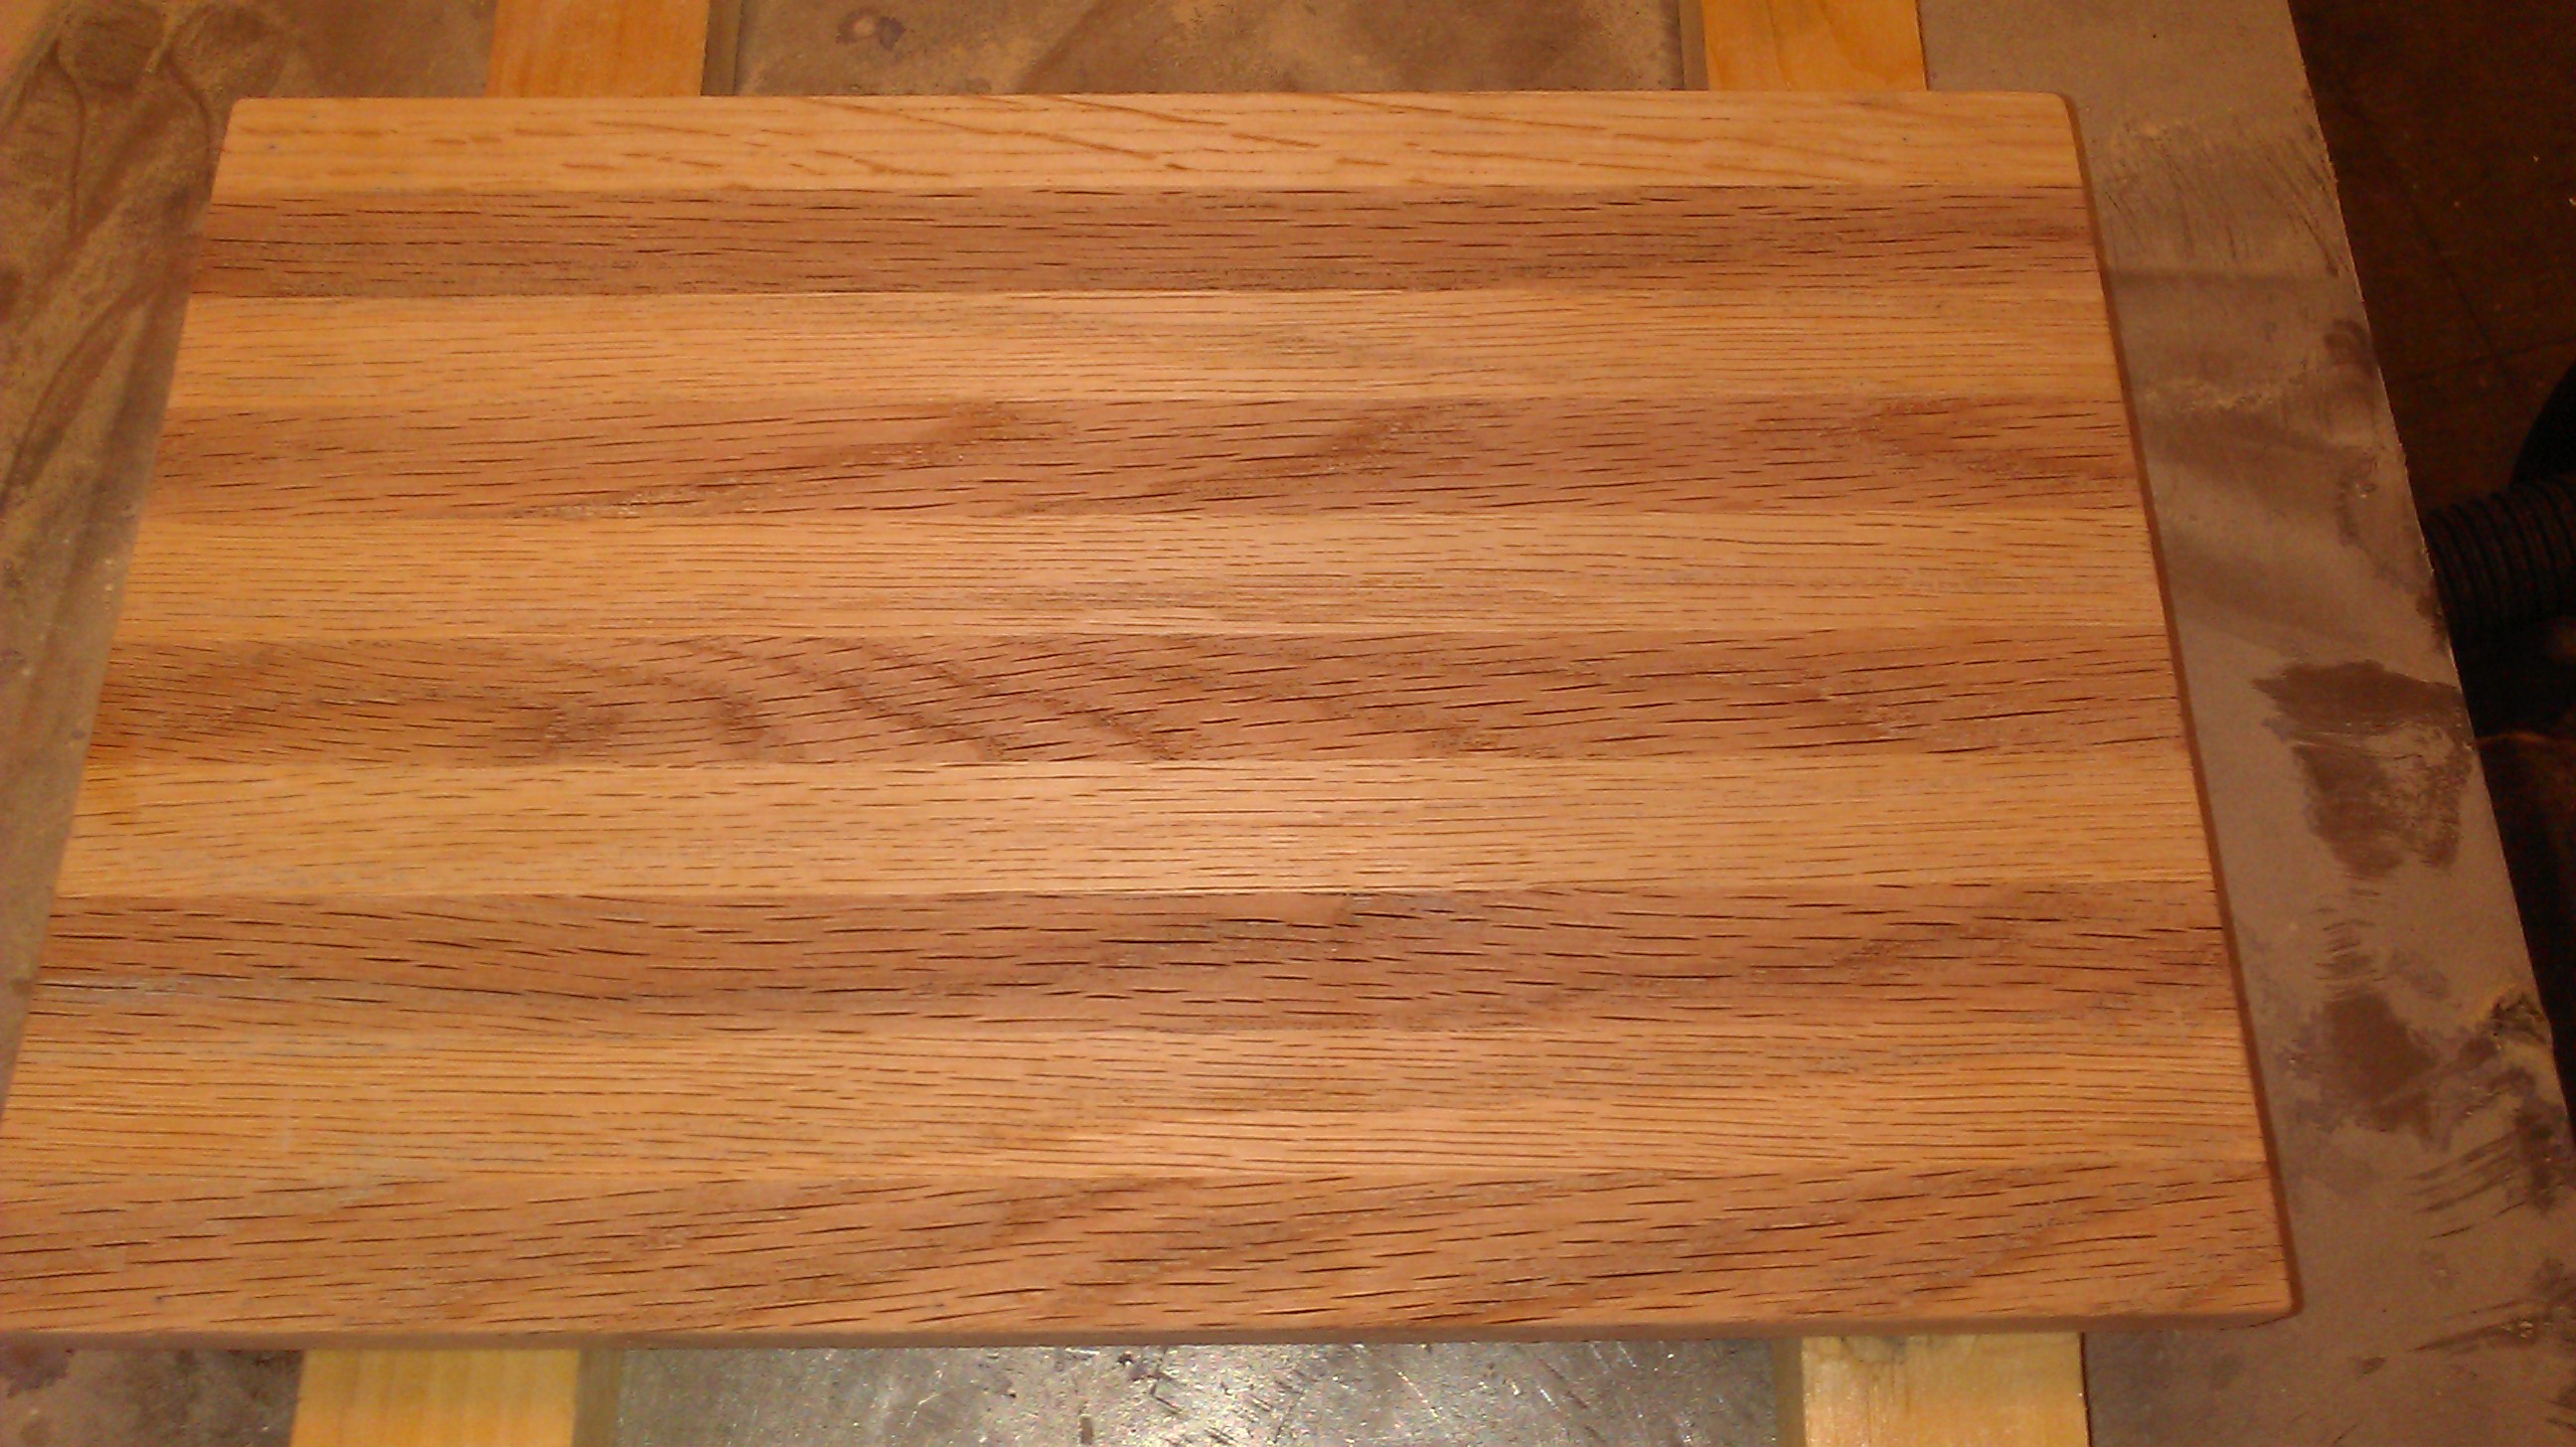
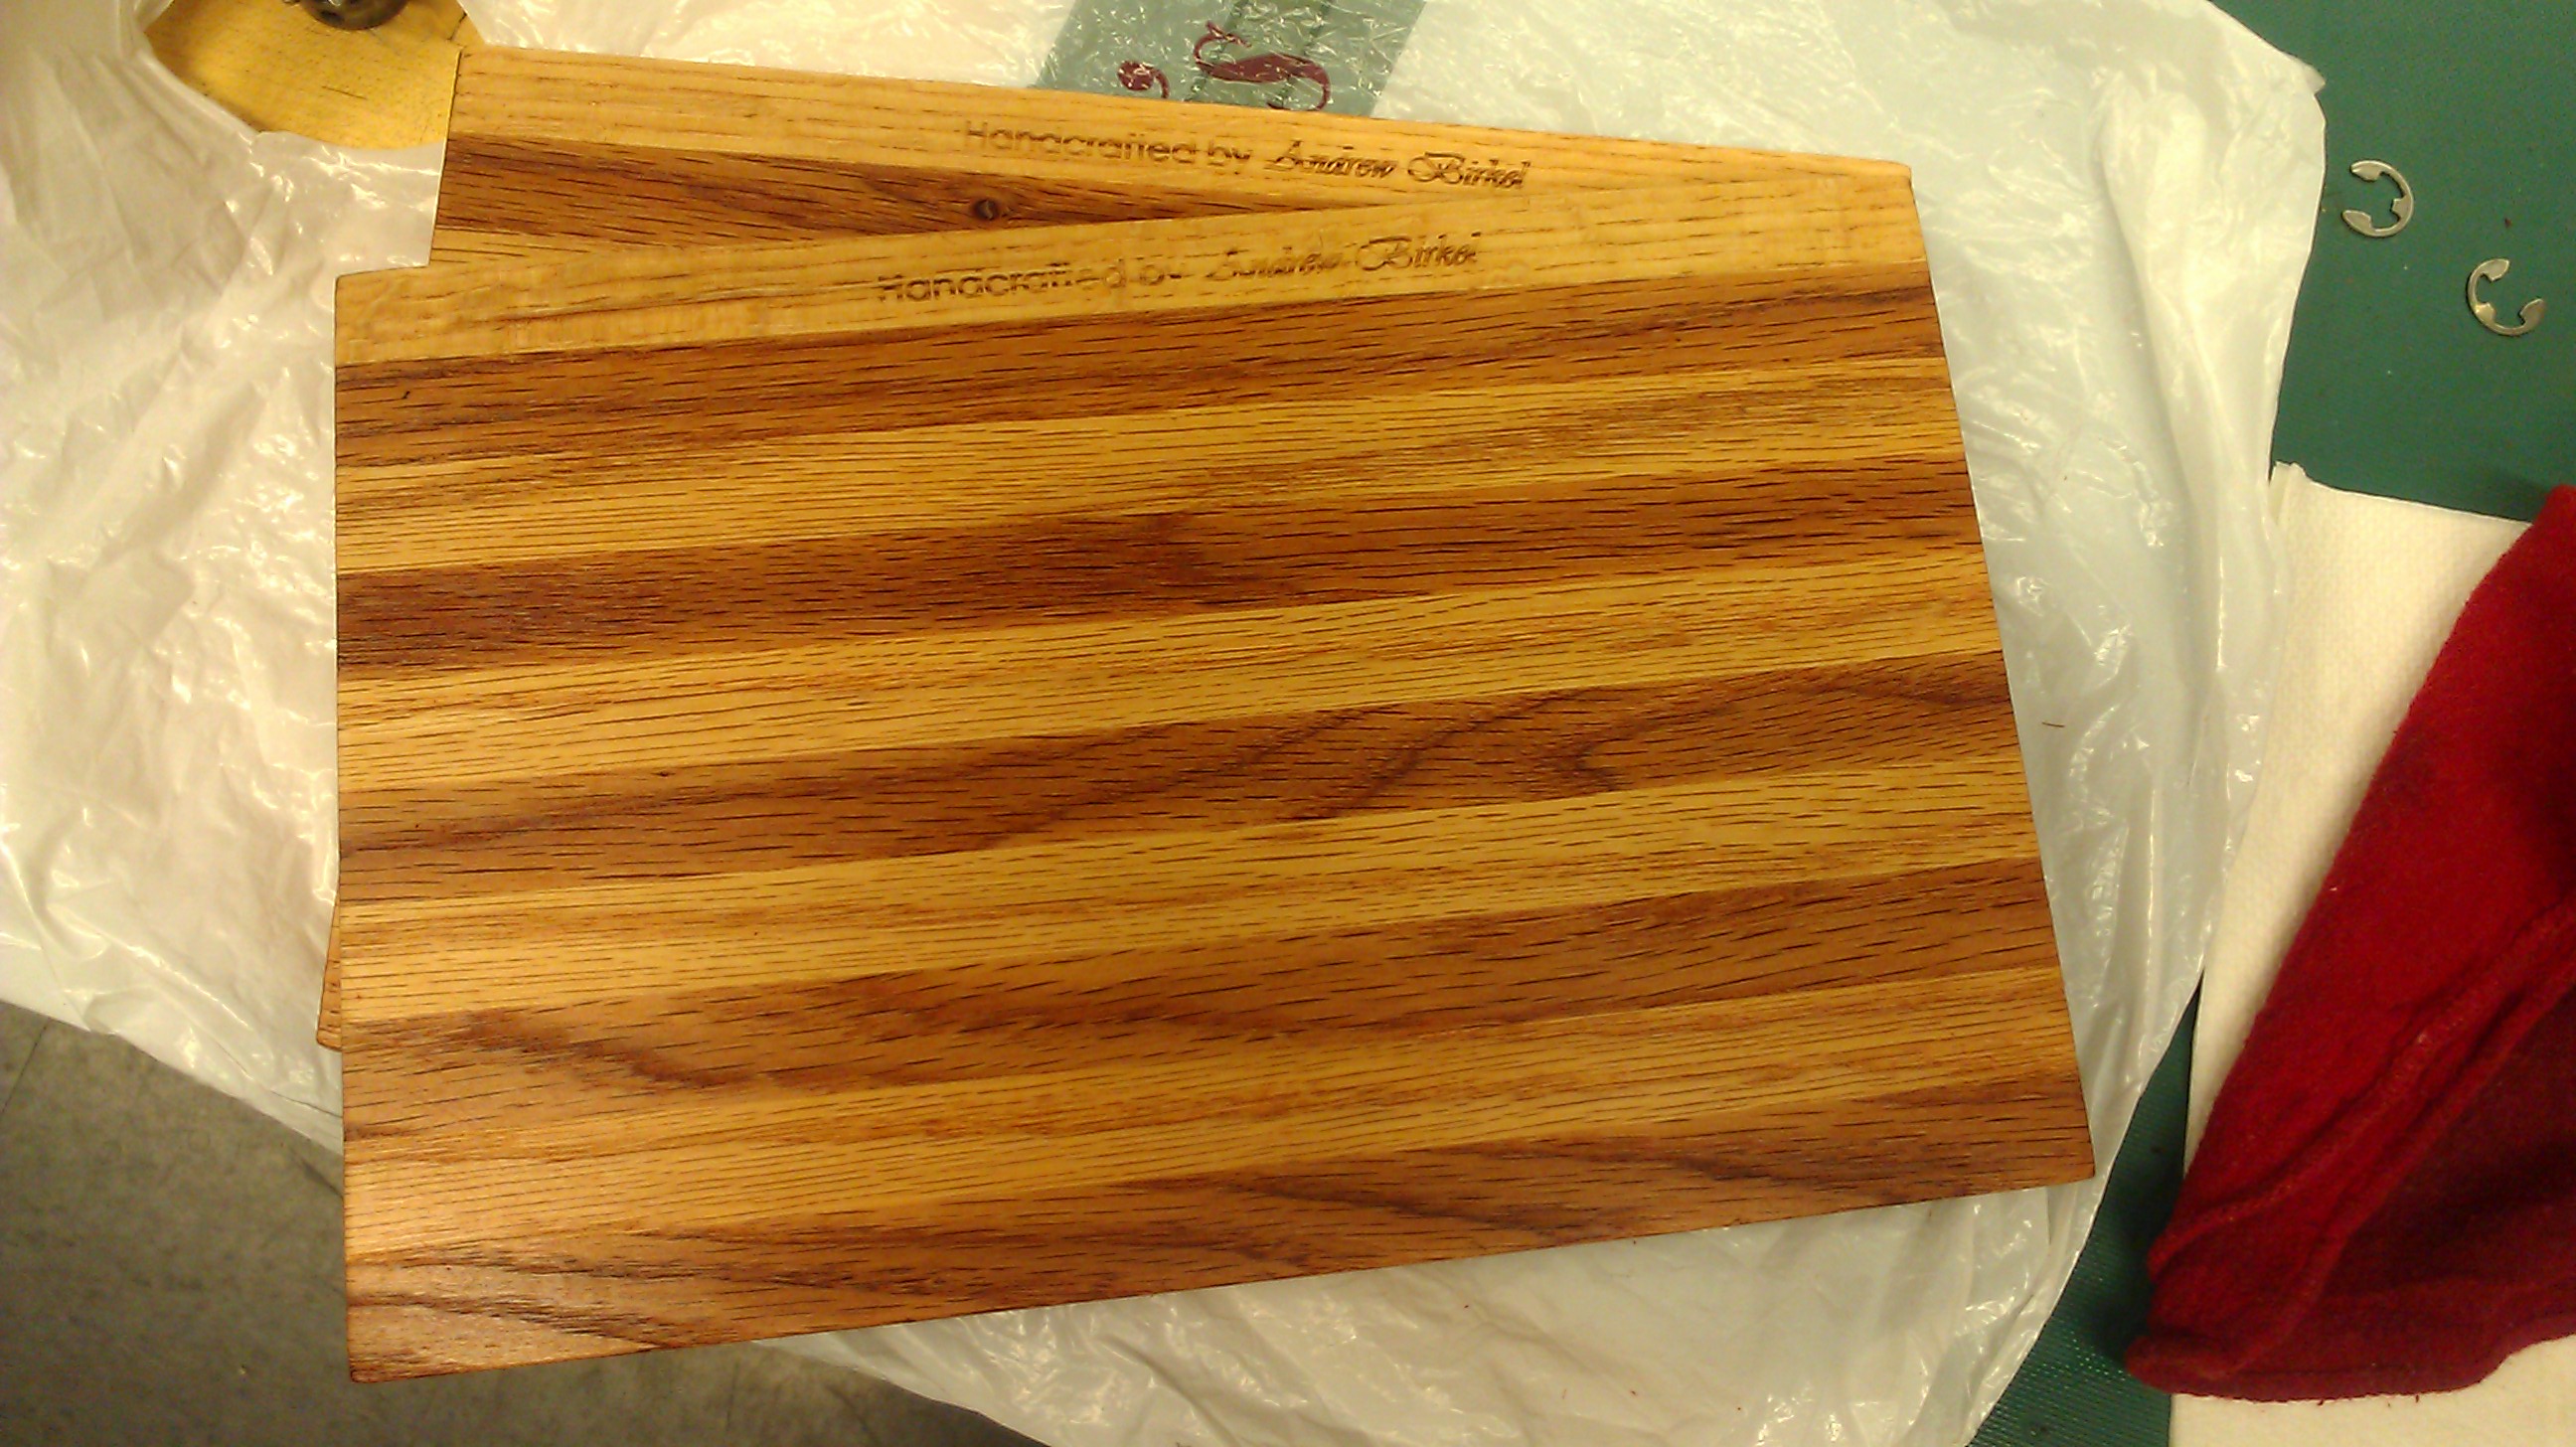
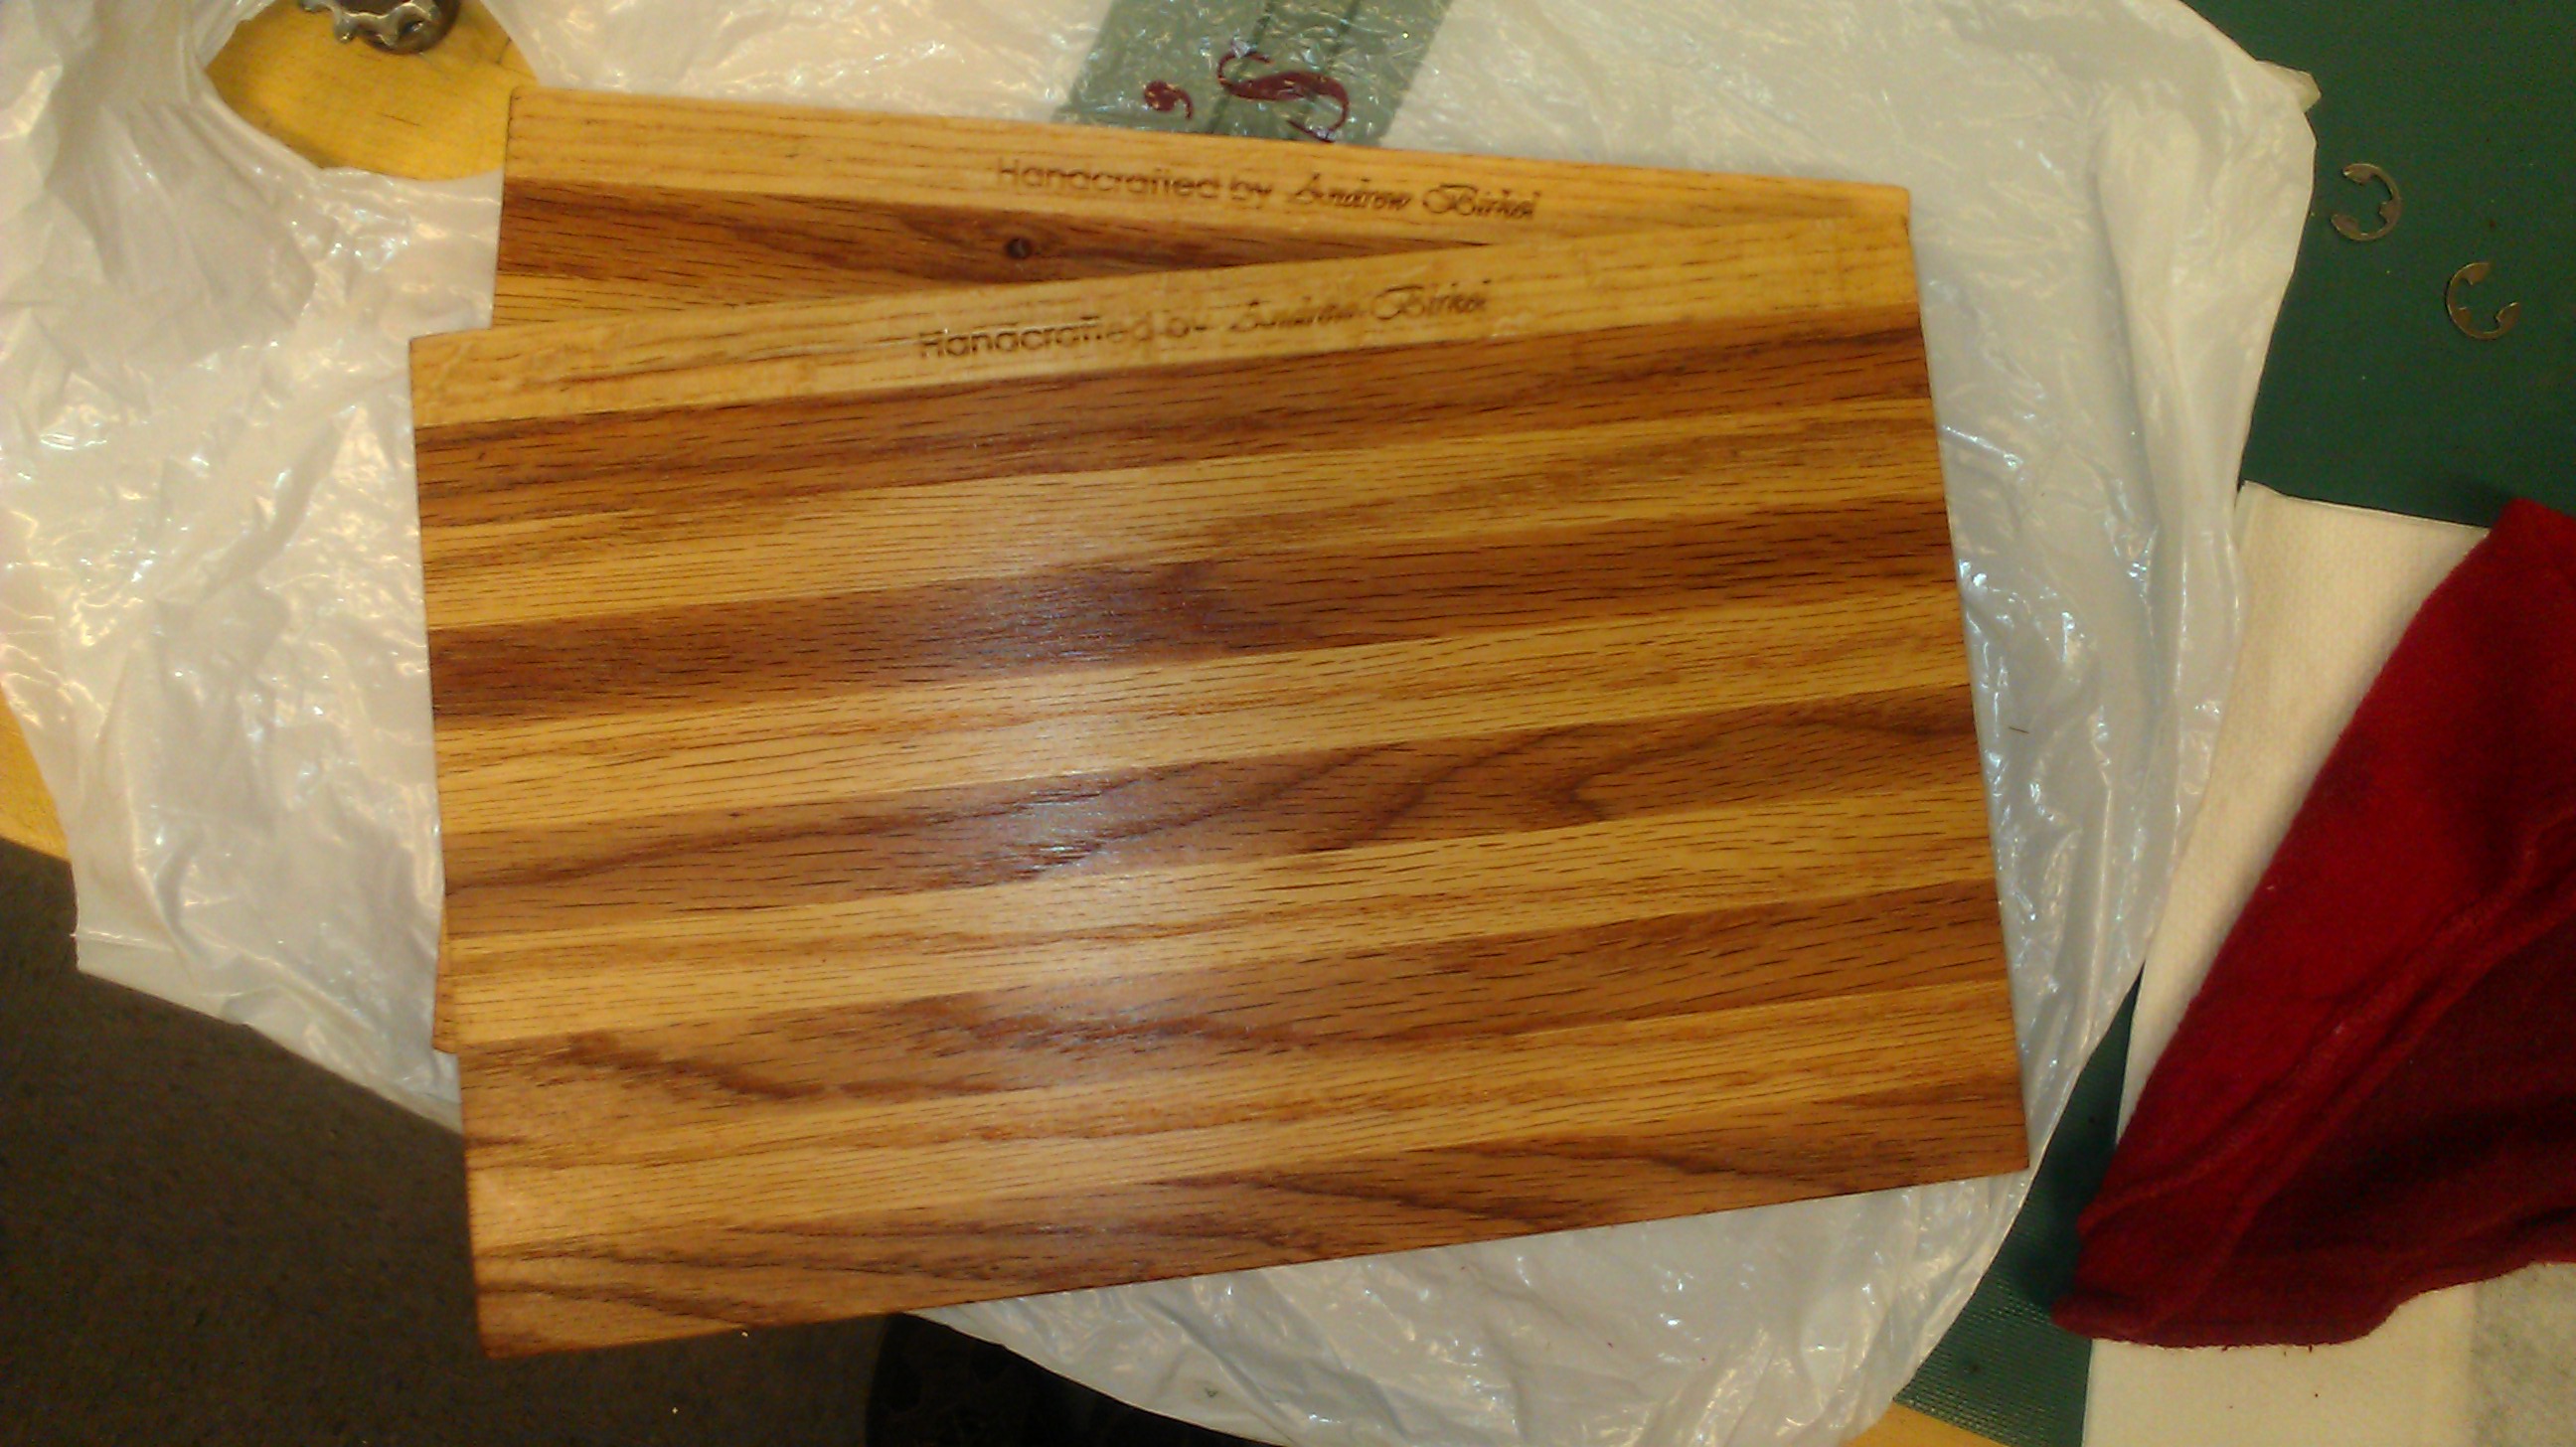
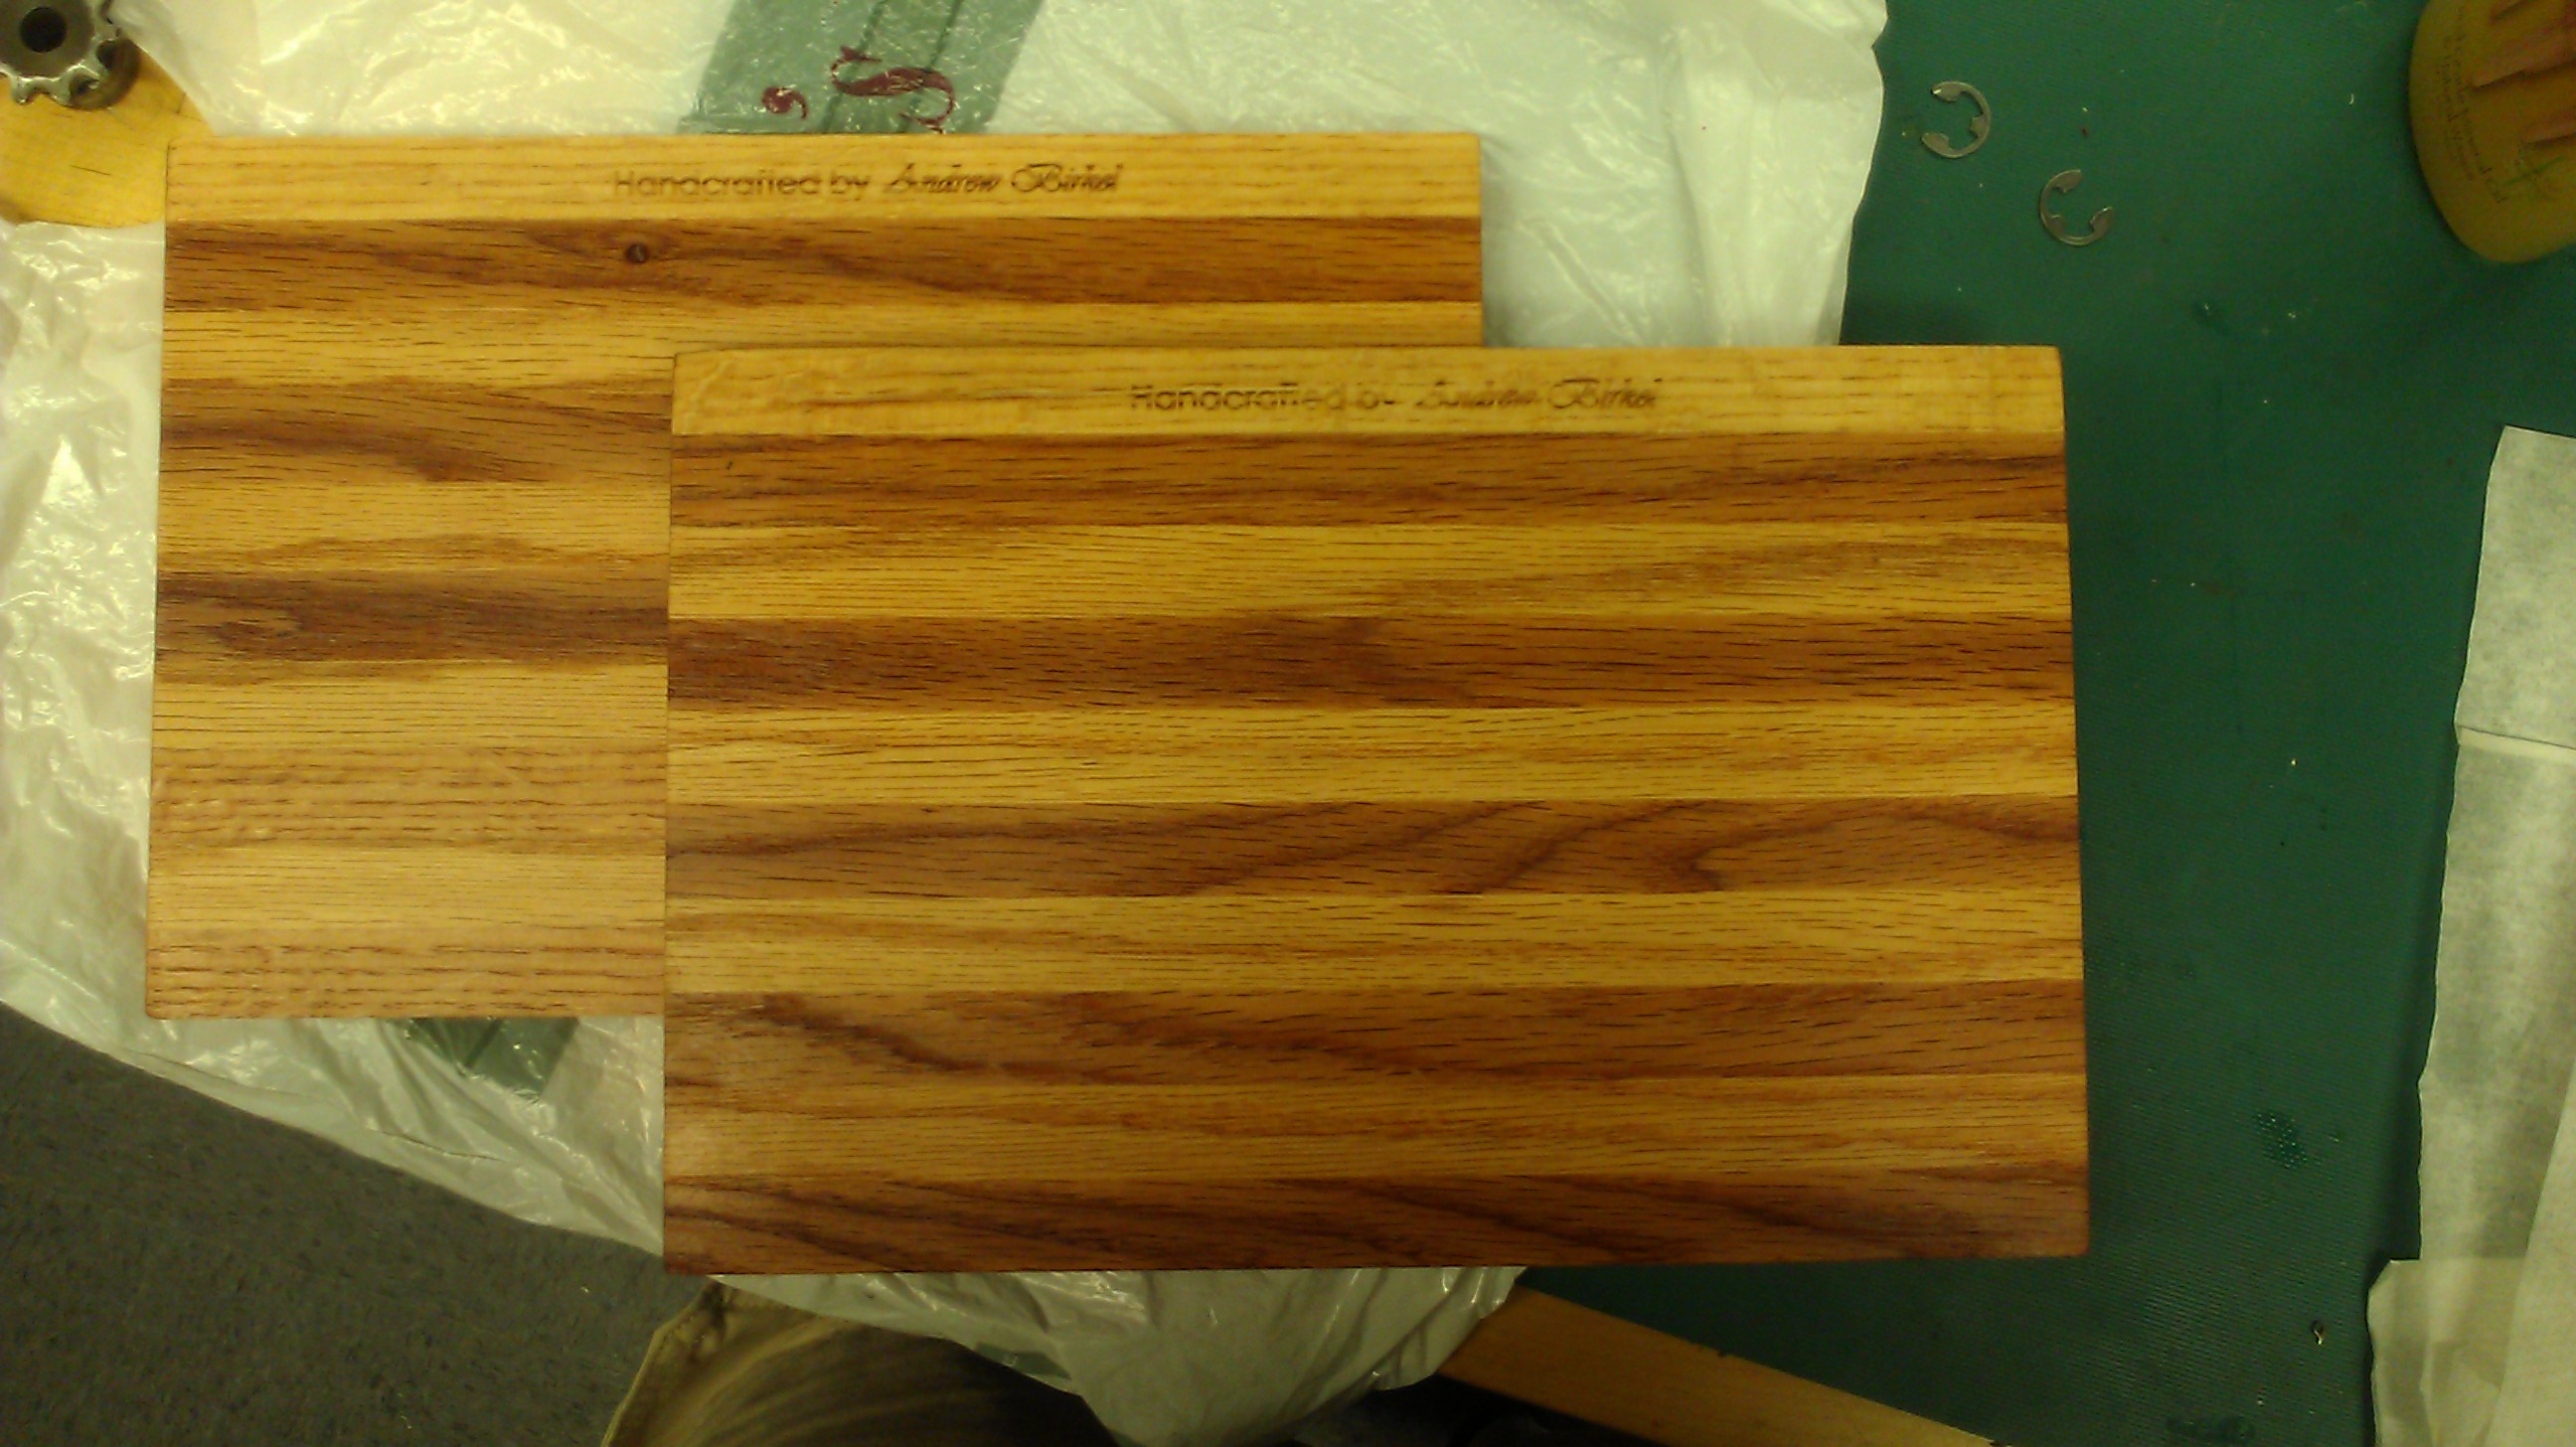
The reason there are 2 pieces of red oak in the supplies list is that I chose two different colors of red oak, a light and a dark. This comes into play in this next step as you must pick and choose the order and alternation of color.
The next step is layout, which you just need to arrange your wood in a pattern that suits your desired look. A trick to really get a good understanding of what your pattern will look like is used a damp cloth to wipe the top surfaces. This allows the wood to soak a little water up and show roughly the colors that will be present once you have conditioned the wood. Once the wood is laid out, all you you have to do is glue the sides and squish the wood together. The more even your pressure the better, I chose to use adjustable clamps with scrap wood left over placed on each side. This allowed me to distribute the pressure across the whole side with the benefit on not marring the surface of my board.
Once the glue had fully dried, I attempted to hand-plane one of my cutting boards and took the second to the MIT Hobby shop to have it electrically planed. I think both came out quite well, but the hand-planing definitely was more intense and rewarding. I ended up working on it in at MITERS a hacker space at MIT, which was not the smartest decision for the middle of the summer. Hand Planing takes a lot of energy and patience, you have been warned.
In the end, this turned out to be a very straight-forward and simple project to accomplish, the main requirement is patience and time. And of all the materials used, there was a remaining 4/5th or more of both the butcher block conditioner and the wood glue.
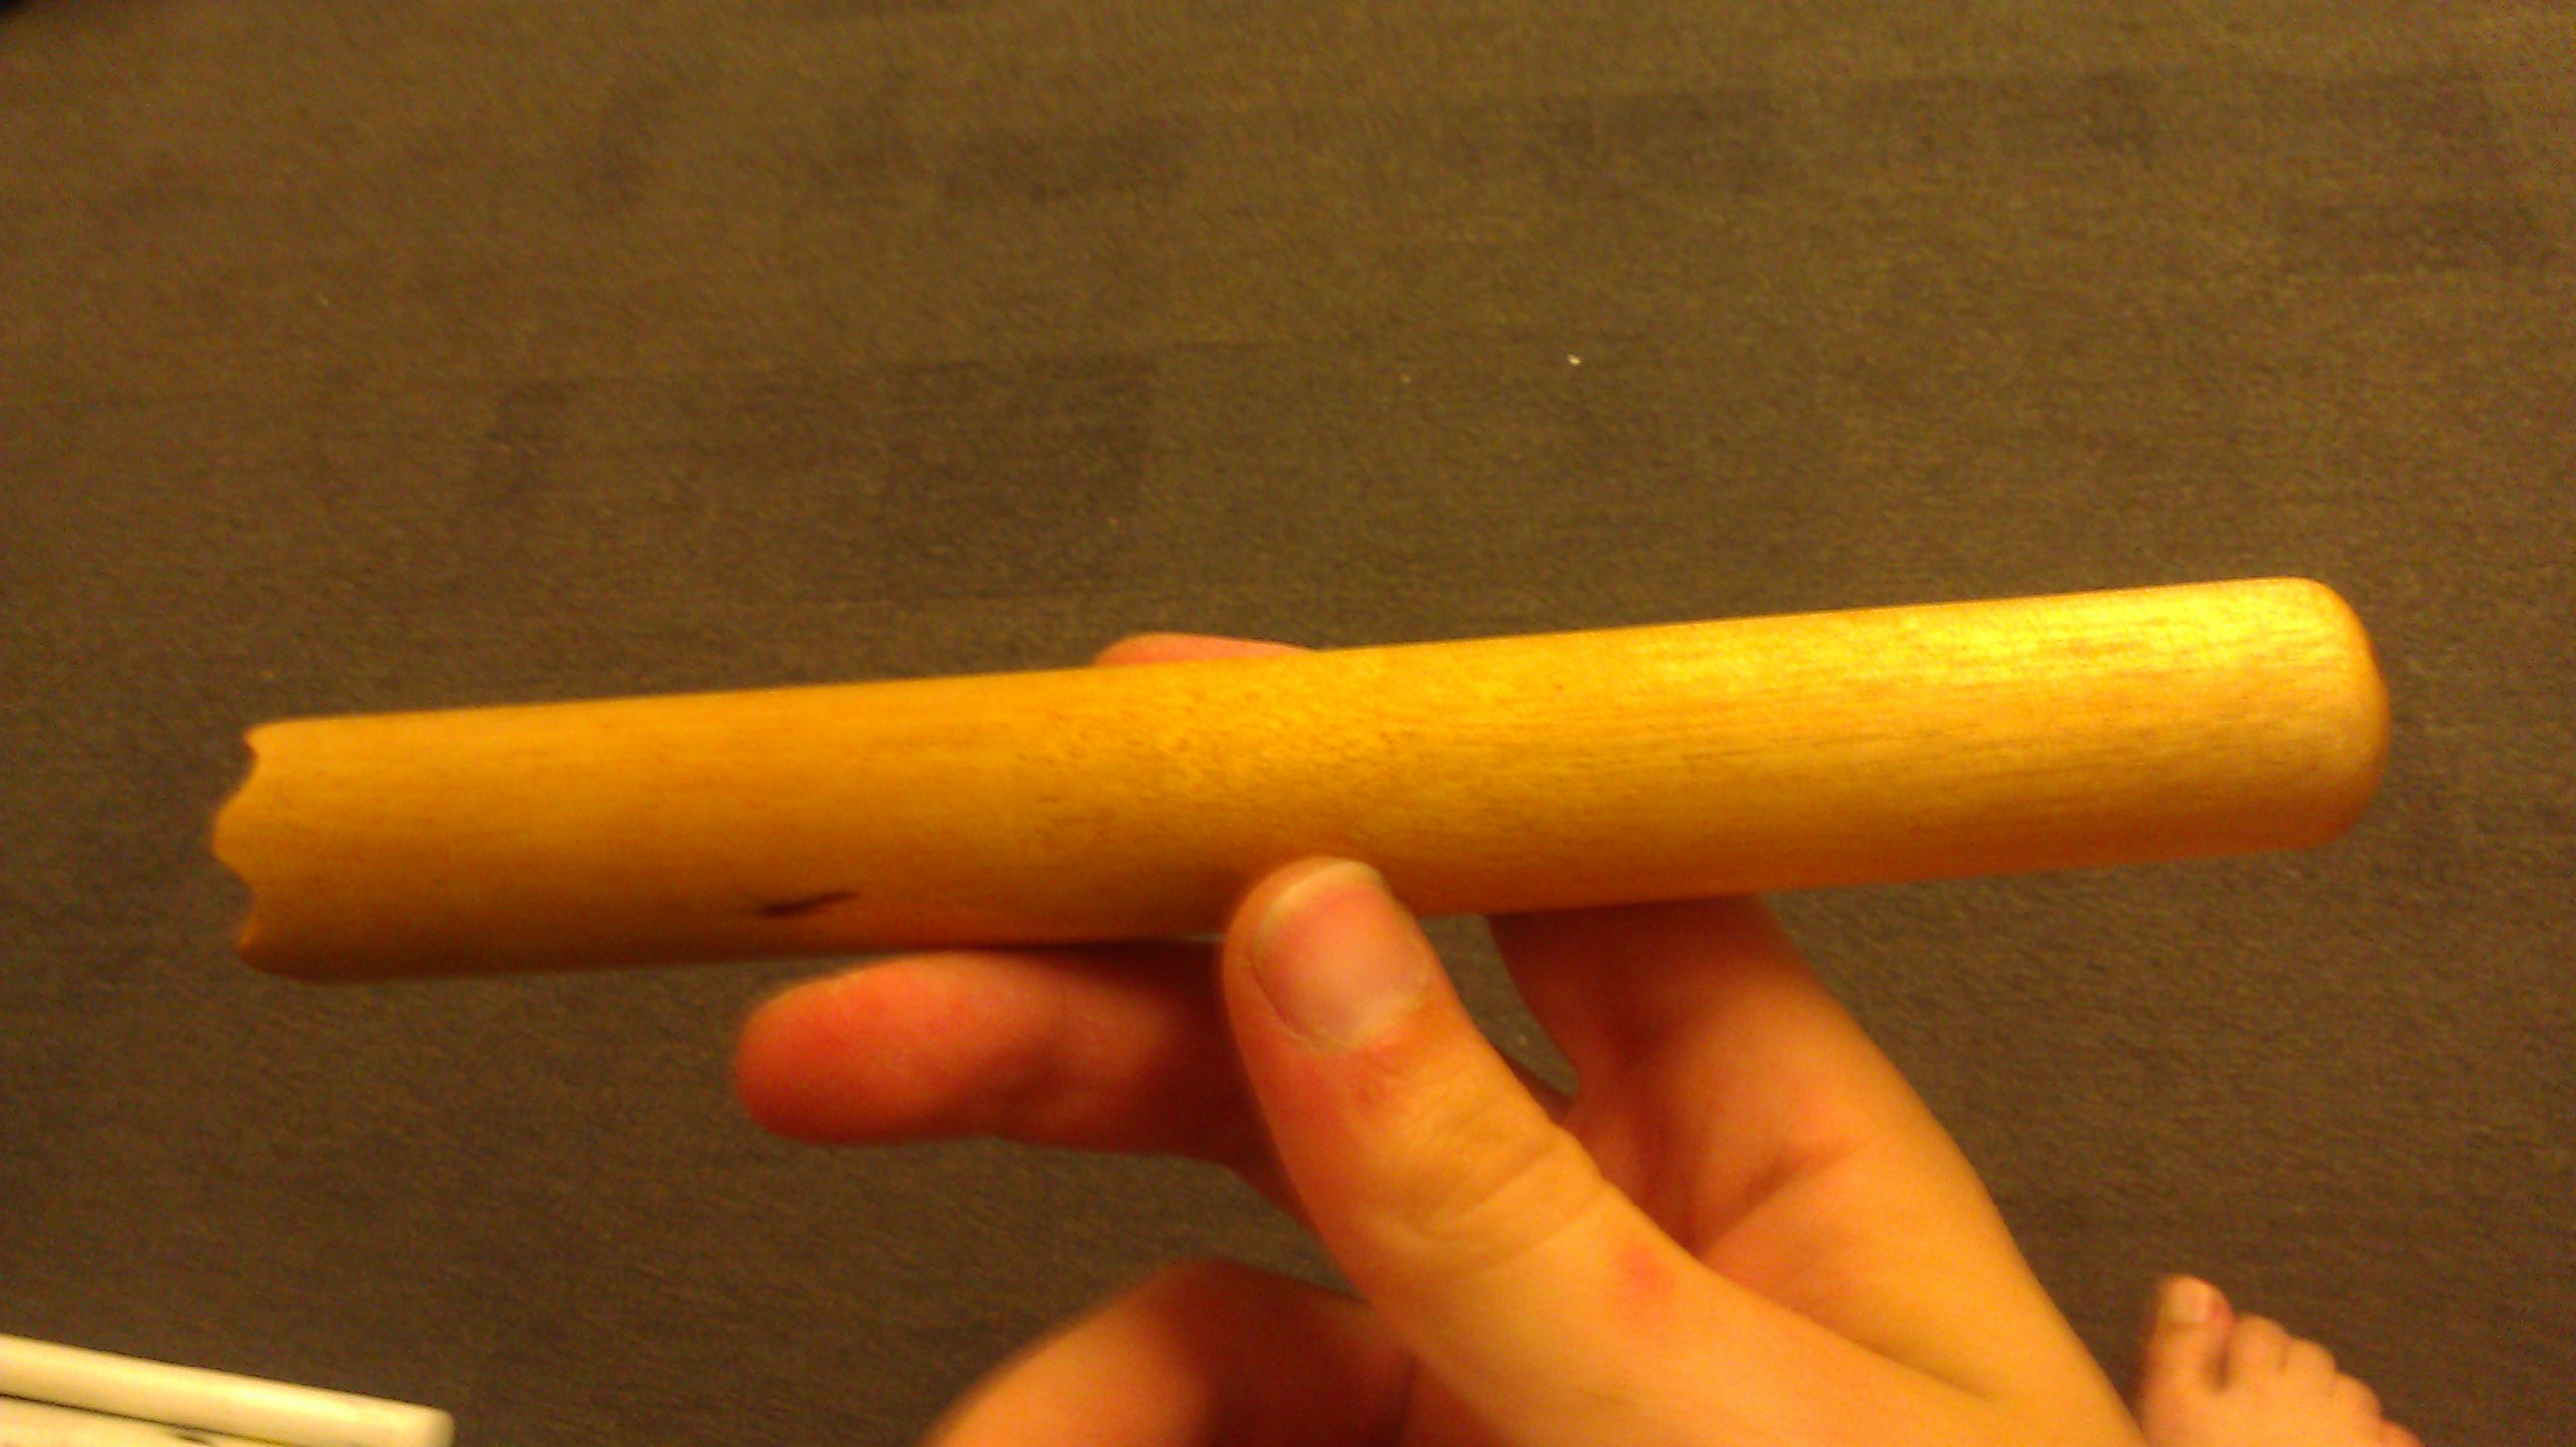
(Small addition; Home-made wooden Muddler)