[01.03.2018] Custom Cam for Machine Automation

Description of Project
Fabrication of a custom cam profile for use in machine automation.
Processes Applied:


Summary:
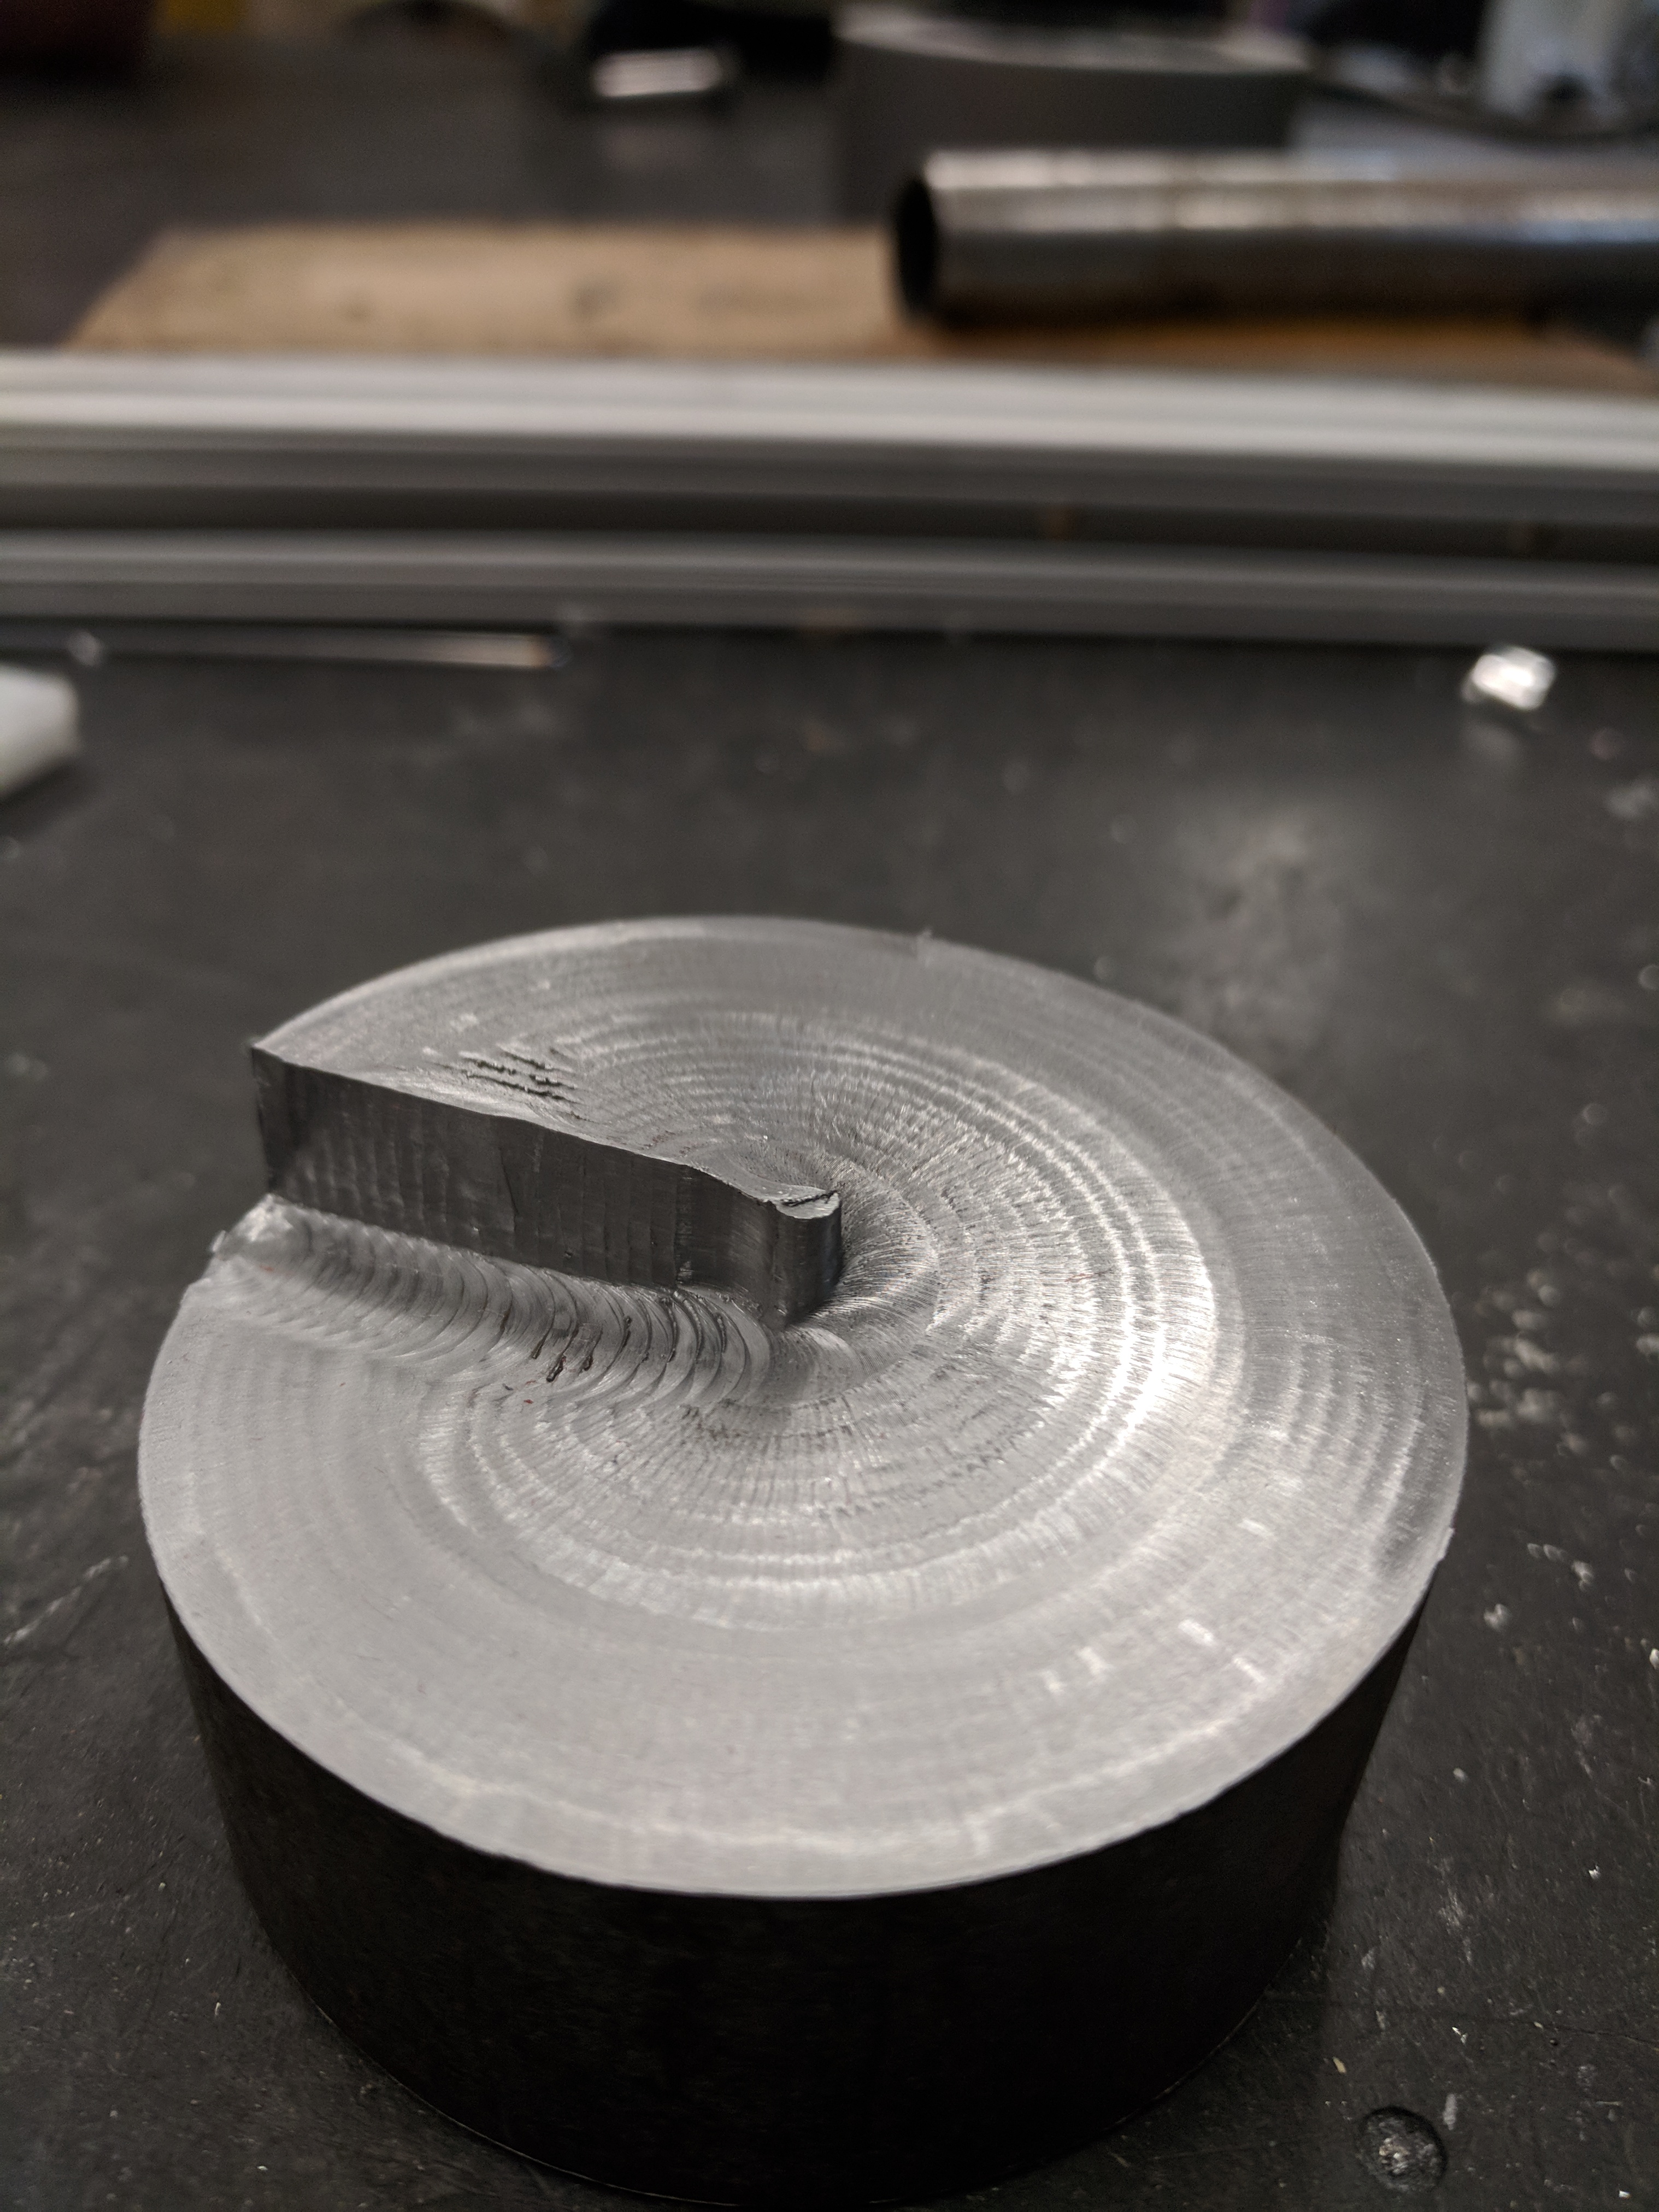
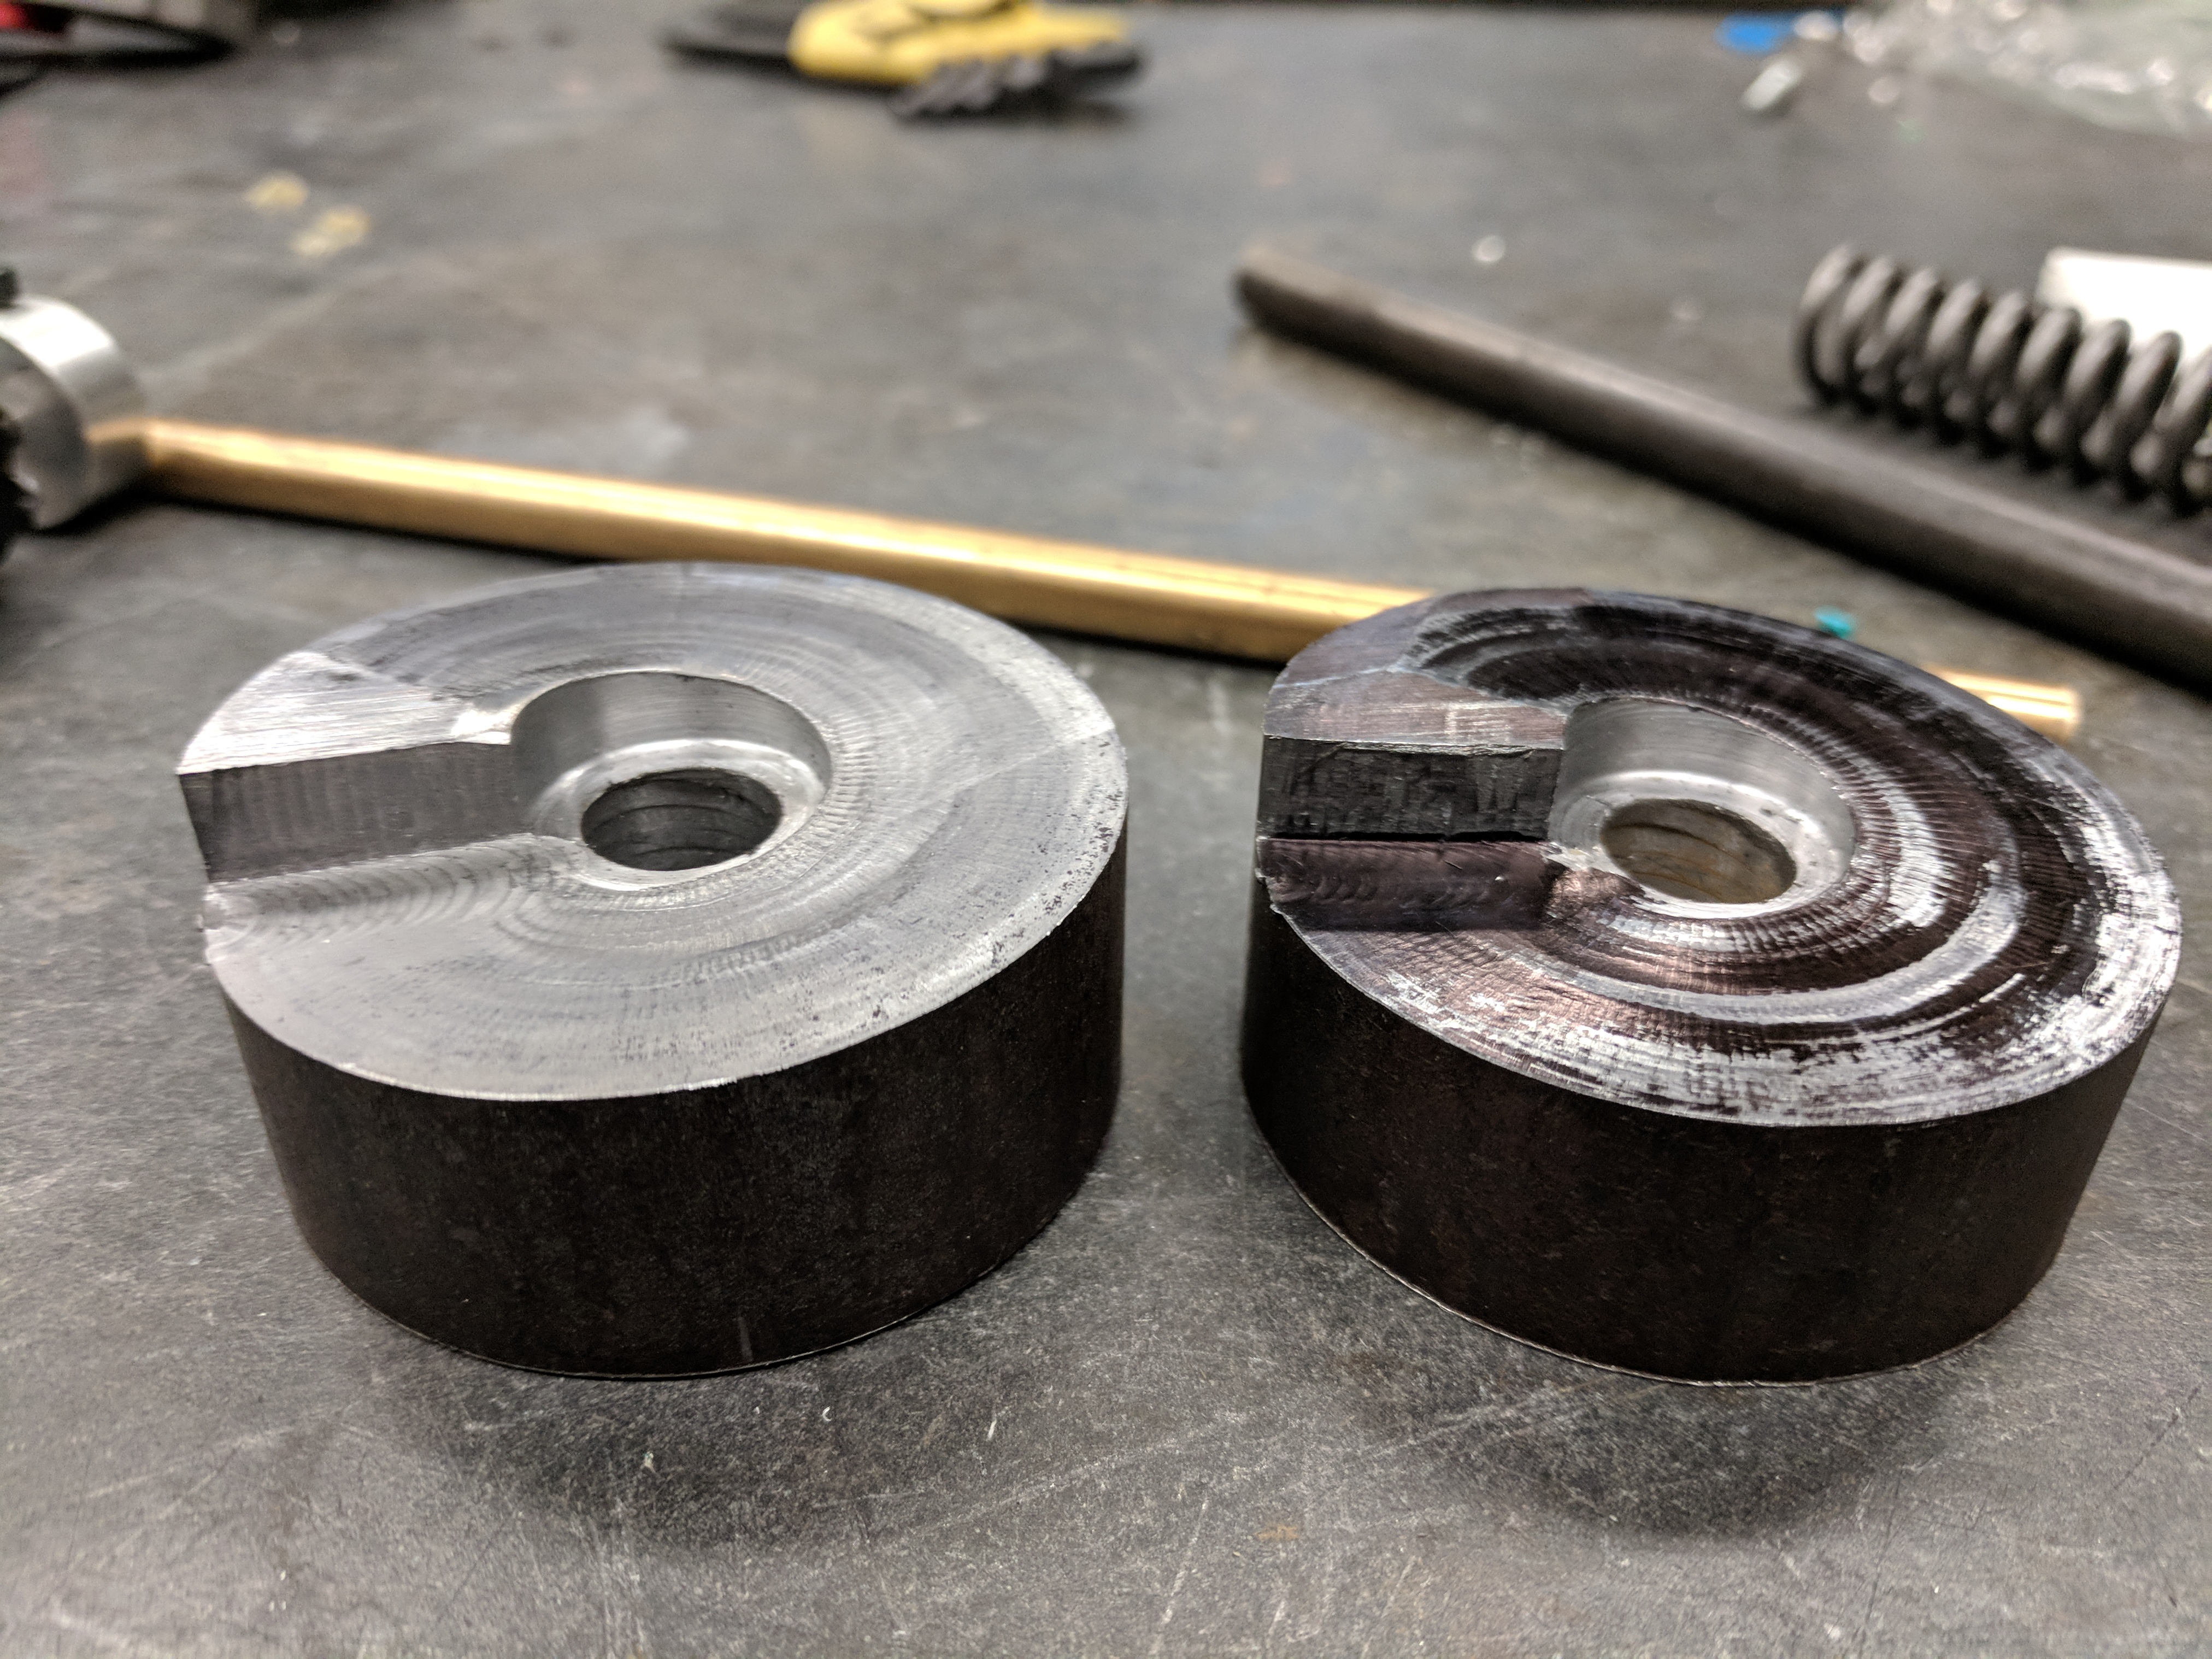
The purpose of this experiment is to create a pair of CAMs that are identical and mate with one another for a custom automation setup for a friend. The requirements given to me were the basic dimensions including the height of the slope, the range of travel (in degrees of rotation), and material requirements (Steel). Due to the complexity of the slope, this piece would take substantial time to machine conventionally in both terms of setup and complexity. So because of the complexity, I decided to CNC mill the part and finish the mating surface with a lapping machine/action.
I find when I do a CNC based machining project that the division of time taken to complete the project is front loaded due to two factors:
- Standard setup time
- Tweaking the settings and tool paths in the machining software being used.
This is primarily due to the fact that once you begin a CNC machining operation, there are only a few settings you can actively tweak to affect the machining process. Though it also depends on the trade-offs between complex operations and the amount of time you want to spend machining. In this project, I aimed for a middle ground; the part took a decent amount of machine time but I also limited the number of steps the tool path took to create the curved feature. This led to the CAMs' mating surface to be slightly rough. In addition to this, the part required some secondary machining. The secondary machining includes boring a hole through the center for a shaft and creating a few mating components to allow us to mount the CAMs together for the lapping processing.
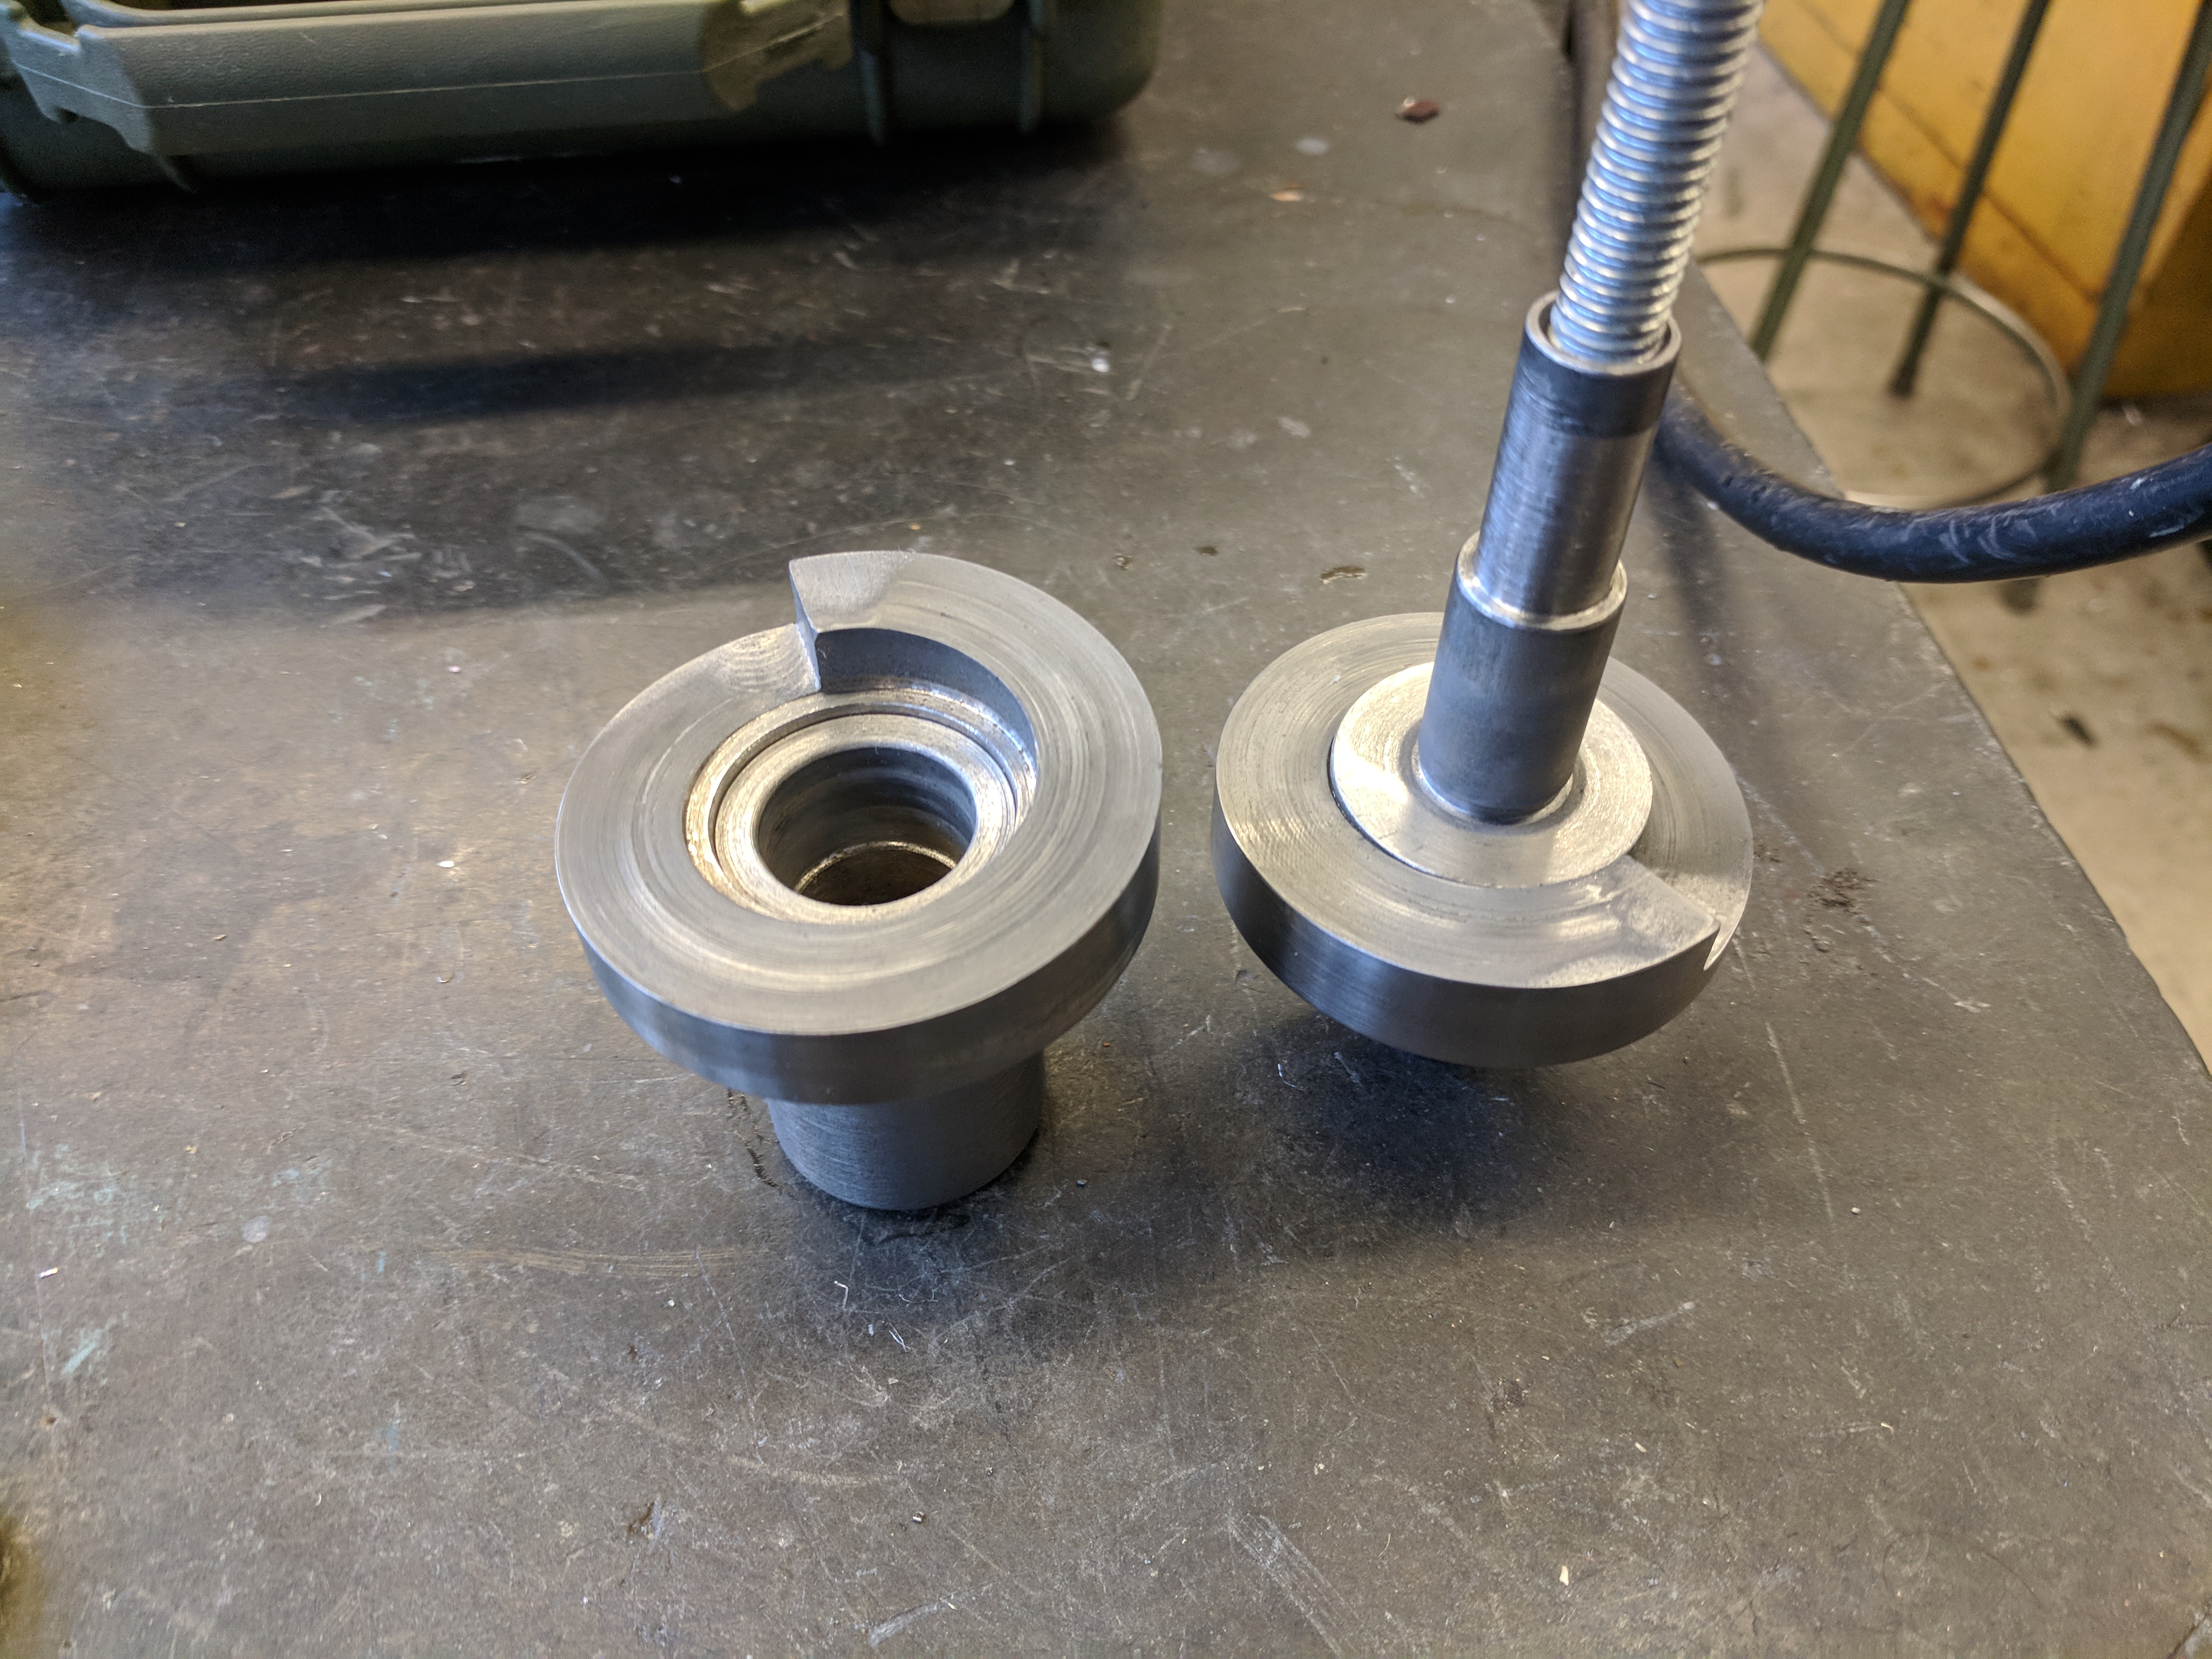
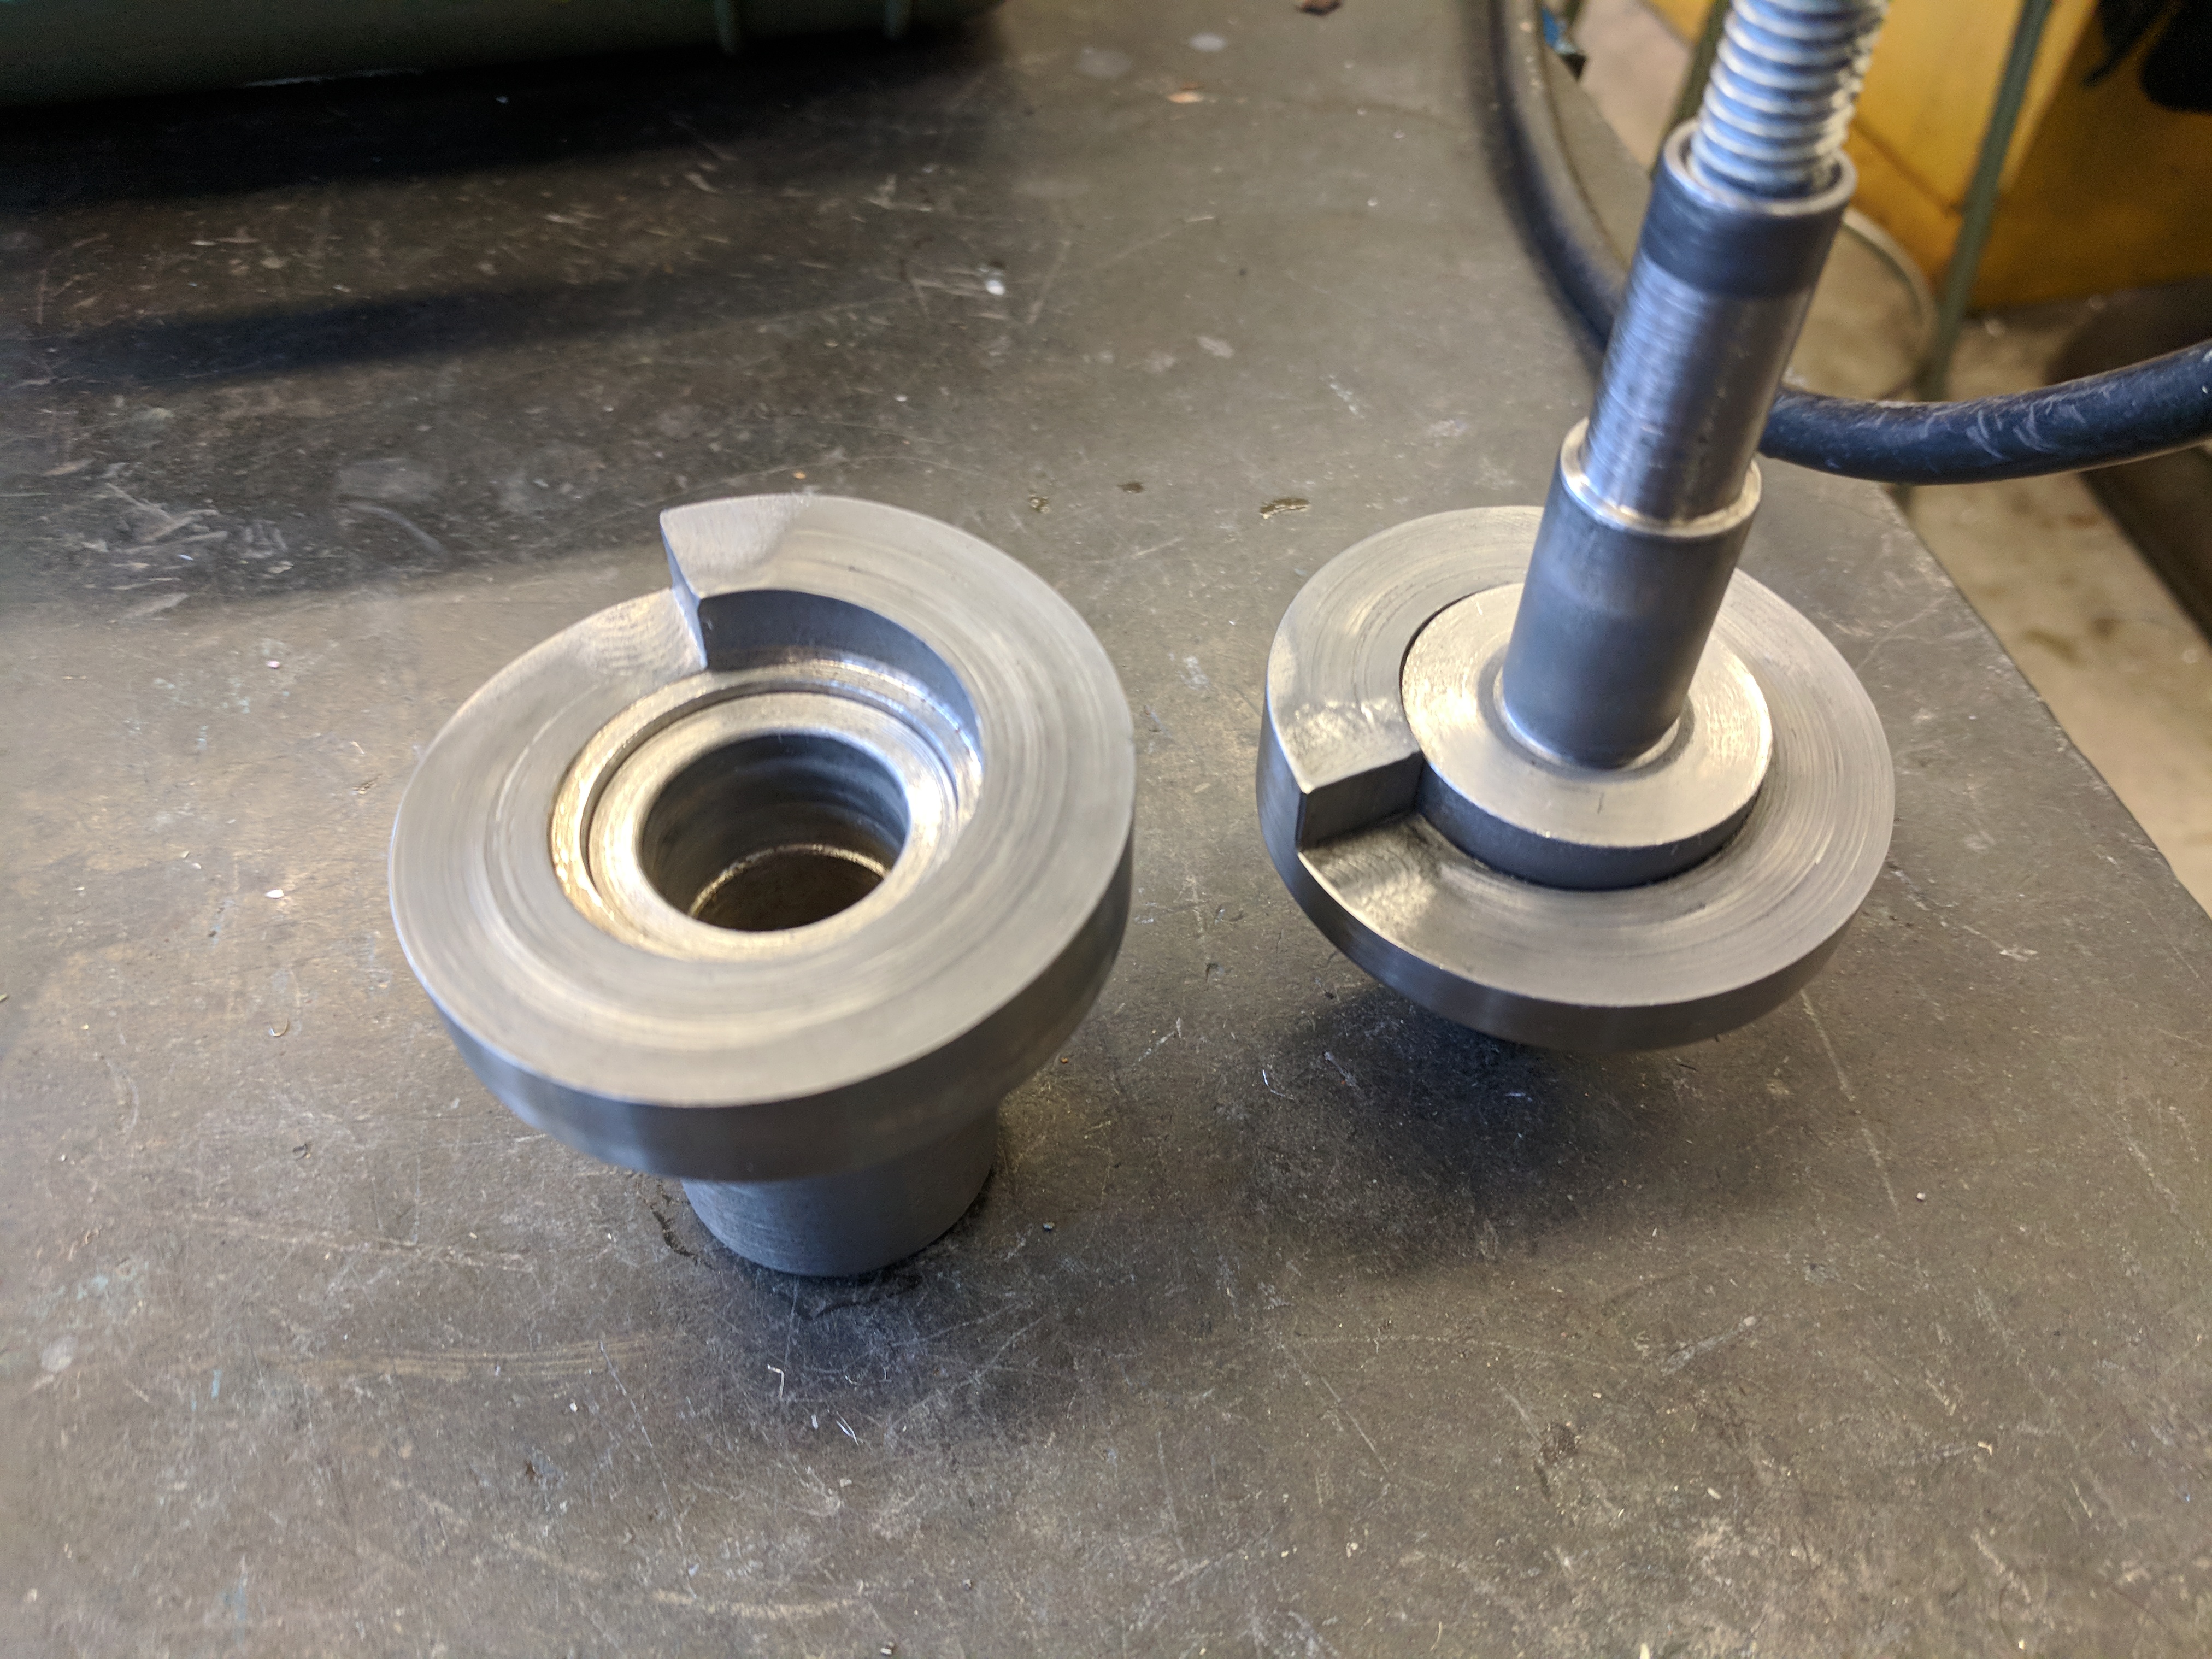
With the help of Robert Reeve, the friend I was making the parts for, we created a dirty but effective lapping setup out of components we had and components found in MITERS. While I was building this setup with suggestions from Rob, he was producing the necessary mating components. This system comprised of:
- A Variac
- Two pulleys
- A motor
- Custom rigging to allow for the throw distance of the lapping machine to be varied
Part of the custom rigging was a spring and bolt setup to force the mating surfaces together for the lapping operation, the pressure applied can be varied due to nut/washer height causing a varying degree of compression. A machinist steel wheel-handle was added to the end of the pulley shaft to add some weight/momentum to help reduce the CAMs from locking together and stopping the driving action of the motor. The system turned out to be quite robust and effective even though it was put together in an hour. (see below video for it in operation).
For the lapping process I used 3 different abrasives:
- Toothpaste with crushed up grinding bits from an old set of Dremel tools - This was used as the most abrasive of the materials used and the primary material used. One thing to note is due to the compression and friction effects, the water in the toothpaste would be squeezed out of the medium resulting in the paste becoming hardened and locking the CAMs' surface up. This required me to replace or add additional toothpaste depending on the situation.
- Toothpaste by itself - as most people know, toothpaste is a very mild abrasive and can be used to polish up steel and other surfaces like cleaning headlights. In this case, we used it as a finer abrasive for some of the more delicate smoothing of the surfaces. Again I ran into the issue of the water being expelled from the abrasive medium and eventually decided to stop adding water and instead add oil. This was a great idea, once I started adding oil the time between re-application of the abrasive more than tripled.
- Finally, for a finishing pass I decided to use Tap Magic to just get a clean surface finish. I was not necessarily trying to aim for a mirror finish, but a clean mating surface. In the end, the surface may look rough, but to the touch, it is quite difficult to feel any bumps or grooves.