[10.6.09] Repairing a Laptop Cooling Pad

Description of Project
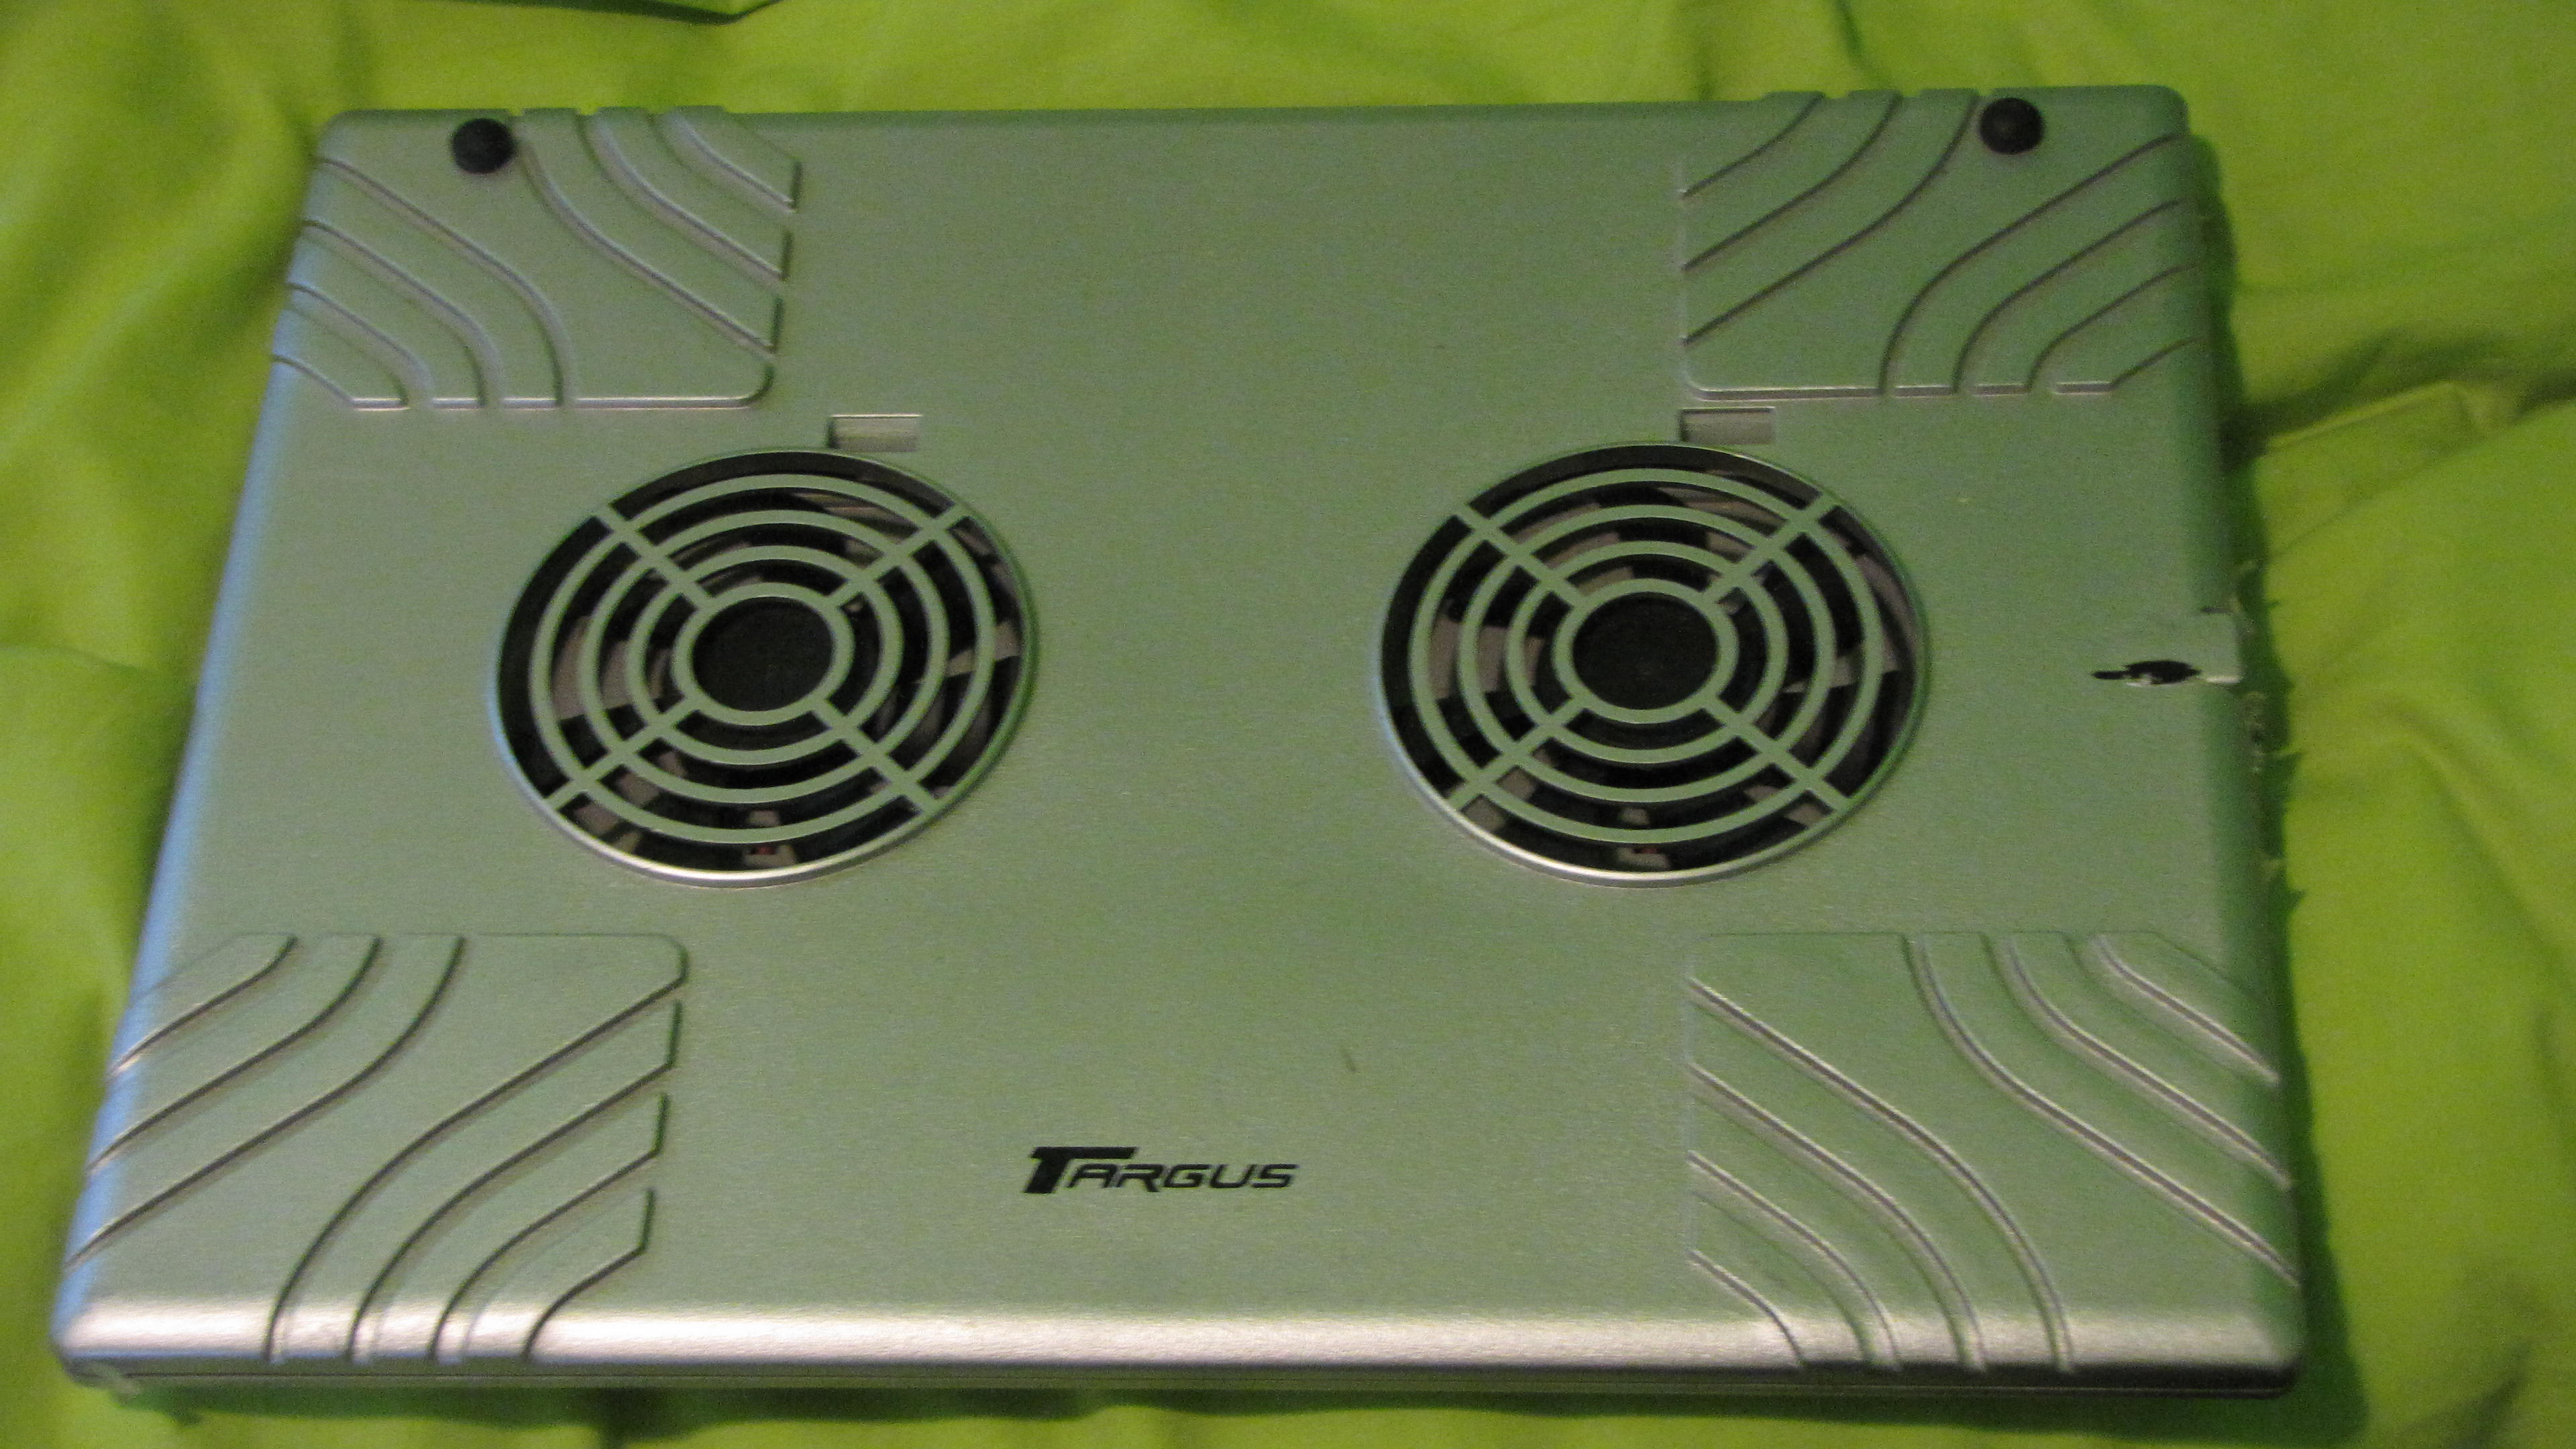
This project is a simple repair involving a salvaged laptop cooling pad. The goal of this project is to dismantle, learn how it works and create an effective repair.
Processes Applied:


Summary:
This laptop cooling pad was non-functional when I found it and it was missing a USB port. So I first took it apart to see what type of circuit was required in these pads people were paying out a large handful of cash for ($20). The circuit turned out to be just two regular fans that you can find in any computer dump (~$3) and a USB Port powered the fans. All the components are in abundant supply in the RPI E-Club for members.
So I replaced the USB port and soldered the connections to the back end of the USB Port, to figure out which pins to connect to which wires you can find a simple pin-out of your USB ports by just googling <USB PINOUT>(http://pinouts.ru/Slots/USB_pinout.shtml). Once I had the fans running it was time for re-assembly which turned out to be a problem, the USB port I chose was slightly larger than the existing port. So I had to enlarge the hole, to achieve this I chose to use a Dremel. Finally, I had to use hot glue to secure the case together to reassemble because this cooling pad implemented a type of glue for sealing the pad together. You can always go for a more durable glue like super glue or epoxy, but something so simple I chose to go with what was on hand in the E-Club at the time.