[4.10.14] The Melting Point: CNC Wax Seals

Description of Project
This project was designed around the use of the CNC Mill that has recently been added to the MITERS arsenal of machines. The project involves using the CNC mill to machine precise design into a piece of brass cylindrical stock.
Processes Applied:


Summary:
This project is focused on learning to use the CNC mill in MITERS, which is a small mill from the 90's circa floppy disk era. This is an important note for this machine because it is the first limiting factor when creating a program to run. The more complexity, the more you have to break your program down into smaller sub-programs. This ultimately was not a big concern for my project for the amount of different maneuvers is small when converted into g-code. The floppy data transfer also adds an added delay in going from CAD file to g-code to transferring g-code to the CNC computer.
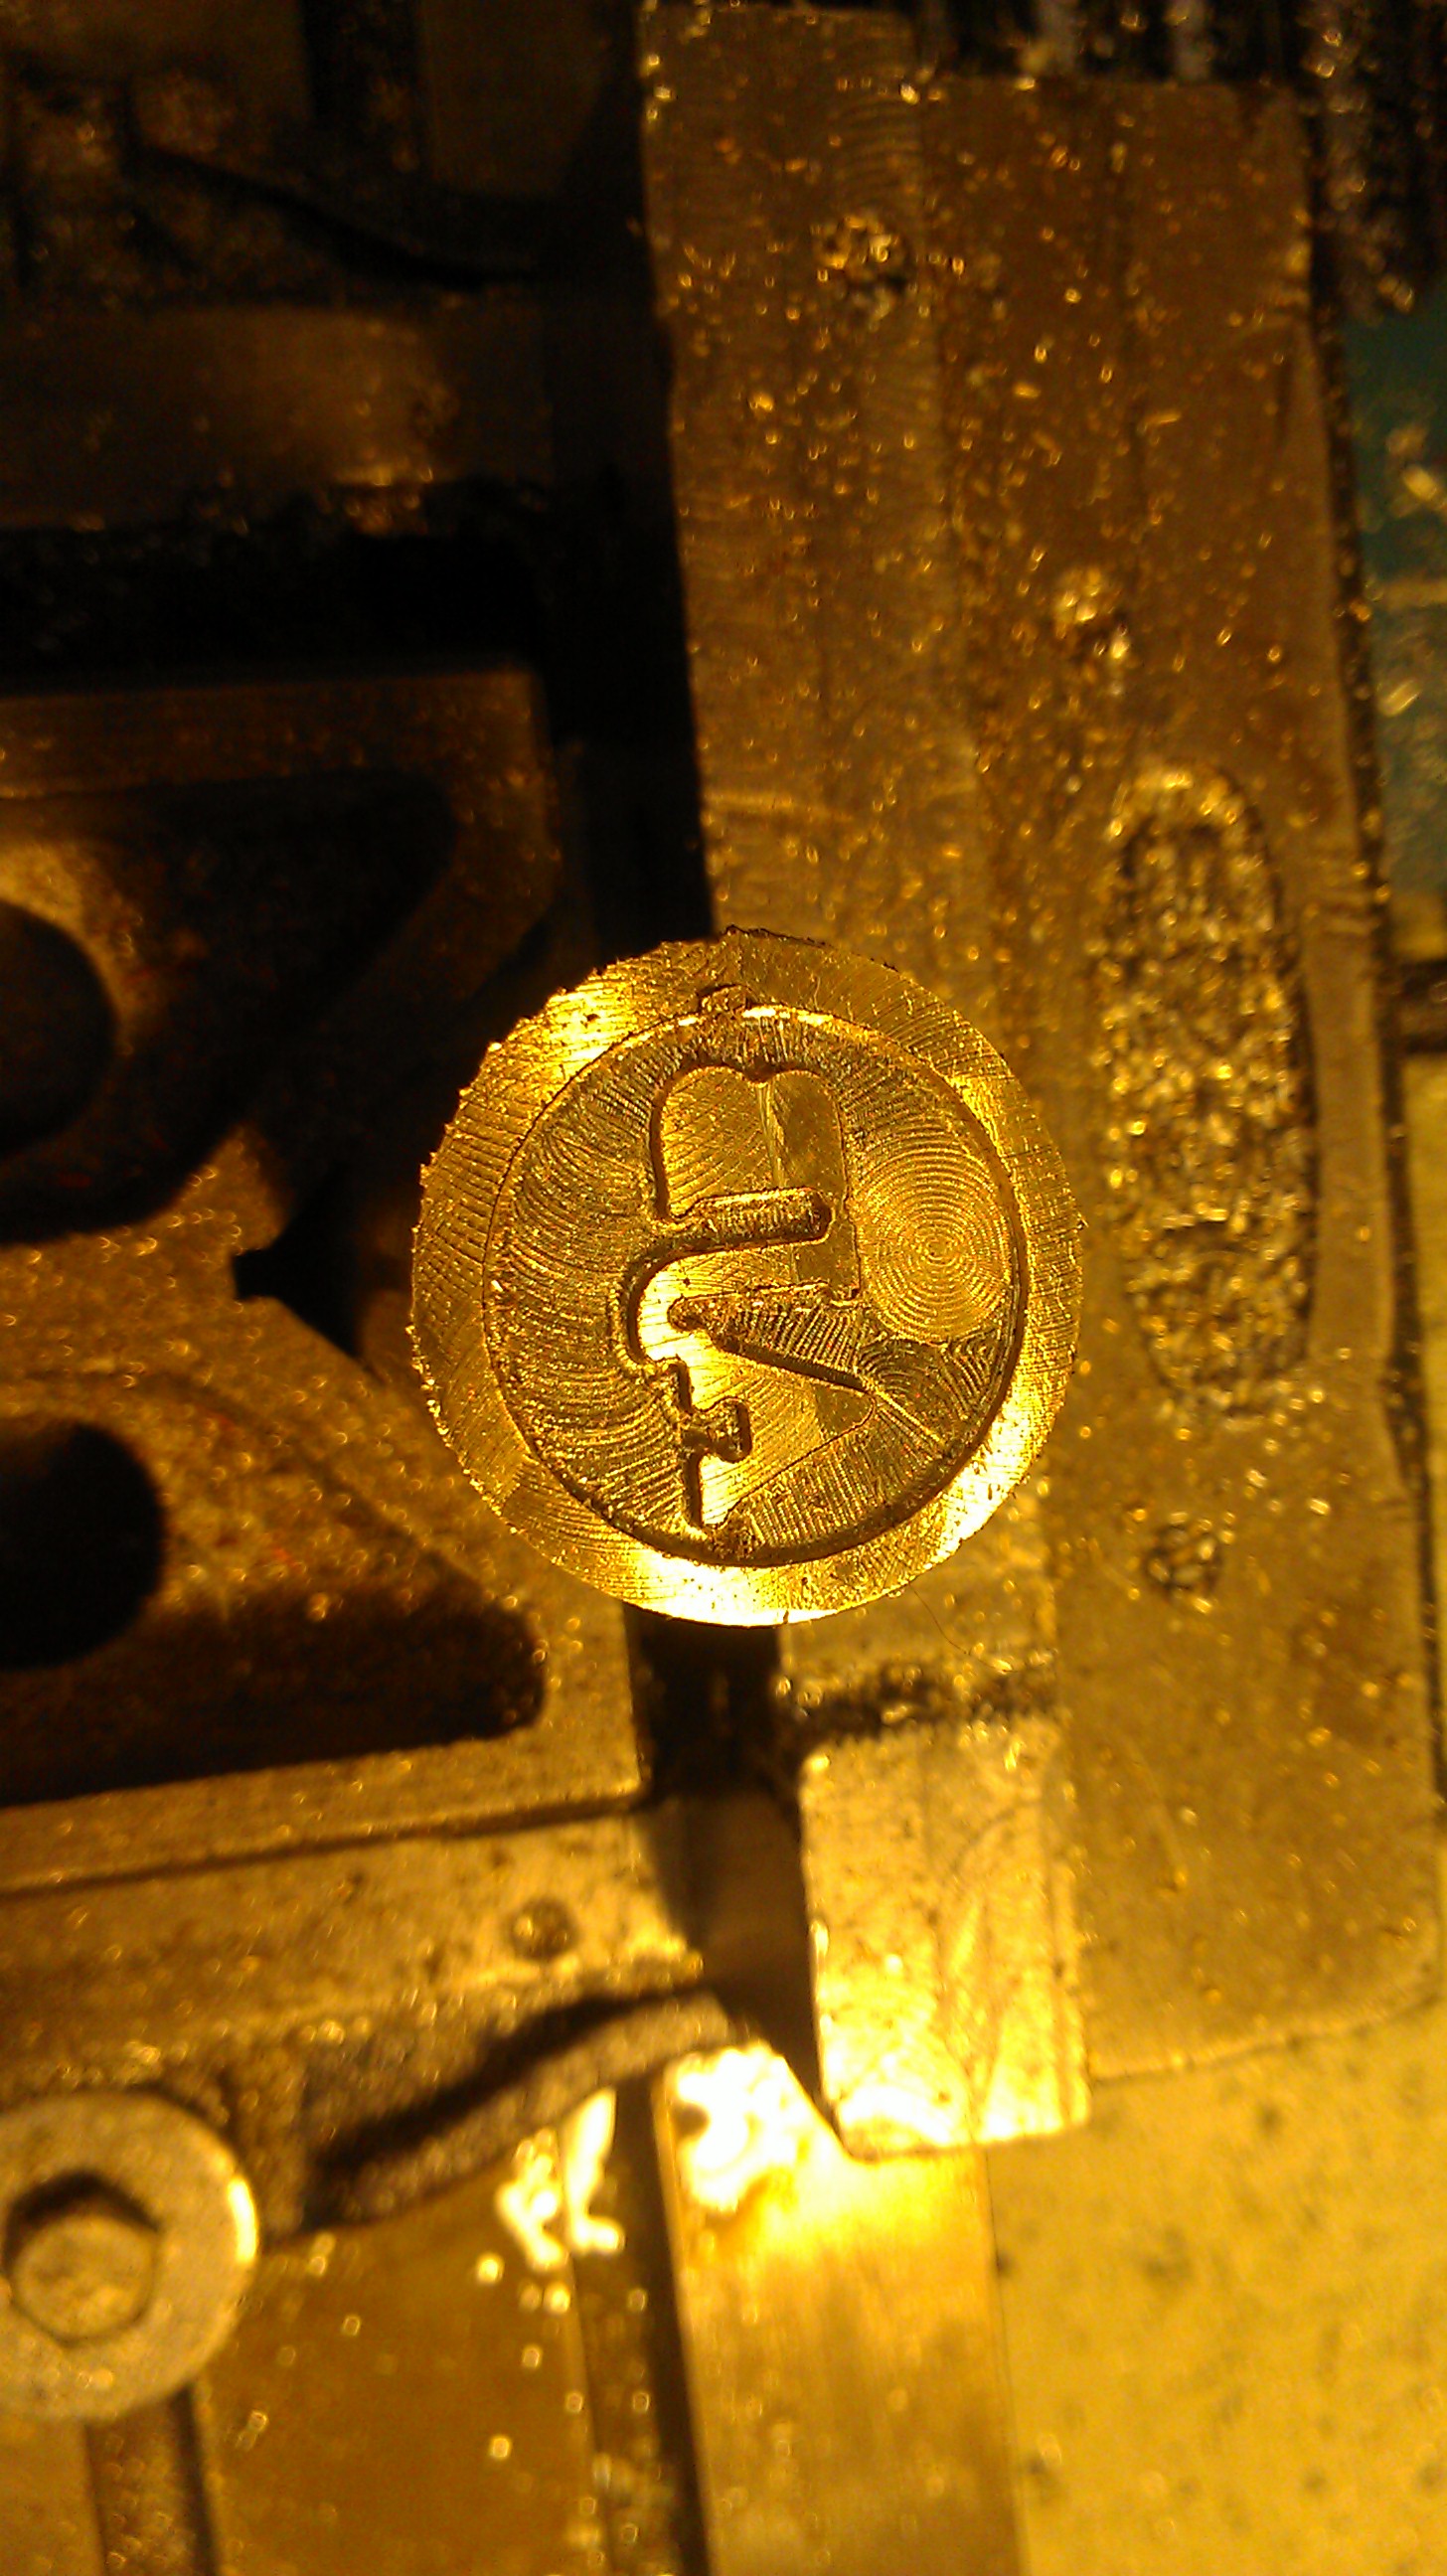
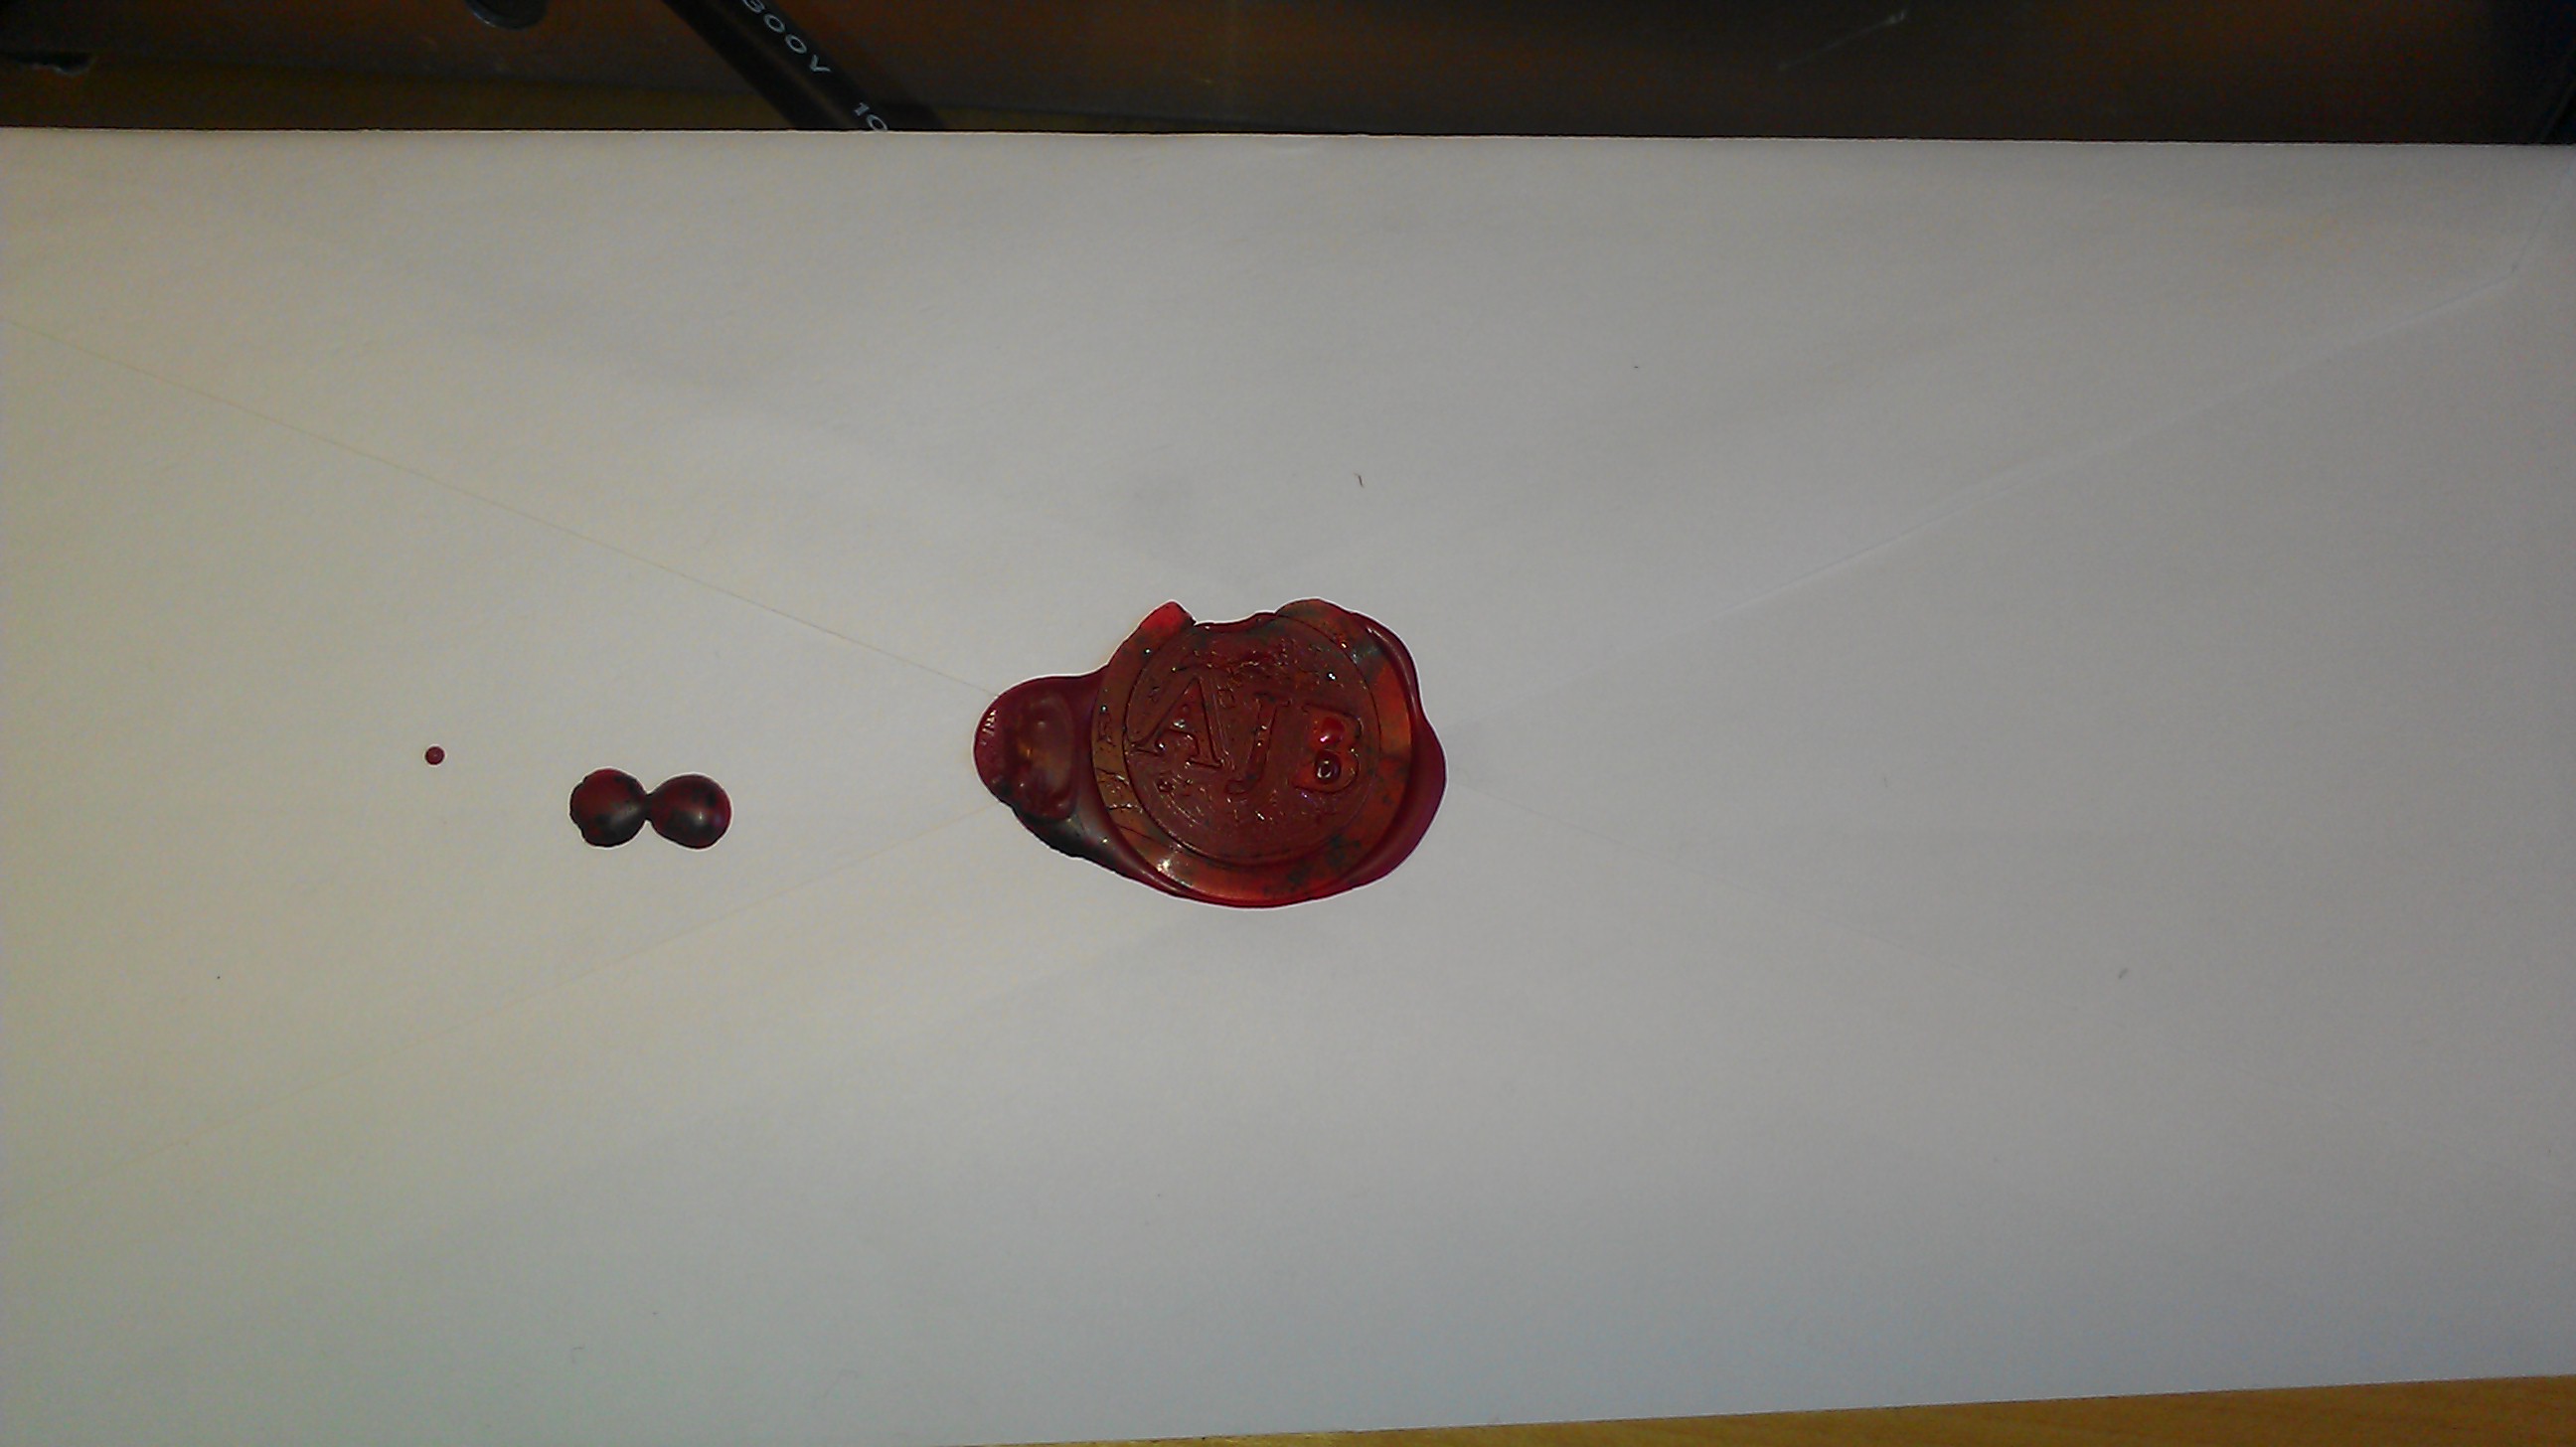
The second major point in this project is obtaining the detail needed for a clean wax seal, which was difficult. There are two major considerations here: level of detail and tool size. Depending on the level of detail you decide to go with, the more detailed the smaller the tool bit needs to be. This poses a problem once you get to smaller designs, as the tool gets smaller the more it is prone to breaking while in operation. This leads to slower spindle speeds (RPM) and slower feed rates (how fast you can cut the material).
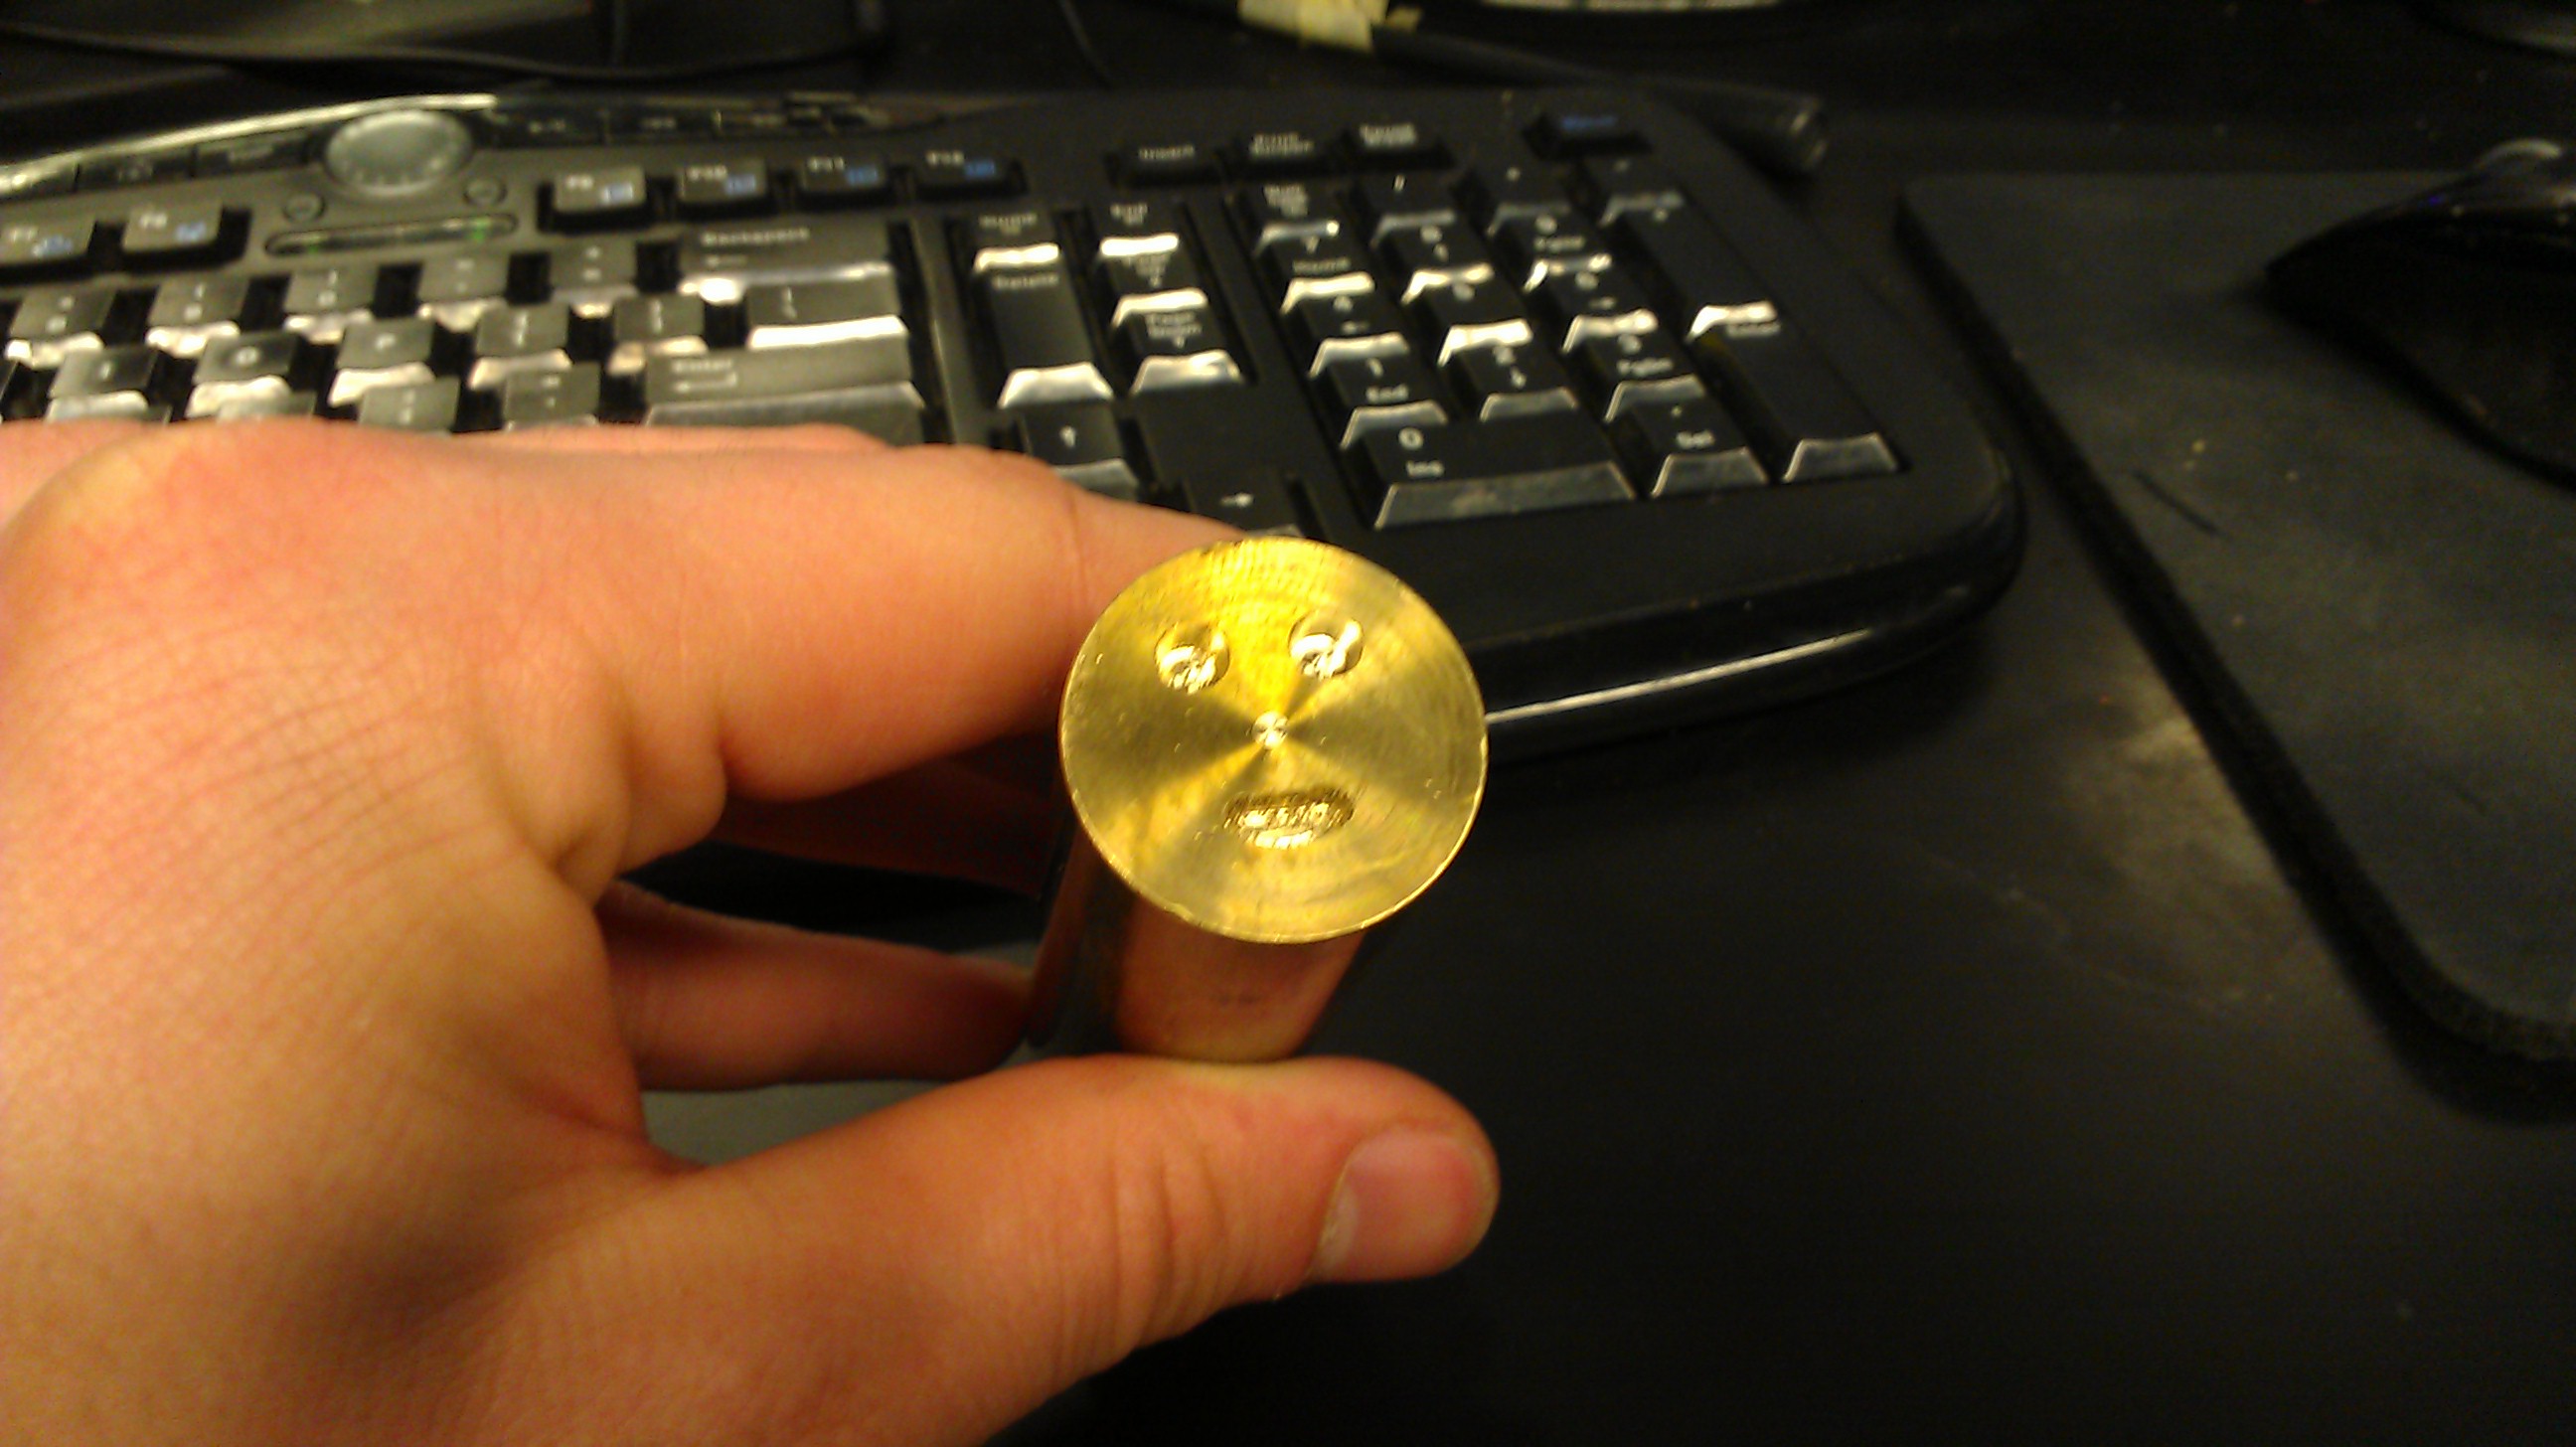
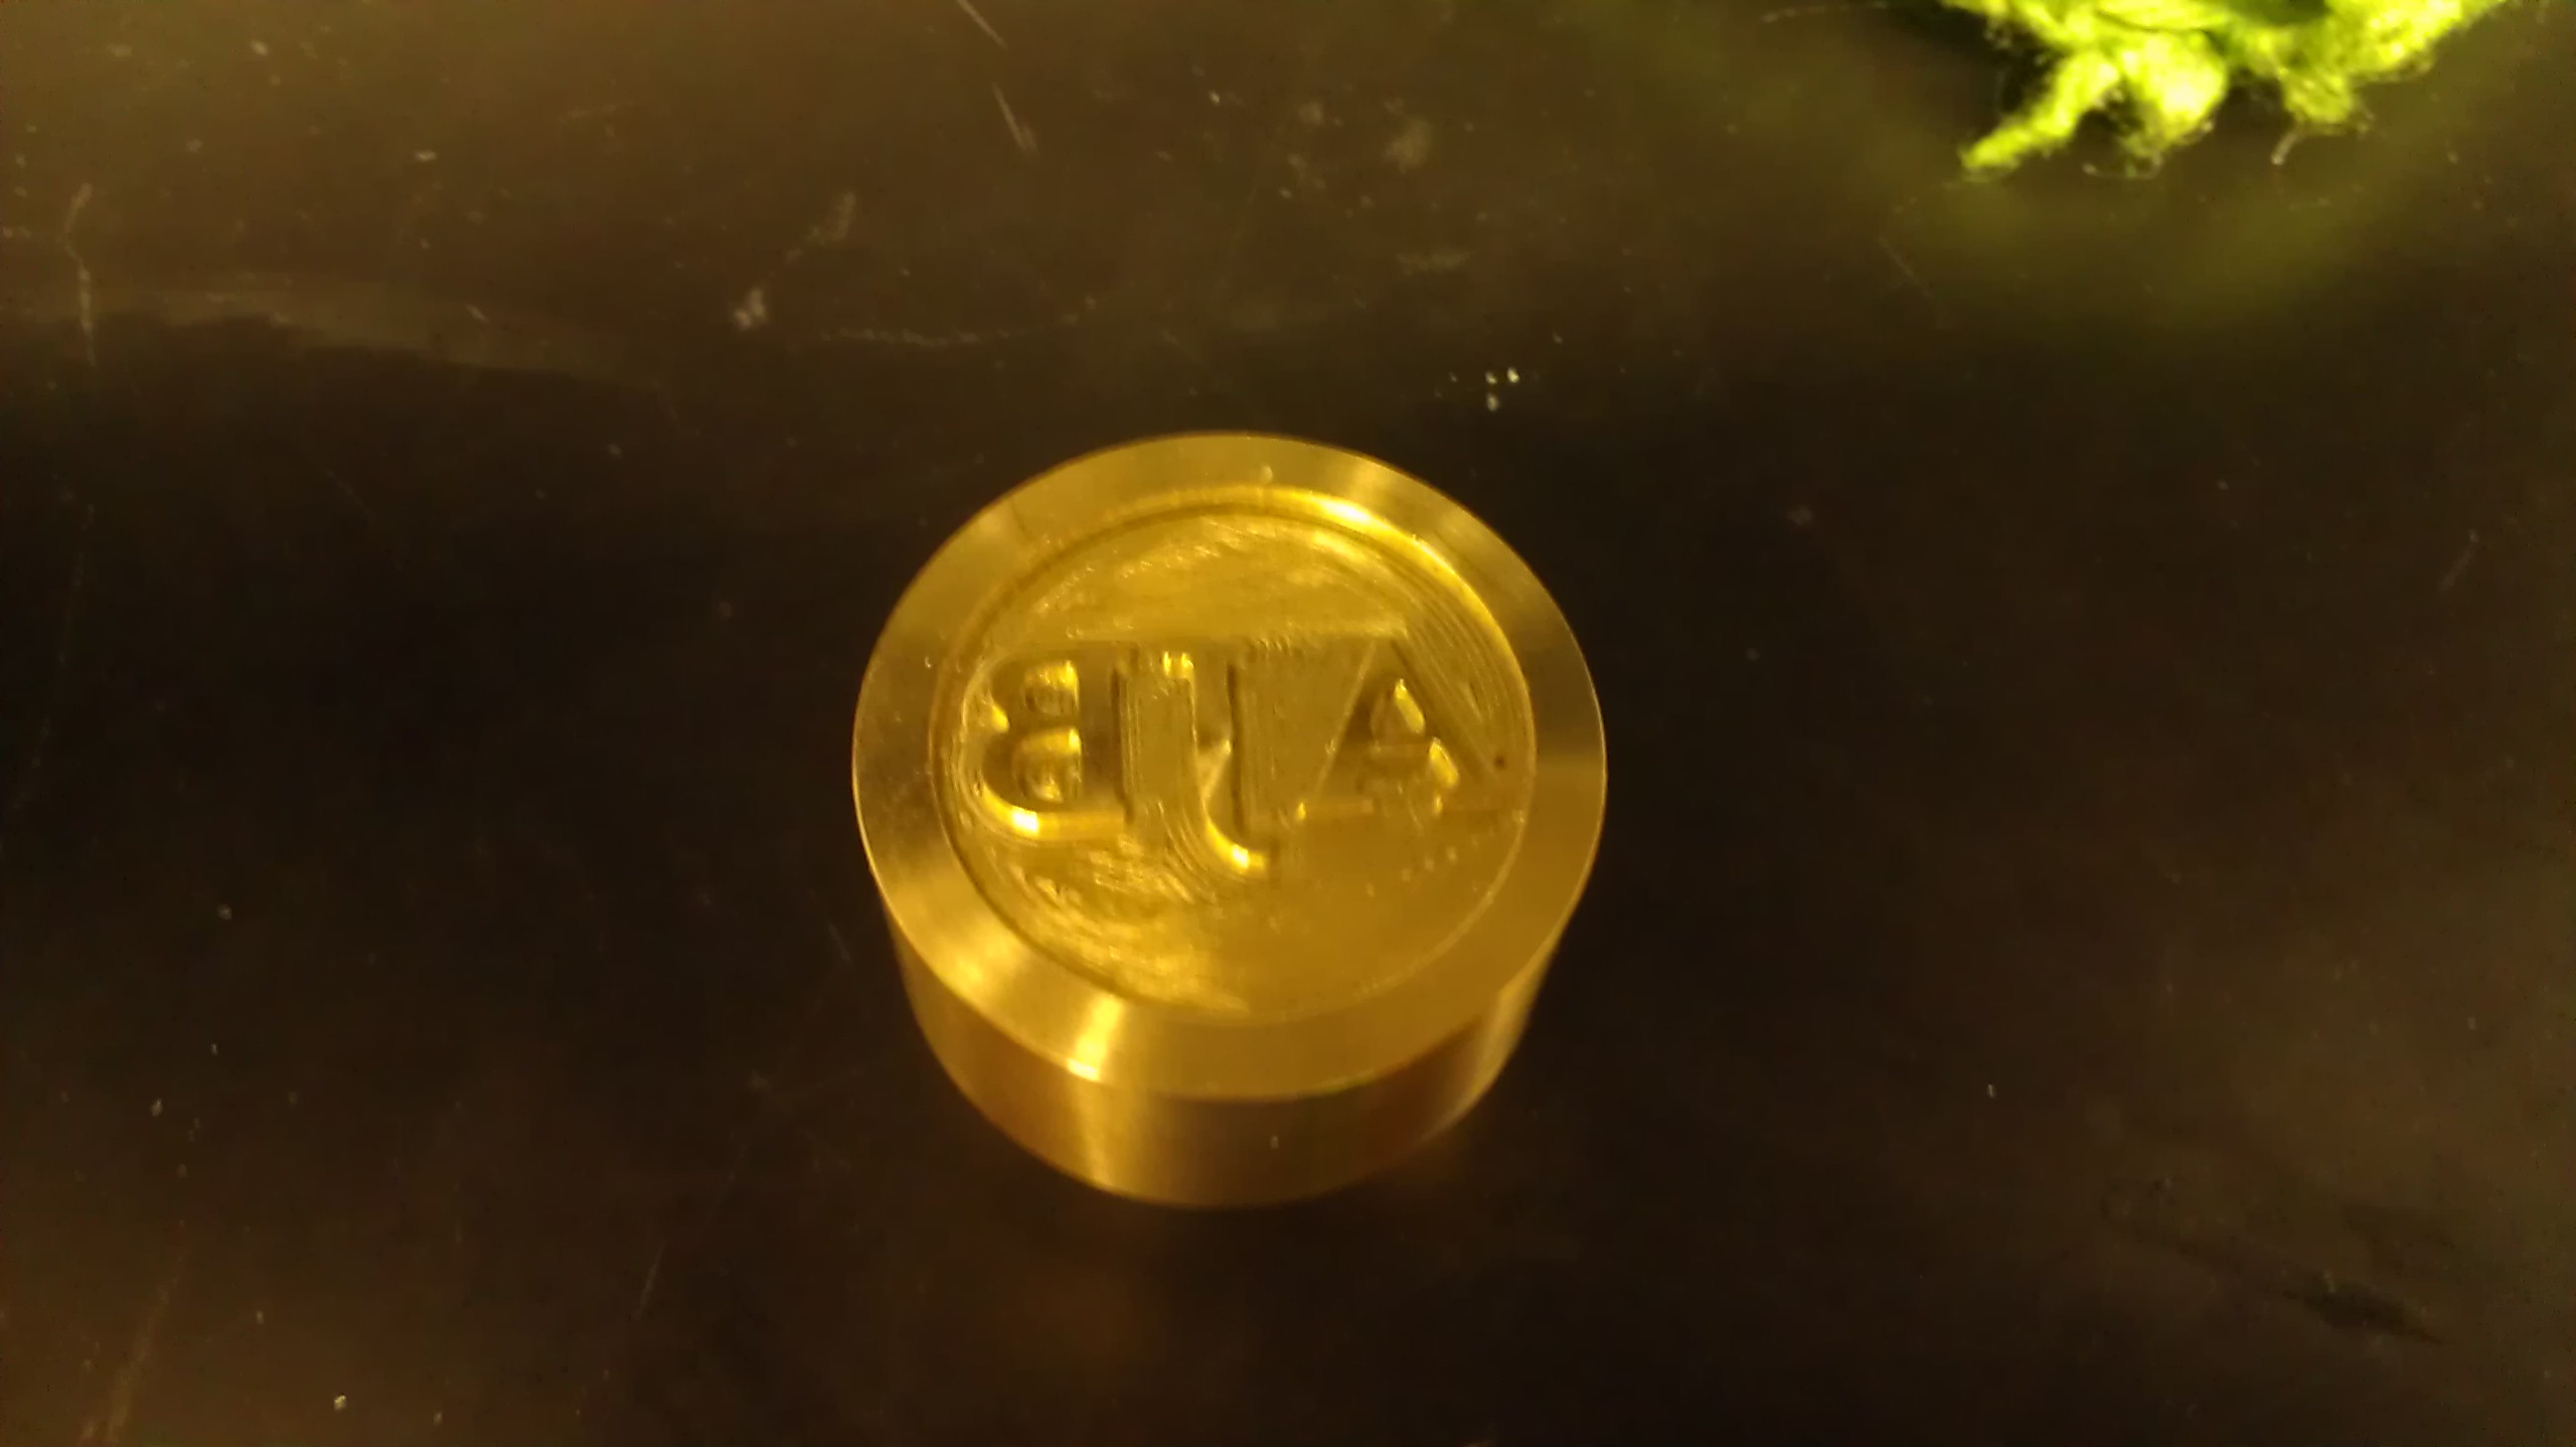
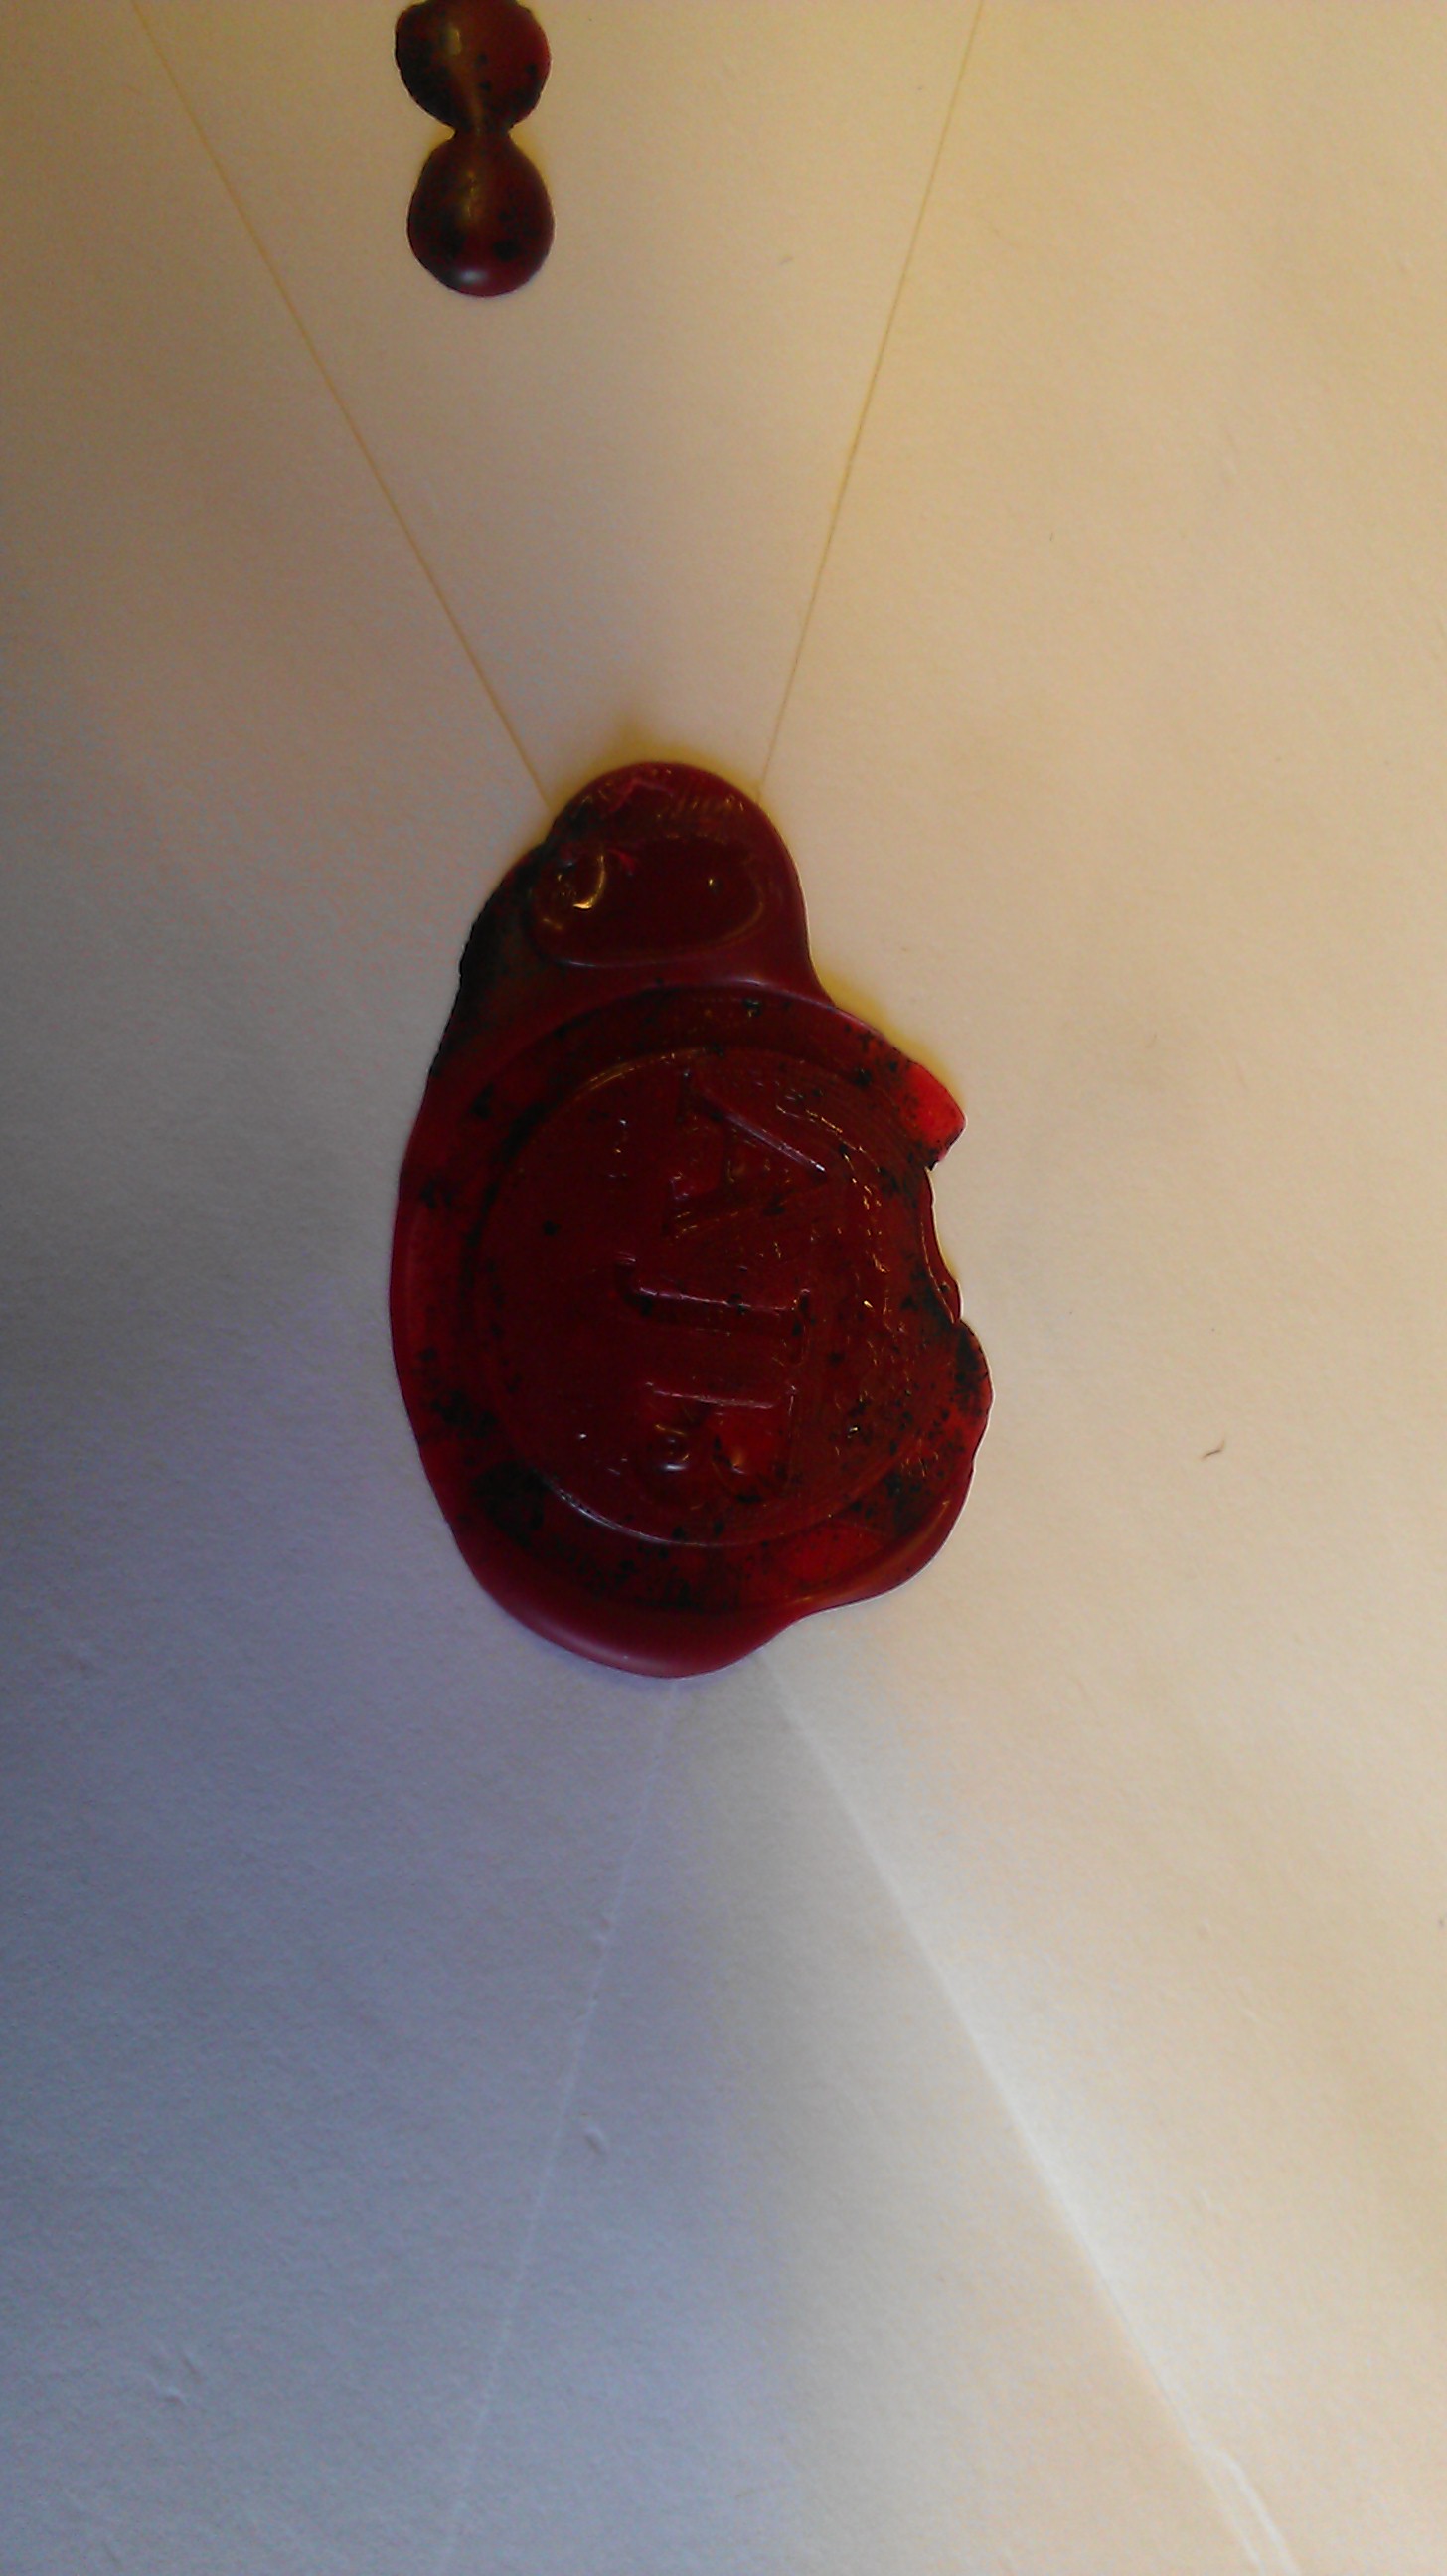
Ultimately, I decided to go with basic lettering that had large open areas around the letters' outlines and as well as looked nice. Another note, once you start creating the computer model of the seal design, you want to create a negative of what you want imprinted in the wax. This means we want the lettering to be raised (not cut out) so that when we use the seal it is indented in the wax.
Overall, this project had two tools break on me when I was knocking out some of the issues with my gcode (tool paths) and some failures in the final look of the second to last production. In the end, I was able to create a nice seal stamp and it works quite nicely.
This is the wax used in my seals: http://www.nostalgicimpressions.com/Flexible_Sealing_Wax_with_a_wick_s/206.html
So far, I have only gone through about half a stick for roughly 10 seals and they have survived decently going through the USPS system. They sell them in packs of 2 for less than $10 bucks, I think its worth it... But I might end up combining my lamp project, this project, and a wax pot system project to be able to just buy bulk wax and use the flame from my lamp to heat the wax for pouring. This has been a major consideration because waiting for the wax to drip from the wax candle is inaccurate and time-consuming.