[1.21.17] Book Side Table & Book Shelf

Description of Project
Making decent modular shelves and side tables using cheap home depot boards, threaded rod, washers, and nuts.
Processes Applied:

Summary:
The goal of this project was to create shelving that could be easily constructed and deconstructed, while also working on a budget. The ability to construct and deconstruct shelving is important in your 20's because you never know when you will need to move for a job or because your landlord wants to raise rent (or any other countless number of reasons). Through my years of living in Boston, I settled on a simple solution for creating decent looking shelving that is both durable, reusable, and not a pain-in-the-ass to move.
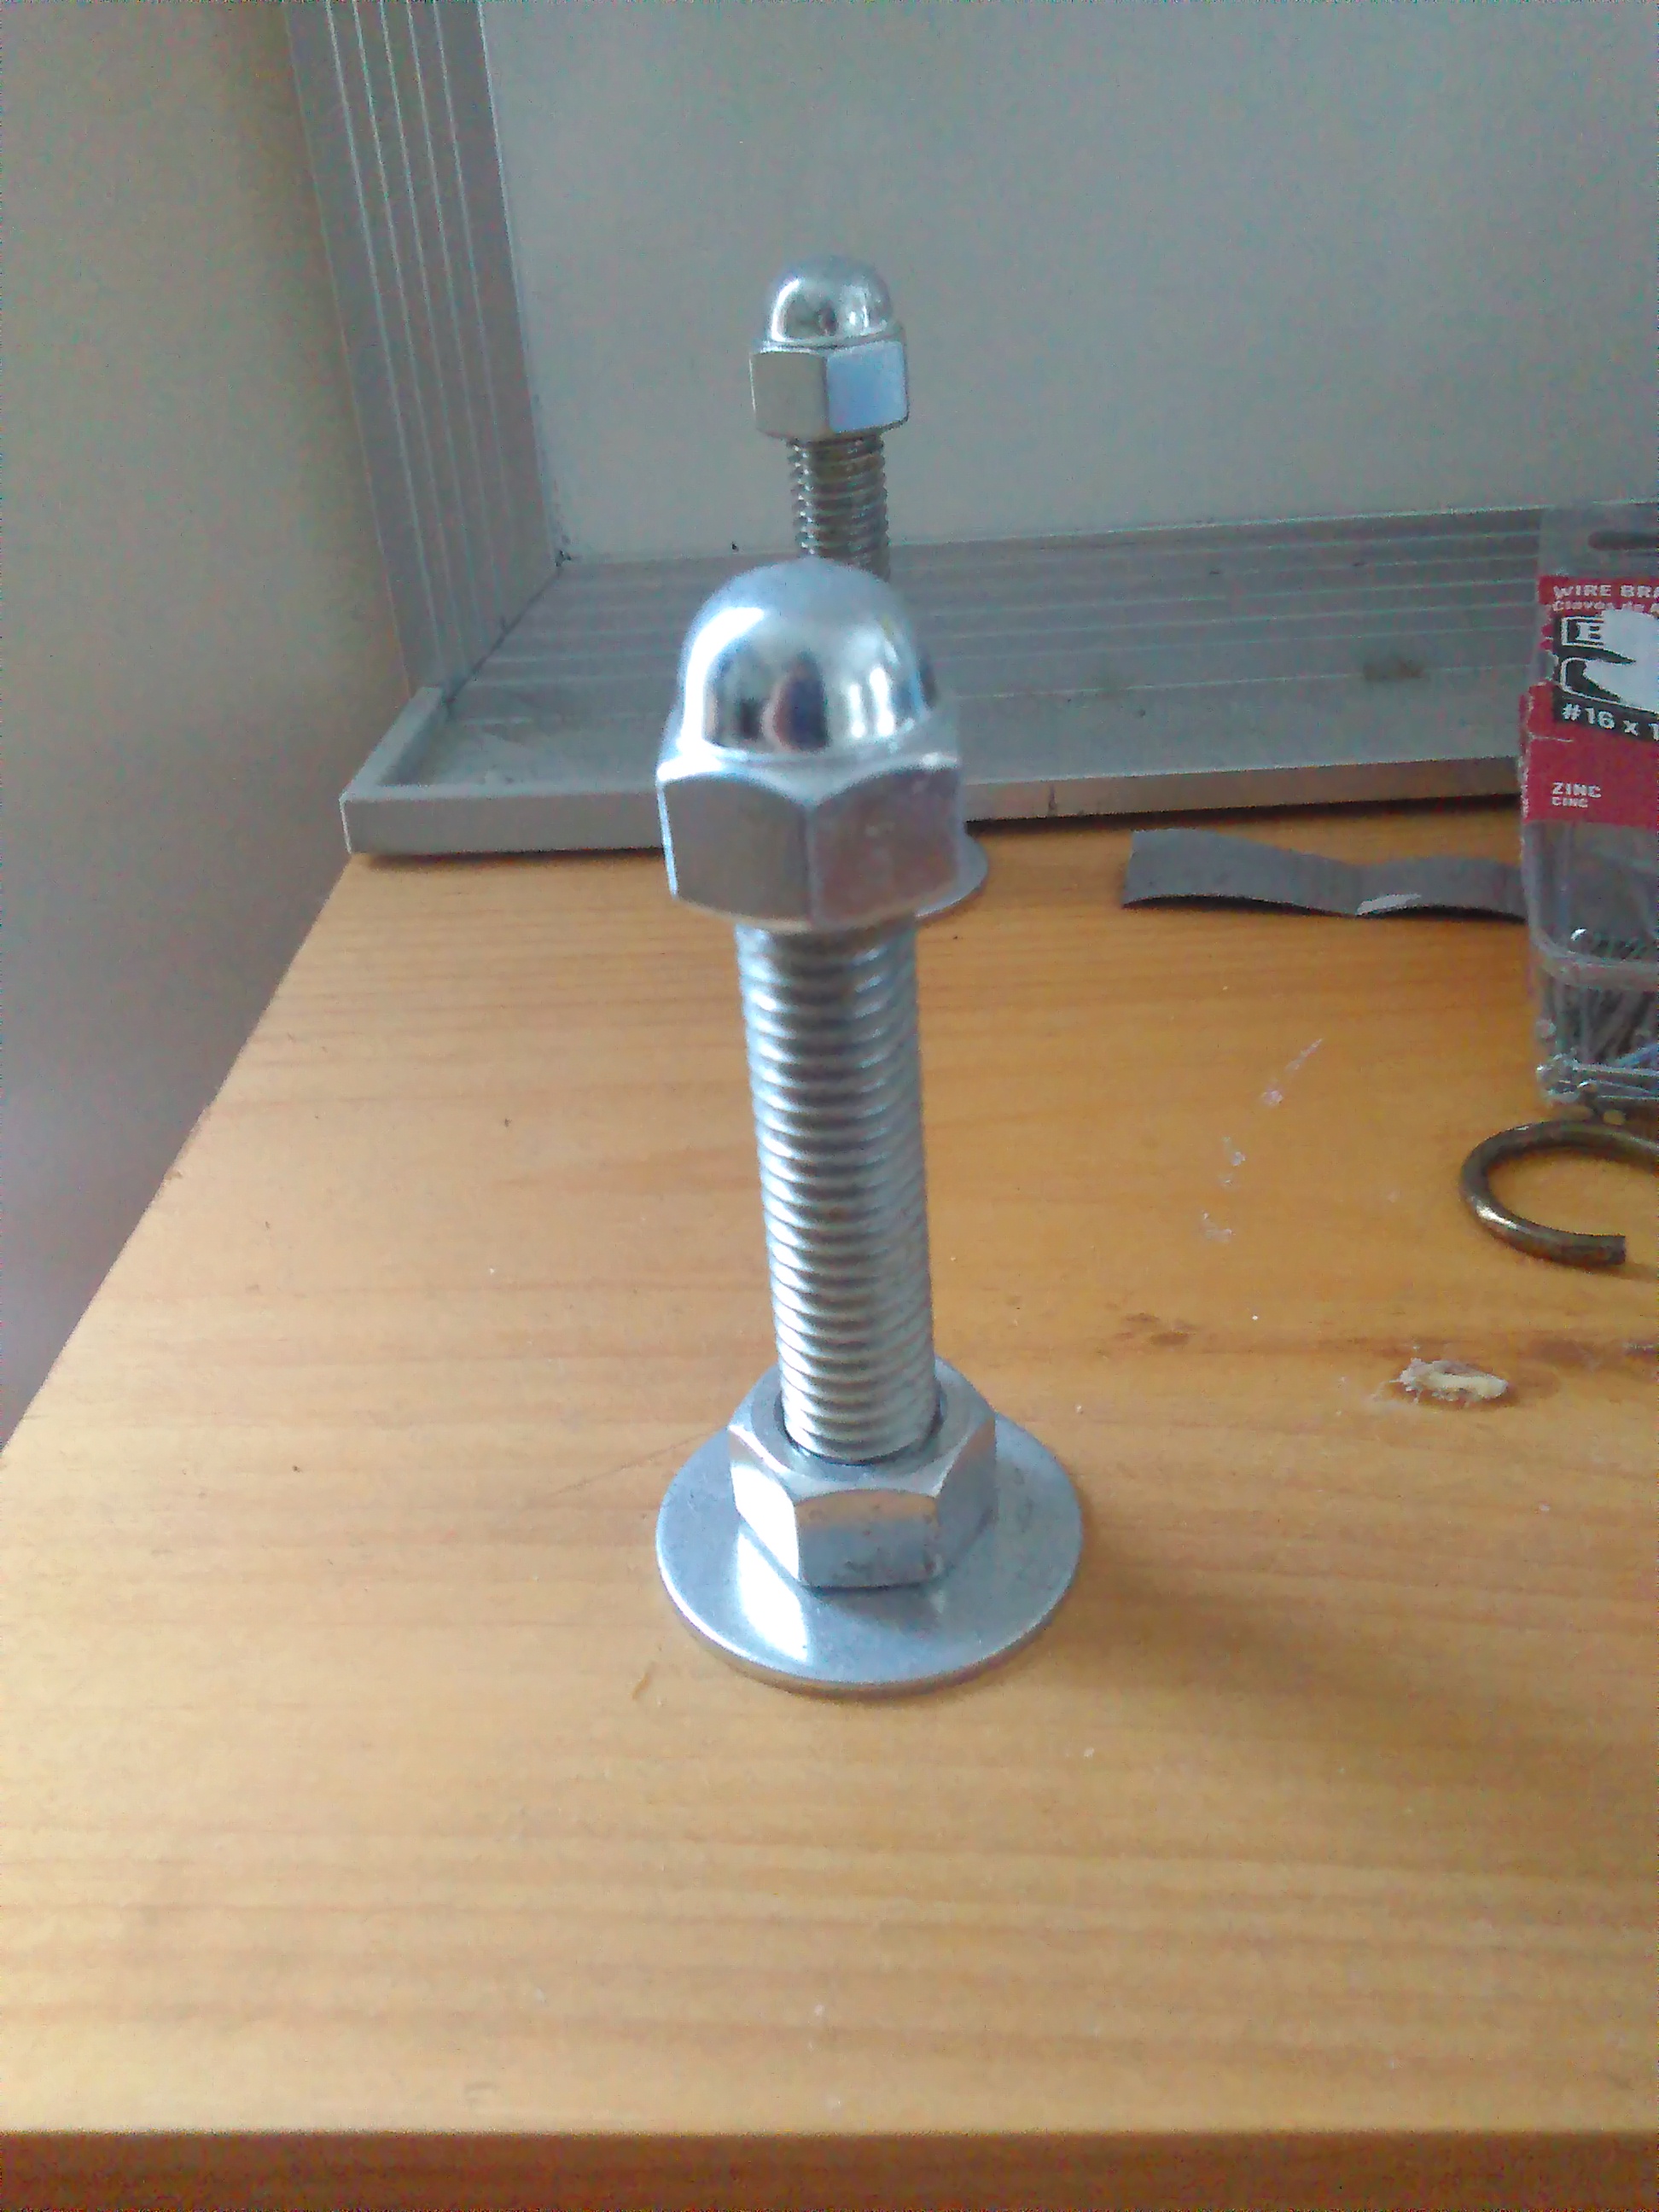
- Threaded Rod: 1/2 in. - 13 tpi (Threads Per Inch) - Zinc plated steel - all lengths are sold by Home Depot for $0.1308 per inch of length.
- Bag of 1/2 in. - 13 tpi Nuts (Zinc-plated as well, they are the cheapest) - $4.27
- Box of 1/2in Zinc-plated washers - $7.97
- Acorn Cap nuts - Not necessary, they are a bit expensive... but I like how they look.
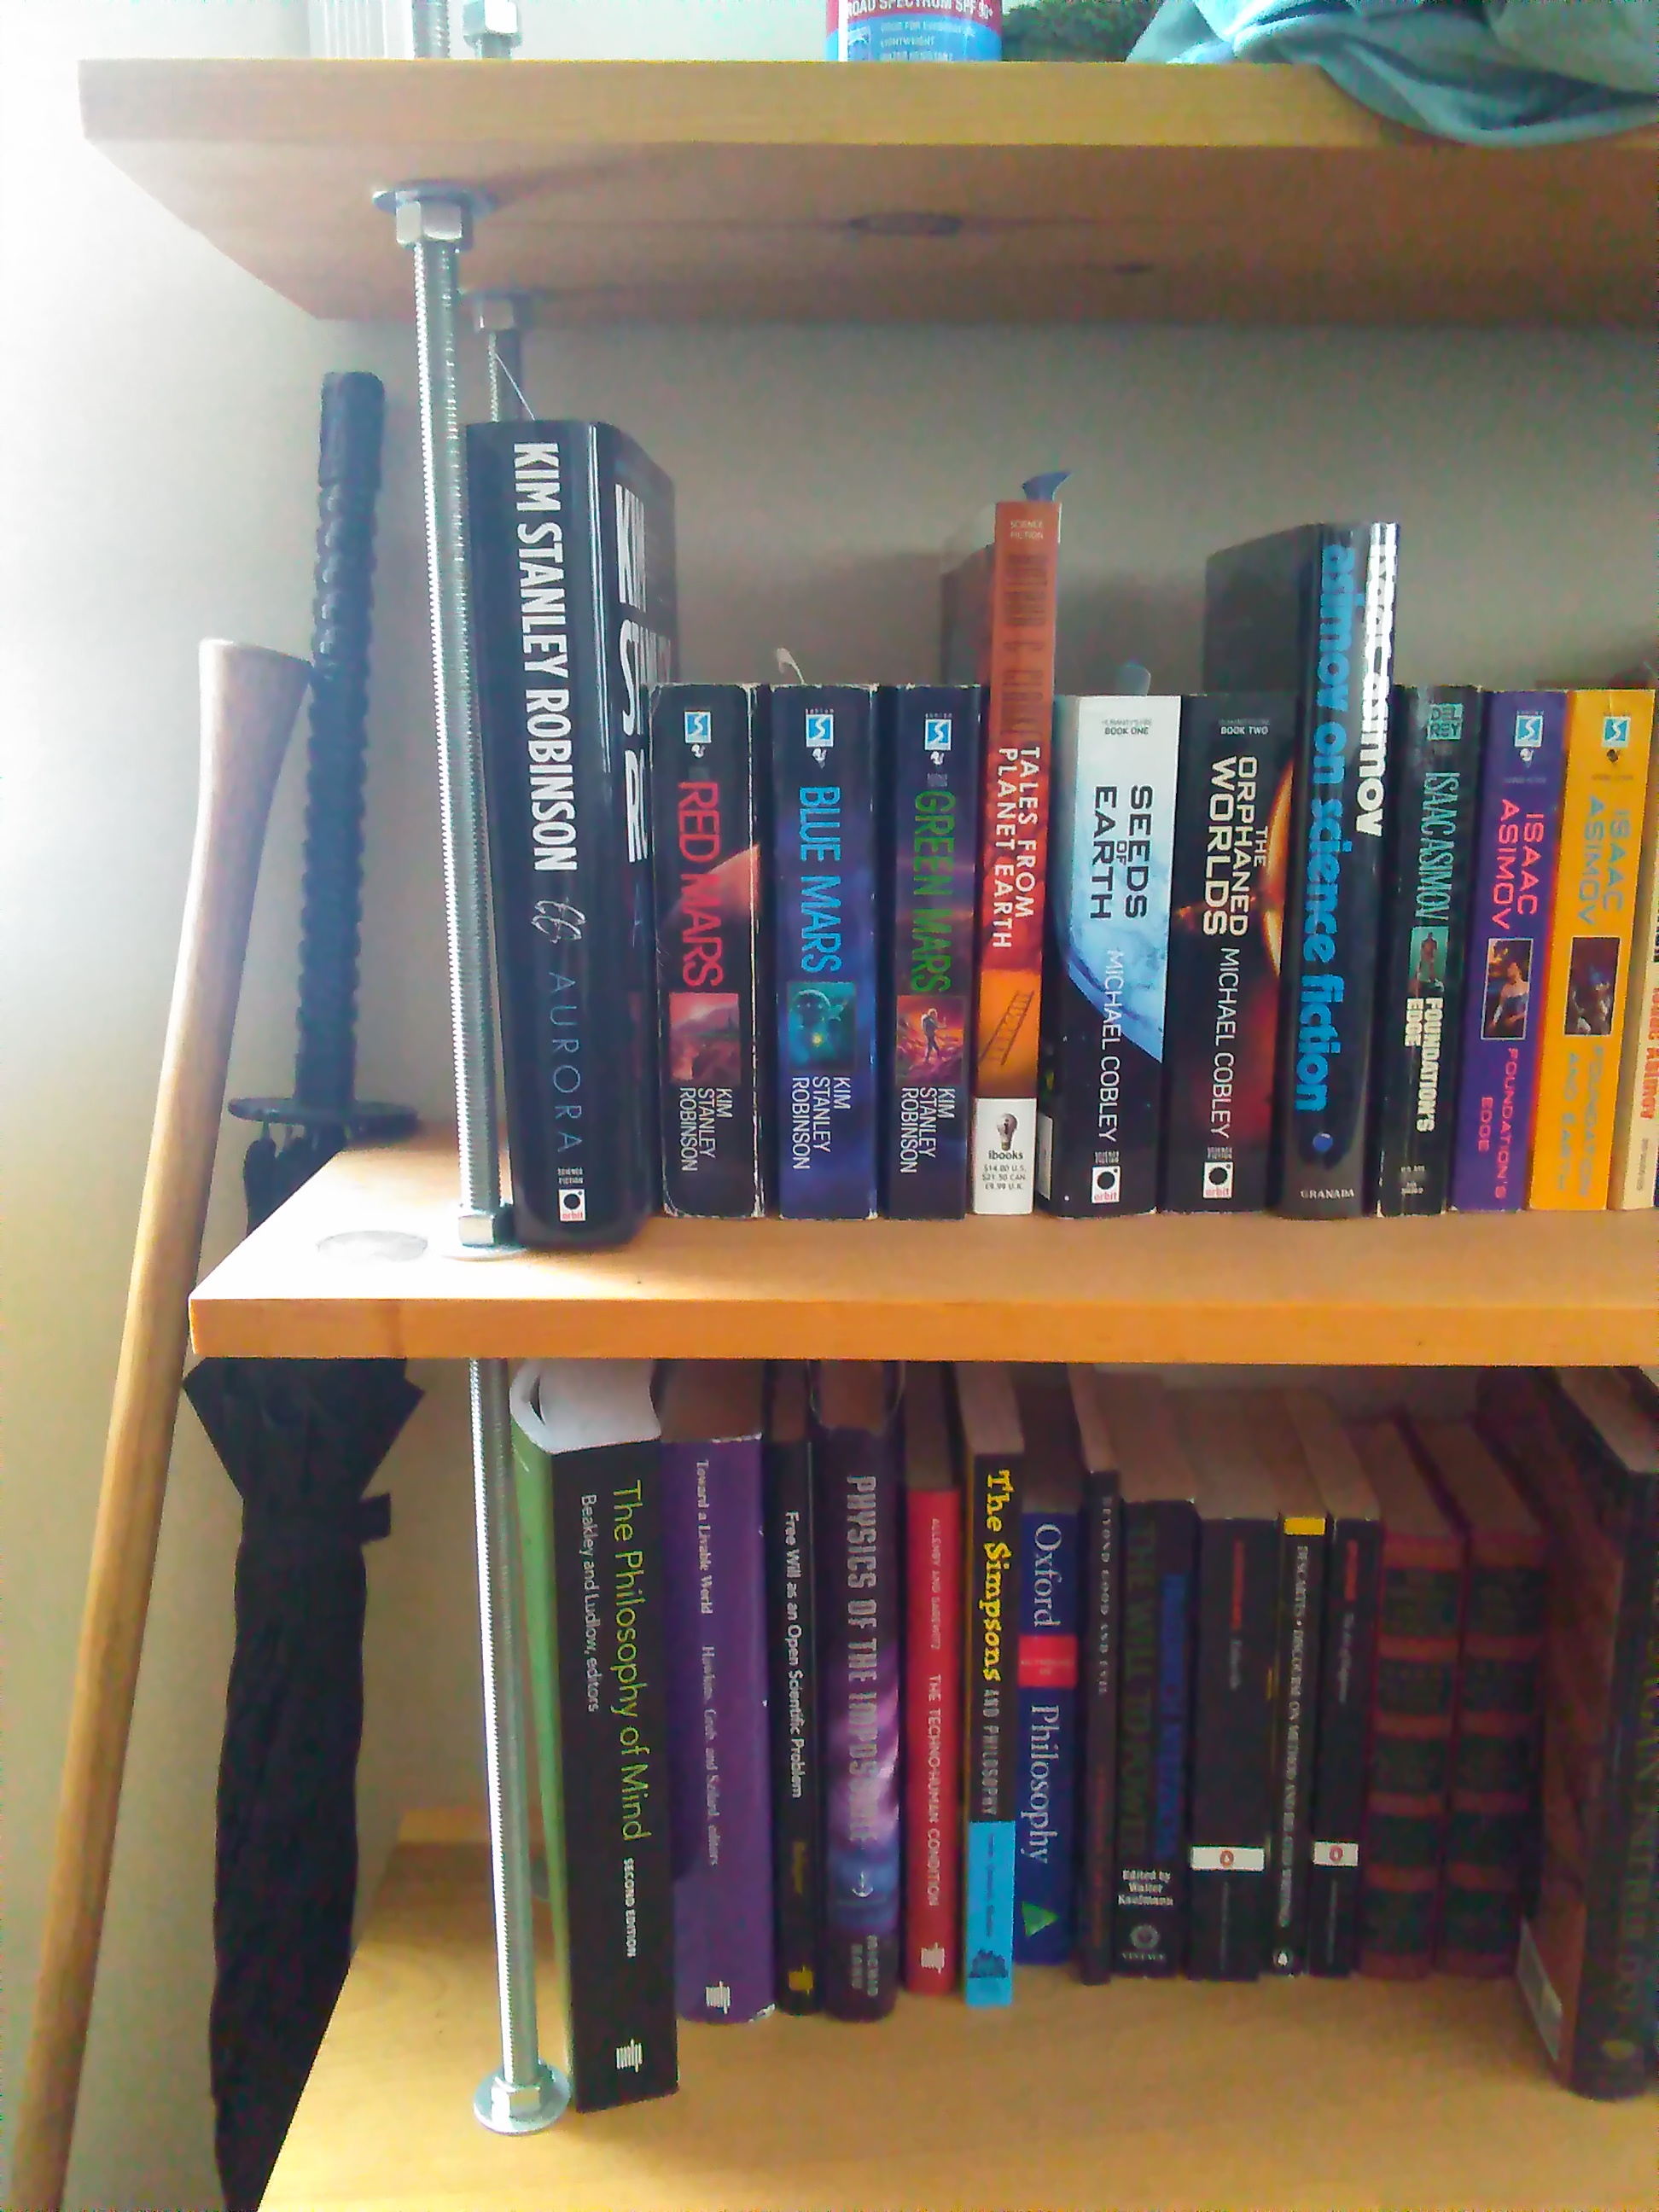
Wood: There are many variants of wood at Home Depot, or wherever you choose to get cheap wood. For these two pieces, I decided to go with Common board from Home Depot, and some nice old shelf boards I salvaged from MIT's Tech Dumps. The wood is where the largest cost for this project comes from, since I am designing around functionality, as well as for multiple moves, I chose to go with the cheap common board wood from Home Depot. Note, that with this design you can always remove old boards and replace them with nicer wood in the future if you find it or decide on splurging.
The first step is to determine the height of your shelf from the ground to the top shelf. Once you have determined this, add a few inches to that distance for the top of the threaded rod to stick out. If you really want, you can measure precisely so the only thing sticking out the top is an acorn nut / or regular nut. Once you have this length, cut all your threaded rods to size (The number of threaded rods is based on how you want your bookshelf to look like as well as size/length.) An Important note is to put your 1/2-13 Die or a nut on your threaded rod beforehand, this is to allow you to clean up the threads after you have cut and cleaned the end. This part is quite hard to do when you have already cut because the threads will be damaged at the end and will be hard to line up your die or nut to the threads without cross-threading. Another thing I did during this step was to clean the threaded rod, I did this with acetone first and then used the die on the entire lengths of threaded rod. Usually this process is quite slow, but since the thread is already there I used an electric drill. First I put the die onto the threads a few inches down the rod, then grasped the rod in the drill. I then proceeded to hold the die in a die handle while rapidly rotating the threaded rod with the drill. This allowed me to save a lot of time, energy, and stress... Thank you, Ben, for the suggestion!
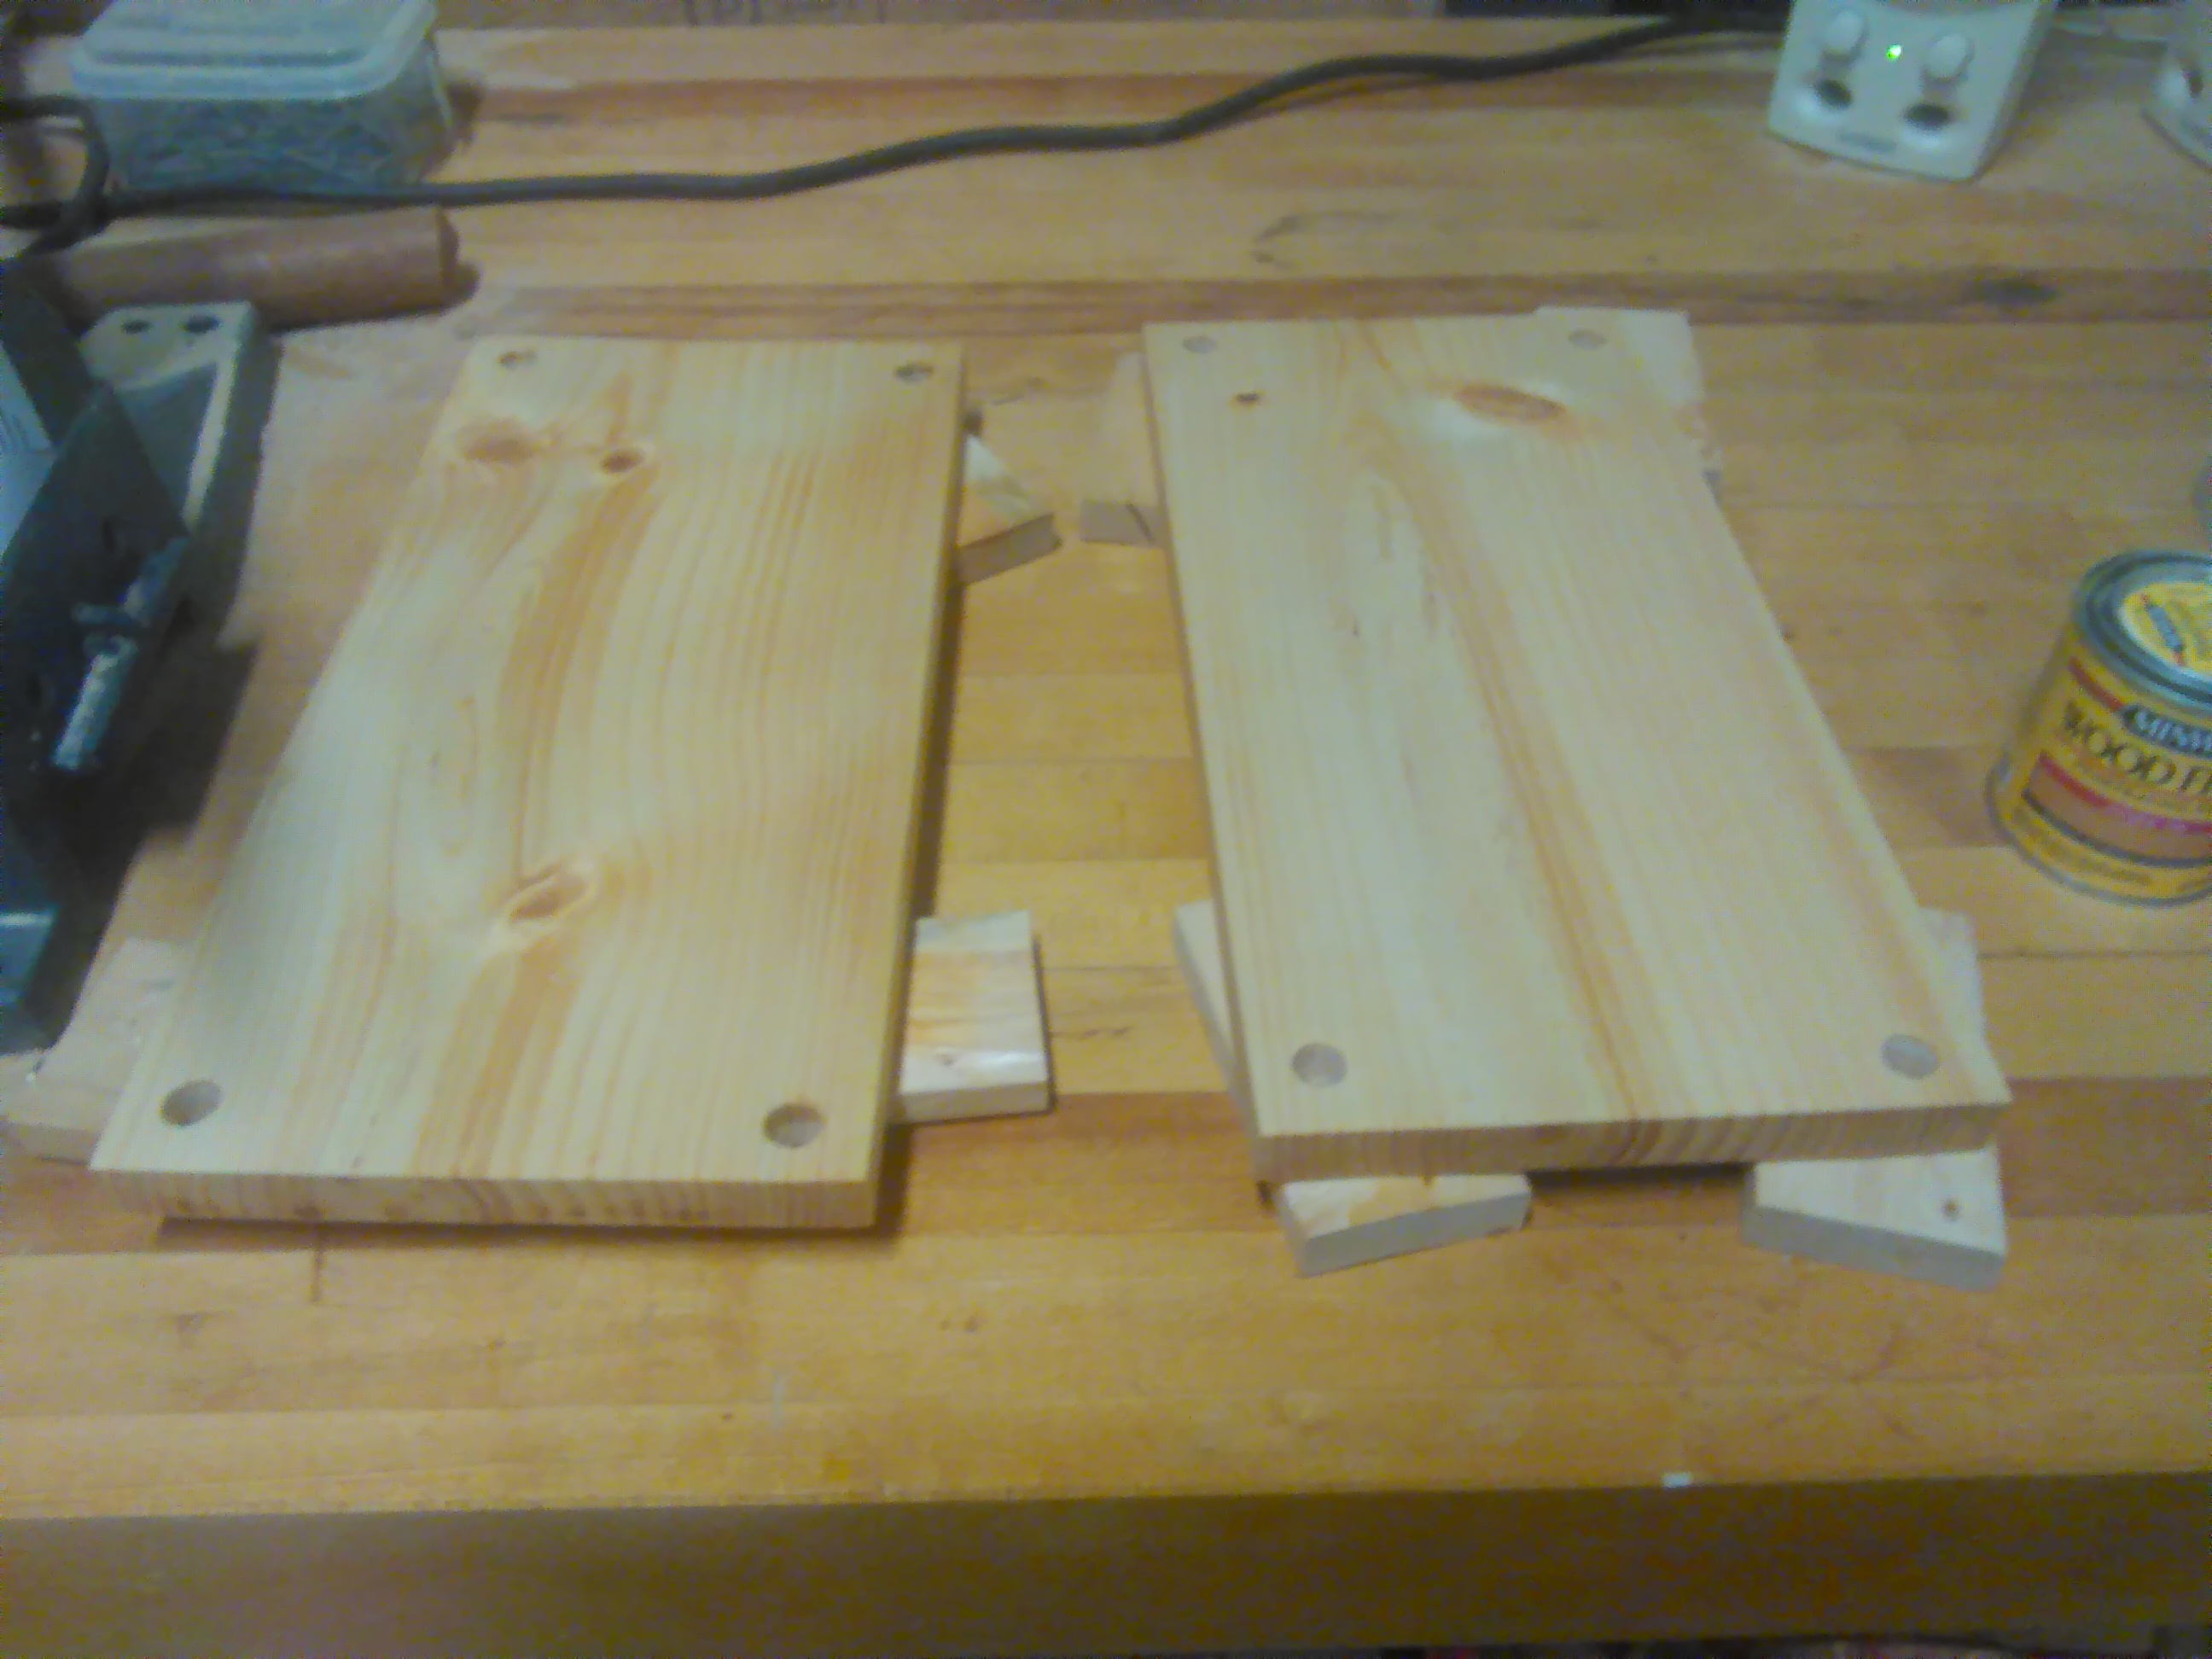
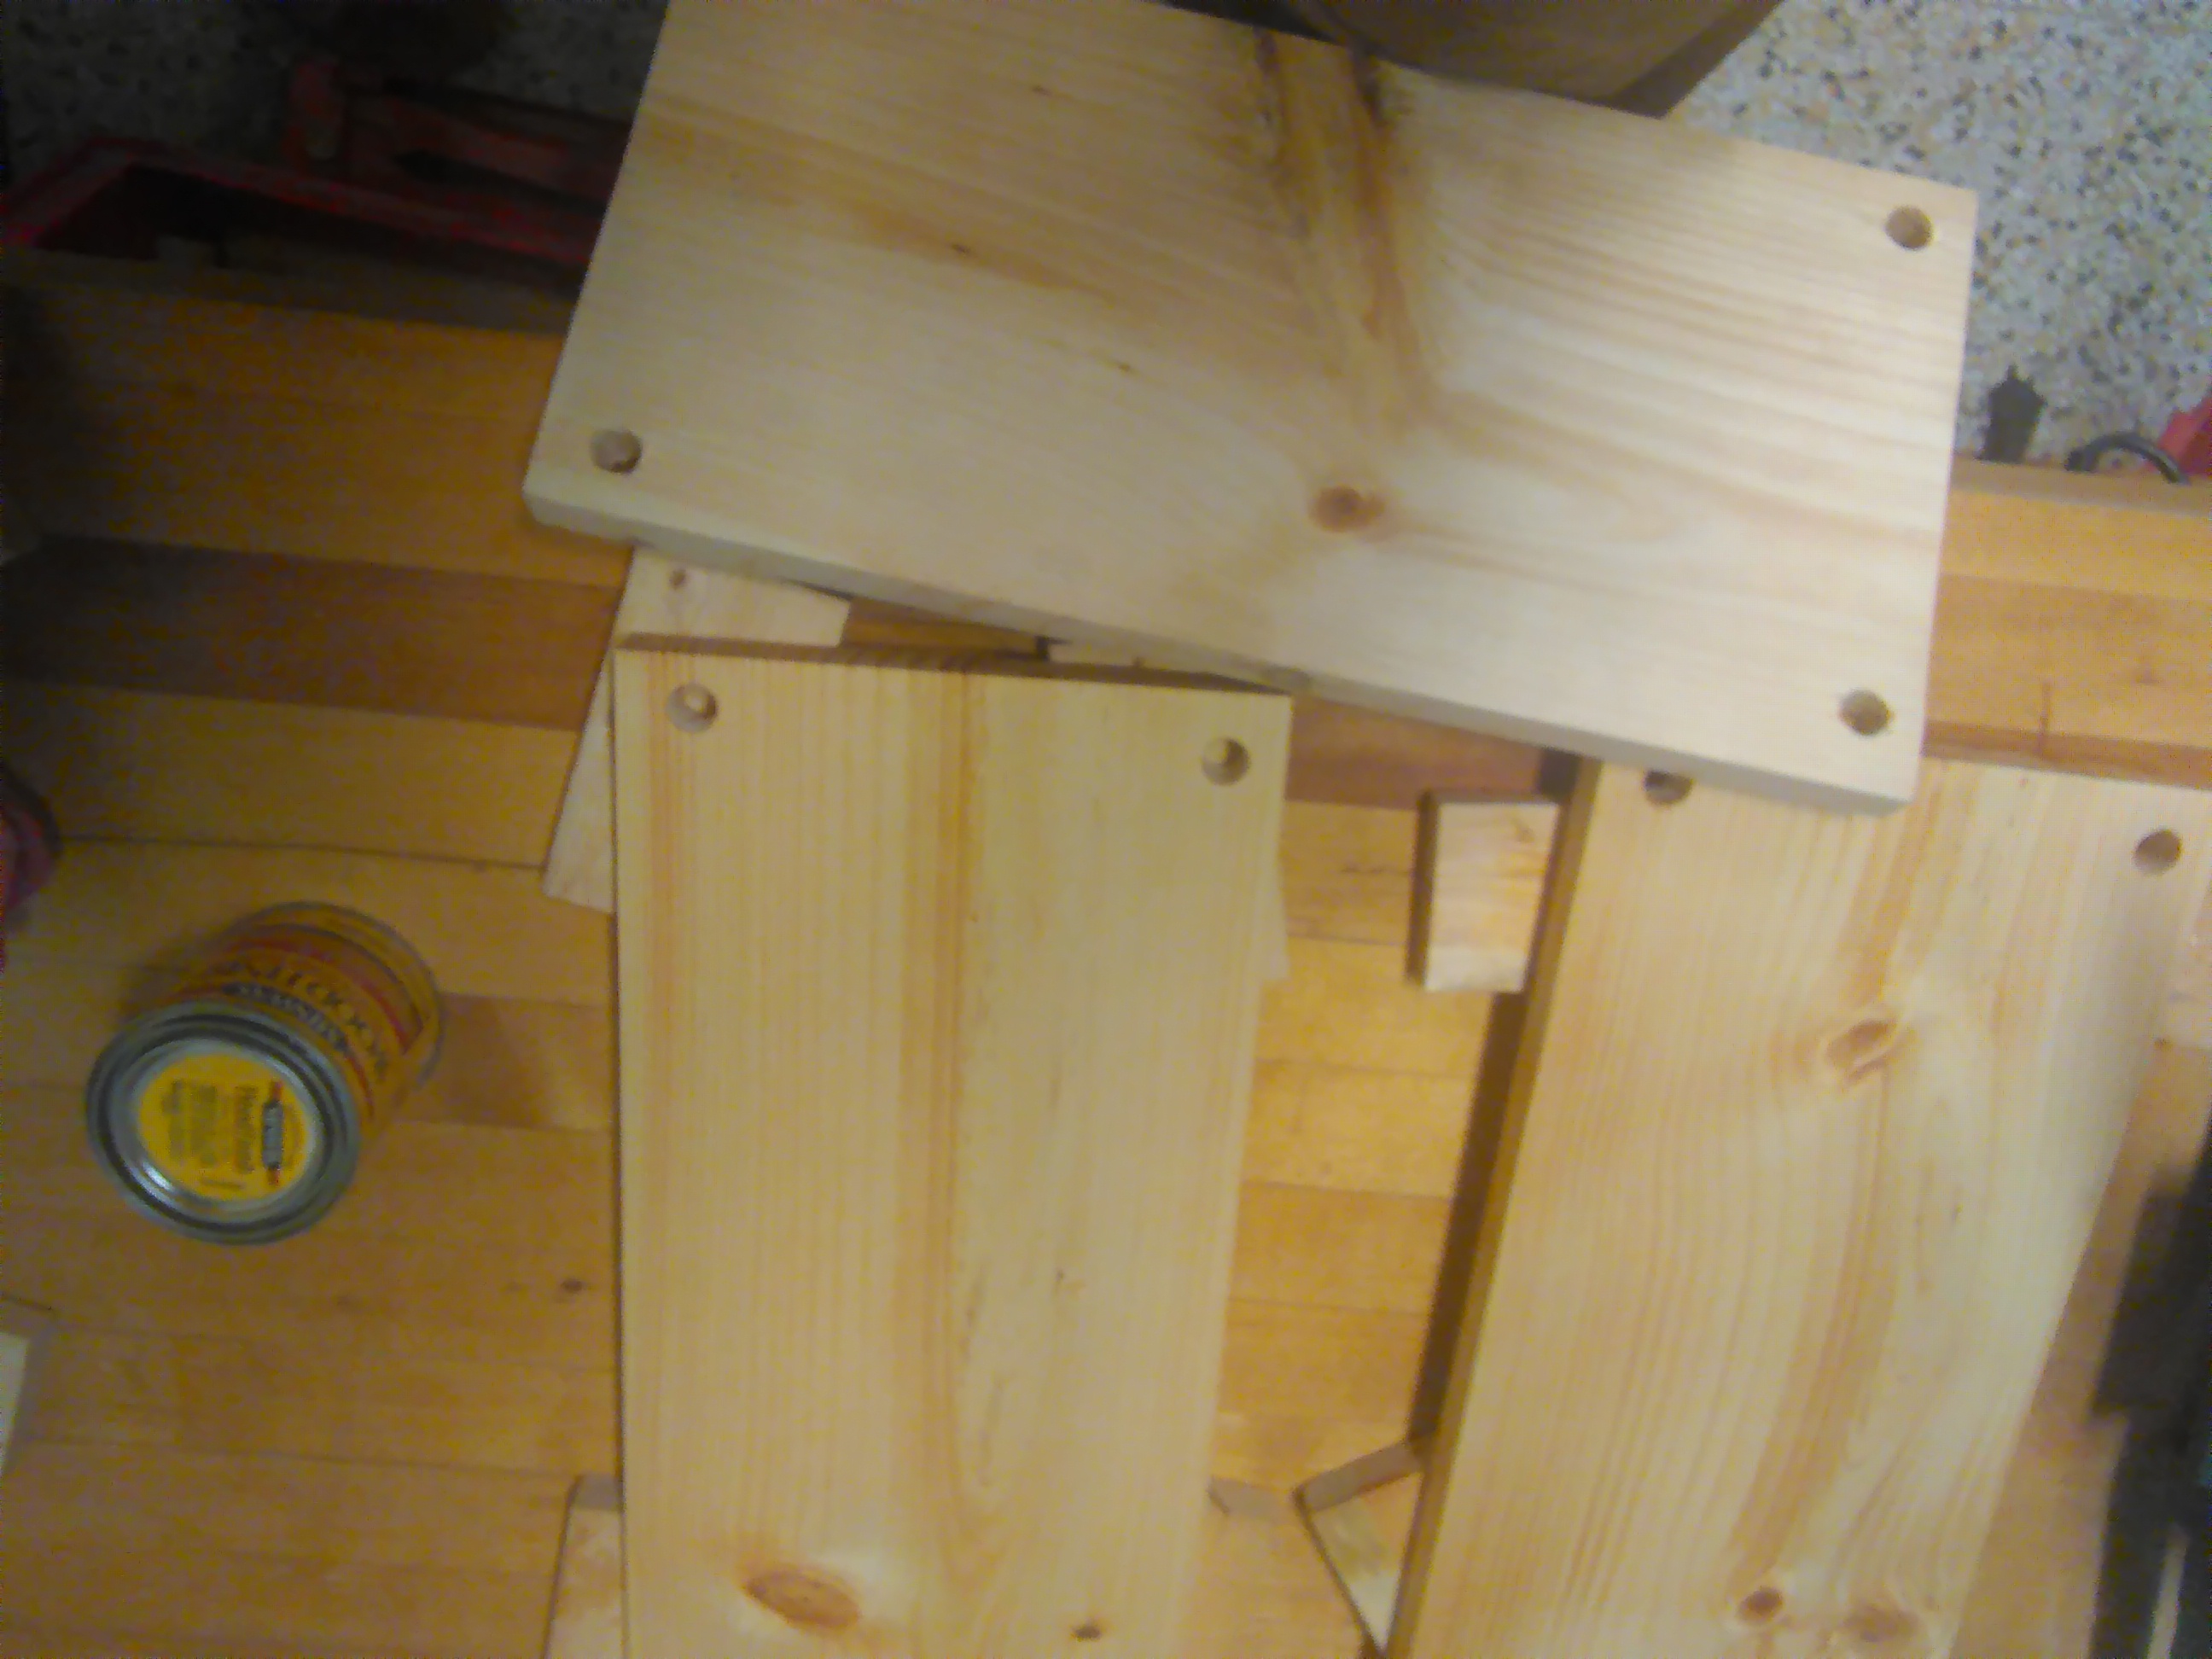
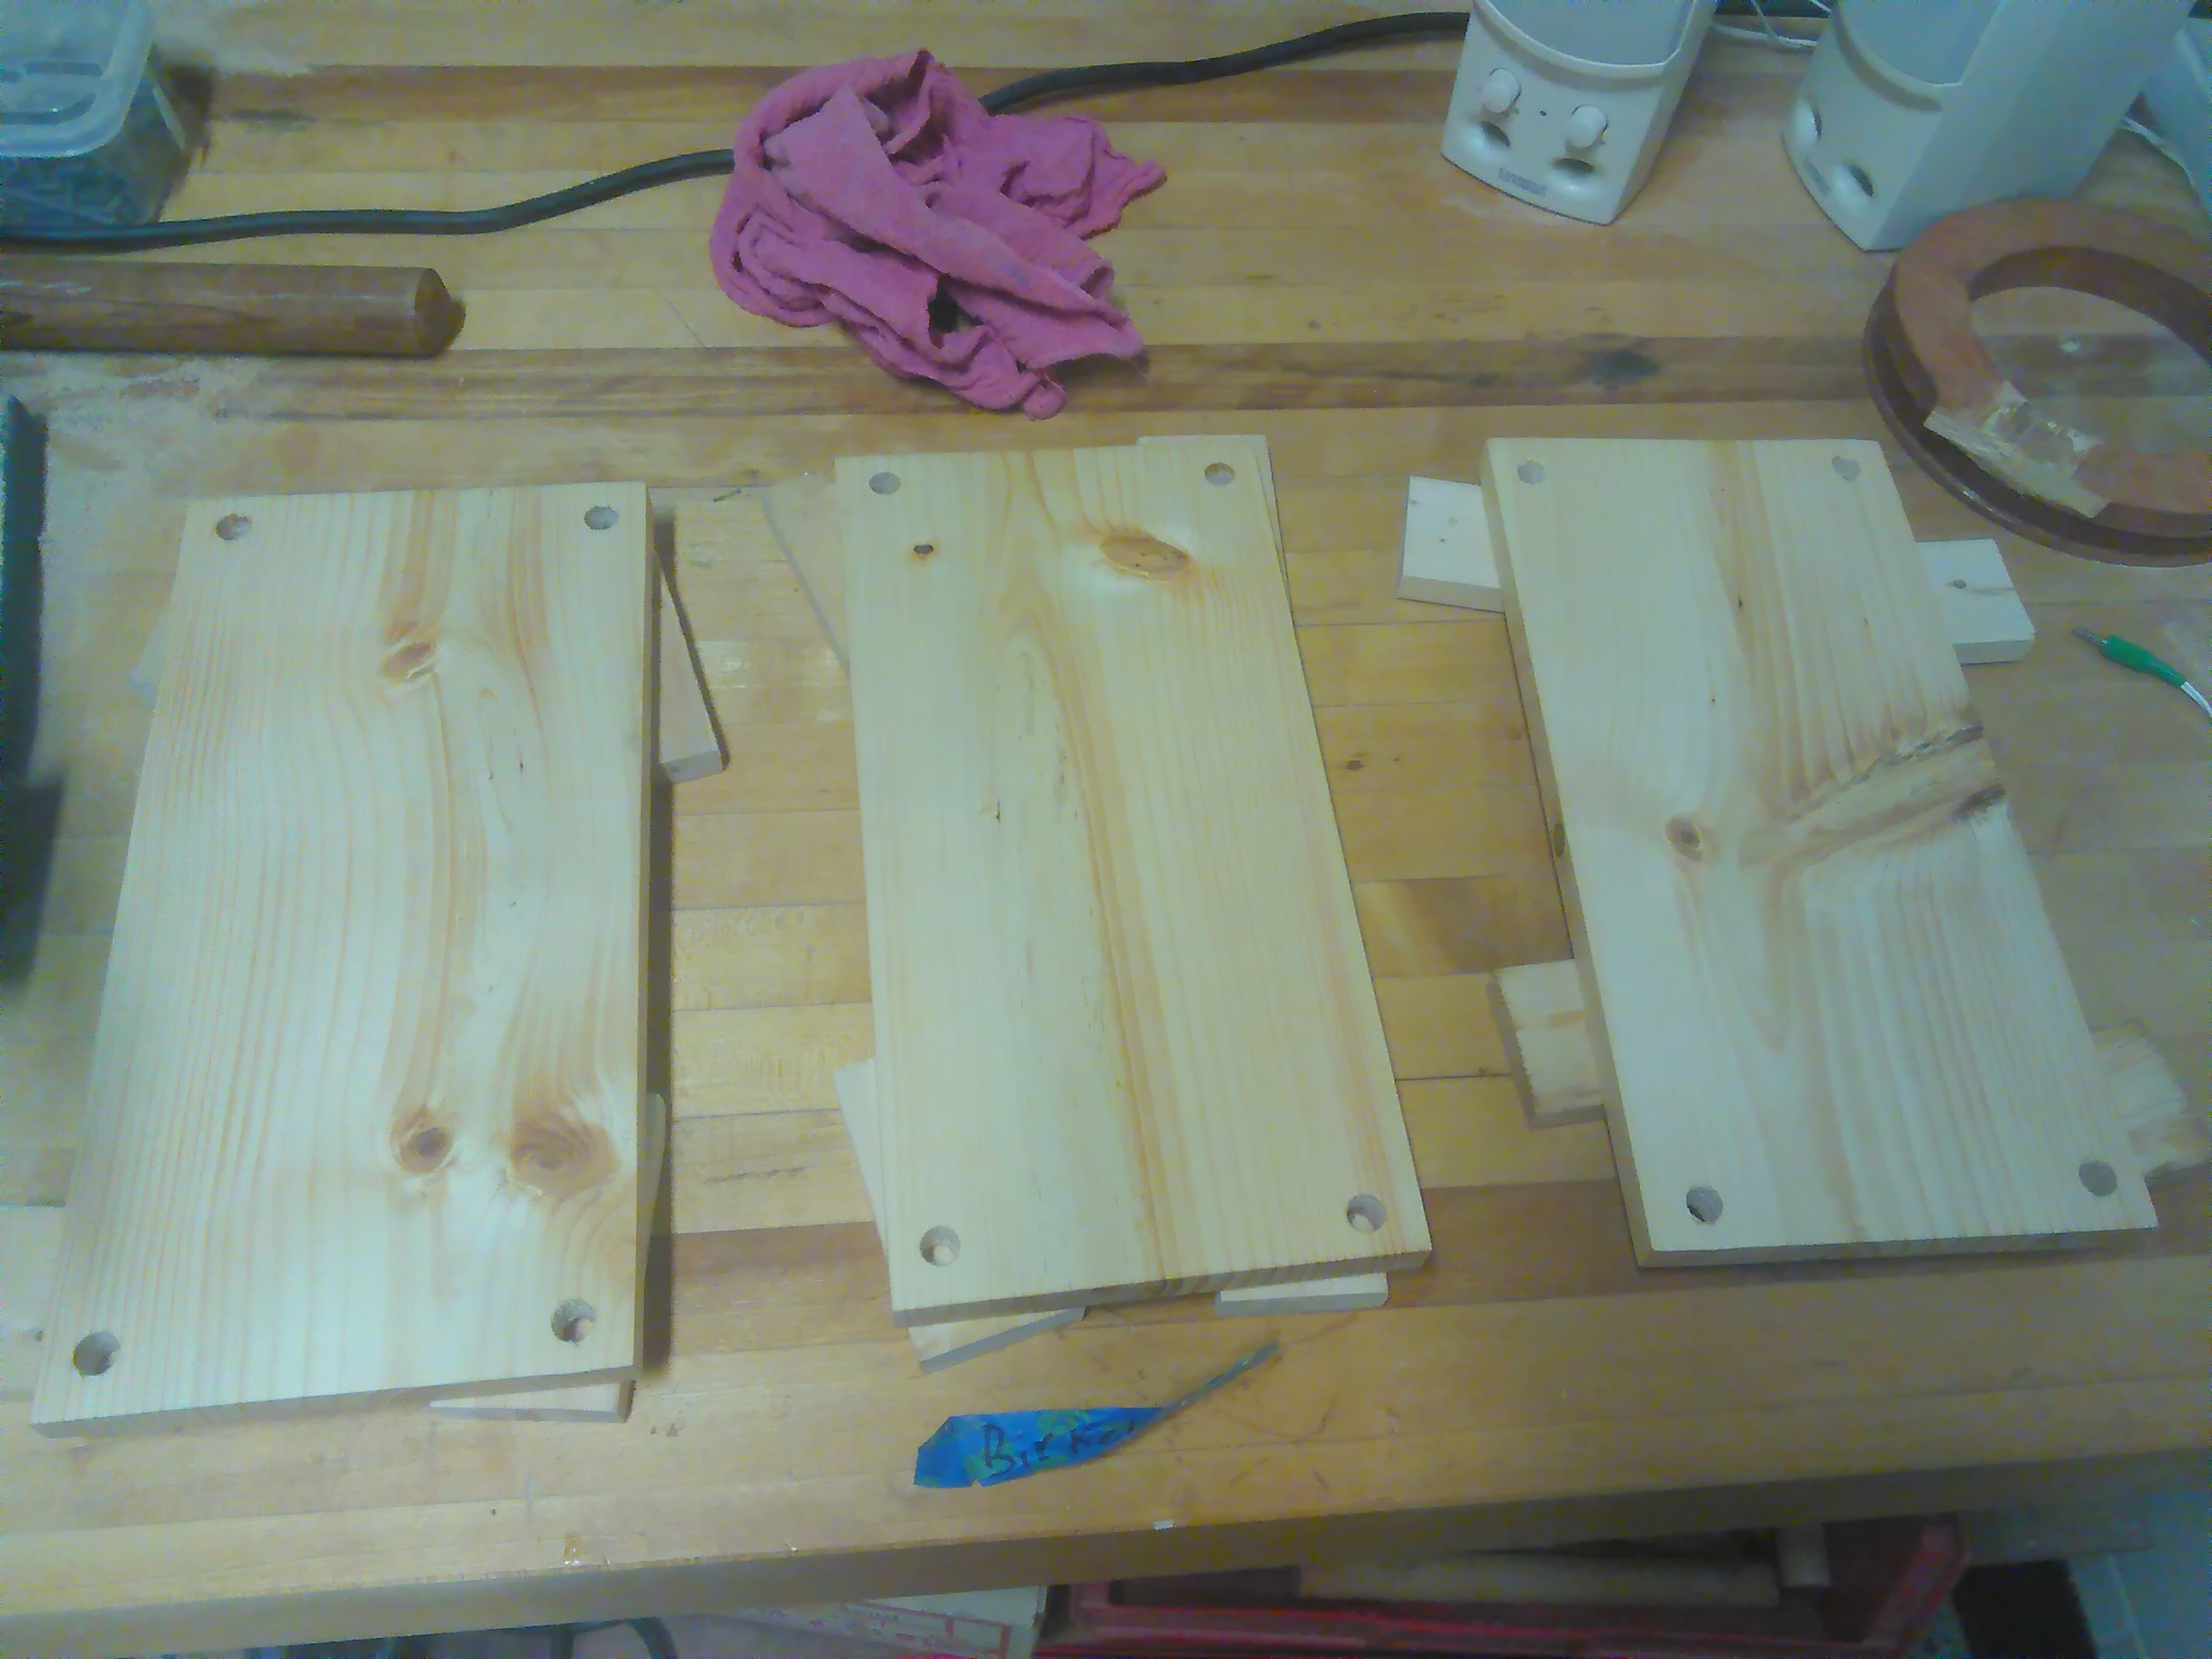
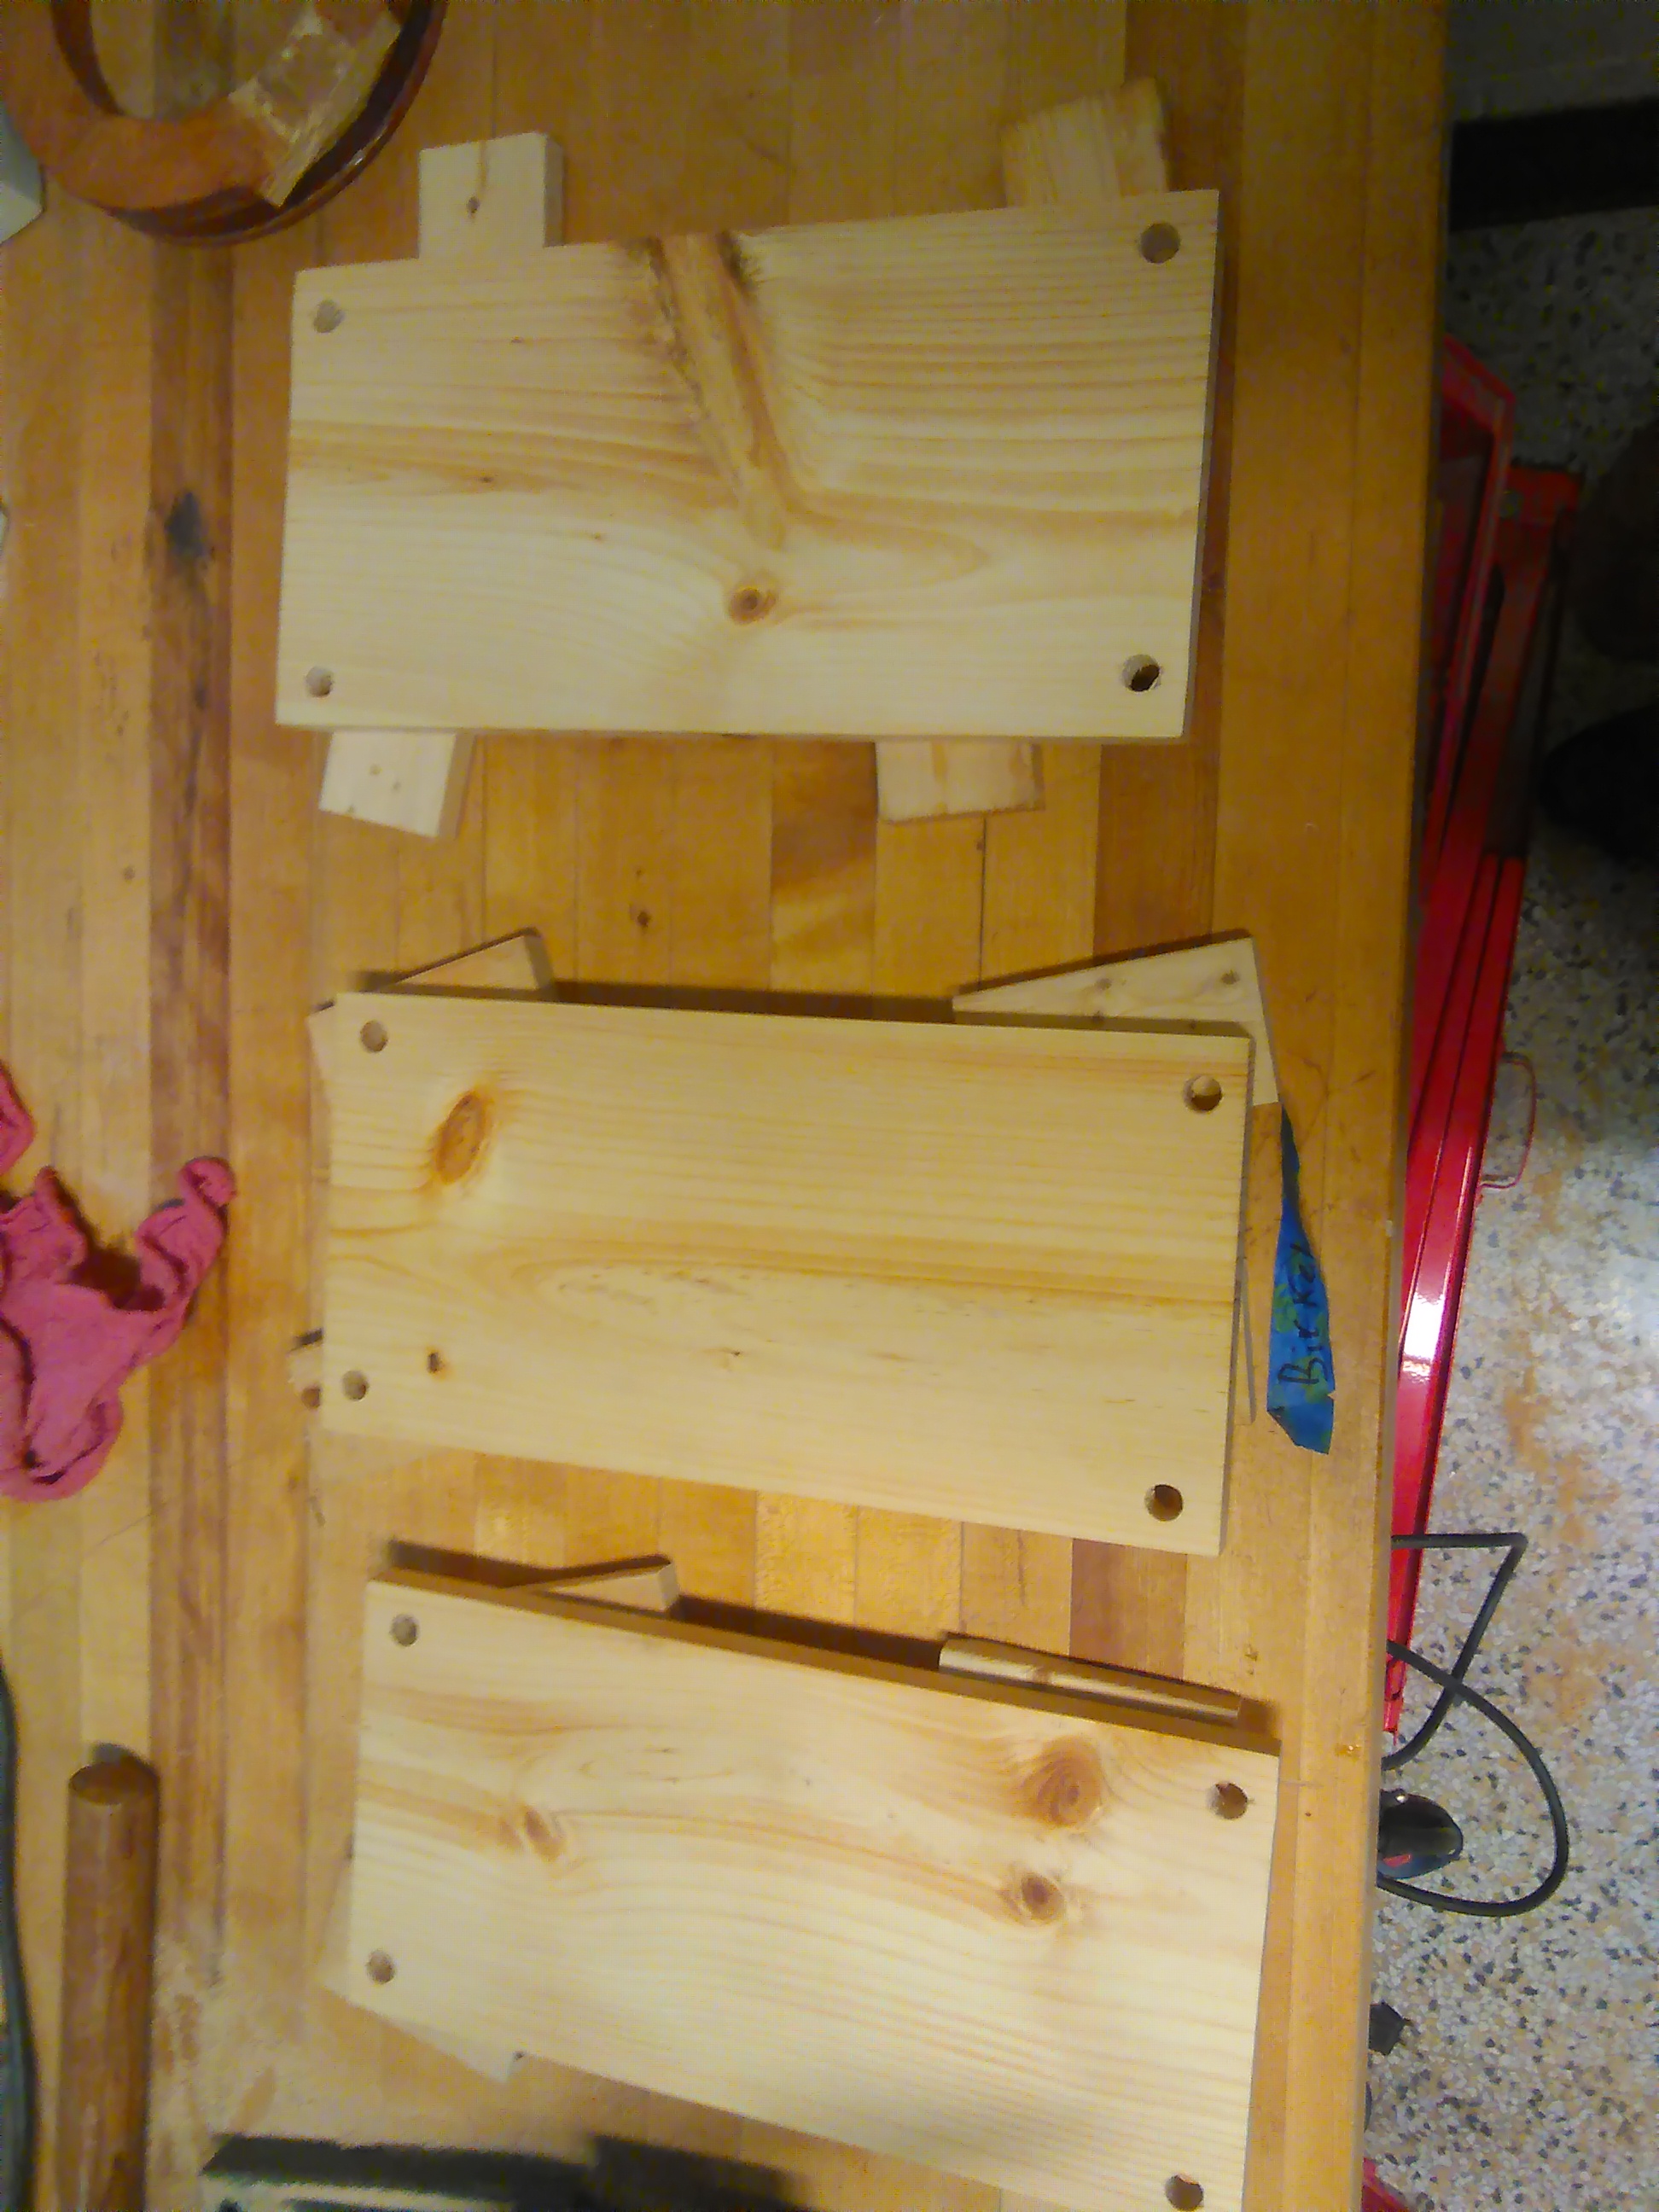
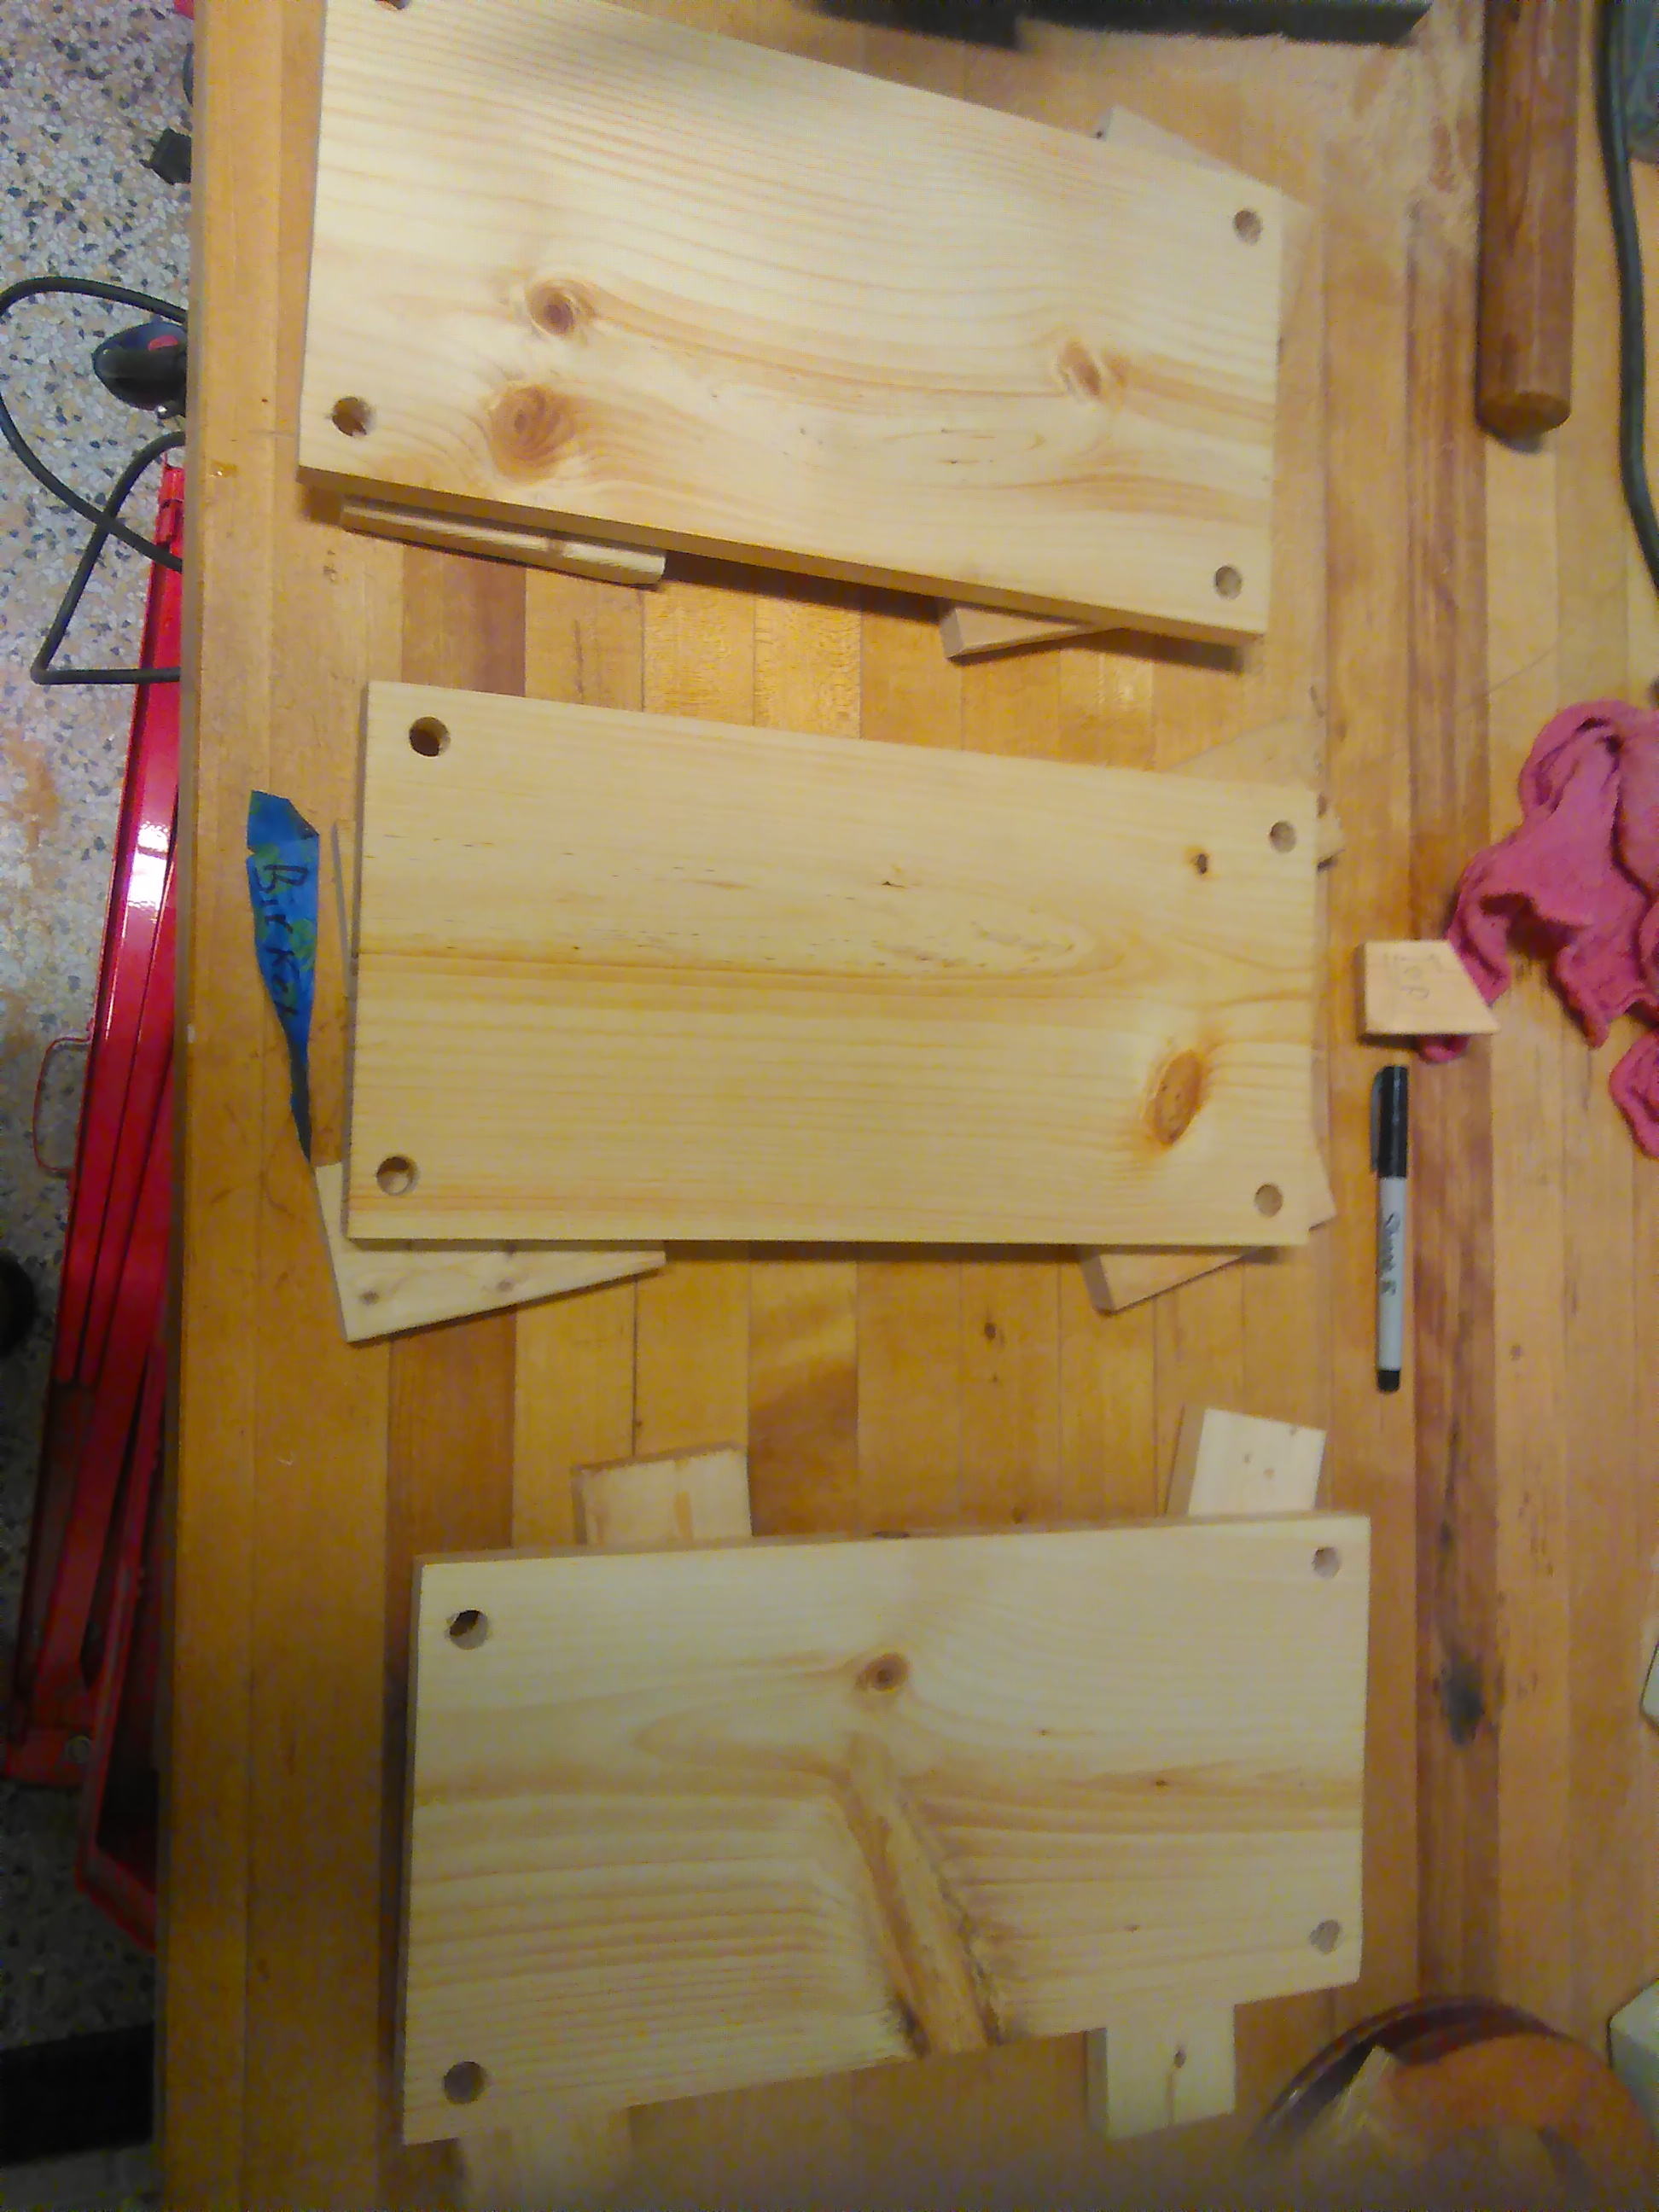
Once you have the threaded rod cut and prepared, next you need to prepare the wood. This is a pretty straightforward task, first you need to cut the board down into identical lengths. This can be done with countless number of tools, I personally used MITERS Miters saw. Next you want to measure out and drill your holes for the threaded rod. I would suggest drilling with a spade bit, or drilling with a smaller bit first, this is due to the quality of the wood which has a tendency to chip and splinter. For most of the minor chips your washers will cover up the damage, but if you have any major damage or ugly features you can always have that side face the floor.
Once you have cut and drilled the boards, you need to sand them and finish them. This step is not necessary if you want to call it done here, but spending the extra bit of time and money you can increase the quality look of your finished product. On my larger bookshelf which used nicer boards, I went with tung oil, for my common board project I went with a fast-drying polyurethane and wood penetrating stain. For the Stain & Polyurethane, the number of times you want to stain your boards is dependent on your own tastes, but it is important to know that you need to let your boards fully dry out after staining before sealing with 2 or more coats of polyurethane. For instructions on these processes, I always follow the containers instructions and guidelines and for more advanced advice I head to the internet. Just remember, not all advice on the internet is good advice so be skeptical.
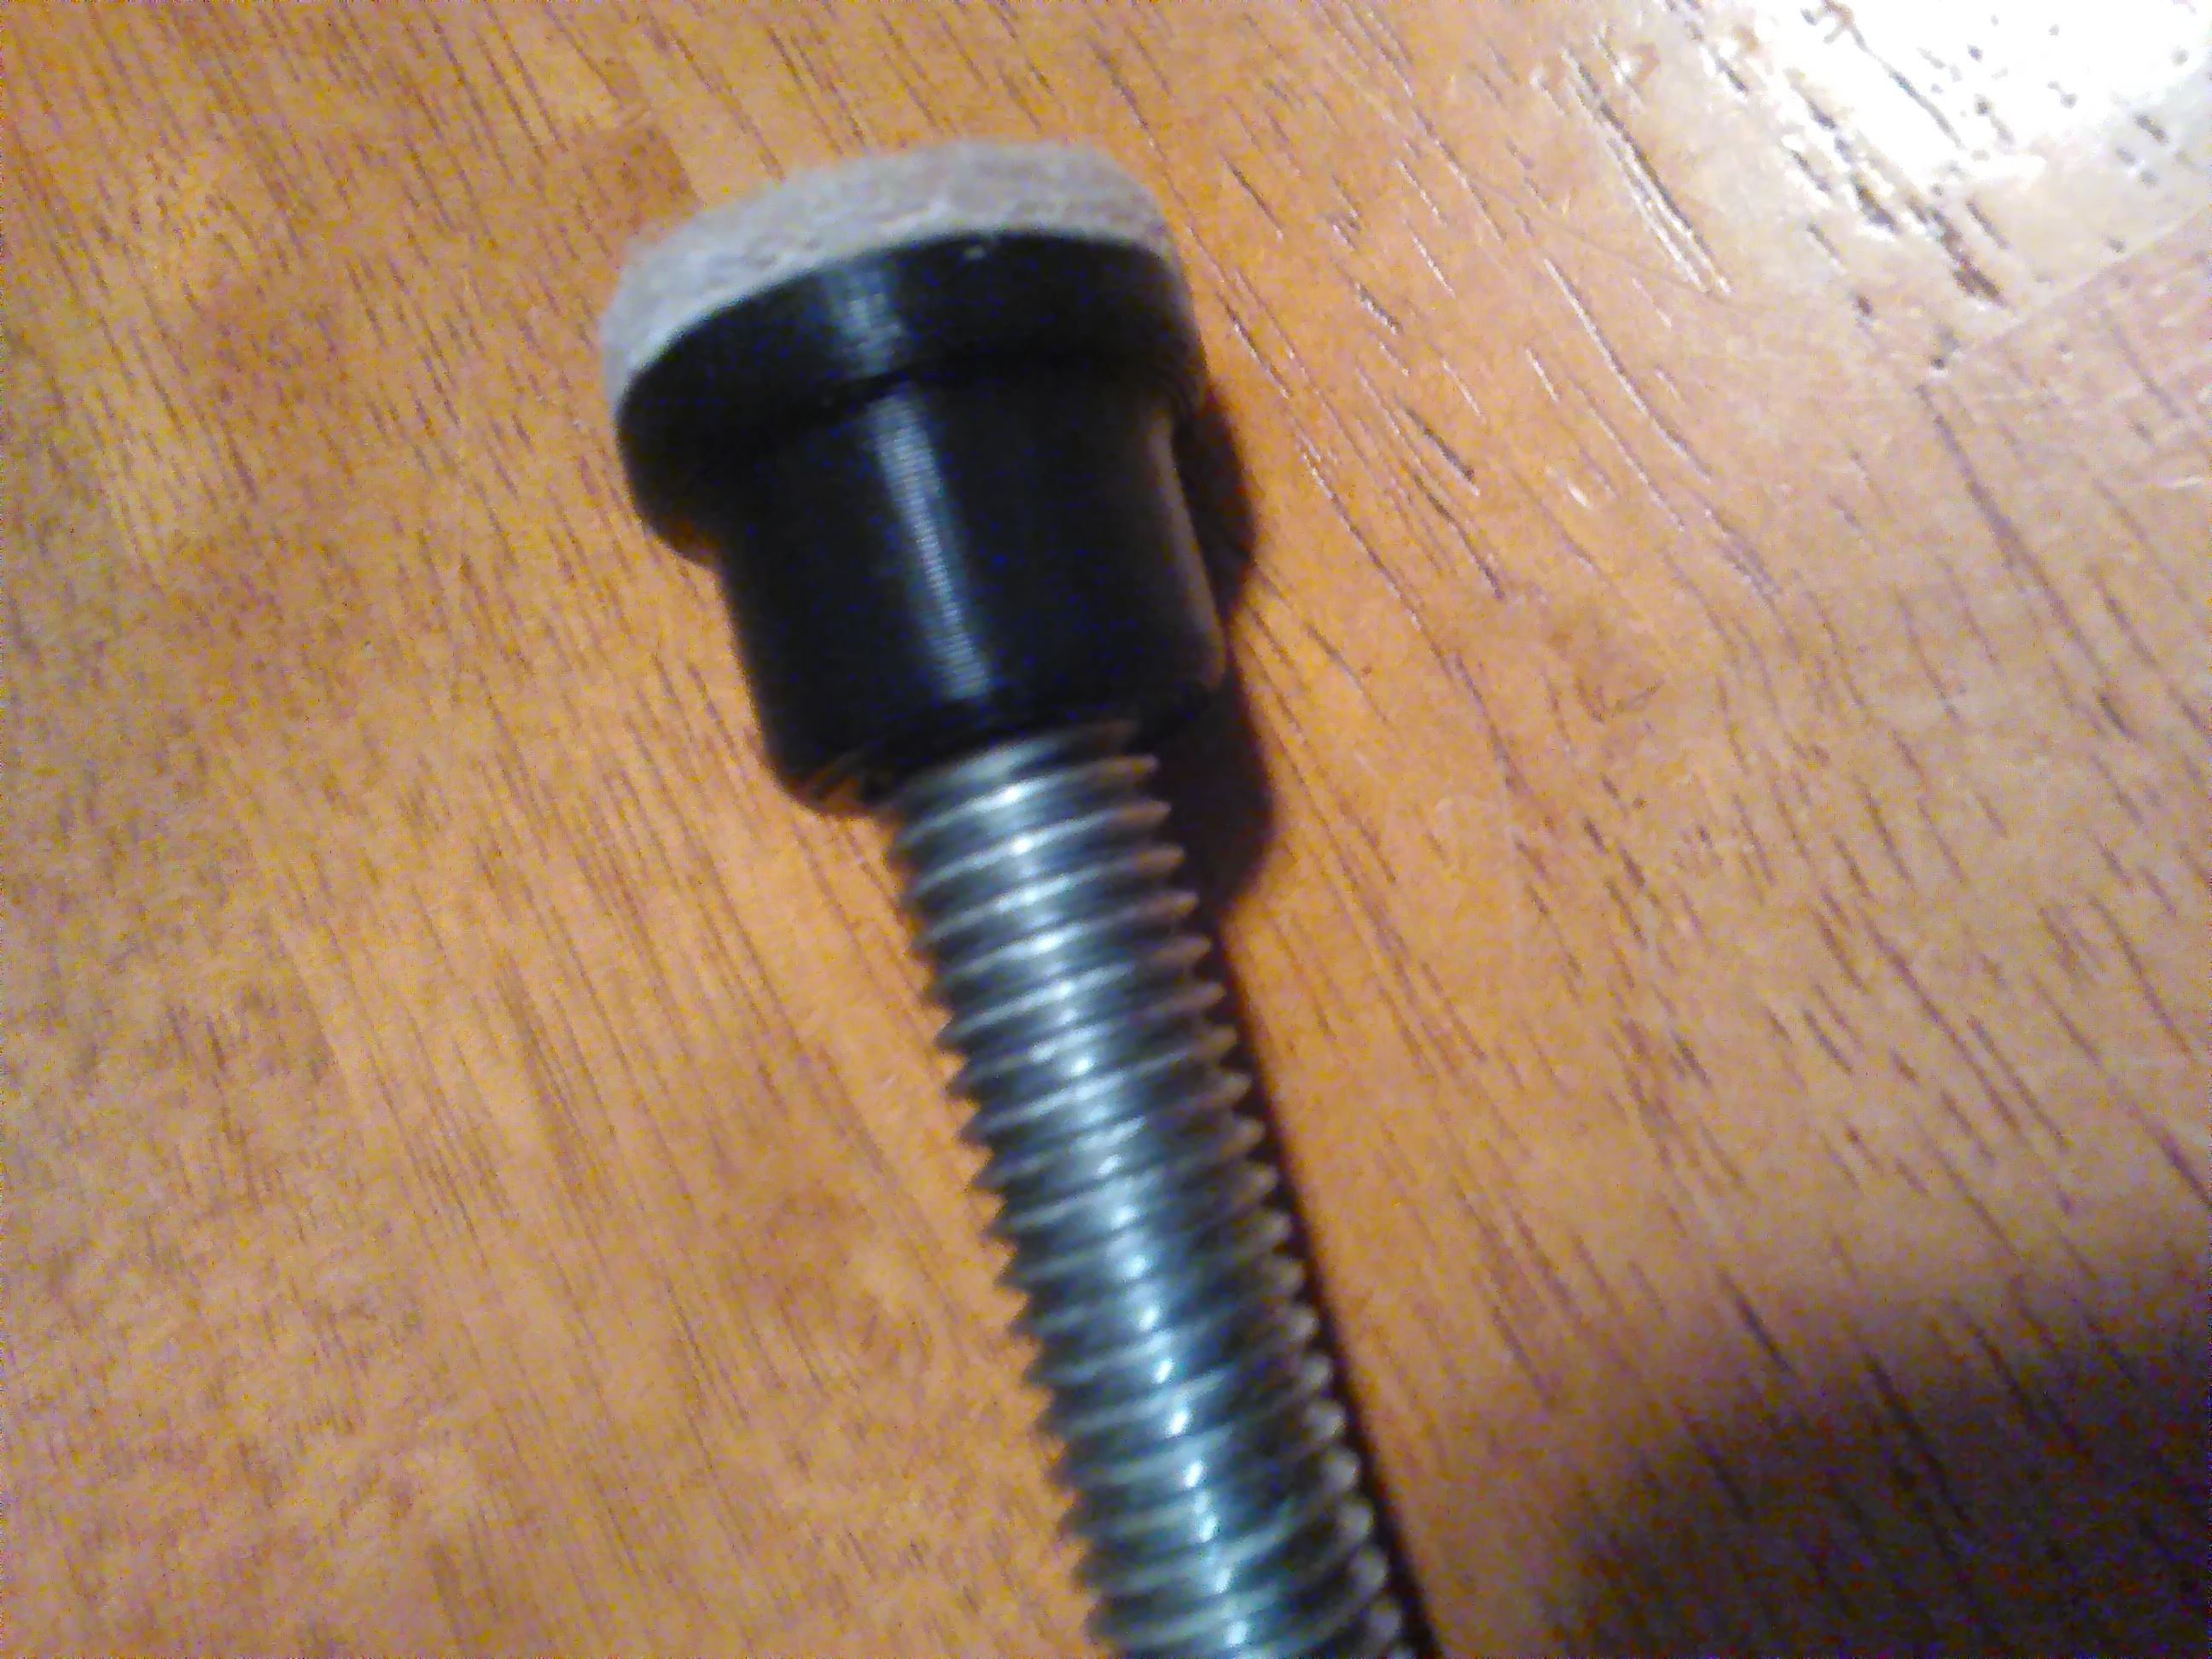
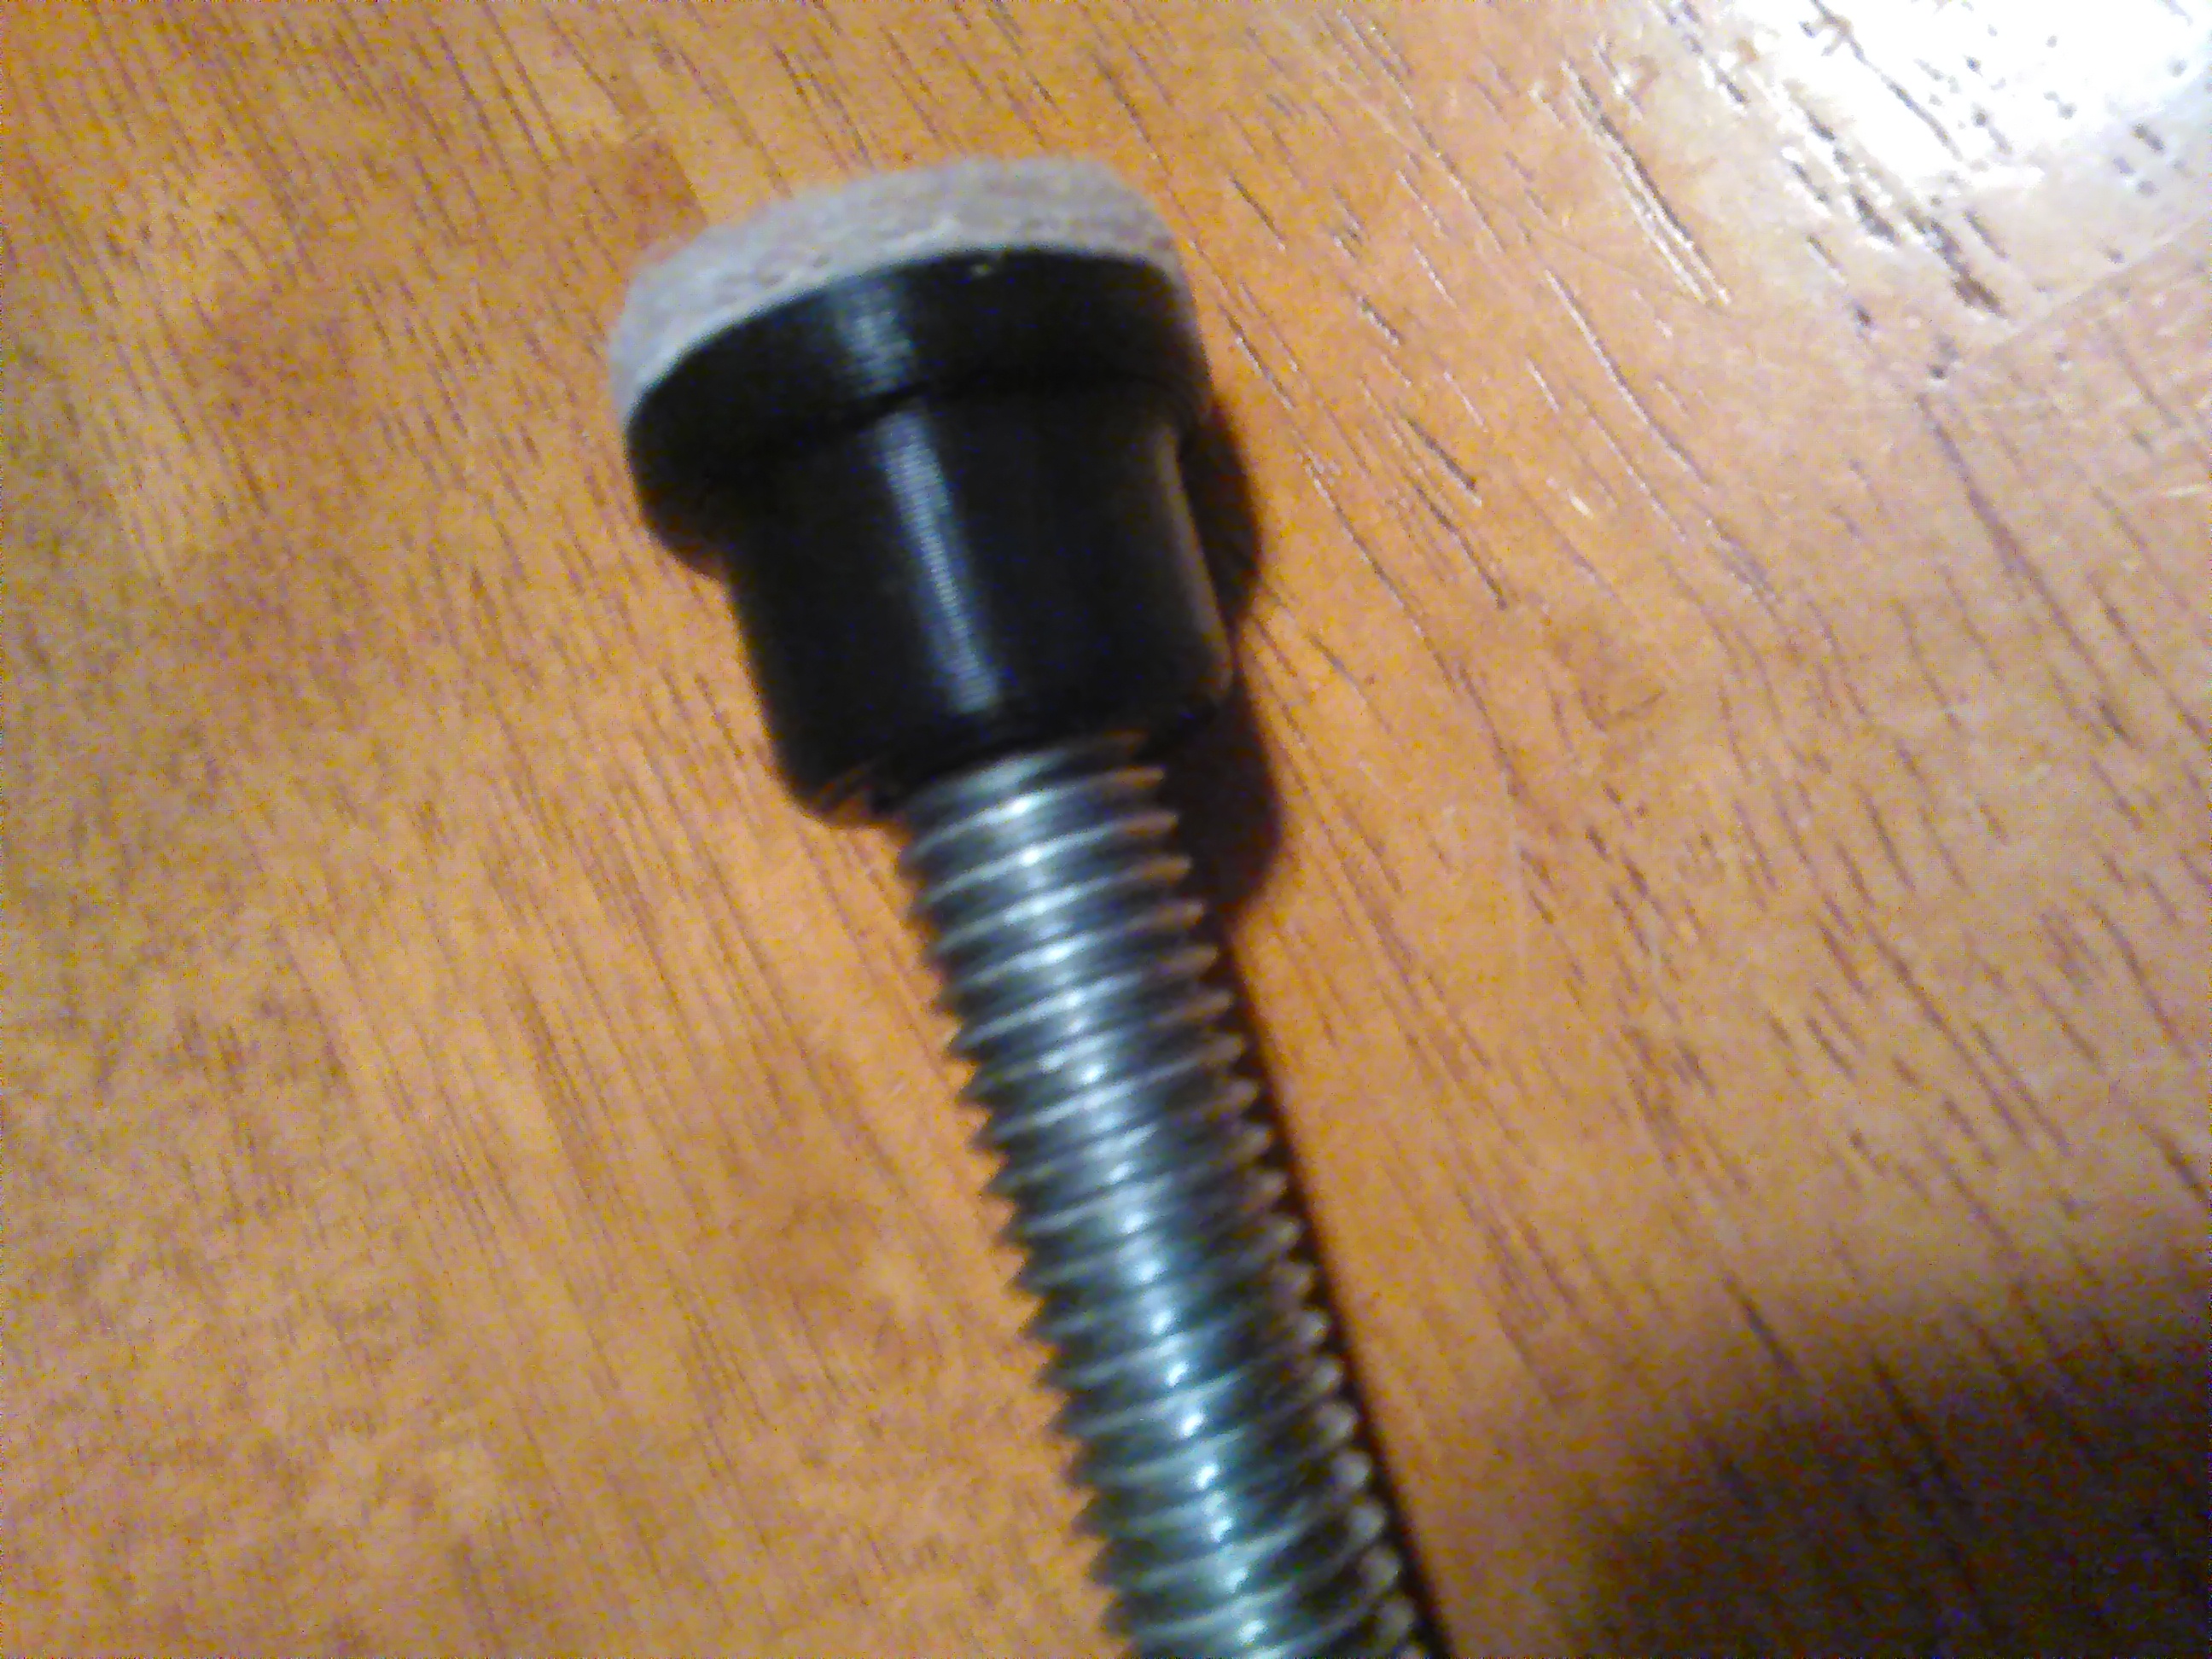
The feet, for the first shelf I initially used some short wood screws and some pieces of wood to make wooden feet. This allowed the bottom of the rod to stick out from the board enough to fit a nut and washer. But in my second version of this project I came up with a better and more professional way to make feet for the shelves. This used 3D printing, furniture felt pads, and a 1/2"-13 tap. Sadly I have lost the CAD for this so I cannot share it, but its design is quite simple. The center hole should be set for the 1/2"-13 tap, which when we look at a Tap-Chart we get the diameter .4219". After this you just need to make the hole ~.5" deep and the base 1" in diameter to accommodate the felt pad. Once printed, carefully clamp the parts and tap them. Once done, they simply screw on tightly to the bottom of your threaded rods.
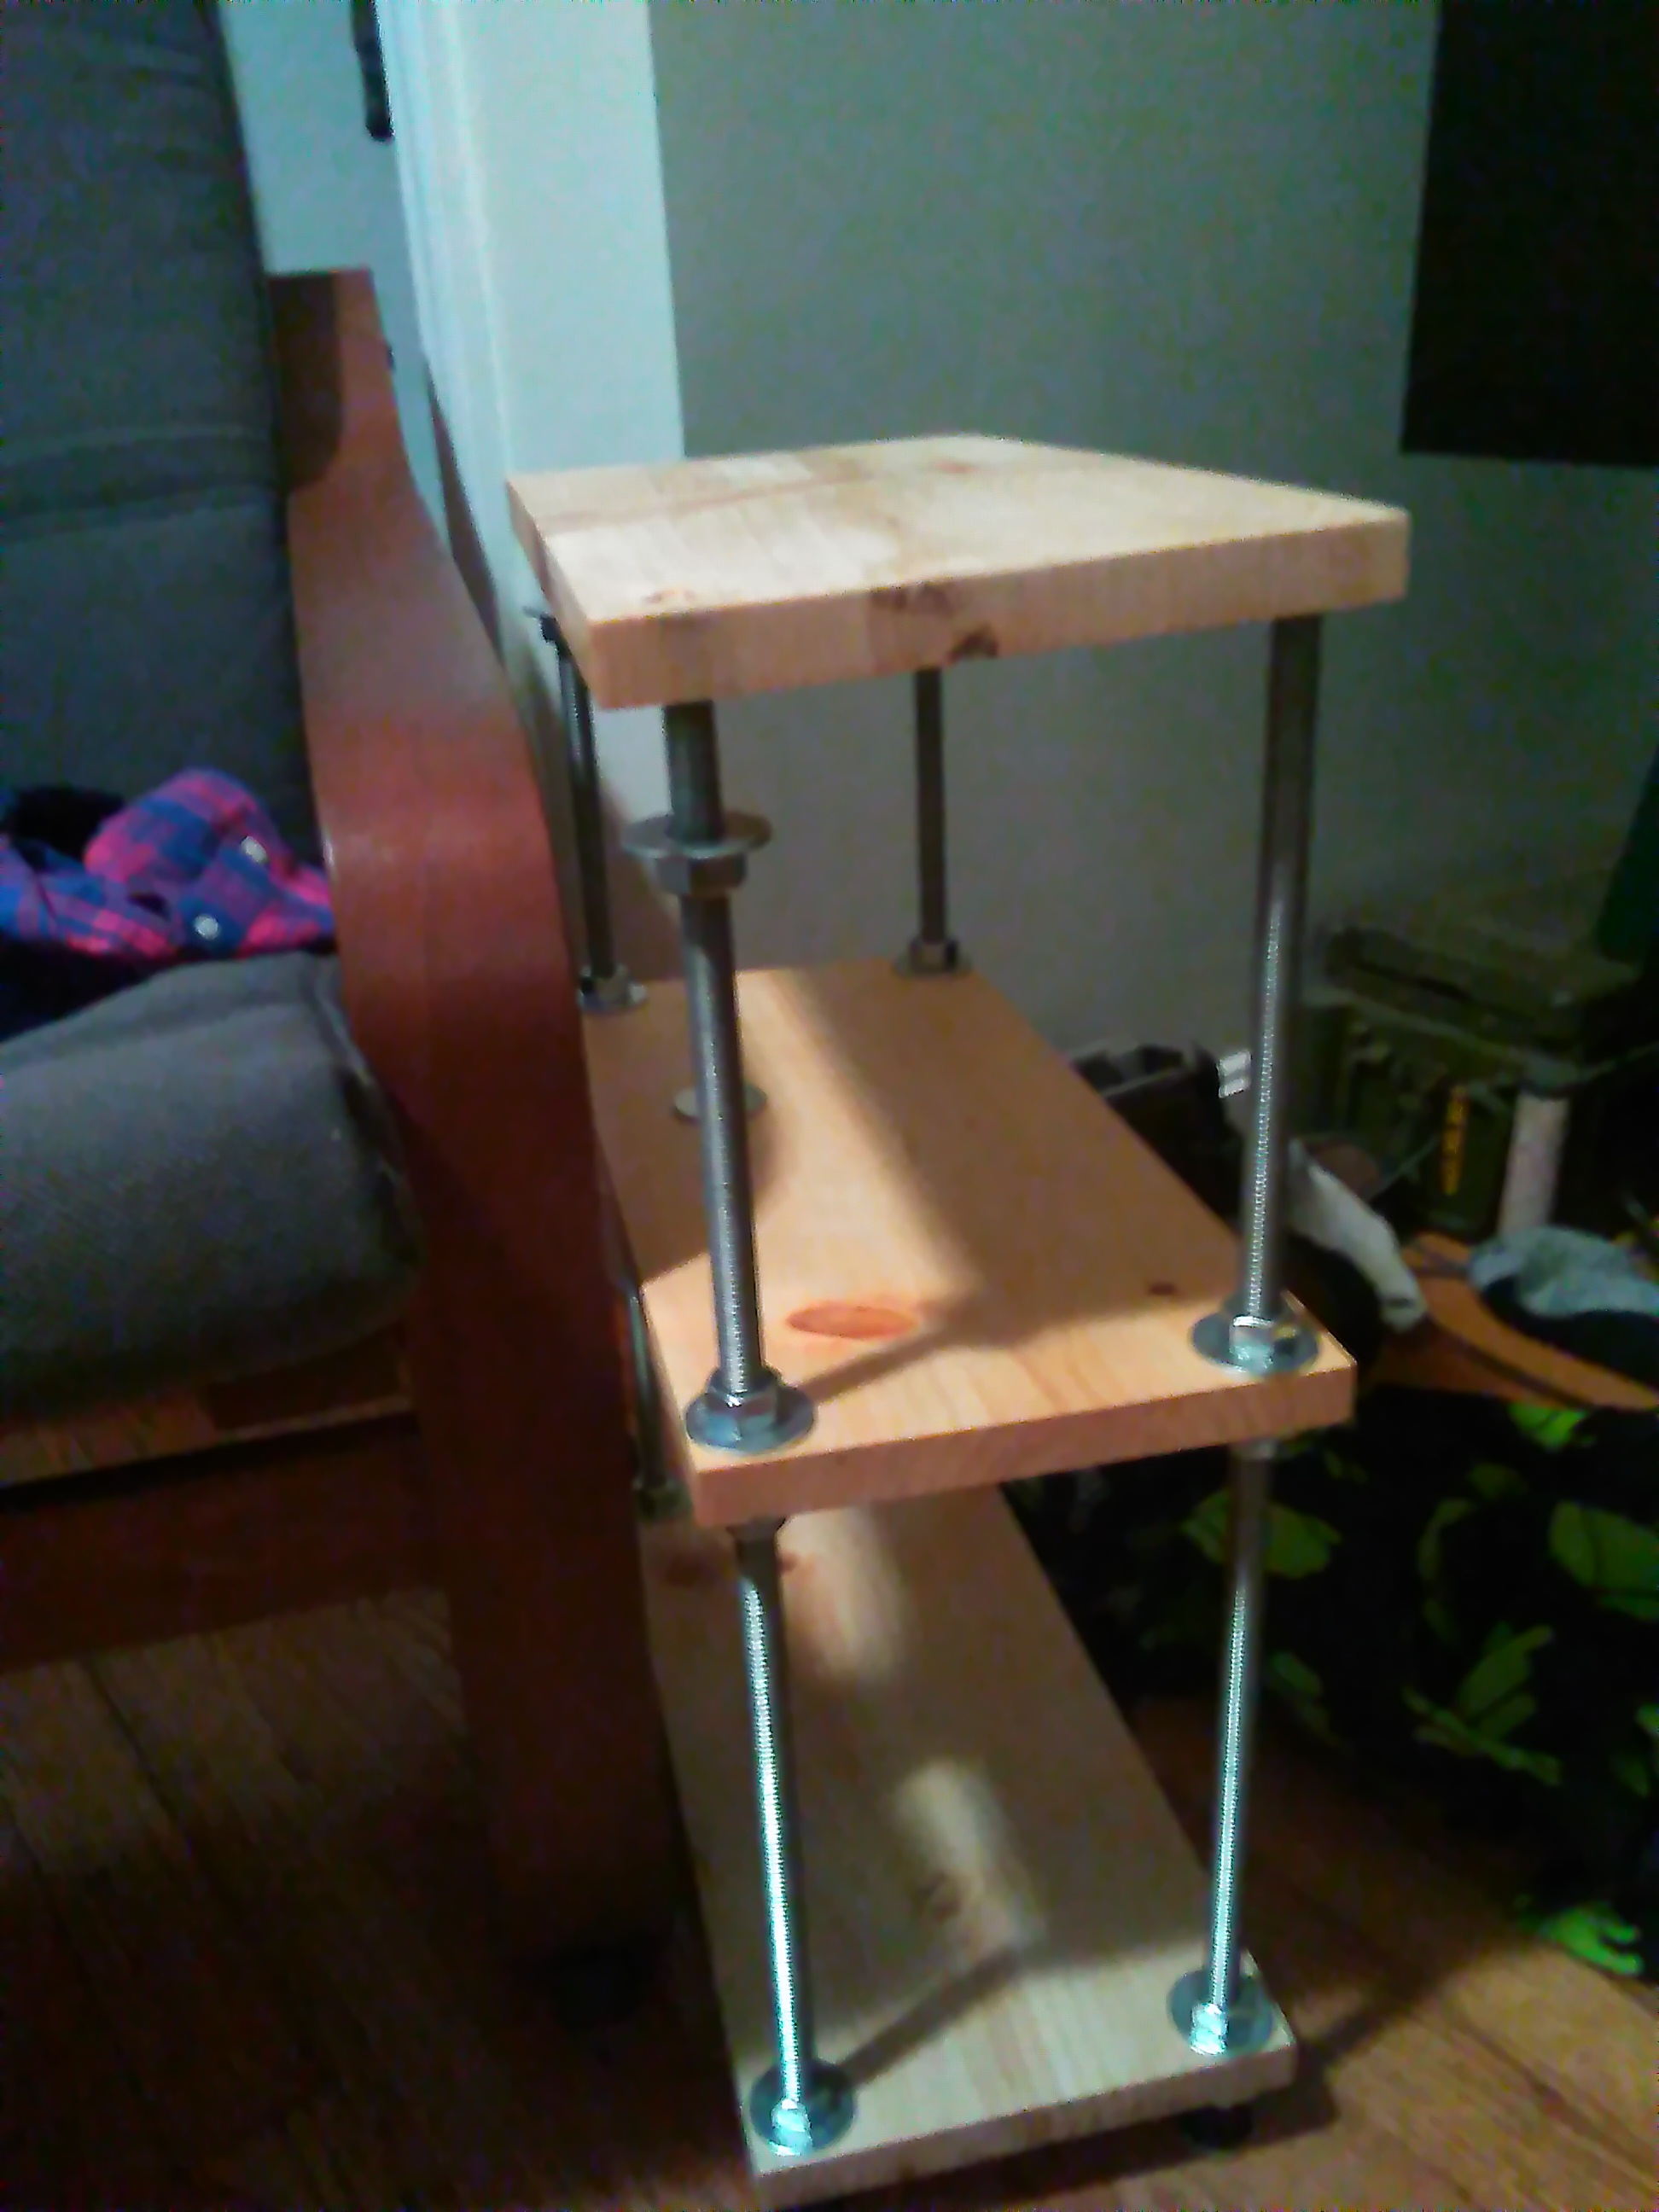
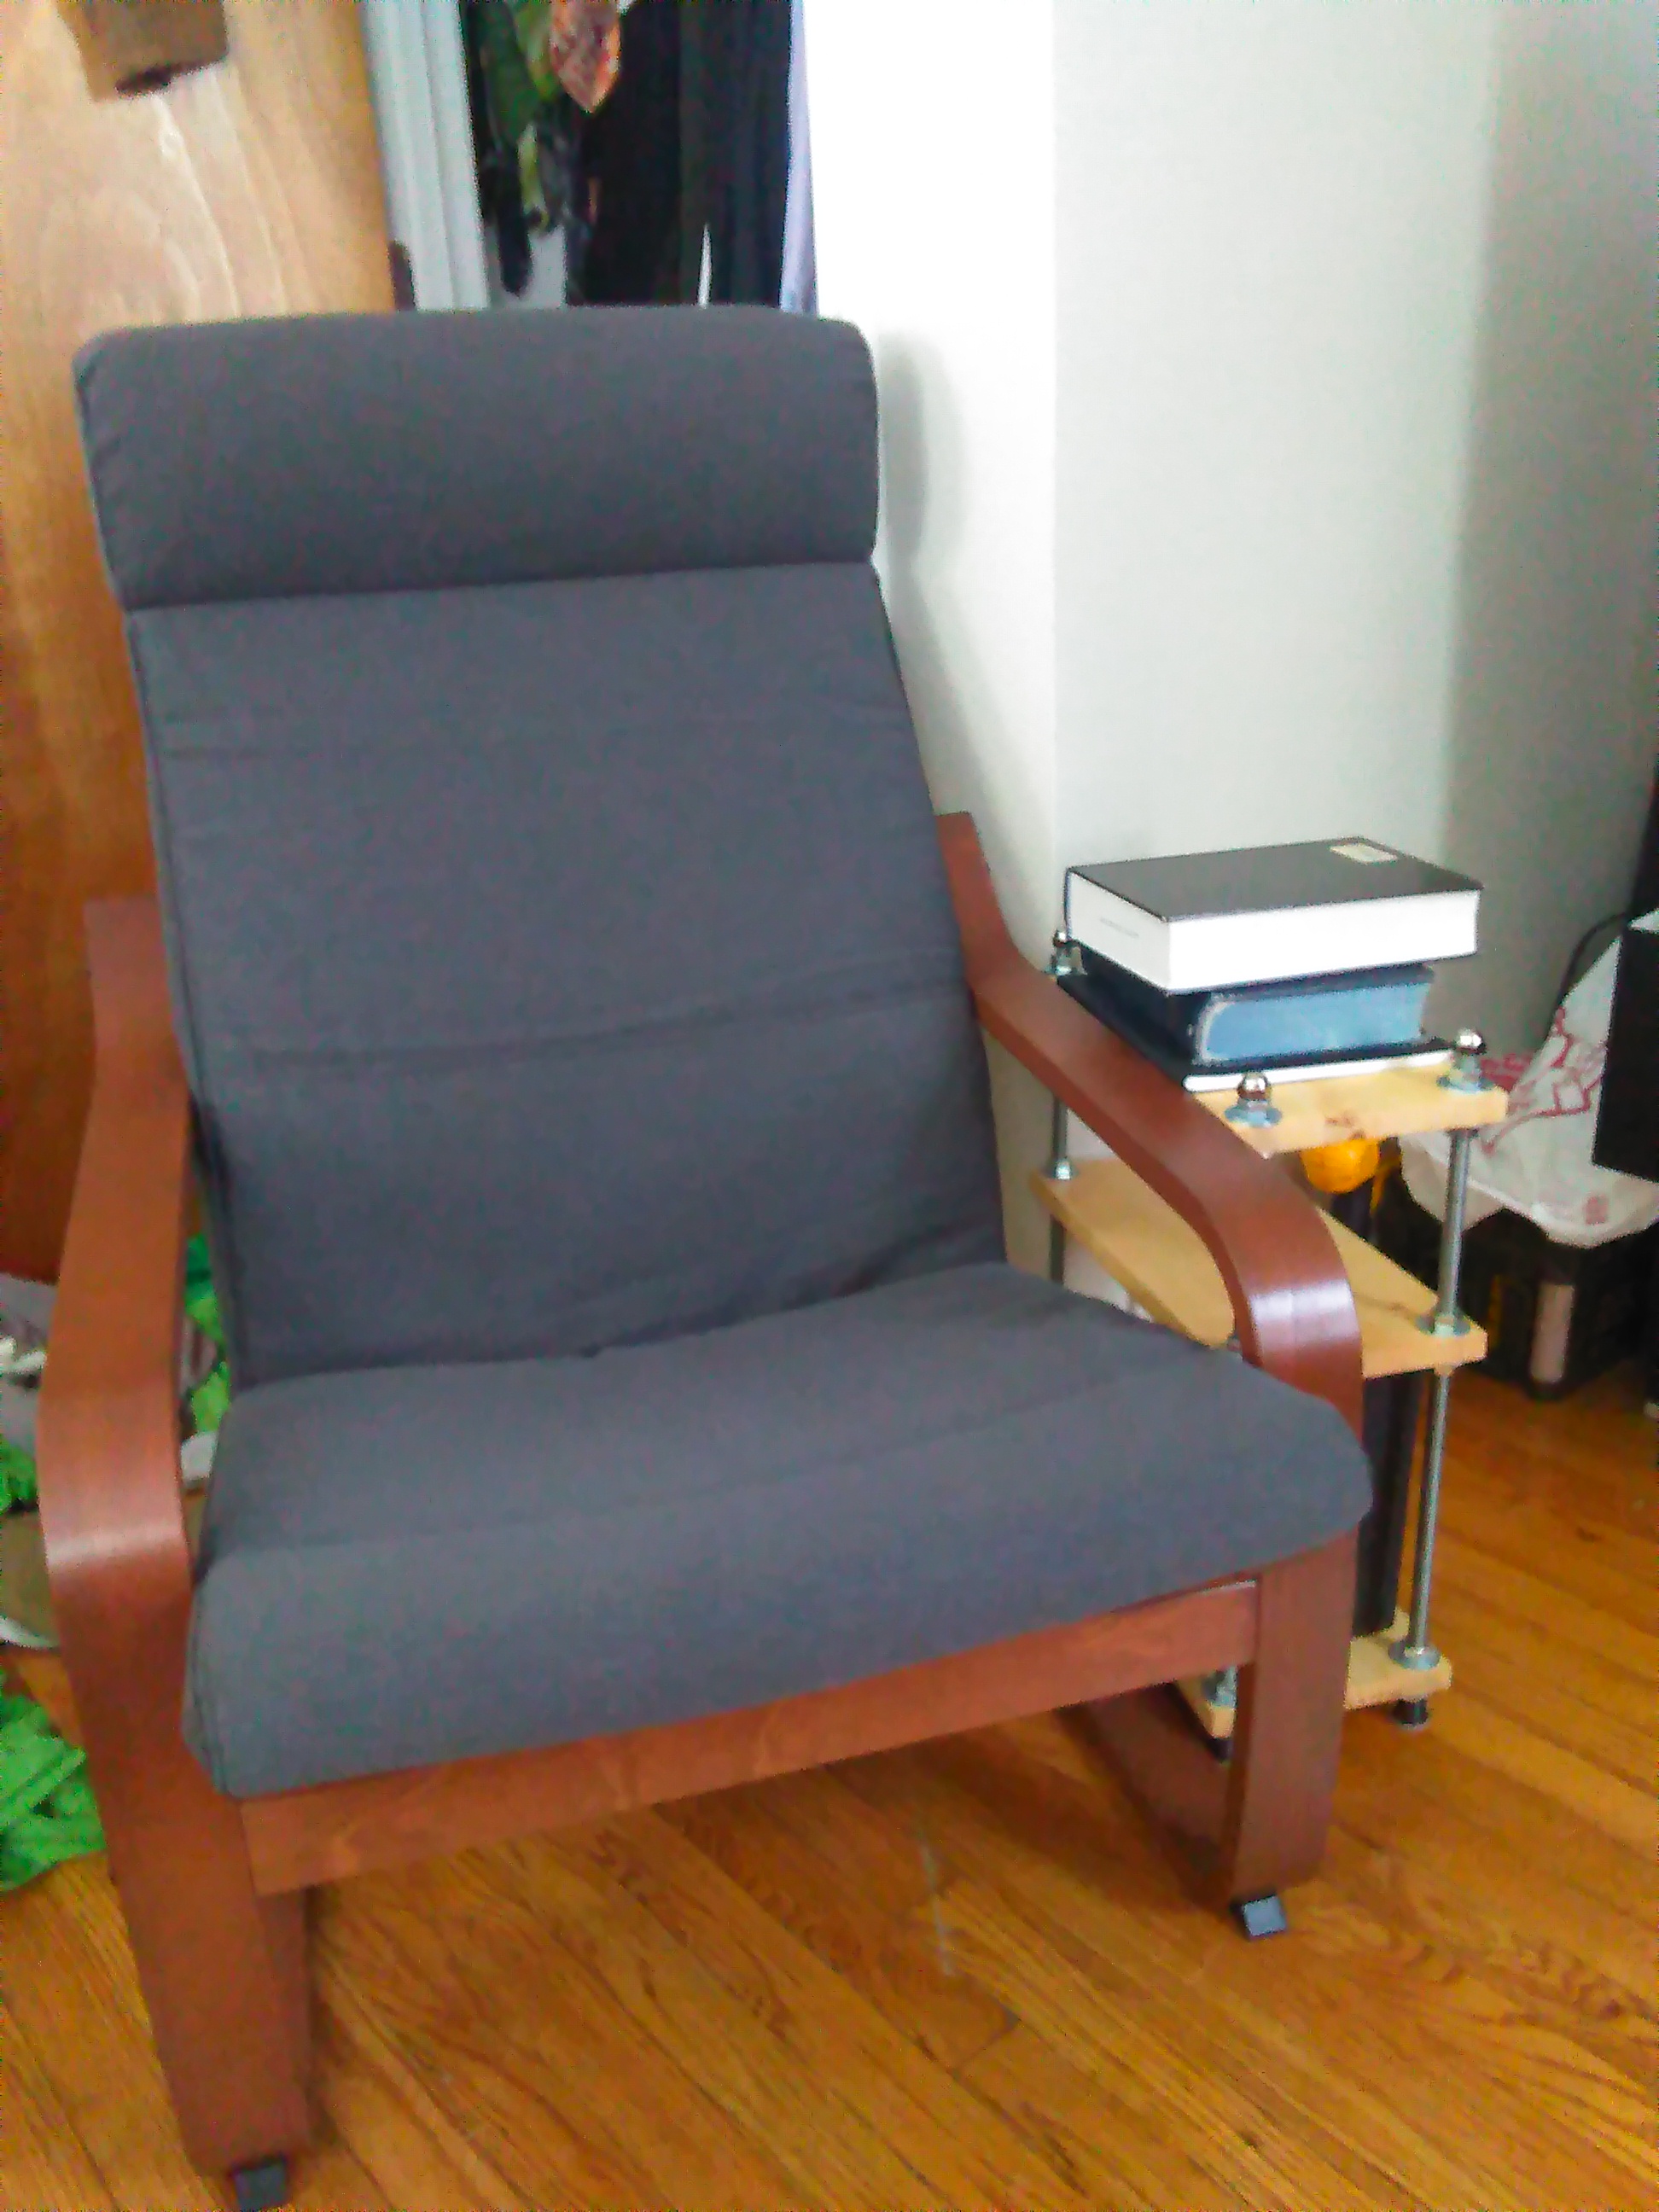
Assembly of these shelves is straightforward if not a bit slow. The design goes Nut-> Washer -> Board -> Washer -> Nut, and for each shelf you will need to level the board using the nuts. You can either do this with a bubble level or by eye depending on what tools you have, I used a rubber bouncy ball.
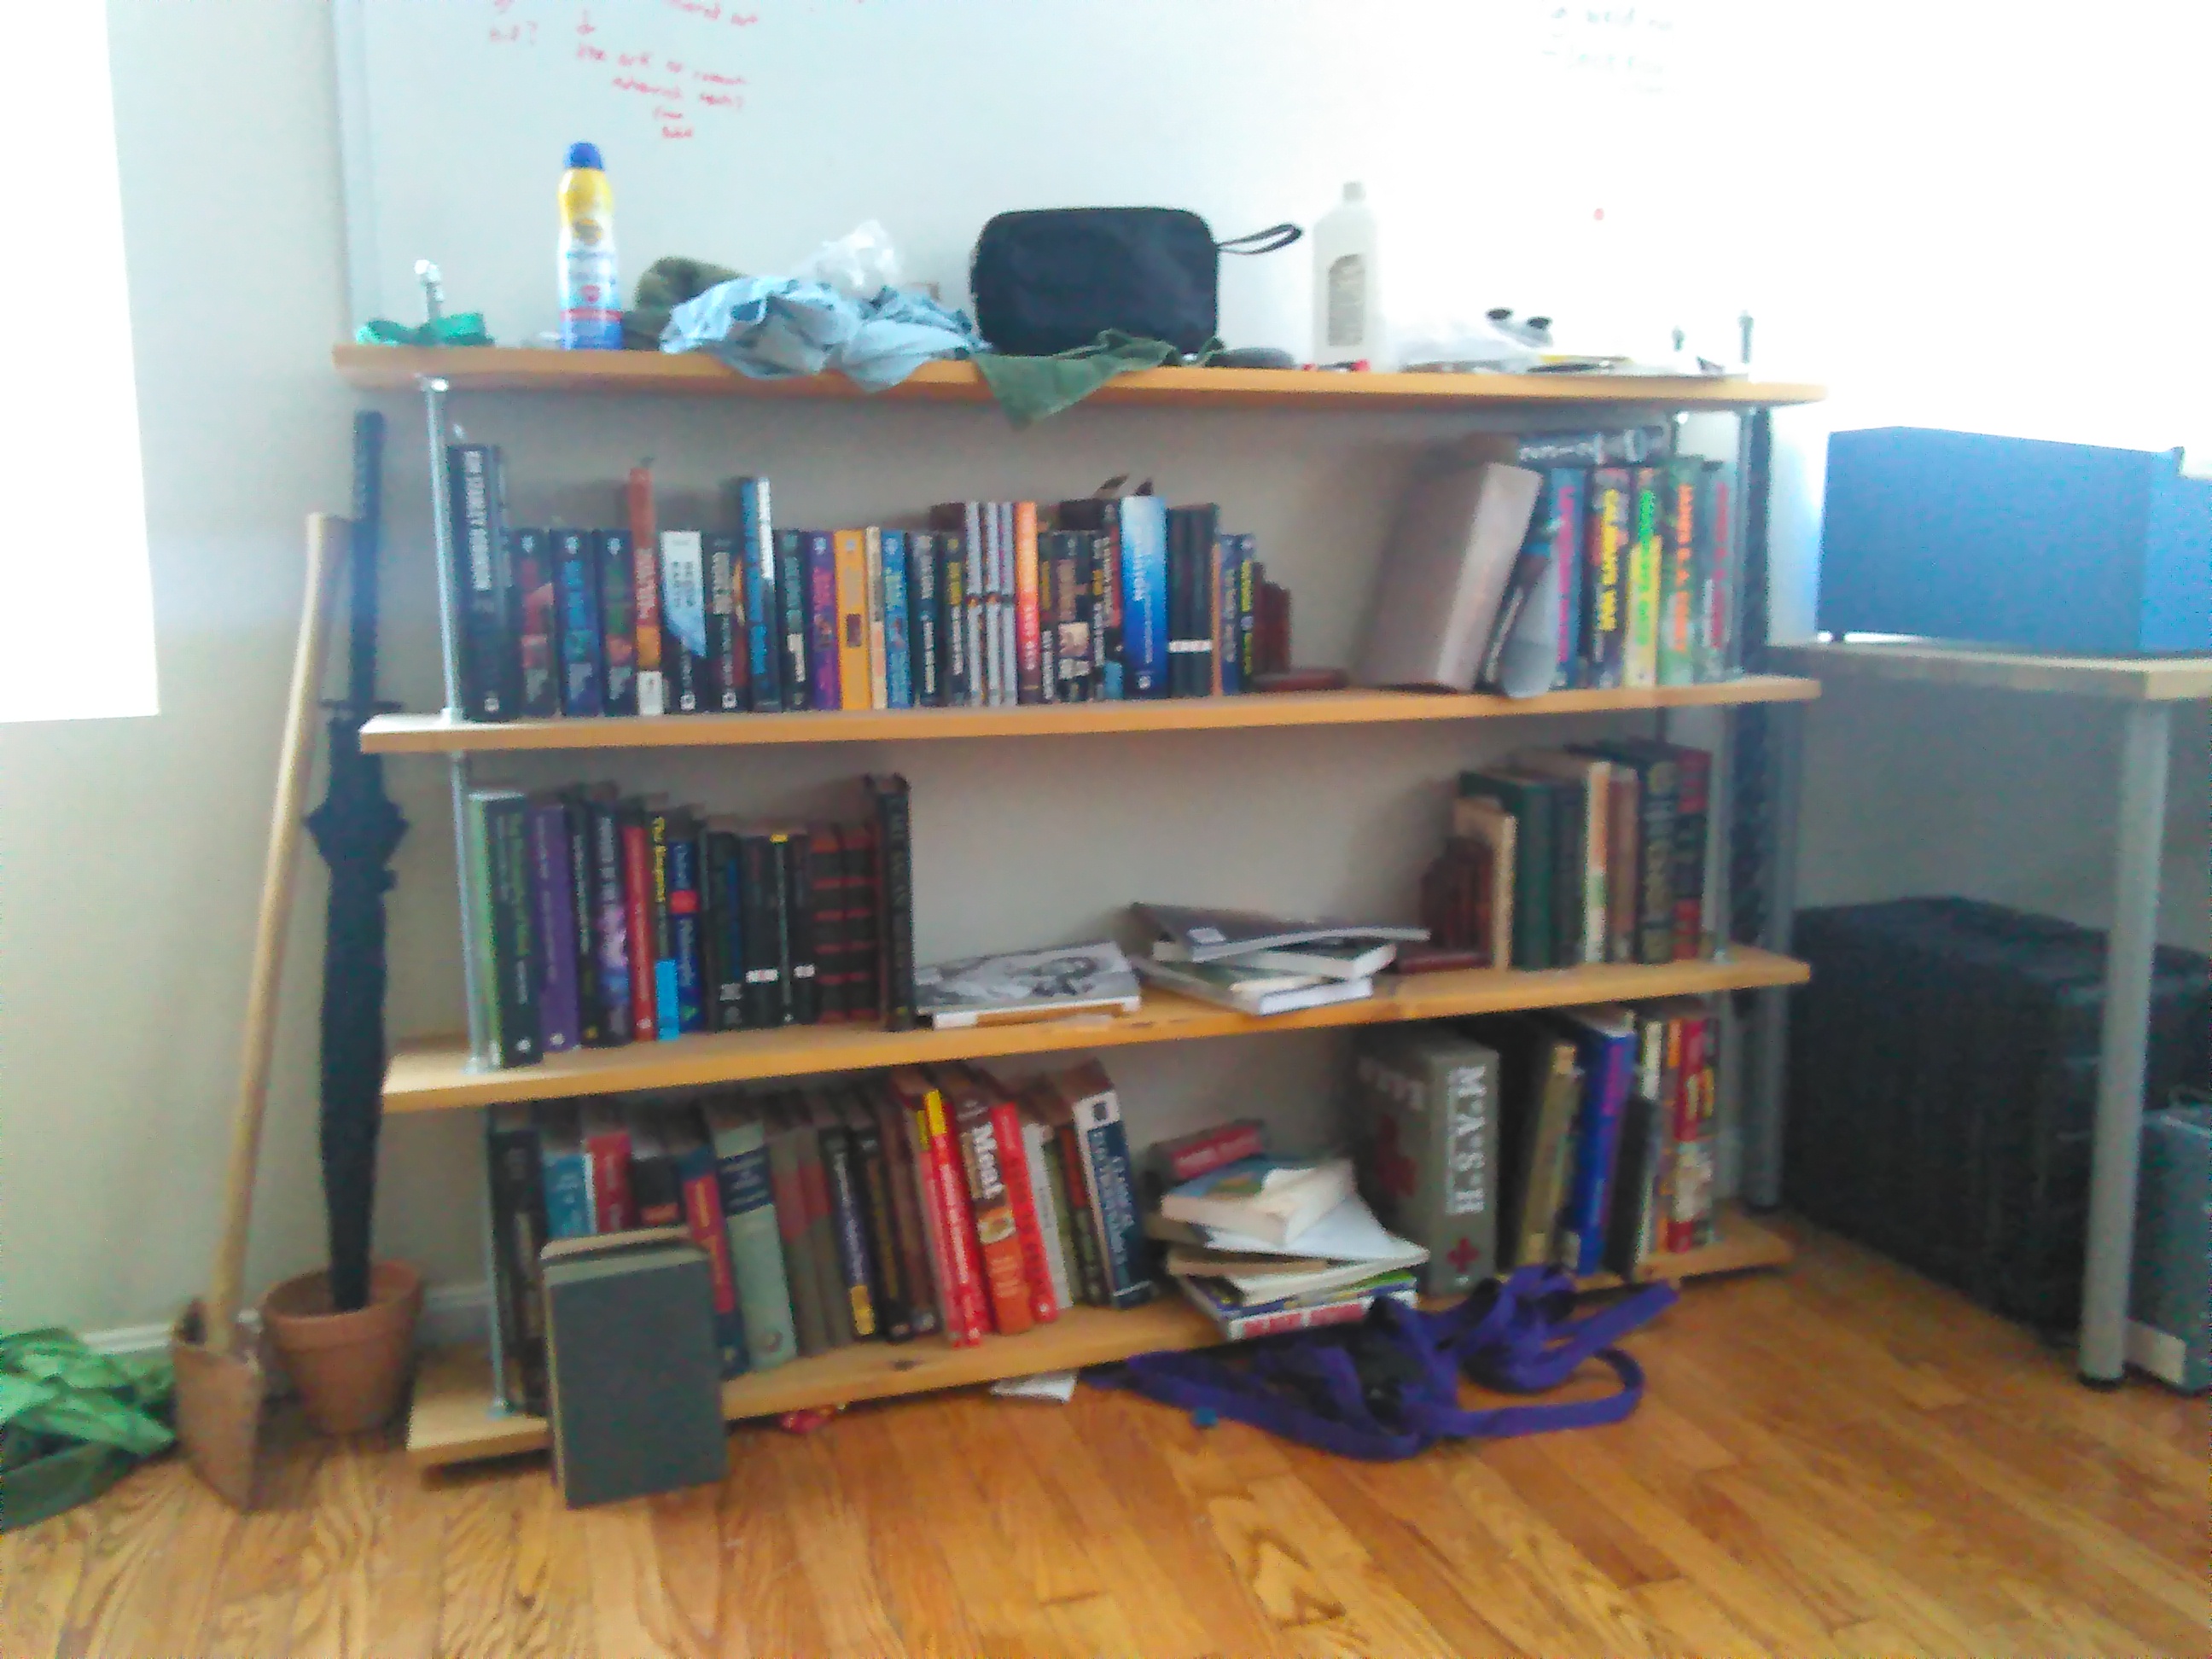
Overall, this project came out quite well and the larger bookshelf has already survived a move from Allston during Allston Christmas back to Cambridge.