[03.09.18] Pushing Glass: A Custom Glass blowing tool set

Description of Project
Creating a custom tool set for my friend who blows glass at MIT Glass Lab. The tools built are for making precise holes for (1) corks in custom bottles and (2) creating glass candle stick holders.
Processes Applied:


Summary:
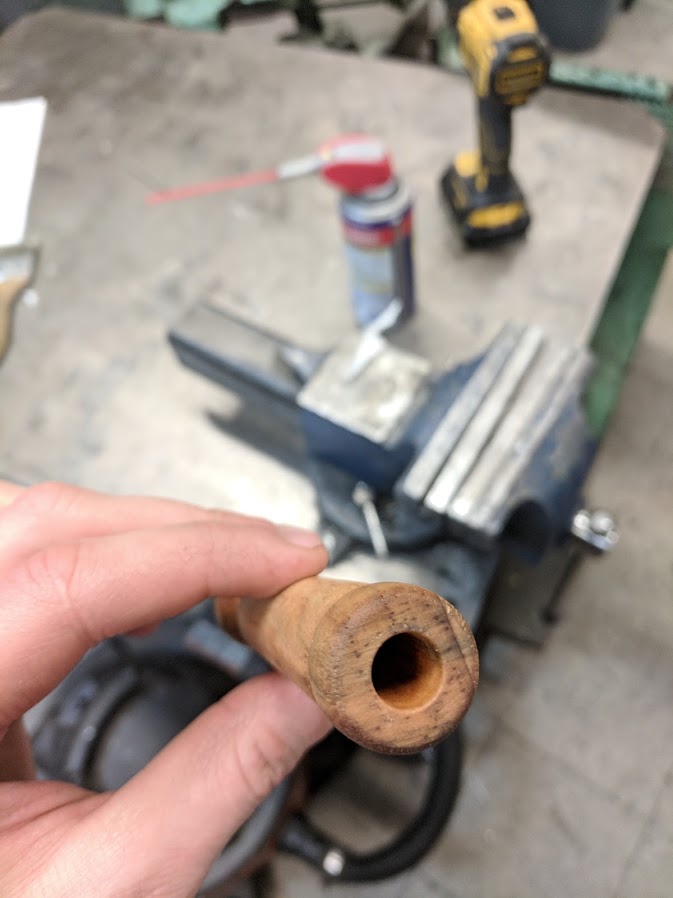
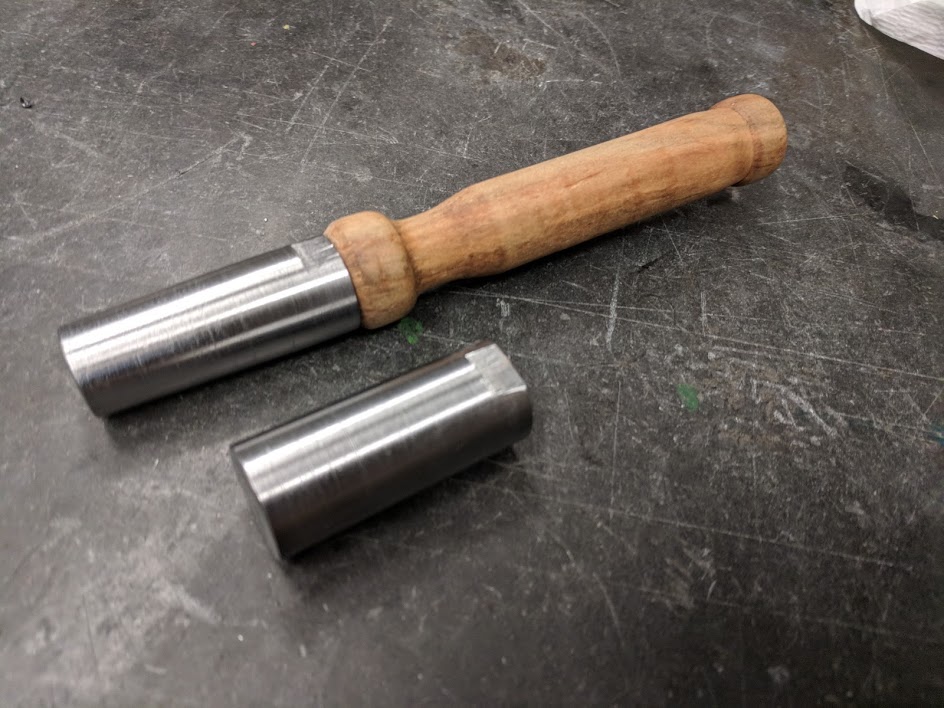
The goal of this project is to build two straightforward tools, but I decided to design a simple platform that can be changed by simply swapping out the steel tooling heads. All tools will be mounted using an M6-1.0 bolt, thereby reducing the need to make a new handle for every tool.
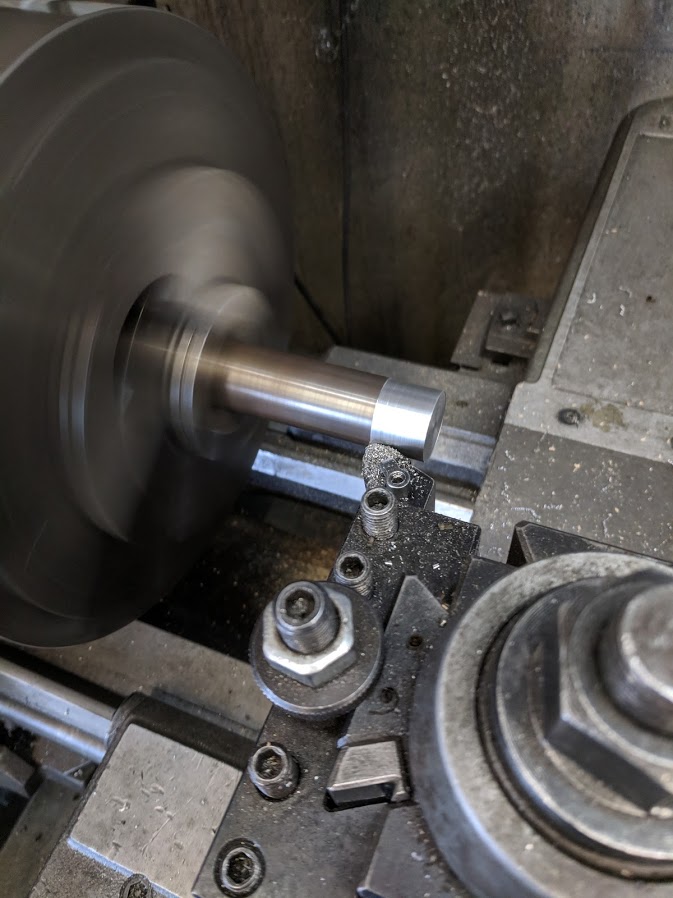
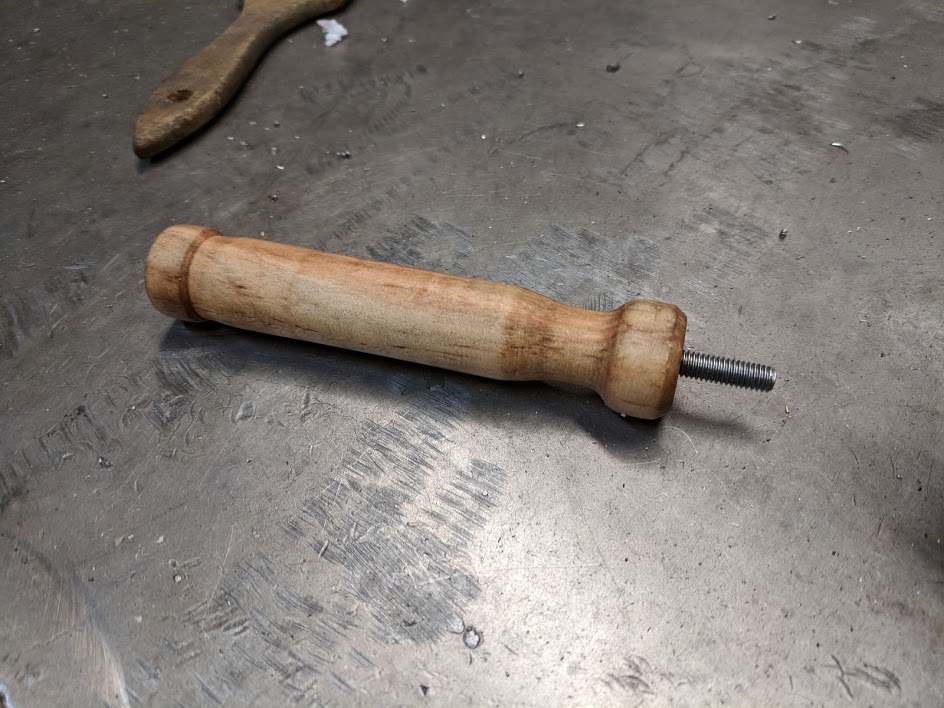
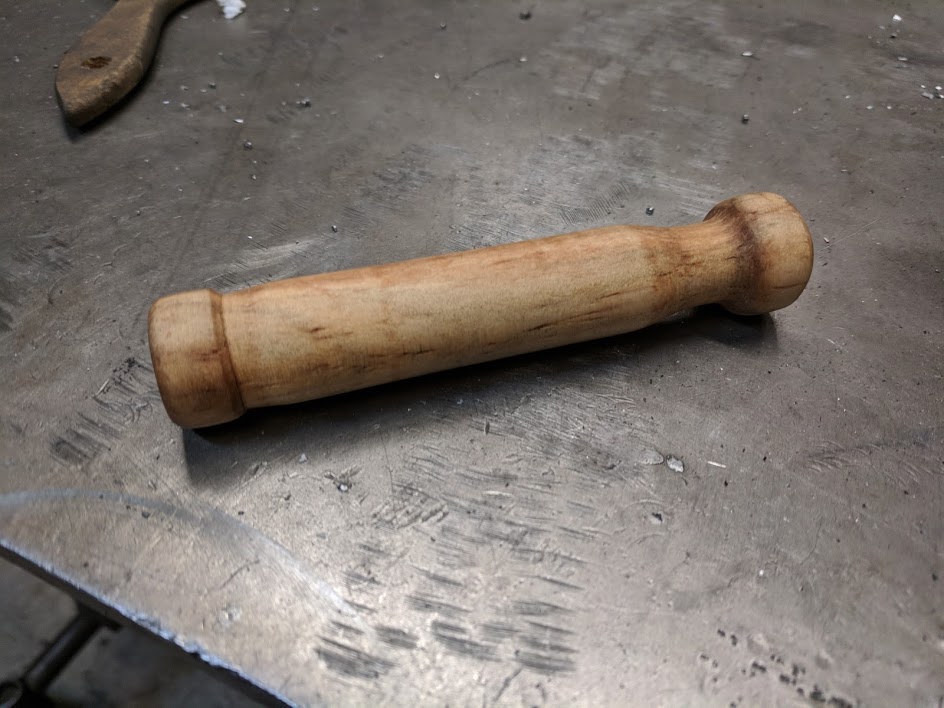
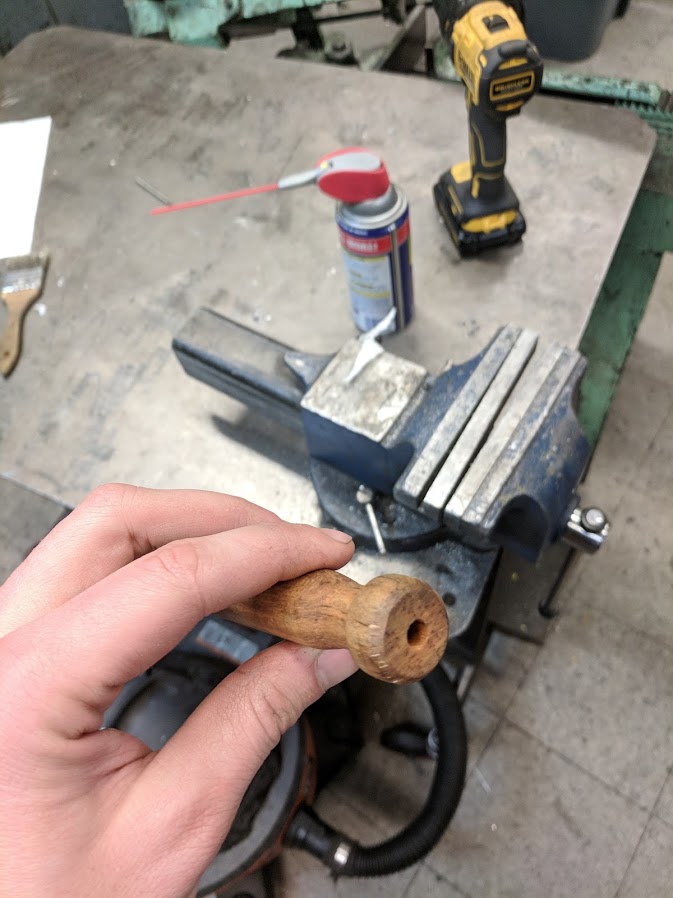
The first thing I did was create the handle by turning down a piece of scrap baseball bat to the rough dimensions of a handle. Once I achieved this I went in with more delicate tooling to create a thinner and curved handle. The goal being to fabricate a handle that allows for fine-tuned control of the working surface as well being both sturdy and thermally resistant to the heat dissipated into the steel from the glass.
The tool heads are all made out of mild steel for both their machinability as well as their poor heat conductivity compared to other metals. This is important for two reasons:
- You don't want your tool to start to melt and blend into your glass
- You want to reduce how often you need to water cool your tool while using it
The tooling was made to a rough spec, due to the nature of glass work many of the dimensions were undersized intentionally to both facilitate the removal of the tool and counteract various thermal expansion/contractions that can cause the glass to slightly change shape in the final stages of glass work.
Once the pieces were completed, I cleaned up the surface to smooth out the surface while not trying to obtain a high polished surface. After this step, I went to laser mark the material using the same laser marking paint I previously described in another one of my write-ups. First, I wiped down the surface, and then painted it with the cermark paint. During its short drying time, I printed out a 1:1 Solidworks drawing of the profile of the parts with a reference feature 1.5" up and over from the center of the part. This allows me to place and align the part so that I can properly align the laser to the engraving/labeling I have laid out in a DXF file. Pretty straightforward and with some position tweaking, I believe it came out quite well. All that was left was to wipe down the parts and take a few pictures before I handed them off to my friend to be used.