[3.24.19]Stop Dropping my Jackets: Upgraded Metal Coat Rack

Description of Project
In this project my goal was to replicate a simple wooden coat rack into a more sturdy all metal construction.
Processes Applied:

Summary:
This project has been mulled over for a long time in the back of my head, though a simple project it has been plaguing me for a while.
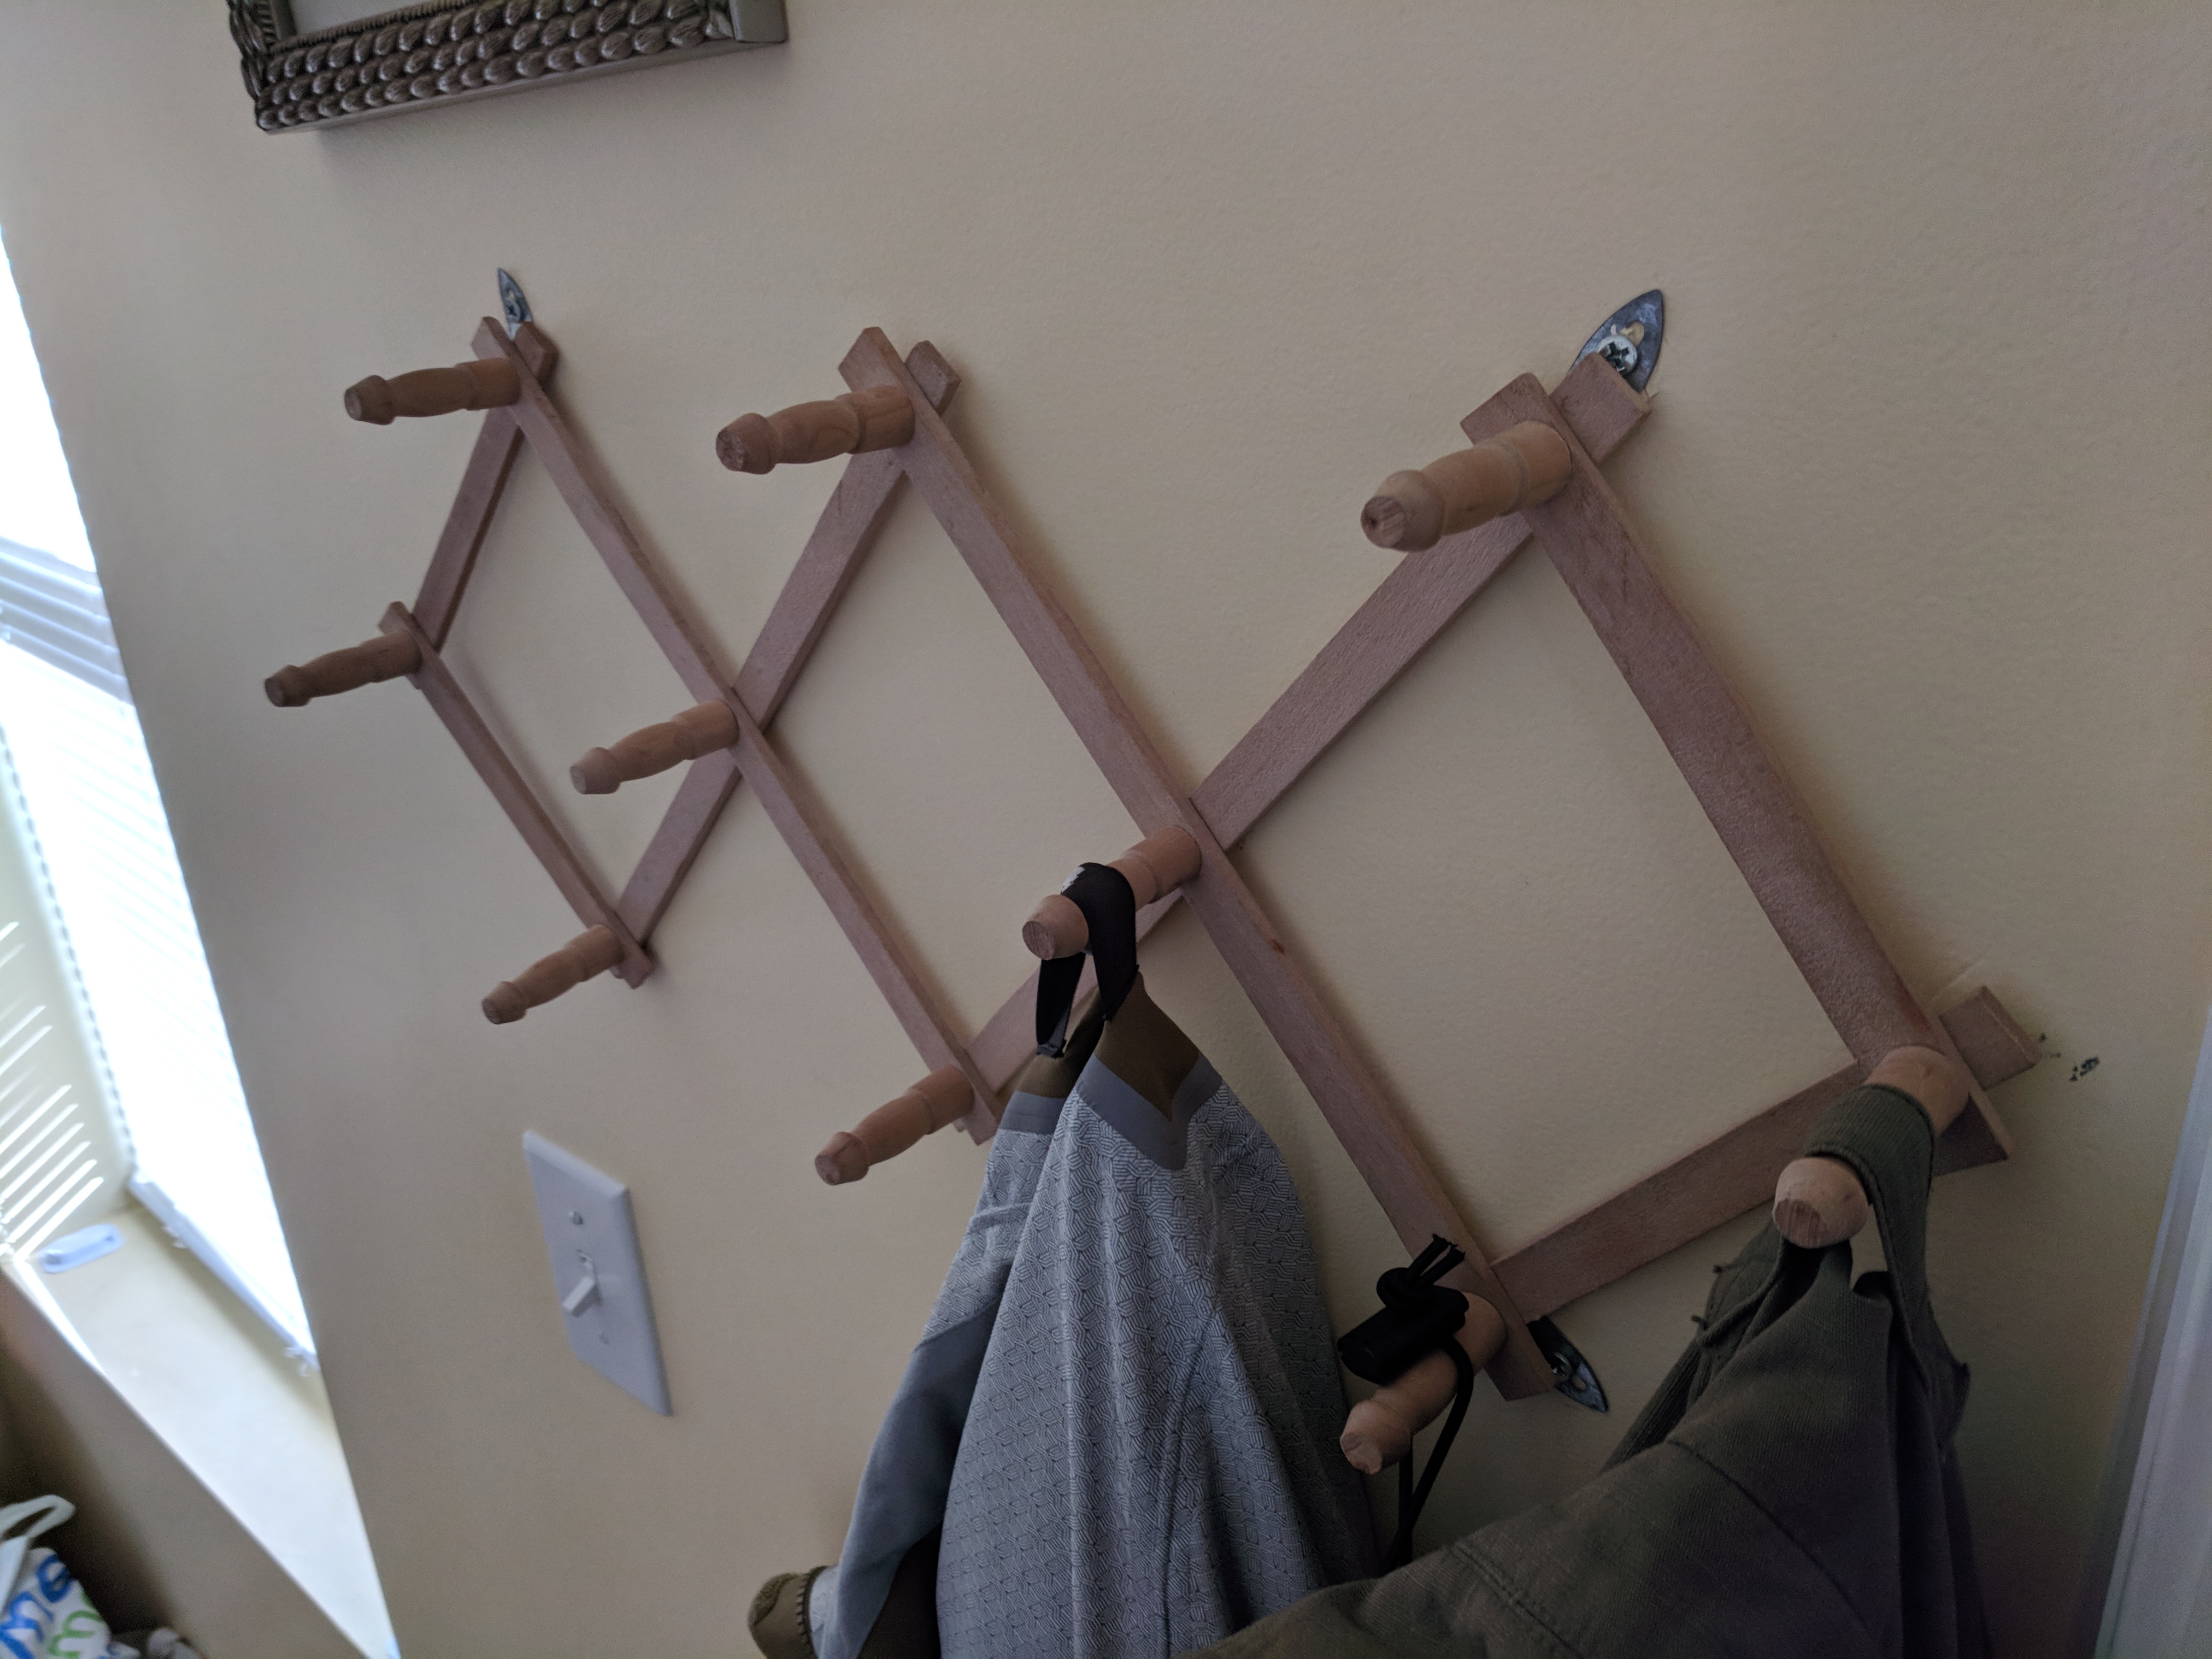
The Backstory: About 4 years ago I came across a foldable coat rack with a very simple but effective design. I do not recall paying much for it, if anything at all, but to say the least I found this to be one of my favorite possessions when moving. It is light, folds up into a small package, can have its spacing/length changed before mounting, and can be mounted in any location for hanging coats. All in all, a very effective coat rack for the apartment renter who tends to have to move every few years due to rising rents, life events, or just general shaking things up. But the one downside to this lovely low-cost coat rack was its weak structure. Due to the thin wooden (softwood) construction, once the coat rack starts to take on coats, it flexes away from the wall. Subsequently, when walking by it or taking off a jacket after it has been overloaded, you tend to knock off 2-3 more jackets in the process. Well... I always thought that this is a simple fix; remake it out of a stronger material. Easy. But time-consuming.
So that is where I have been sitting on this project for about 2 years; finally, this past Sunday, I was in need of a project, and I just decided I was going to finally get around to making this upgrade happen. So I took all the jackets off the coat rack, threw them onto a chair, unbolted the coat rack, and headed on down to MITERS.
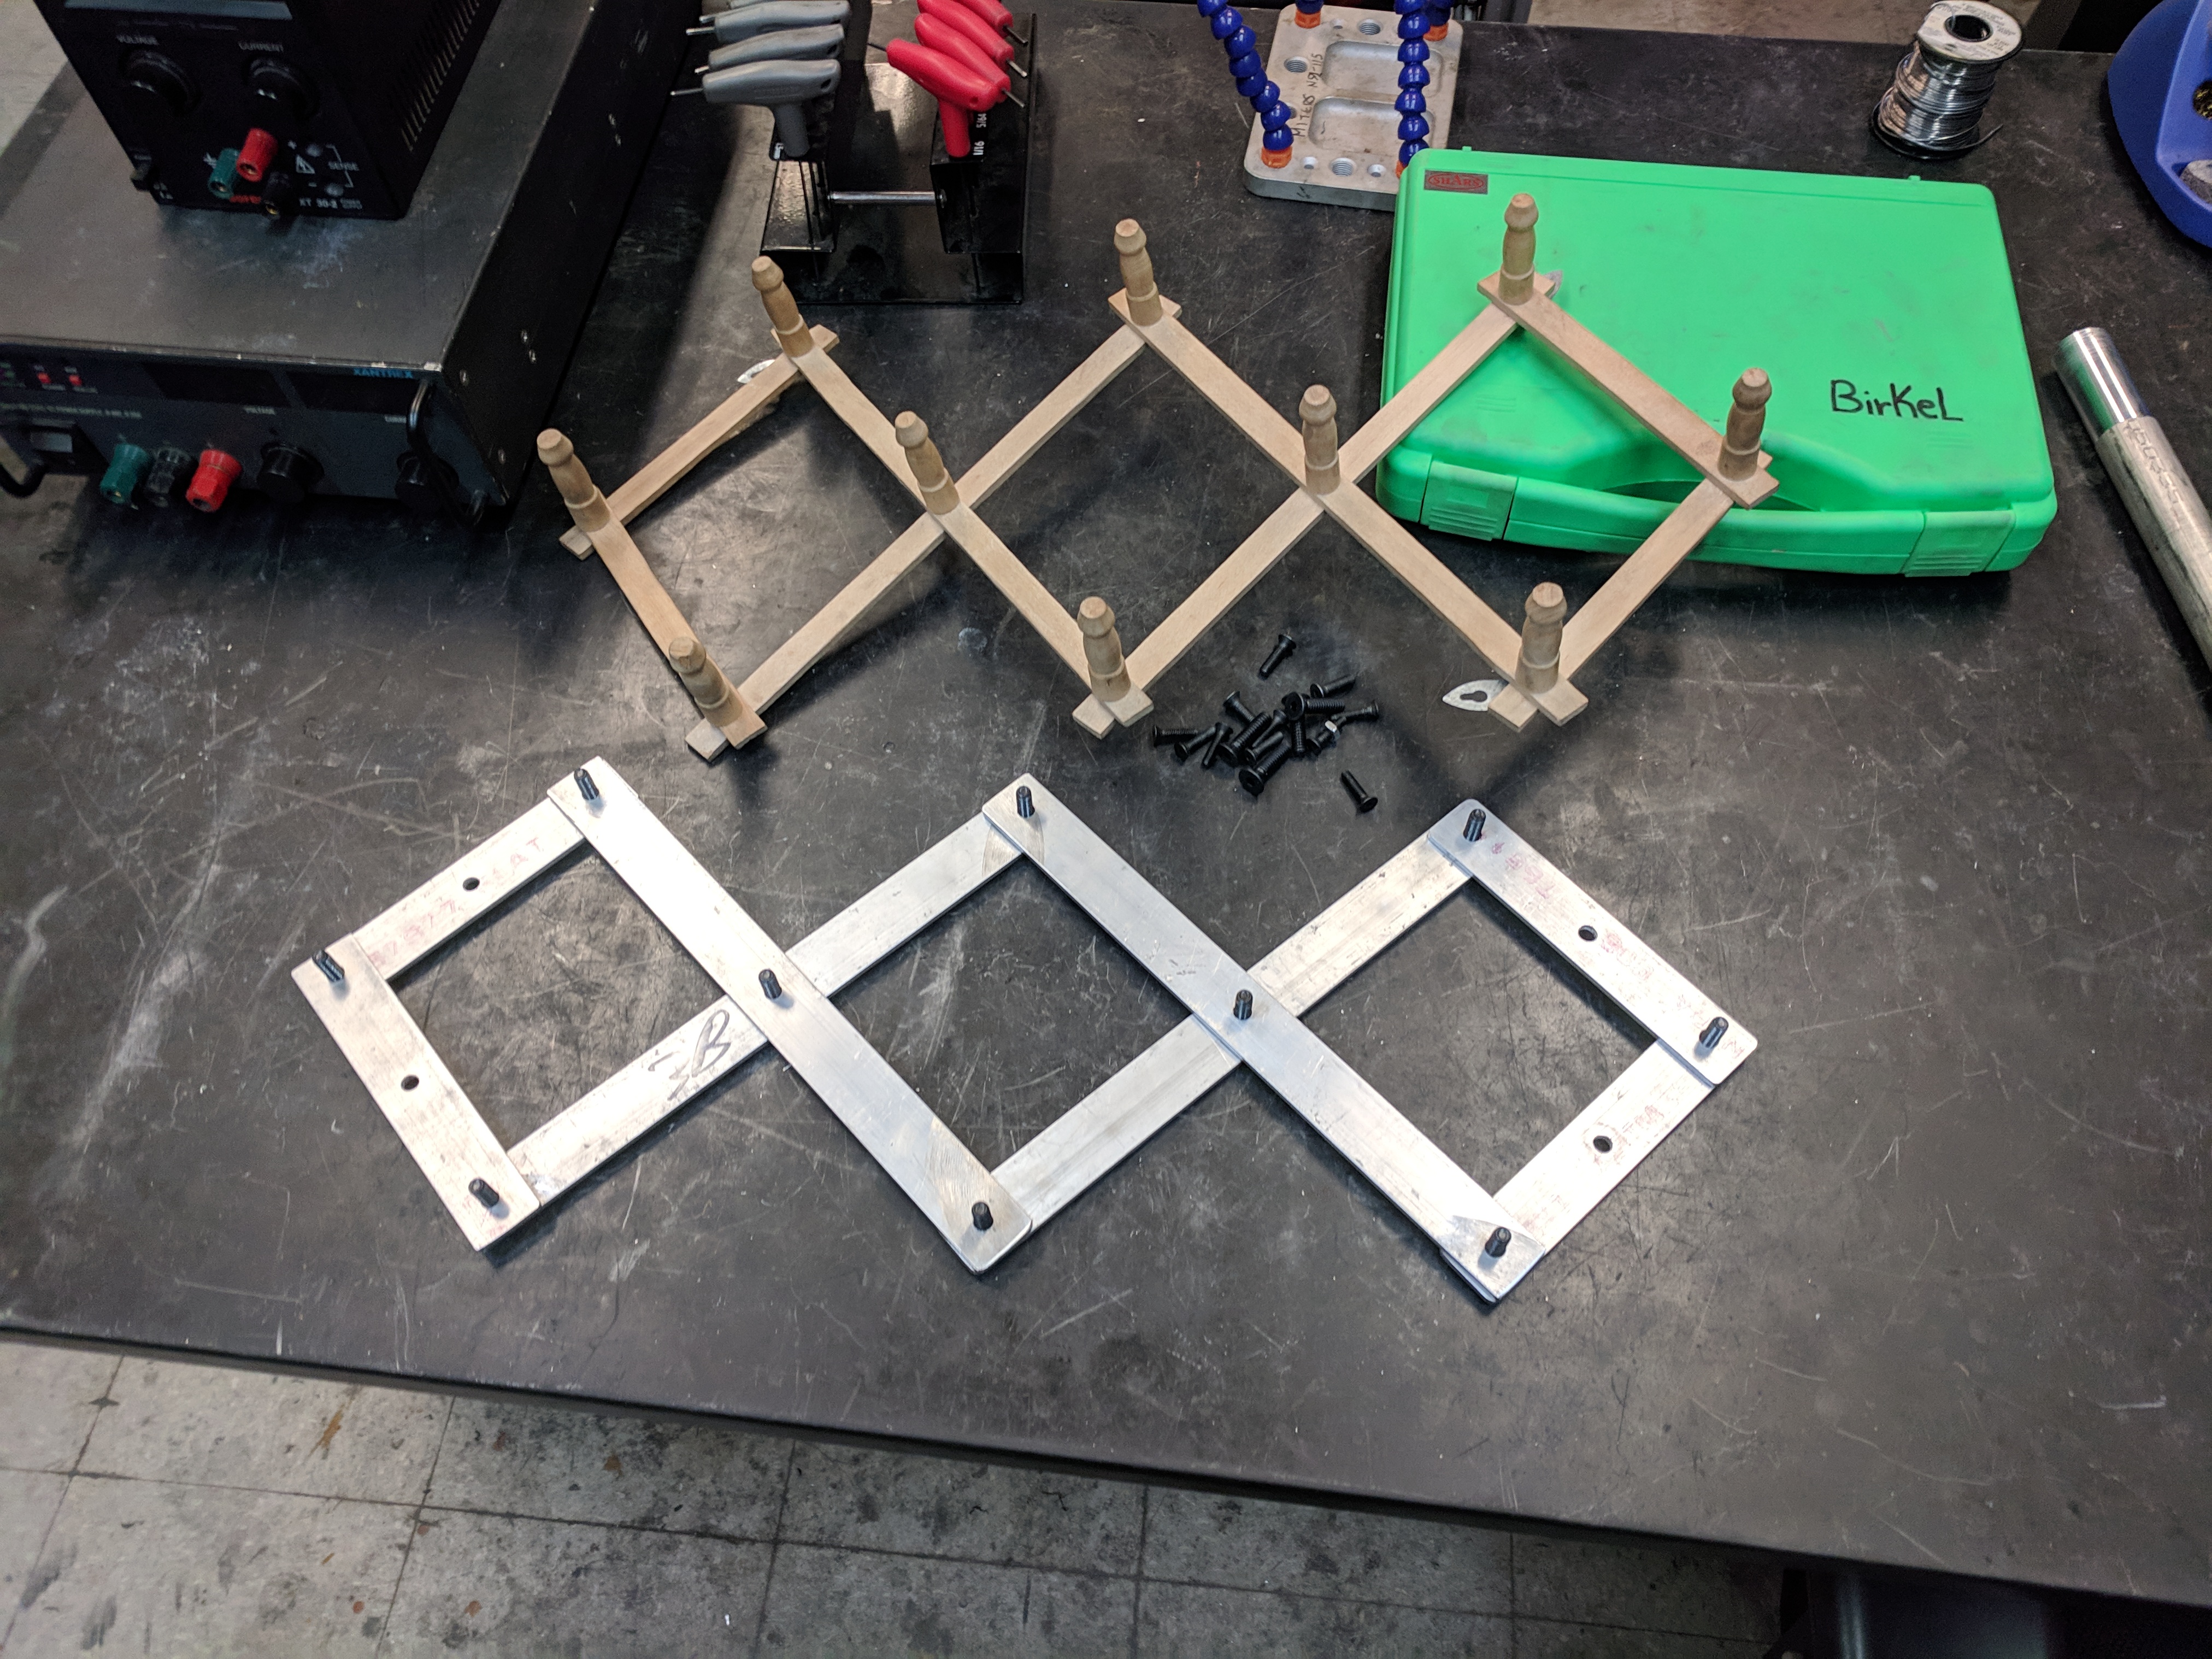
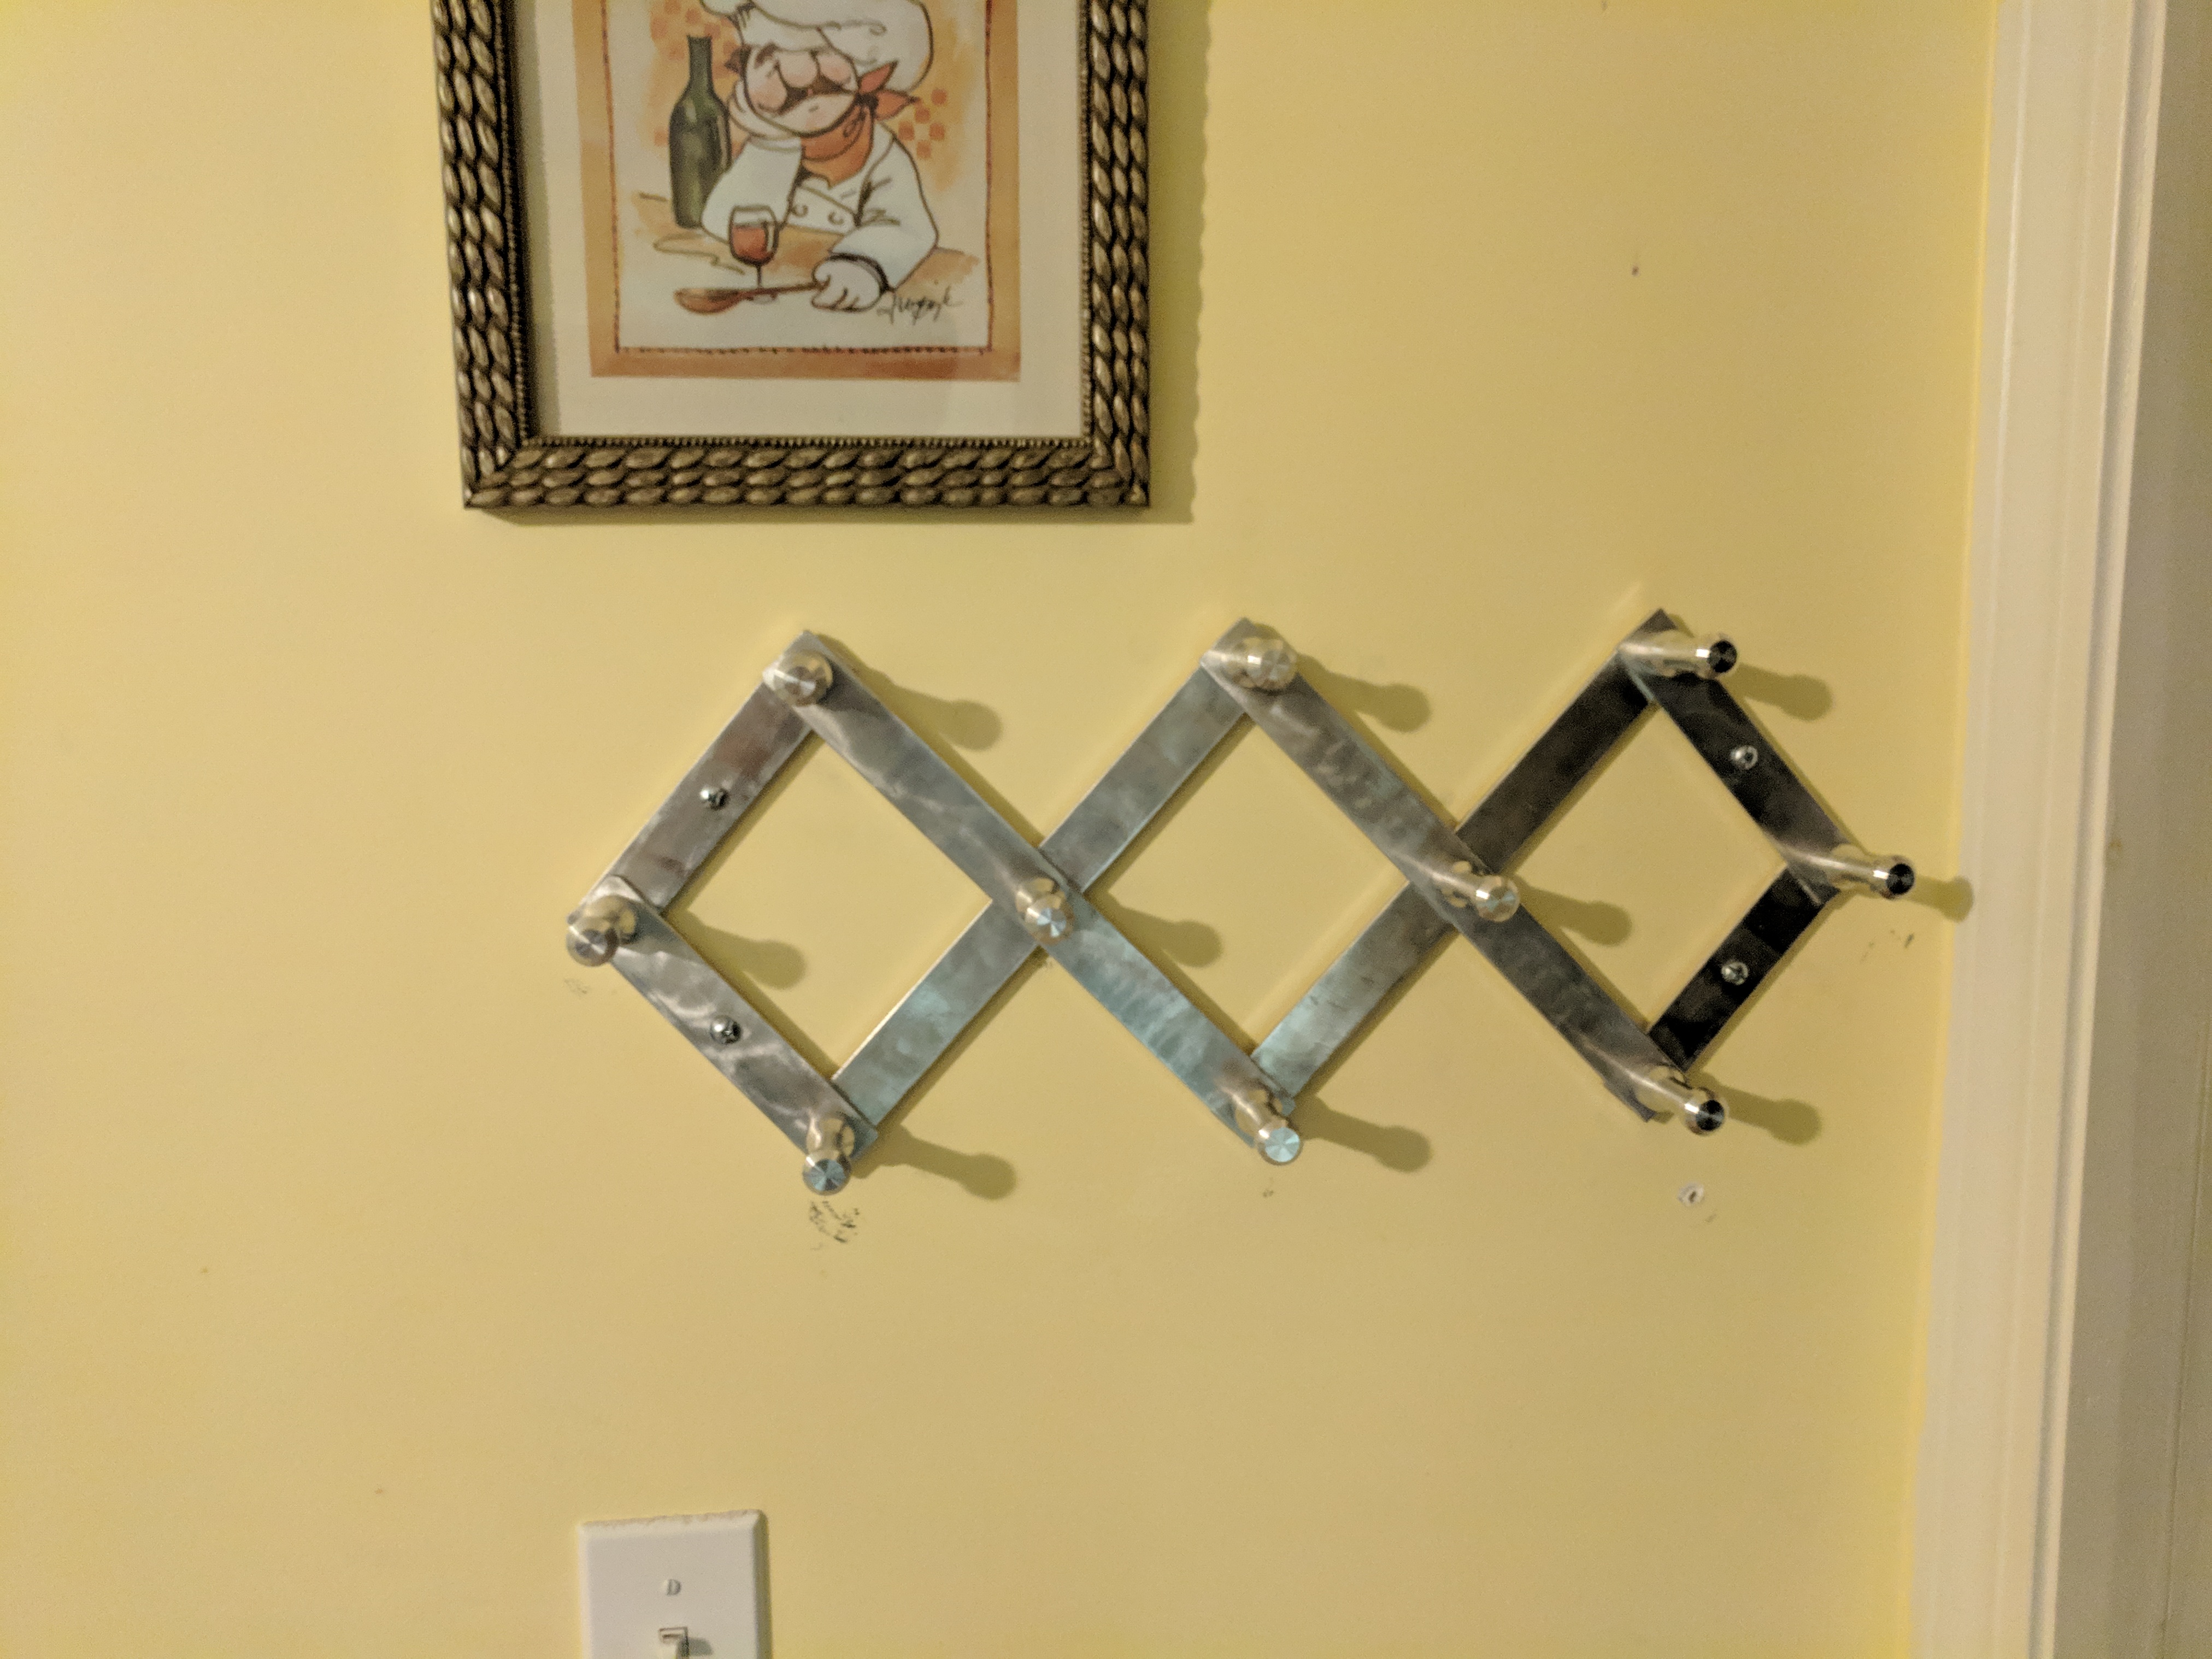
The construction: The construction is simple, 4 long crossbars and 4 short crossbars that crisscross one another with the center points of the crisscross having bolts run through them. This creates an accordion-style action that I found so useful in the original design. I found some scraps of 1" wide, ~0.1" thick flat-bar stock (6061); I then cut two sets of four identical pieces (10.5" and 5.5" in length), milled the ends to make them precisely the same length, drilled 3 holes equally spaced in all 8 parts, and countersunk each hole on the backside. The reason I countersunk the holes (and used countersunk bolts) was that I wanted to reduce any potential marring of the wall from repeated use or general rubbing that could happen with metal on paint. The other part of the fabrication process was making 10 identical knobs to act as coat hooks as well as the nut for the bolts that hold the parts together. This was where most of the time was spent; since I was working on this project in MITERS, I manually turned these on the lathes in MITERS. (Below is a rough diagram of said knobs)
Knob Diagram
The part was made using a tool insert that had the desired profile angle on one side of the tool for both angled cuts on the face of the part and the backside of the part. One important note is that there is a 1" deep, tapped 1/4-20 hole in the base of the part for the bolt to screw into.
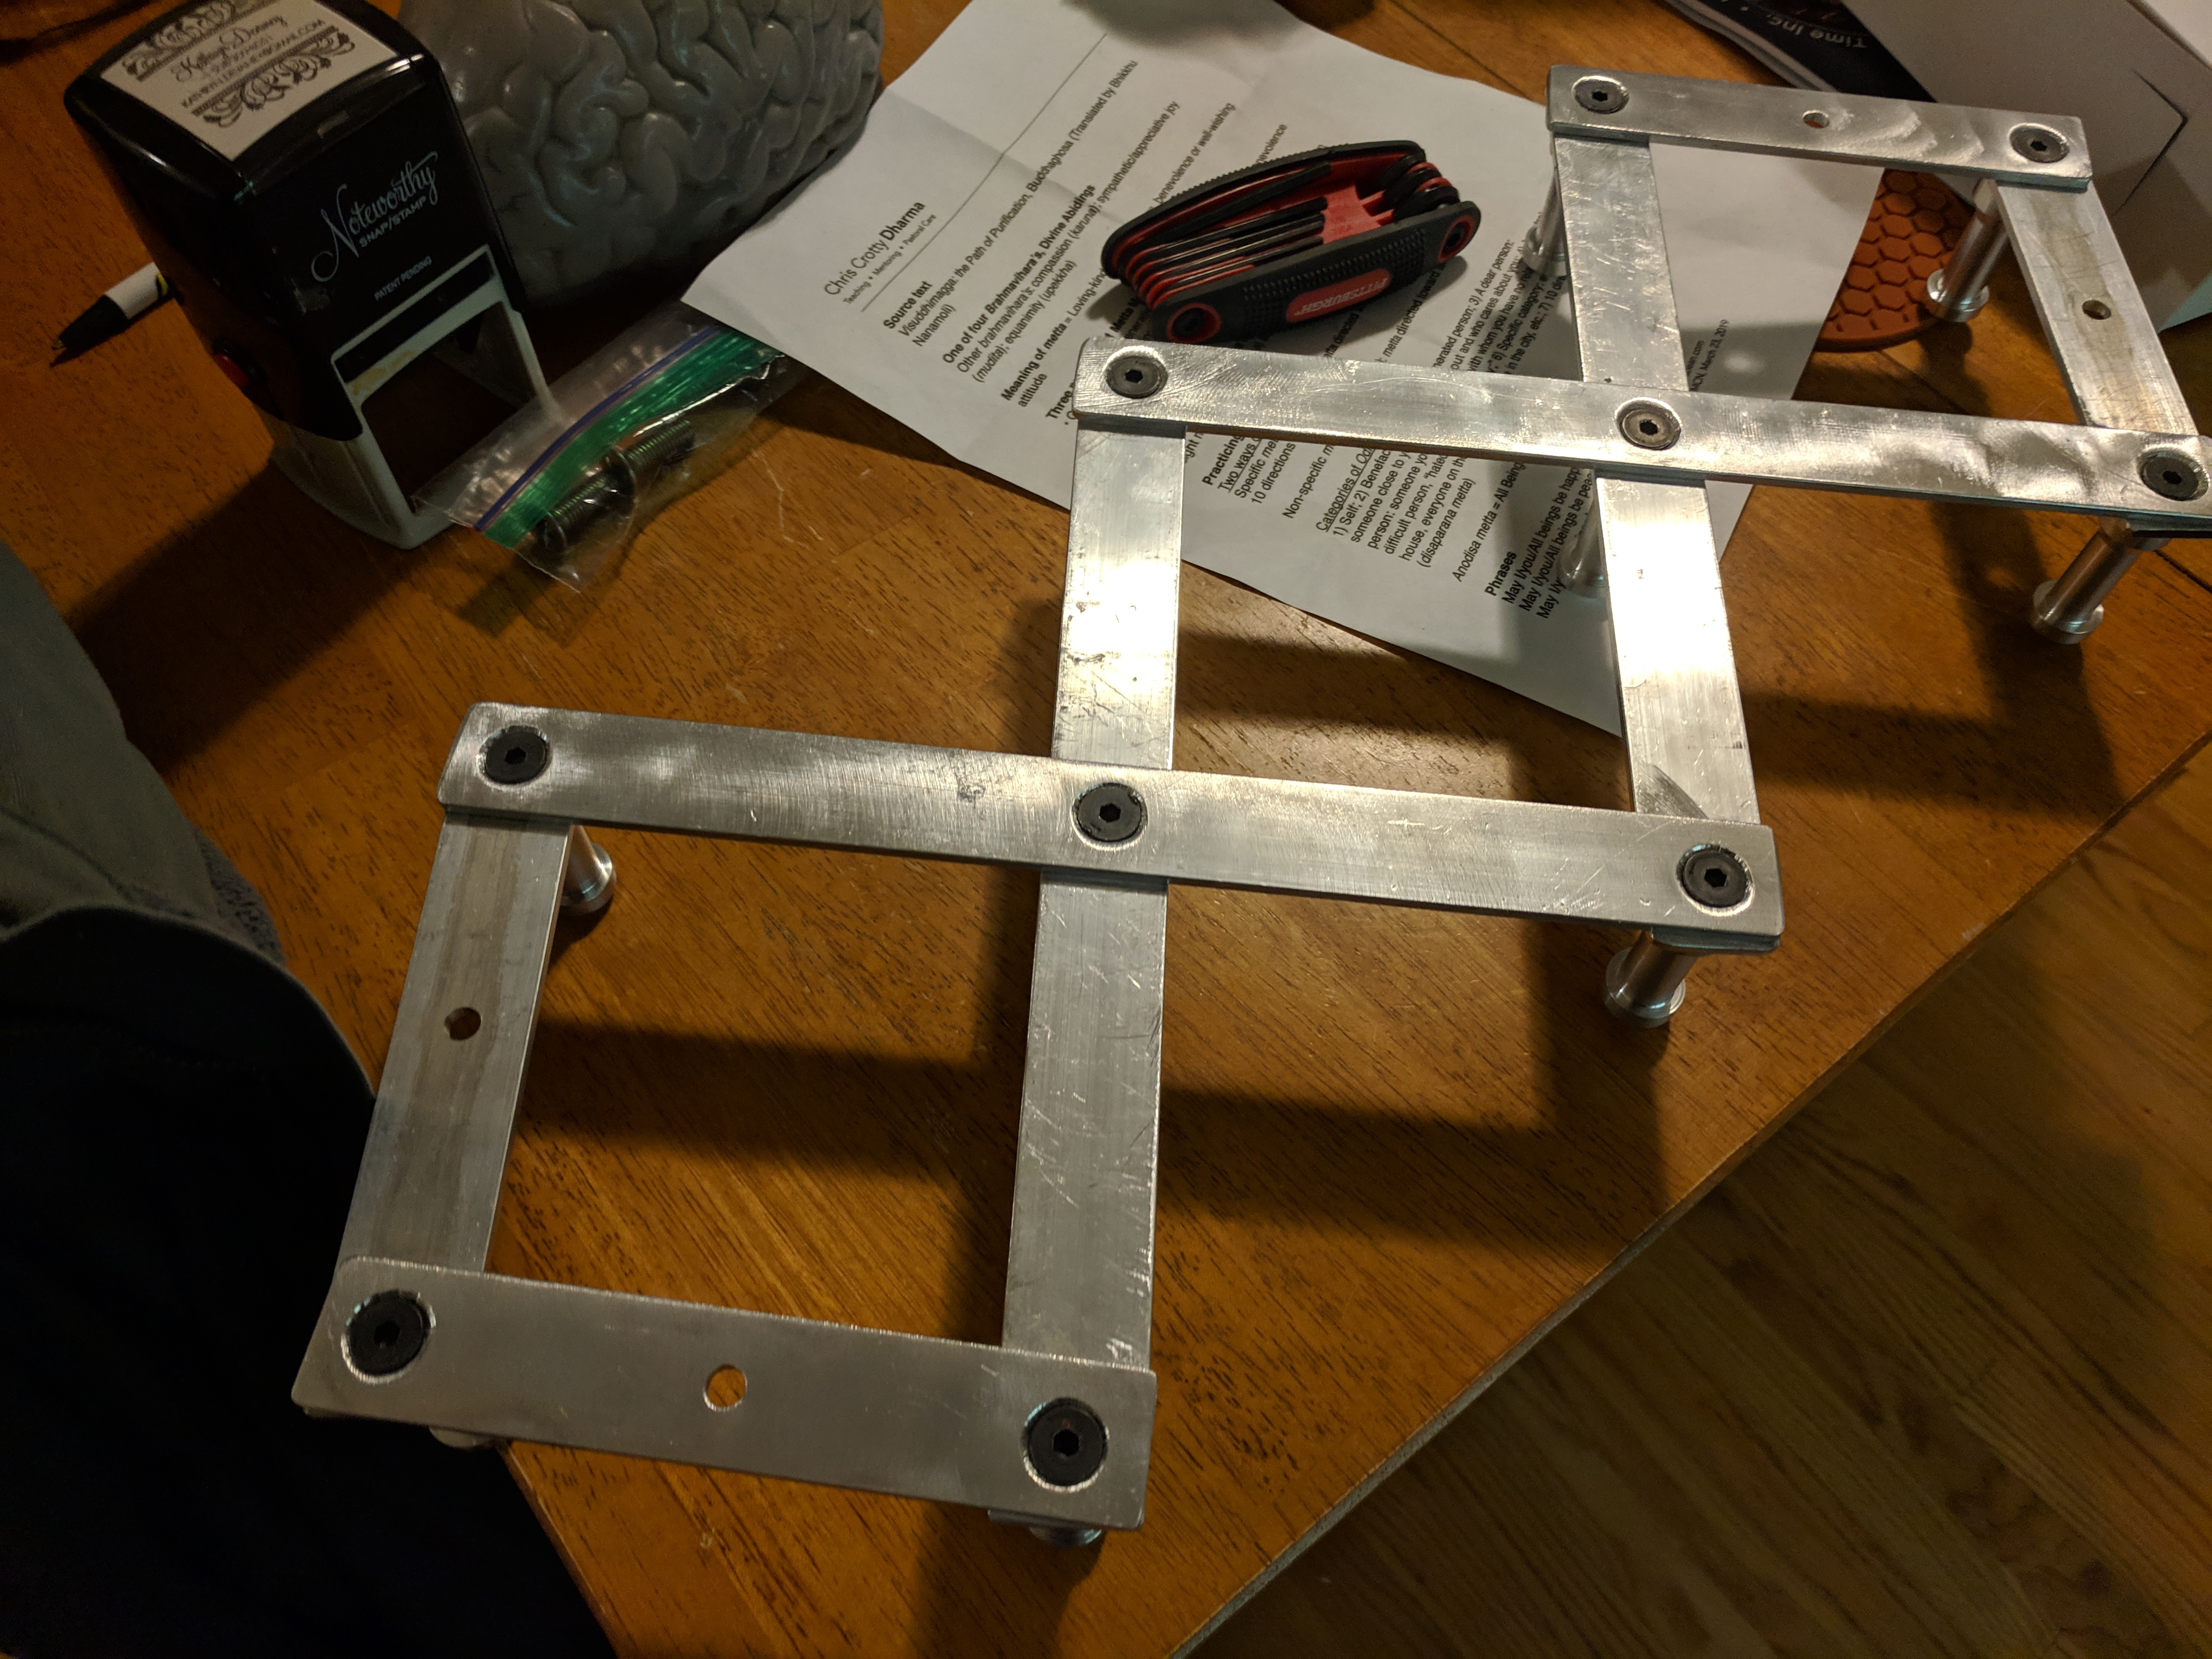
Once all these parts were made, I did a test fit/assembly of all the parts and found that all my parts were slightly loose. So at first, I came to the conclusion that somehow I drilled & tapped my holes too shallow. I was worried that I would damage the threads if I tried to re-drill the holes to tap them deeper. So instead, I cut all of my bolts 1/8" shorter with a cutoff wheel and cleaned up the ends of the threads. This ended up having no effect on the problem I was facing. The parts still were loose when bolted together. Then I came to the realization that due to the thin nature of the part I was using, the 1/4-20 slanted head was bottoming out on the second plate. To fix this problem, I drilled a partial countersink into every bolt hole of the second plates. Once done, I did a final test assembly, and it worked perfectly!
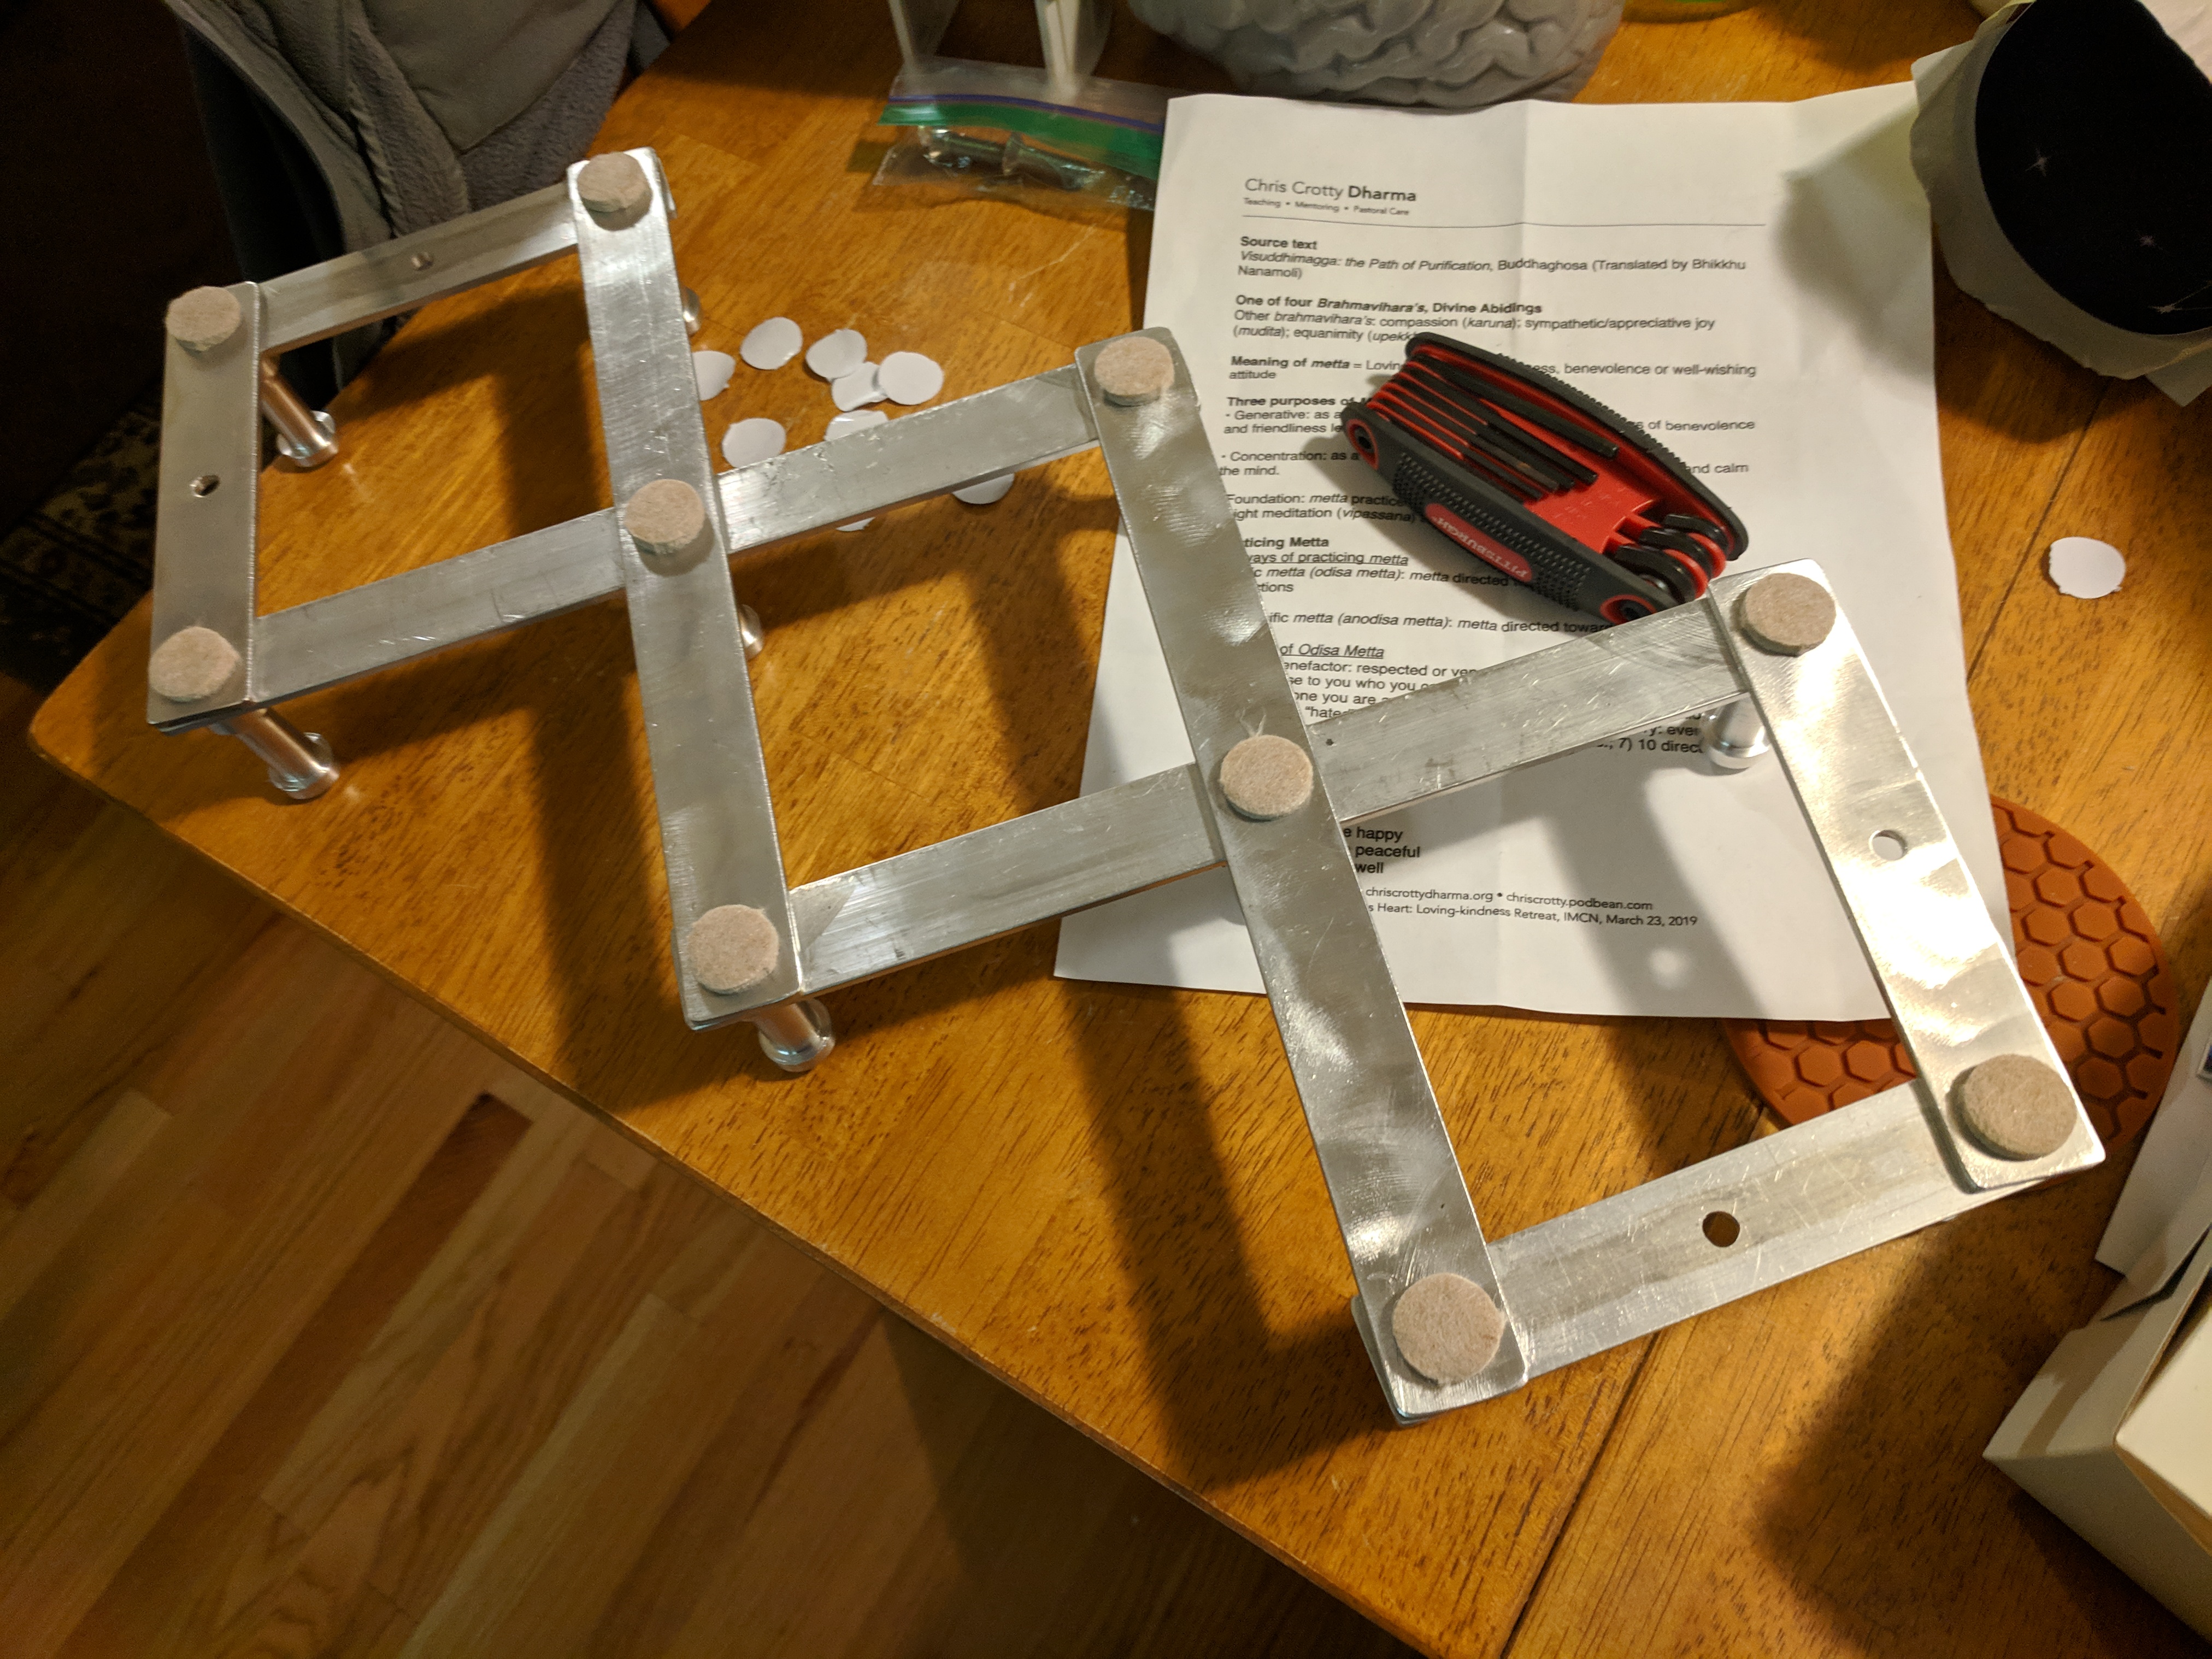
To finish off the parts, I non-uniformly wire-brushed the plate parts and then mildly polished them with polishing compound. The goal was to give a partial industrial look to the coat rack instead of a simple mirror finish. Once cleaned up and assembled, I applied adhesive surface savers (sticky pads used on the feet of furniture) over every bolt to act as a padded buffer between the hard metal and my apartment's wall.
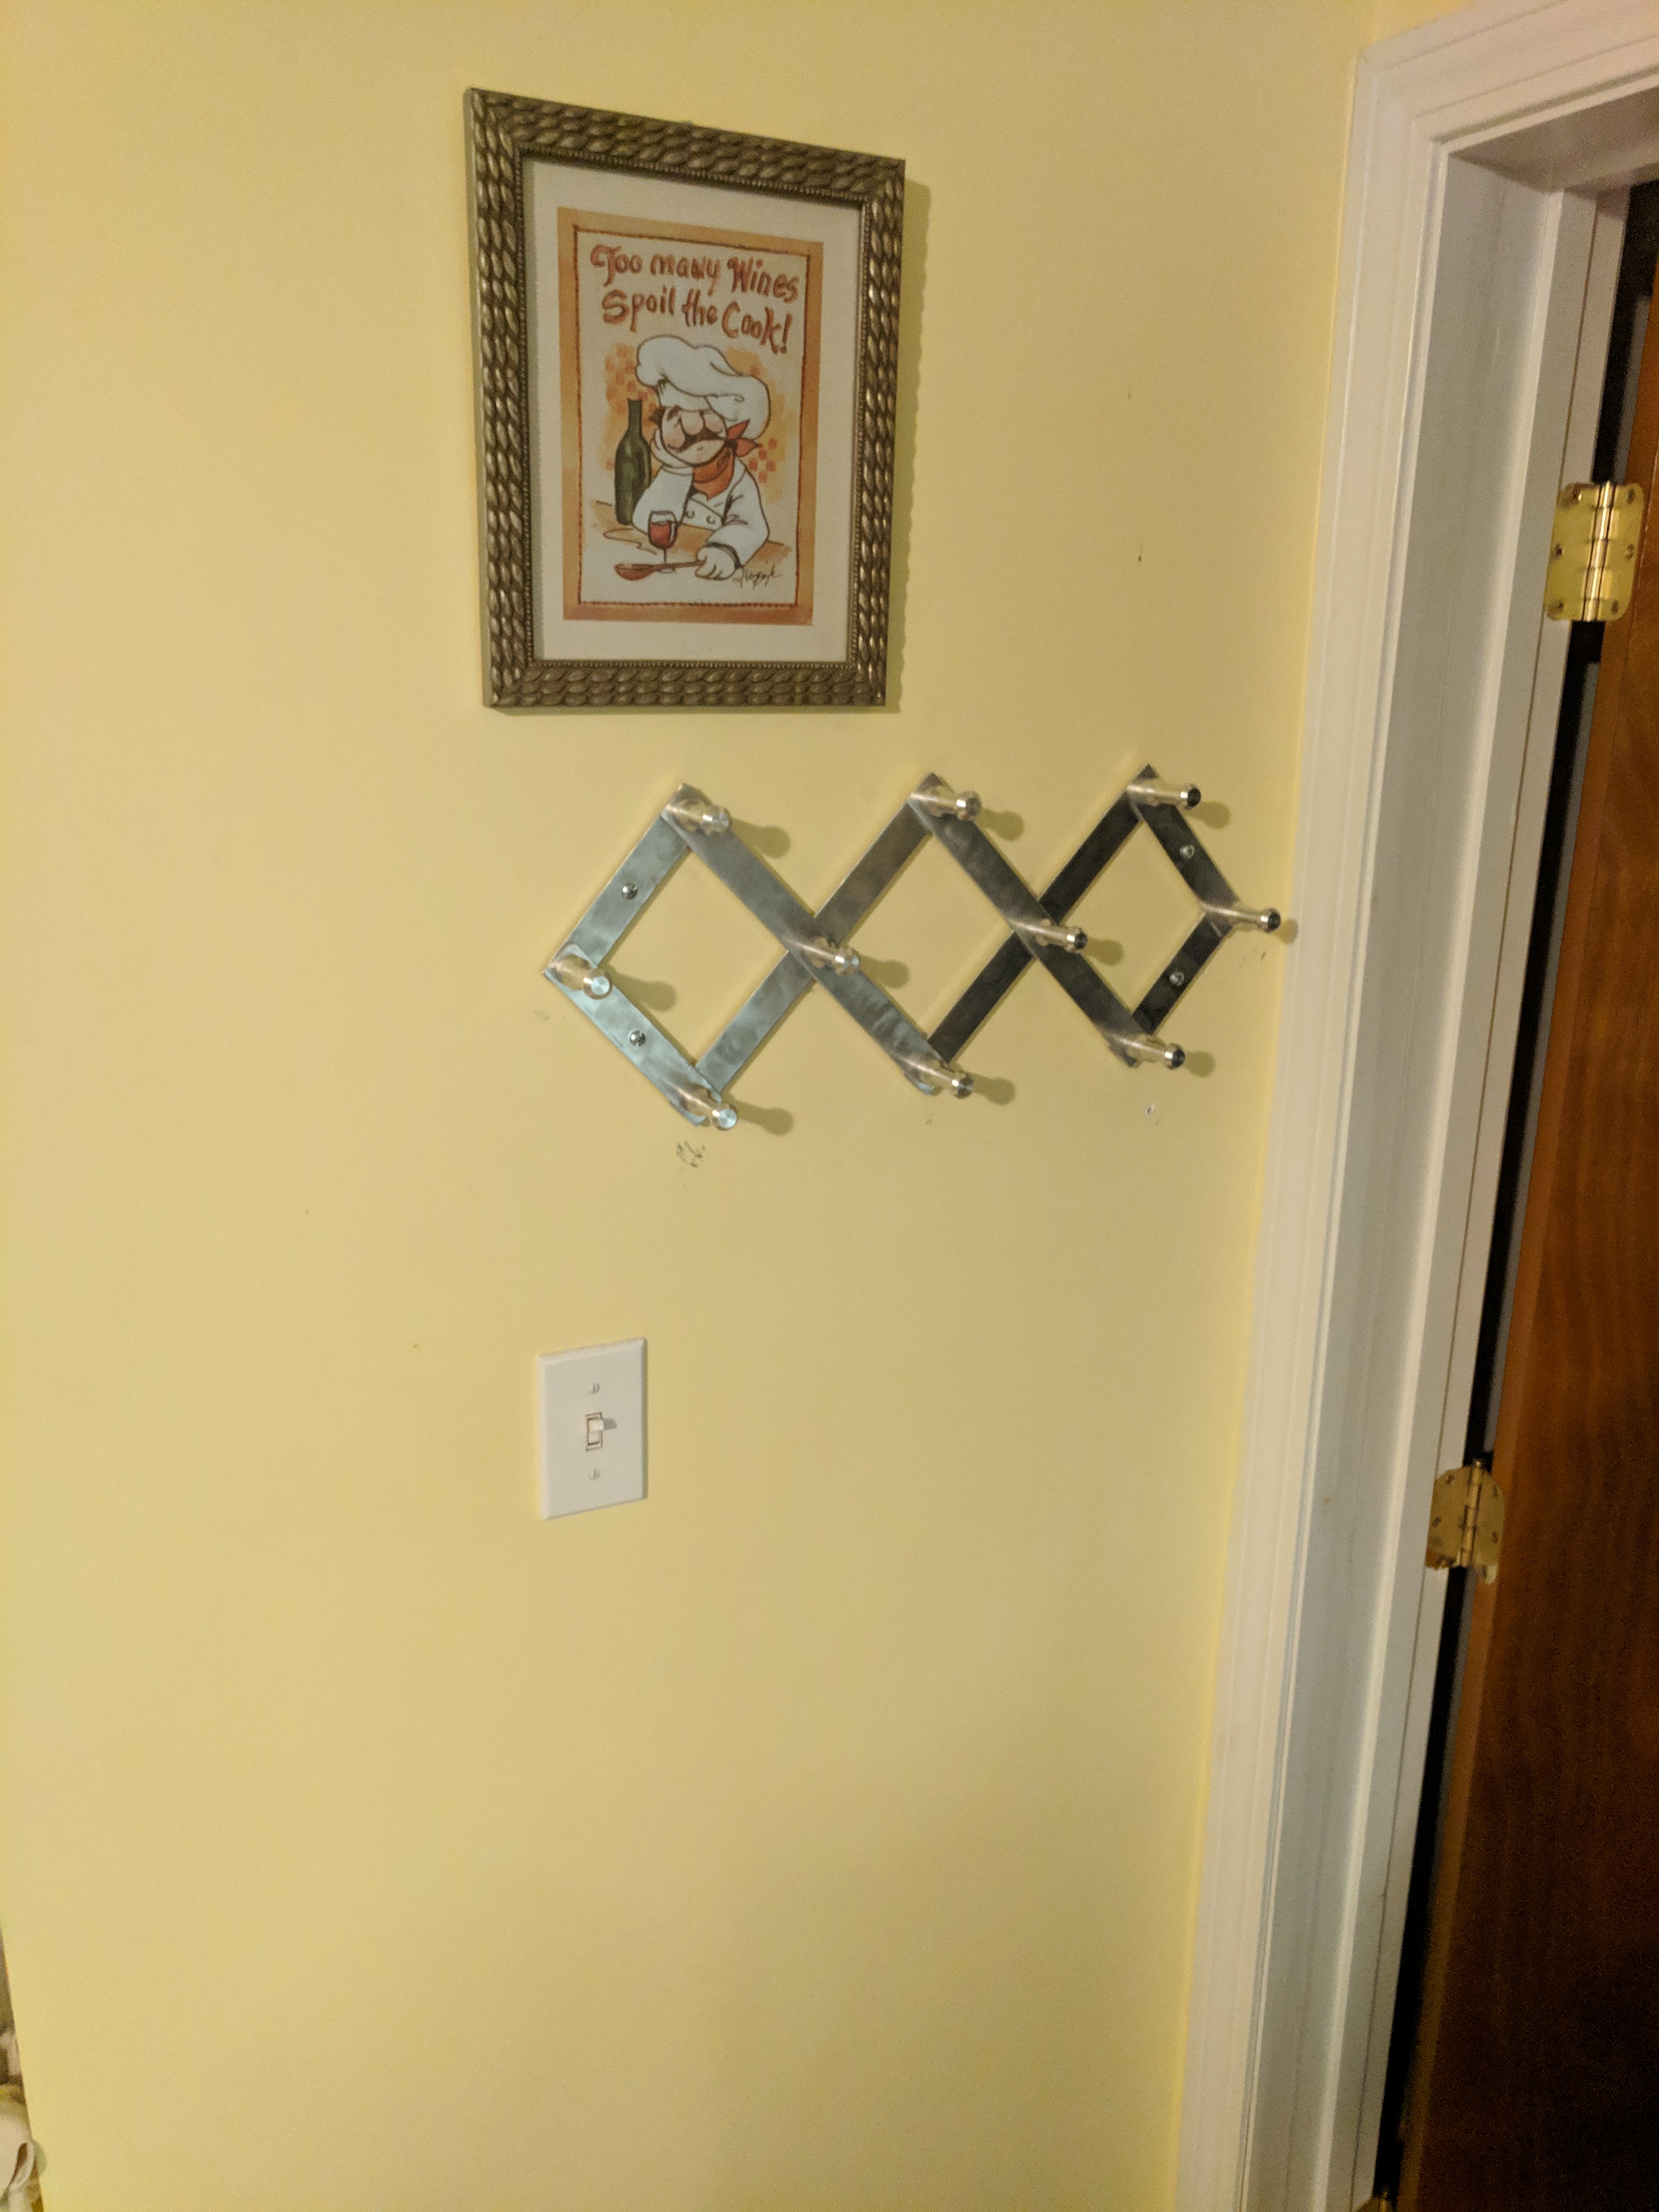
Finally, I drilled 4 holes into my wall, placed anchors, and bolted my new coat rack to the wall. All in all, it turned out quite well! While also simultaneously being able to handle all my coats without a single issue.