[02.27.18]Heating the Wax: Wax Pot Version 2

Description of Project
My first heat-cartridge wax pot died due to the solid metal wire getting pinched and sheered. This project is my attempt at taking all the lessons I learned from my first wax-pot and creating a more robust and useful design.
Processes Applied:


Summary:
The design goals of this wax-pot:
- Larger Volume of held wax
- A higher power heat cartridge
- Shorter time for the stored wax to be fully melted
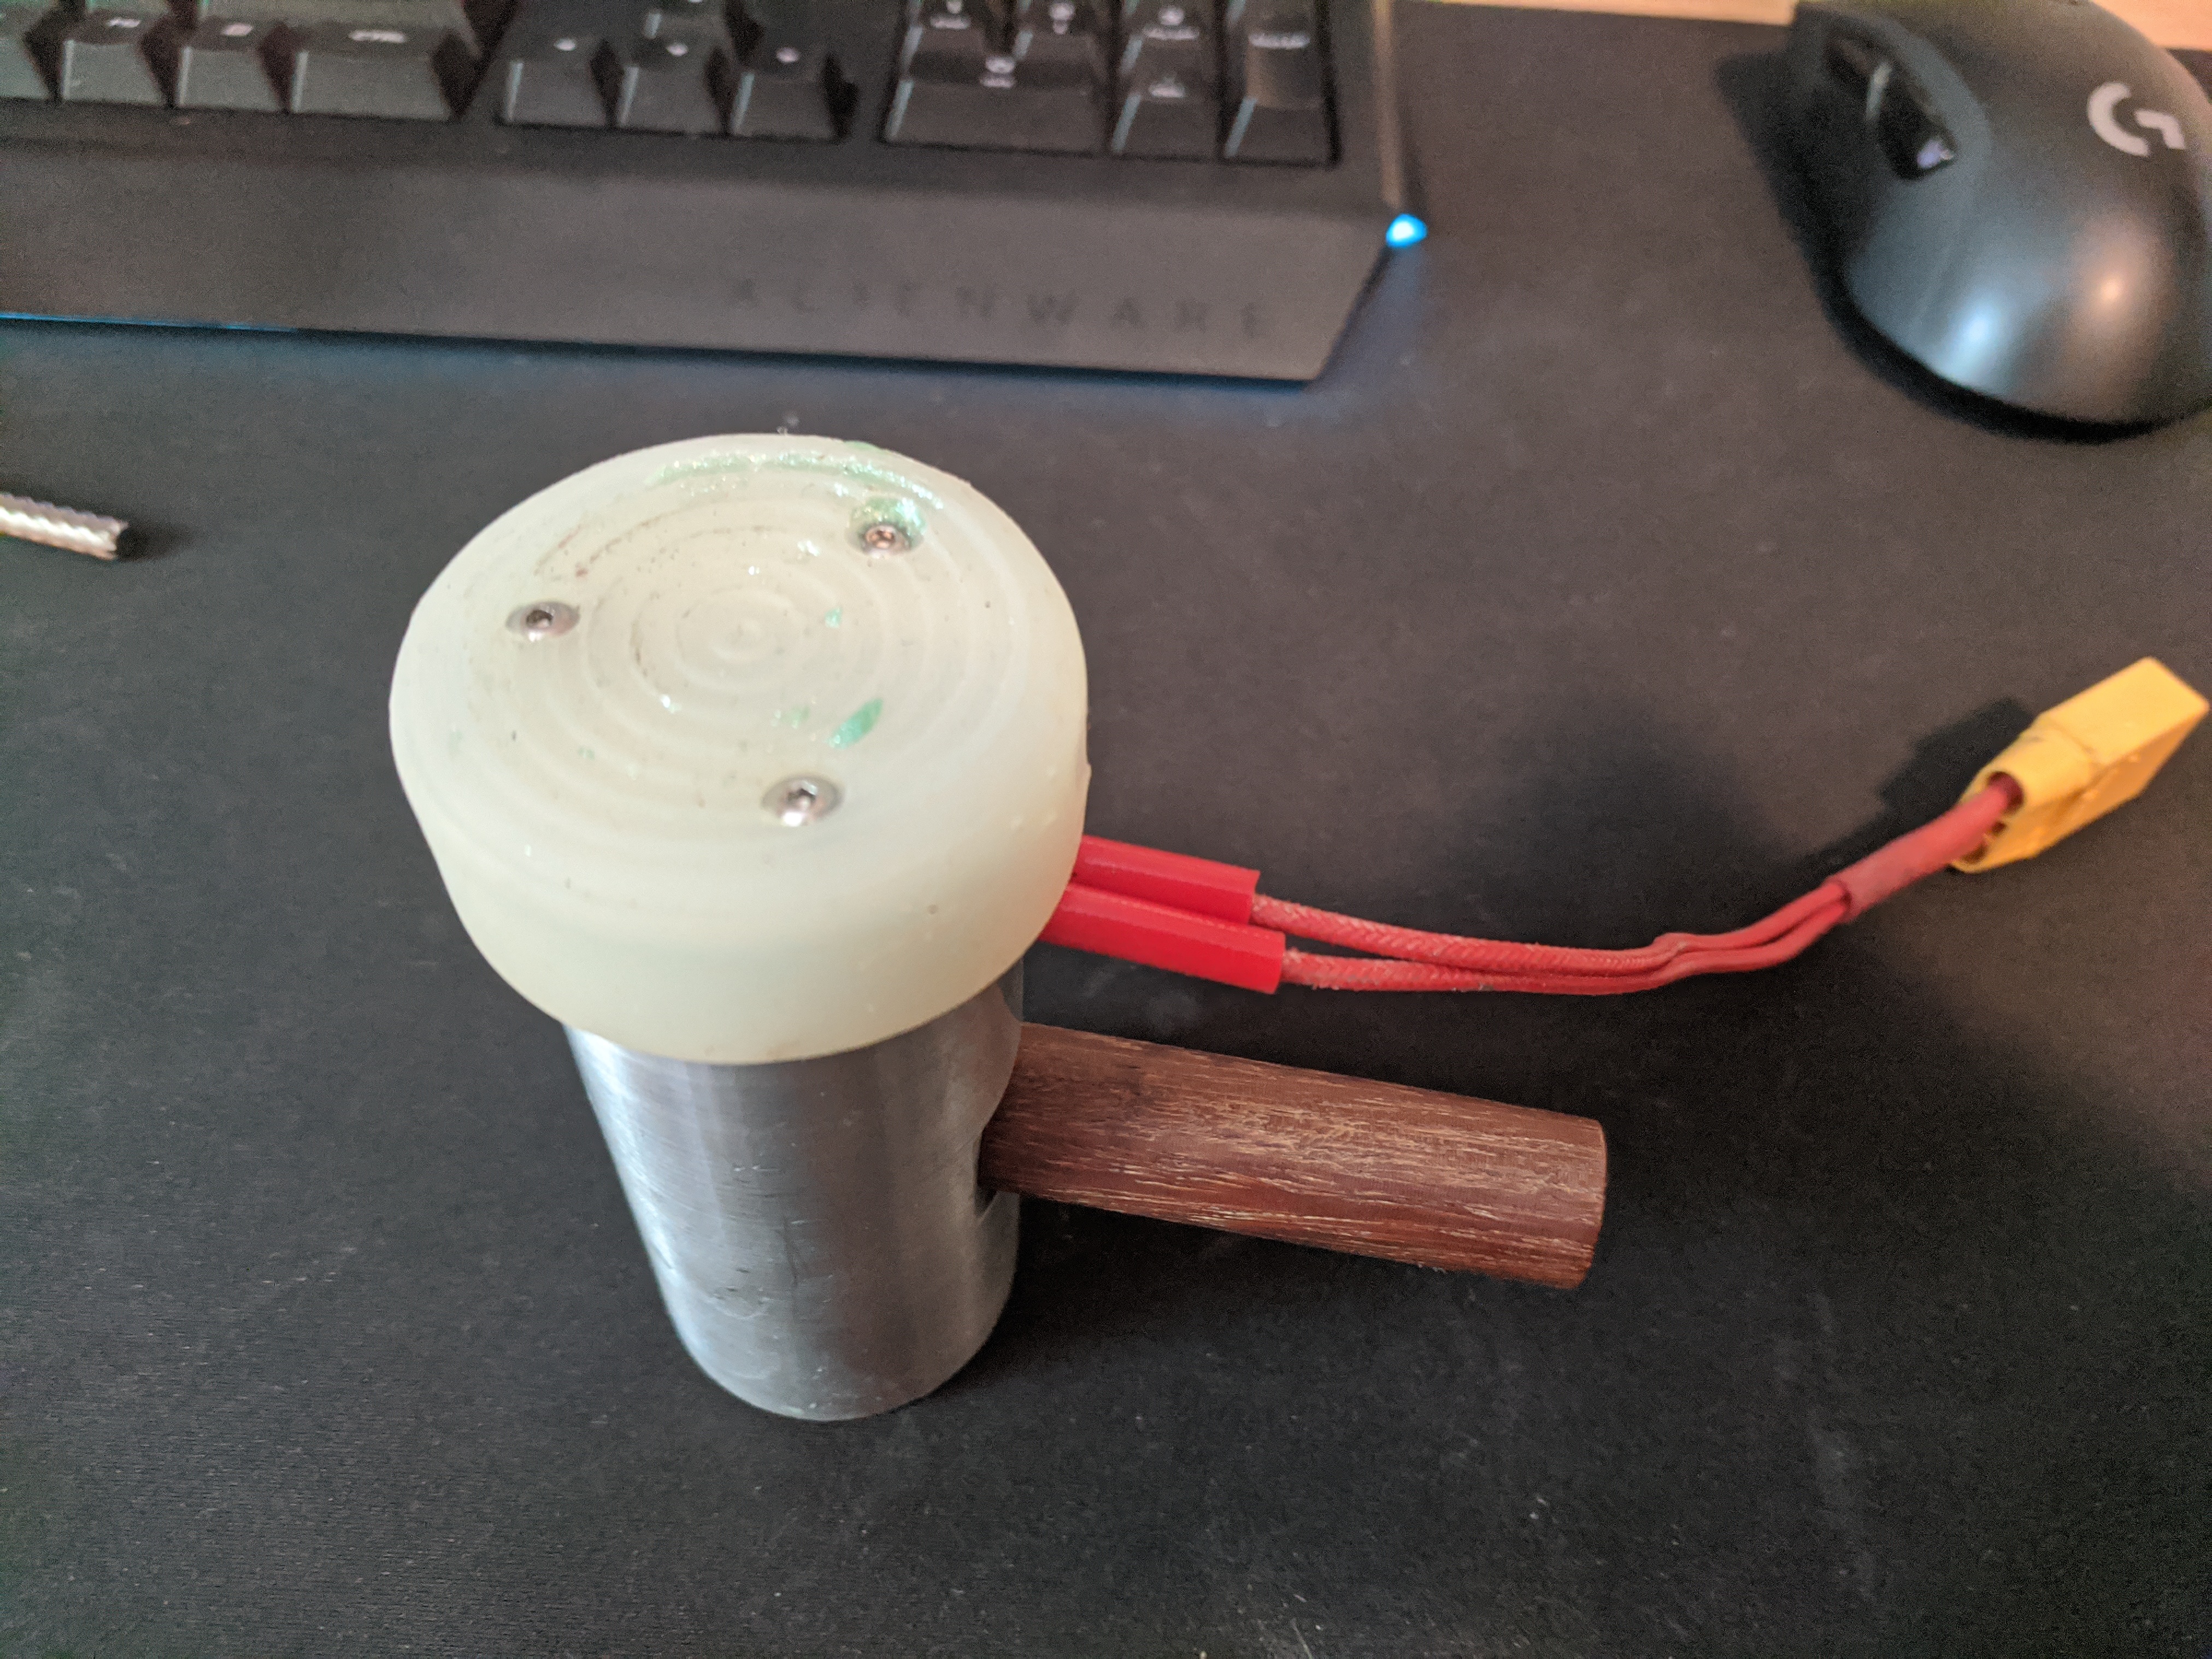
- Strain-relief and protection for the power connections
- A sturdy and insulating base
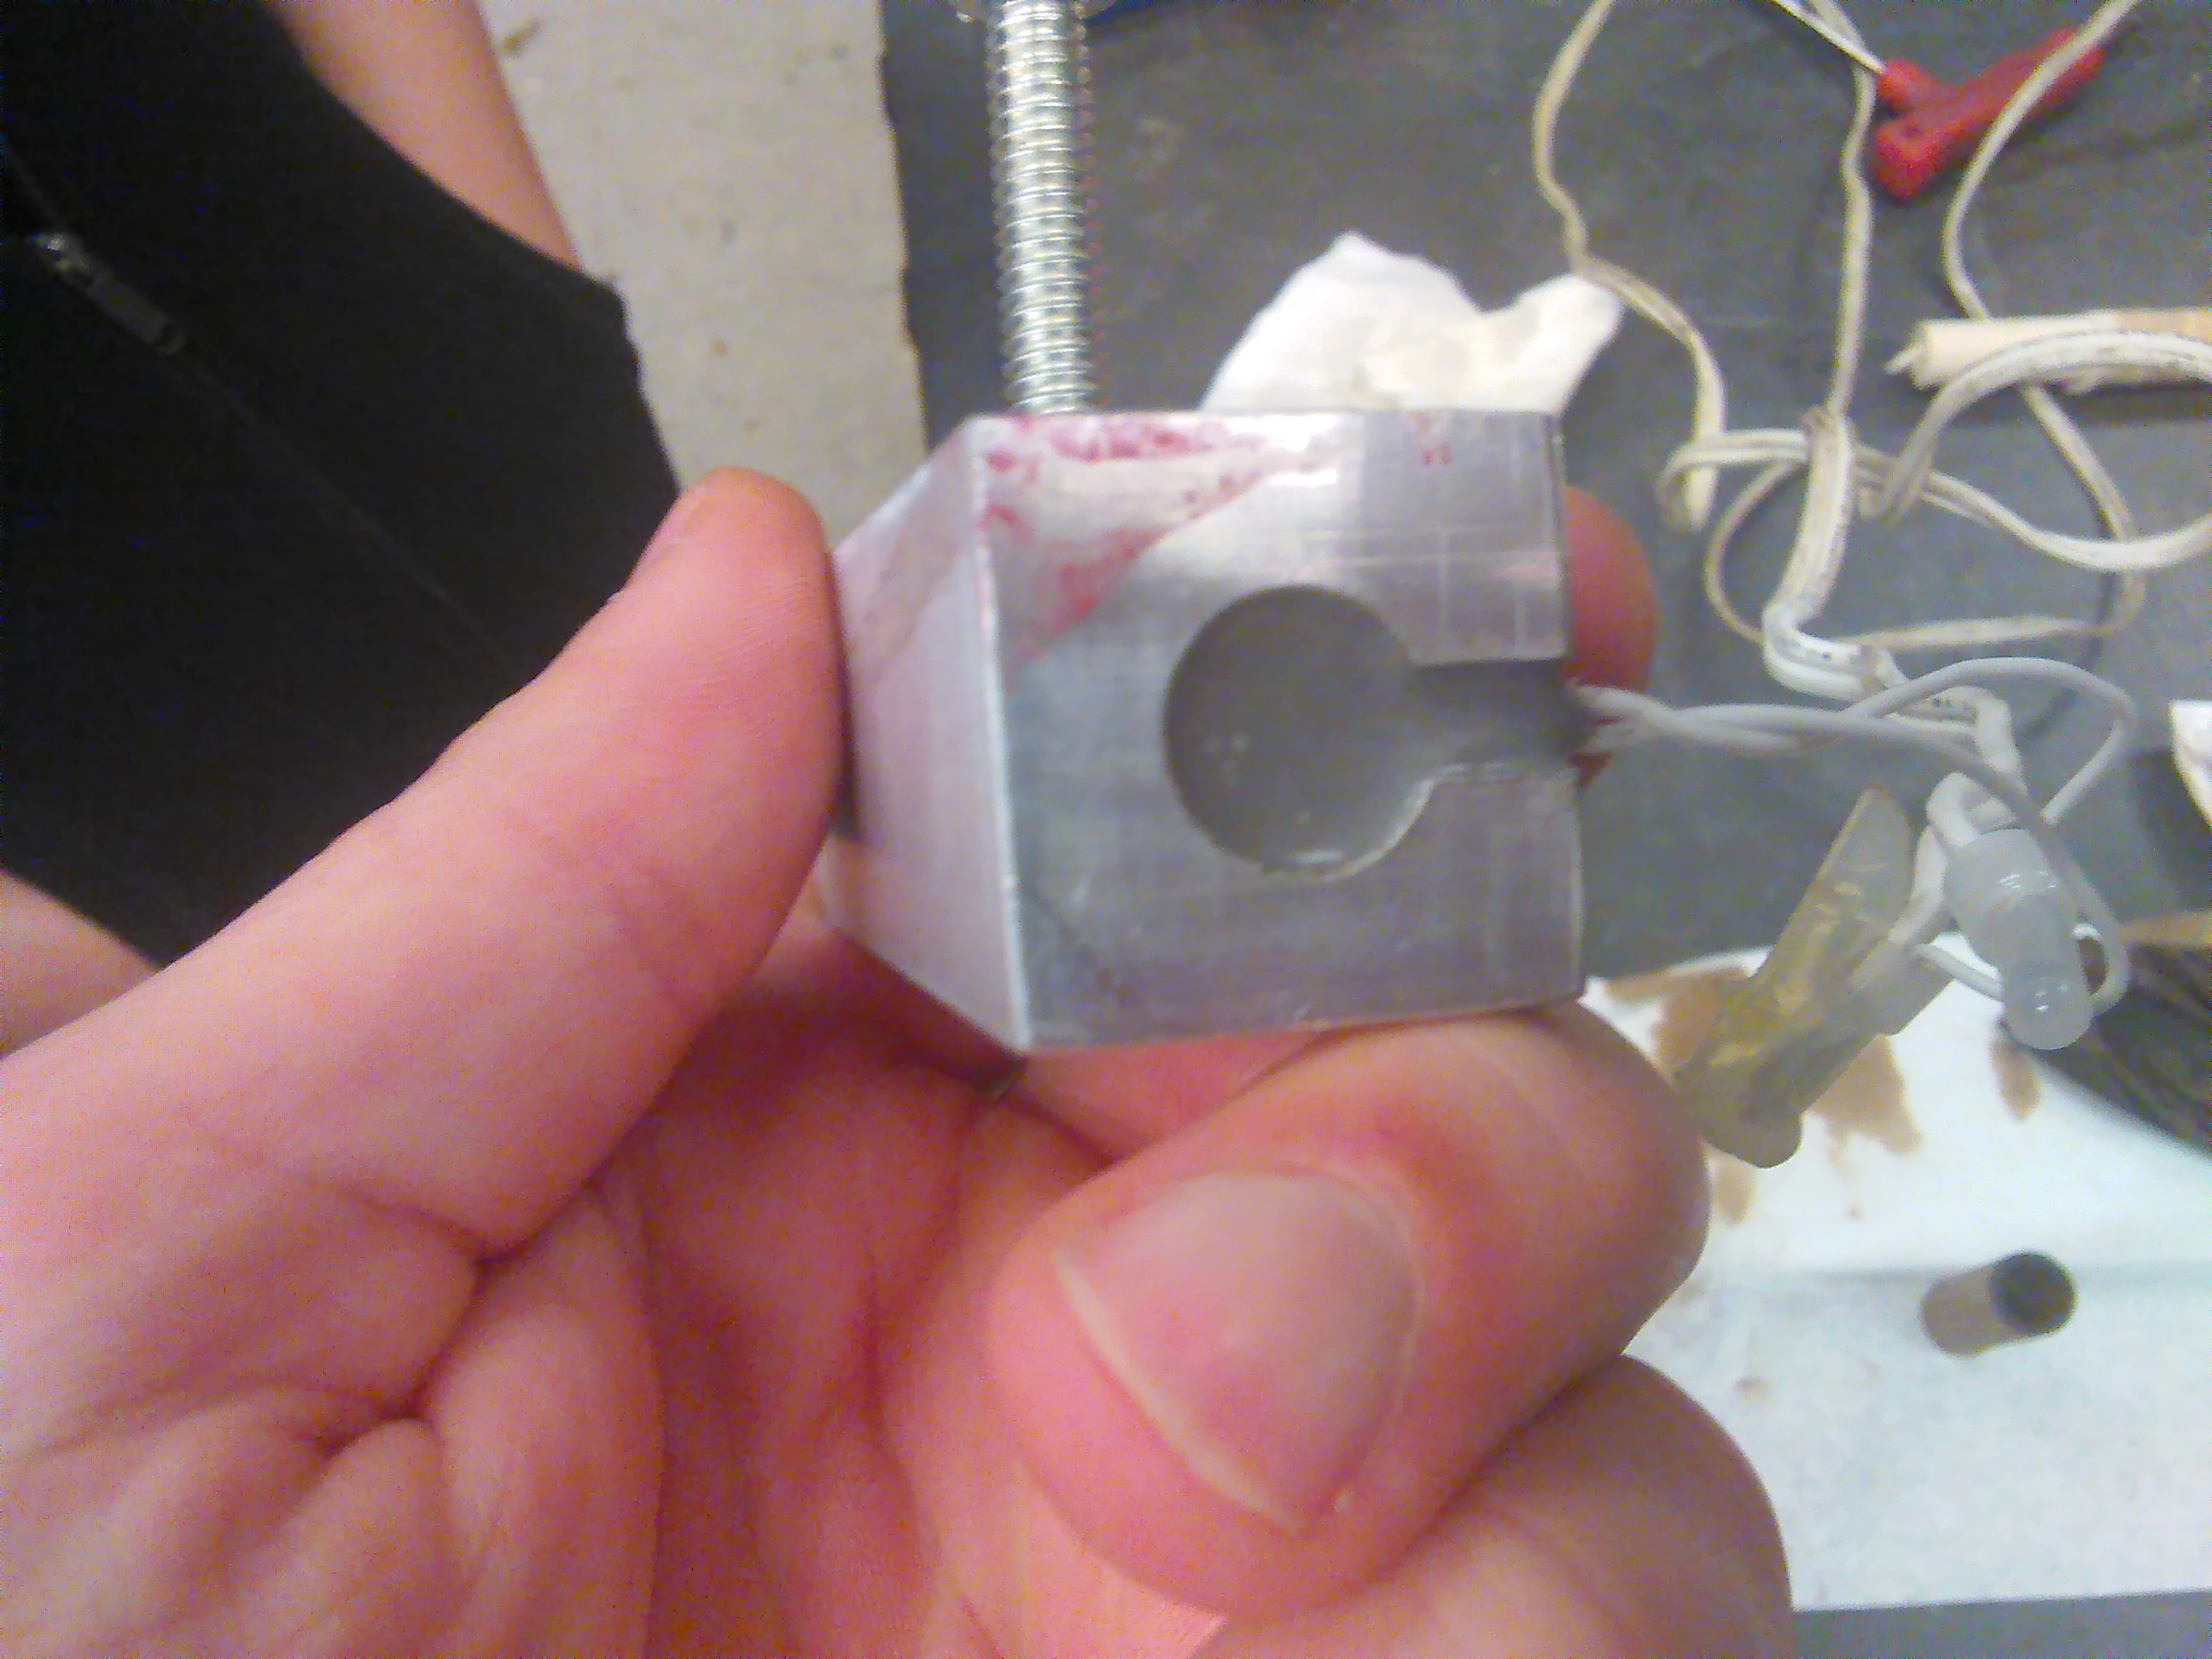
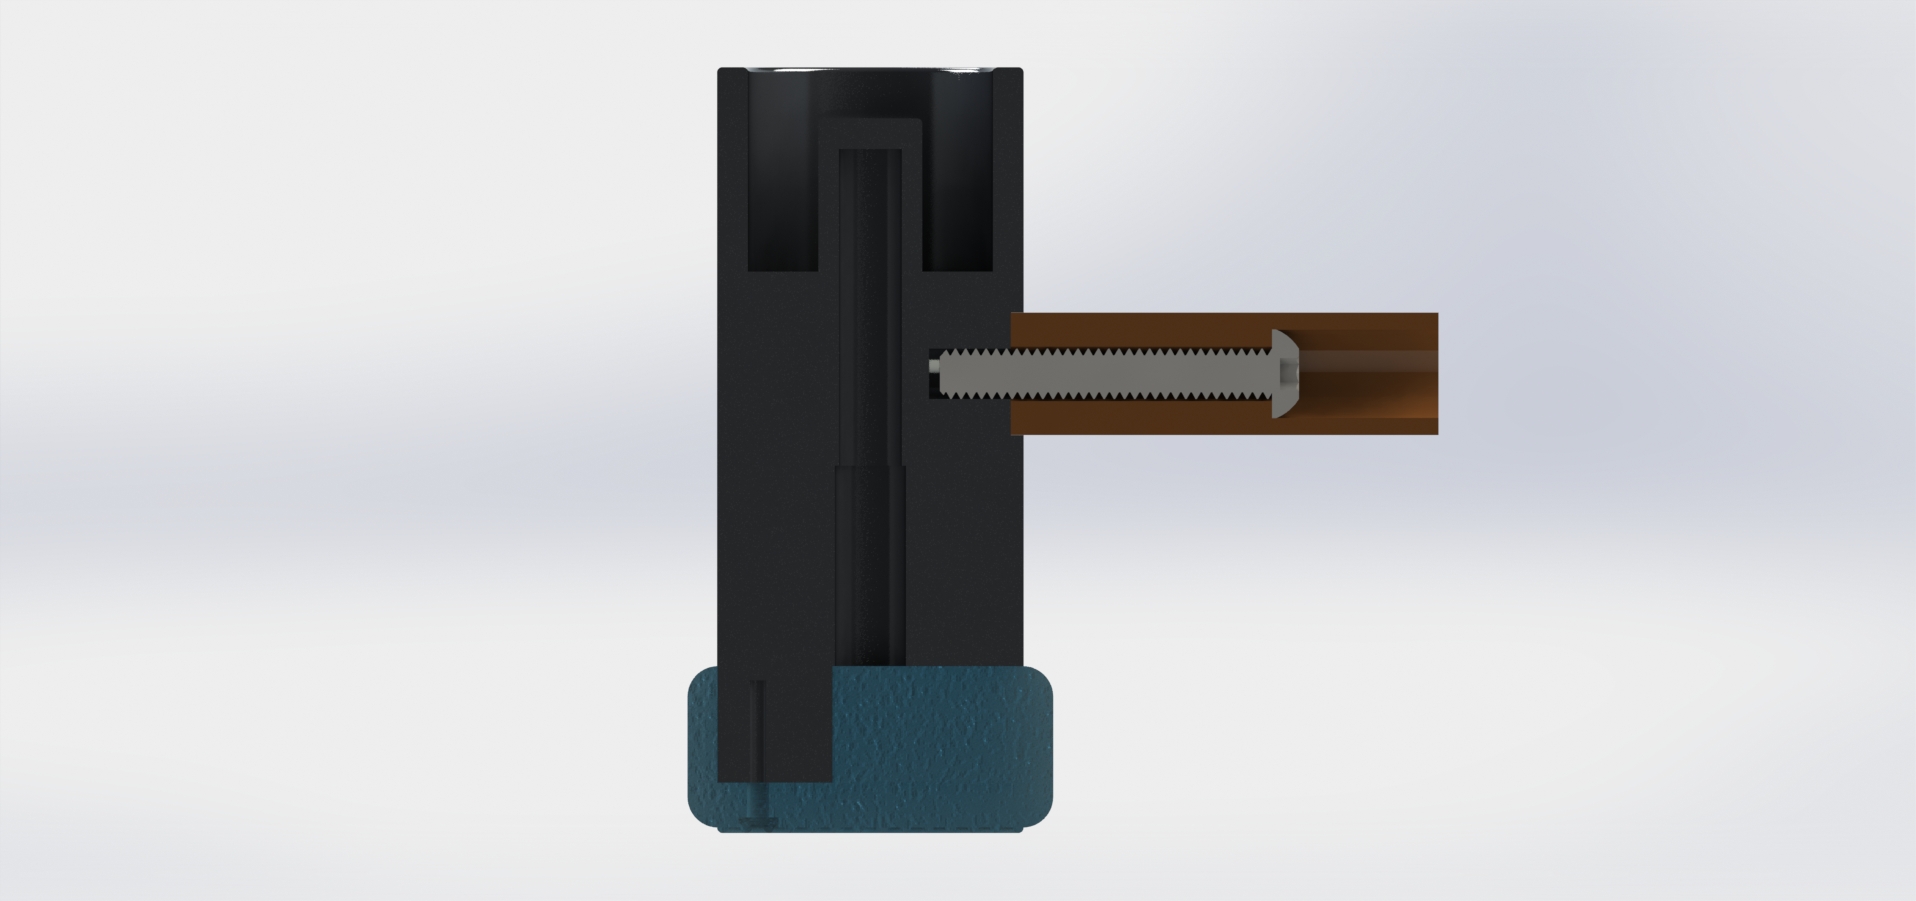
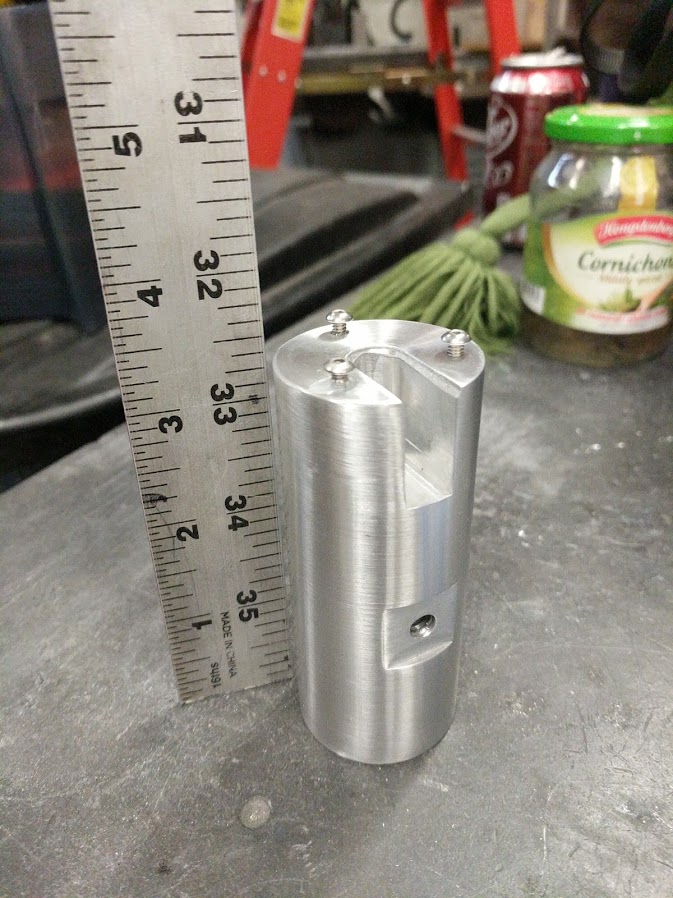
The main design goal that constrains this project the most is the cartridge heater. The component is an off-the-shelf ceramic-nichrome wire device that is designed to produce heat by passing current through a high impedance wire. Cartridge heaters come in various sizes and made of different materials designed to work under different temperature environments. Due to the nature of this project, simply melting wax, I decided to go for a simple 100 watt cartridge heater which I bought off eBay (pack of 2: ~$8). To optimize the use of the heat generated by the cartridge heater I designed the heater to be press fit into the base of the pot with 2/5th's of the heater housed within a metal island in the wax retaining pot. This will allow for a significant portion of the heat to be directed directly to the wax. Due to the heaters being metric, I was unable to bore a ream a precise hole for the cartridge heater. But since I was able to get significantly close, I decided to fill the hole with a layer of thermal paste. The thermal paste acts as a gap-filler as well as a thermally conductive medium, which will not negatively affect the speed of thermal transfer.
The reason that insuring there are no gaps between the cartridge heater and the walls of the hole is because I designed the heater to be epoxied into place to reduce movement and damage to the heater itself. Compared to my first wax-pot, this epoxying job was more difficult due to the increased complexity of the wire tensioning and its new protective sheath. Overall it achieved its intended purpose but did not create as clean of a look as the previous version did.
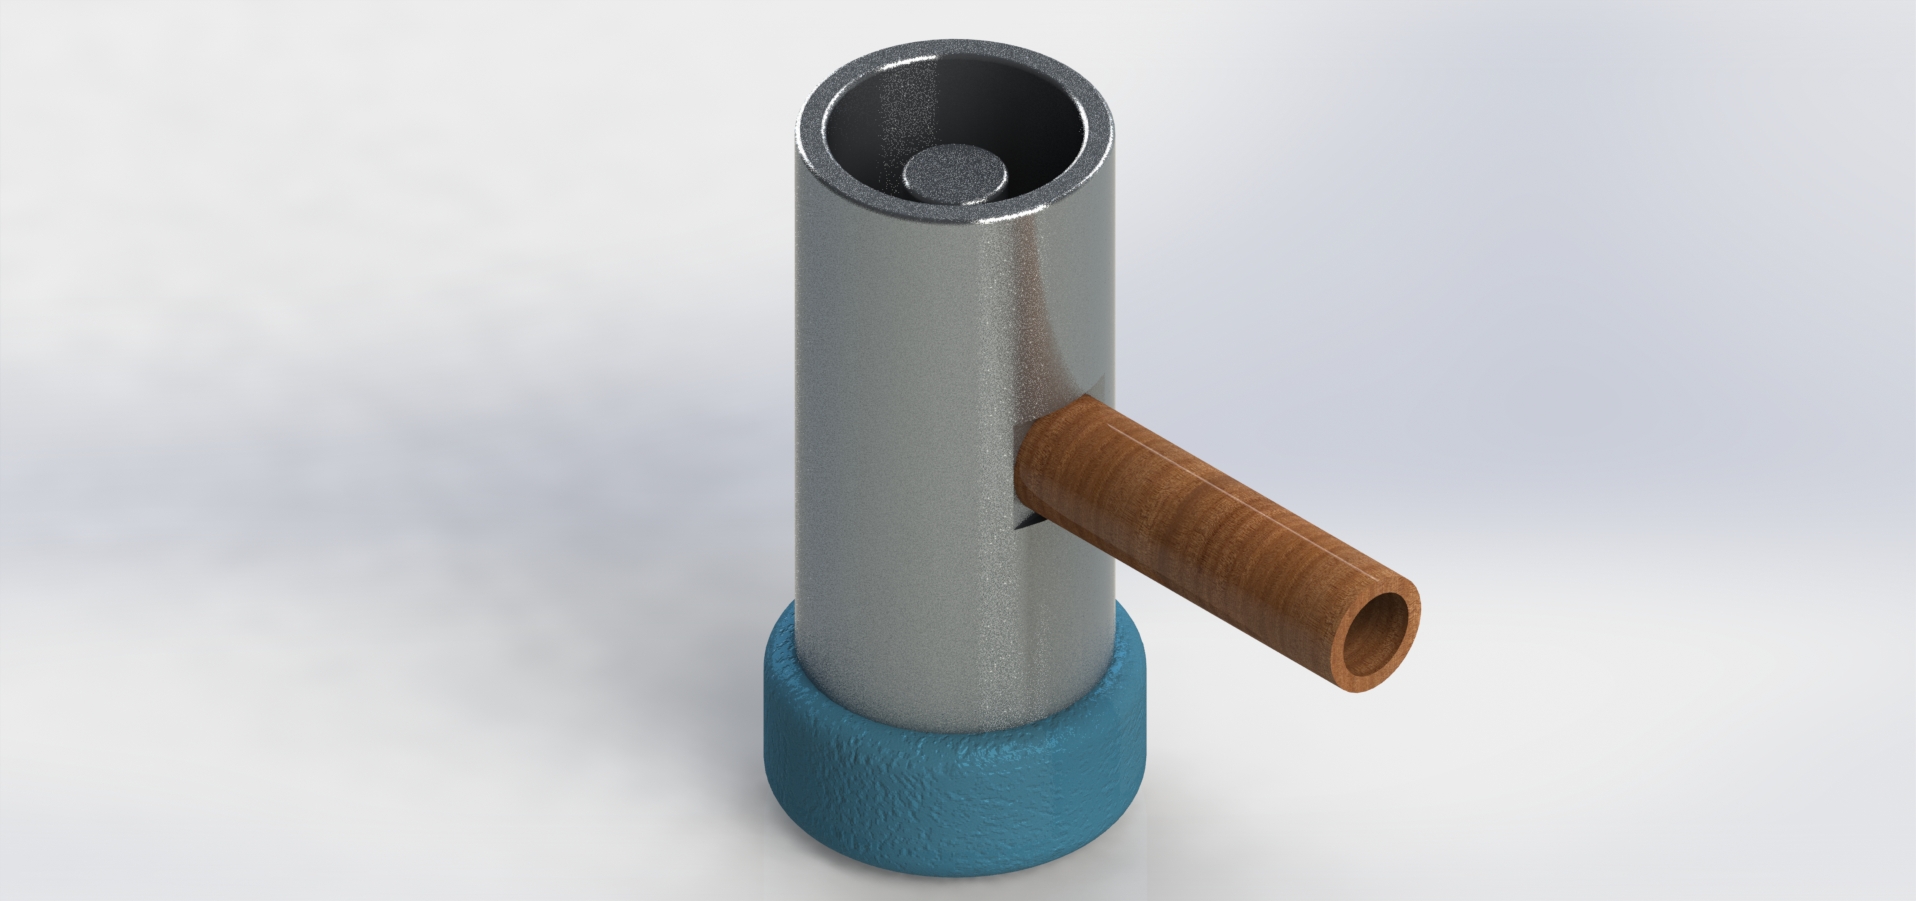
For the handle of the pot I decided to reuse the nice wood handle that I made for the previous wax pot, which is comprised of a simple 1/4-20 bolt that is threaded into the side of the main body.
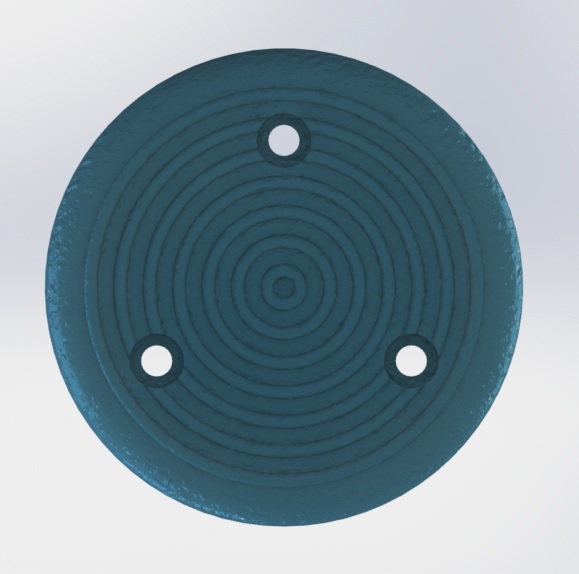
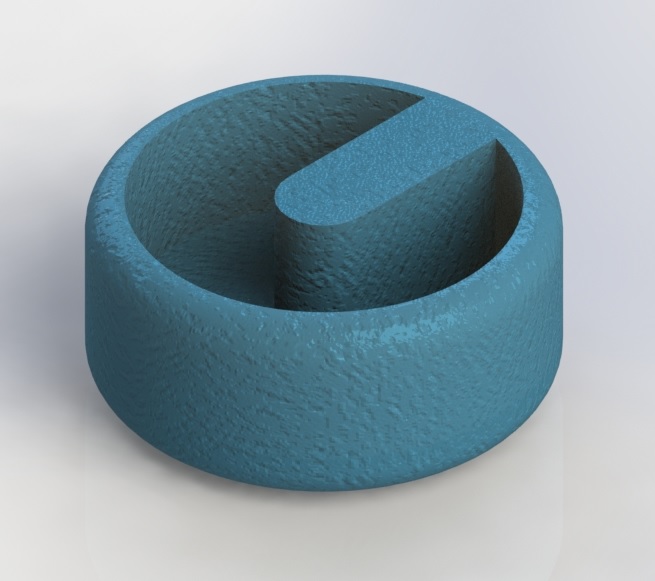
Finally the silicone foot is designed to:
- Insulate the working surface from the heat
- Plug the left-over holes to increase its rigidity and improve the device's aesthetics
- Create a gripping surface to reduce spills
As of yet, I have been unable to get to the silicone cast foot (see picture below of the final design render), but have the designs ready. I will be printing a two-part mold and casting the silicone with the help of a friend of mine whose graduate research revolves around creating complex robots using silicone cast parts.