[02.24.2018]Turning a Steel Pulley: Custom Steel Pulley

Description of Project
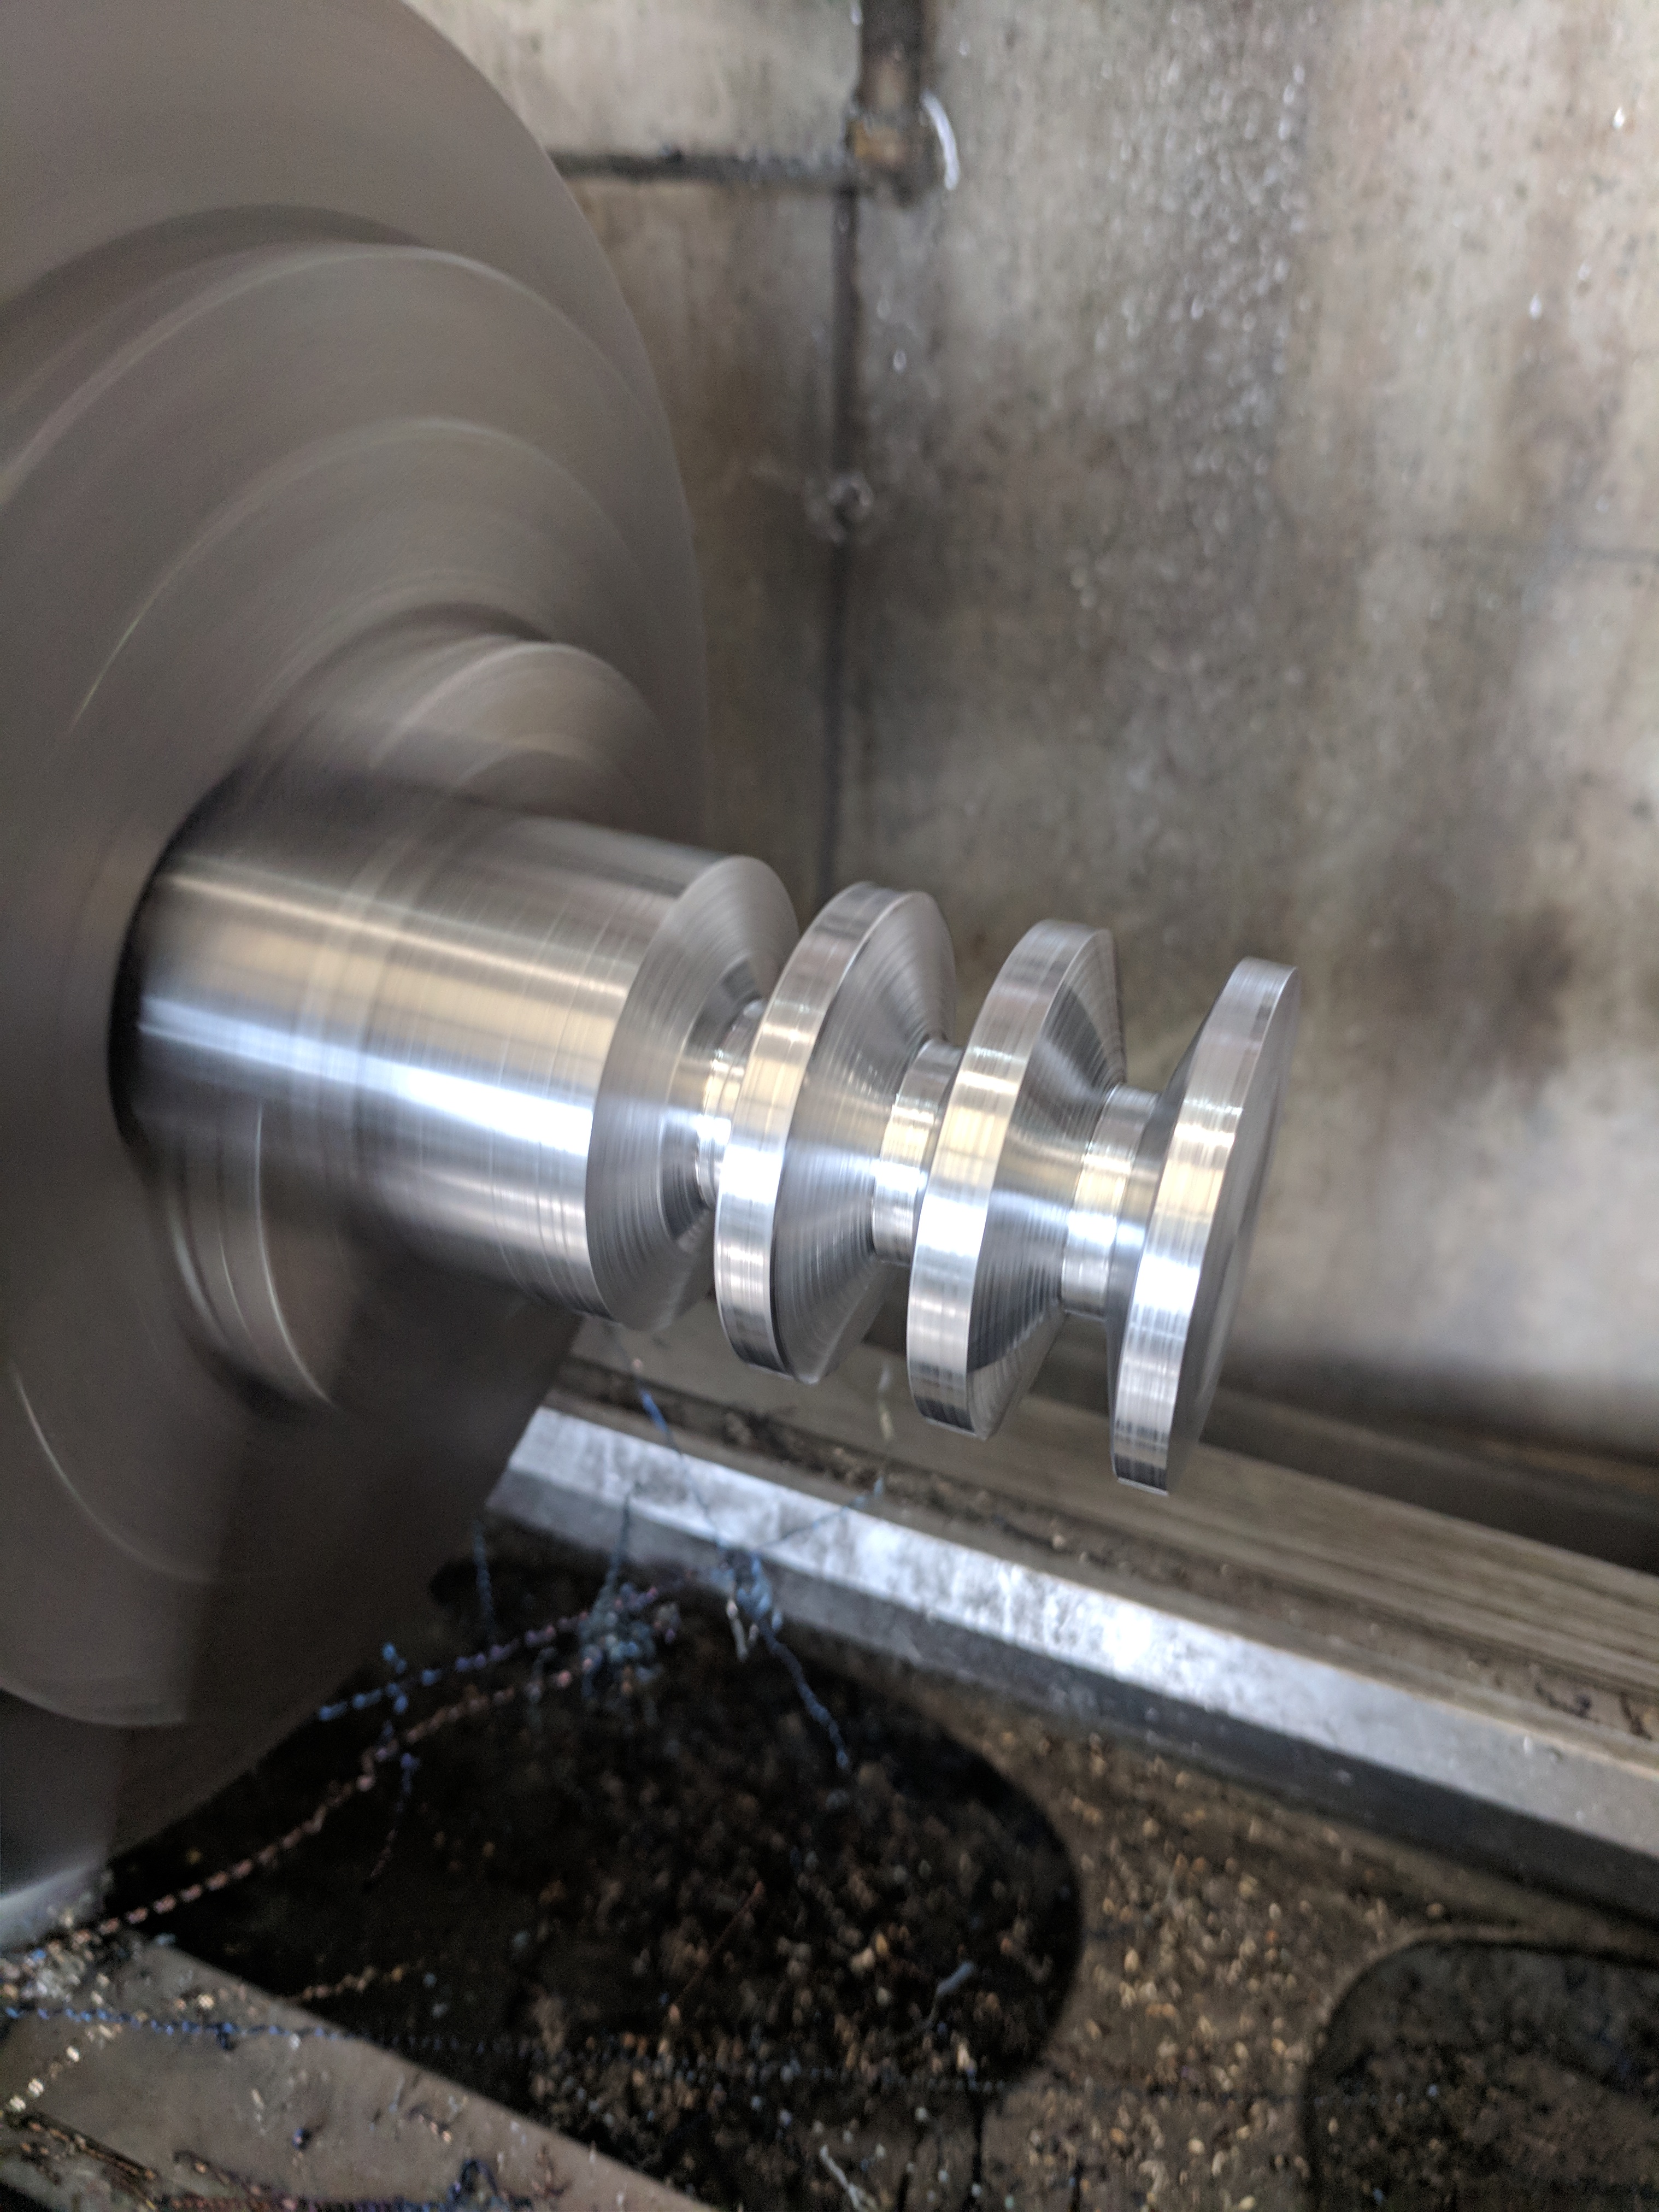
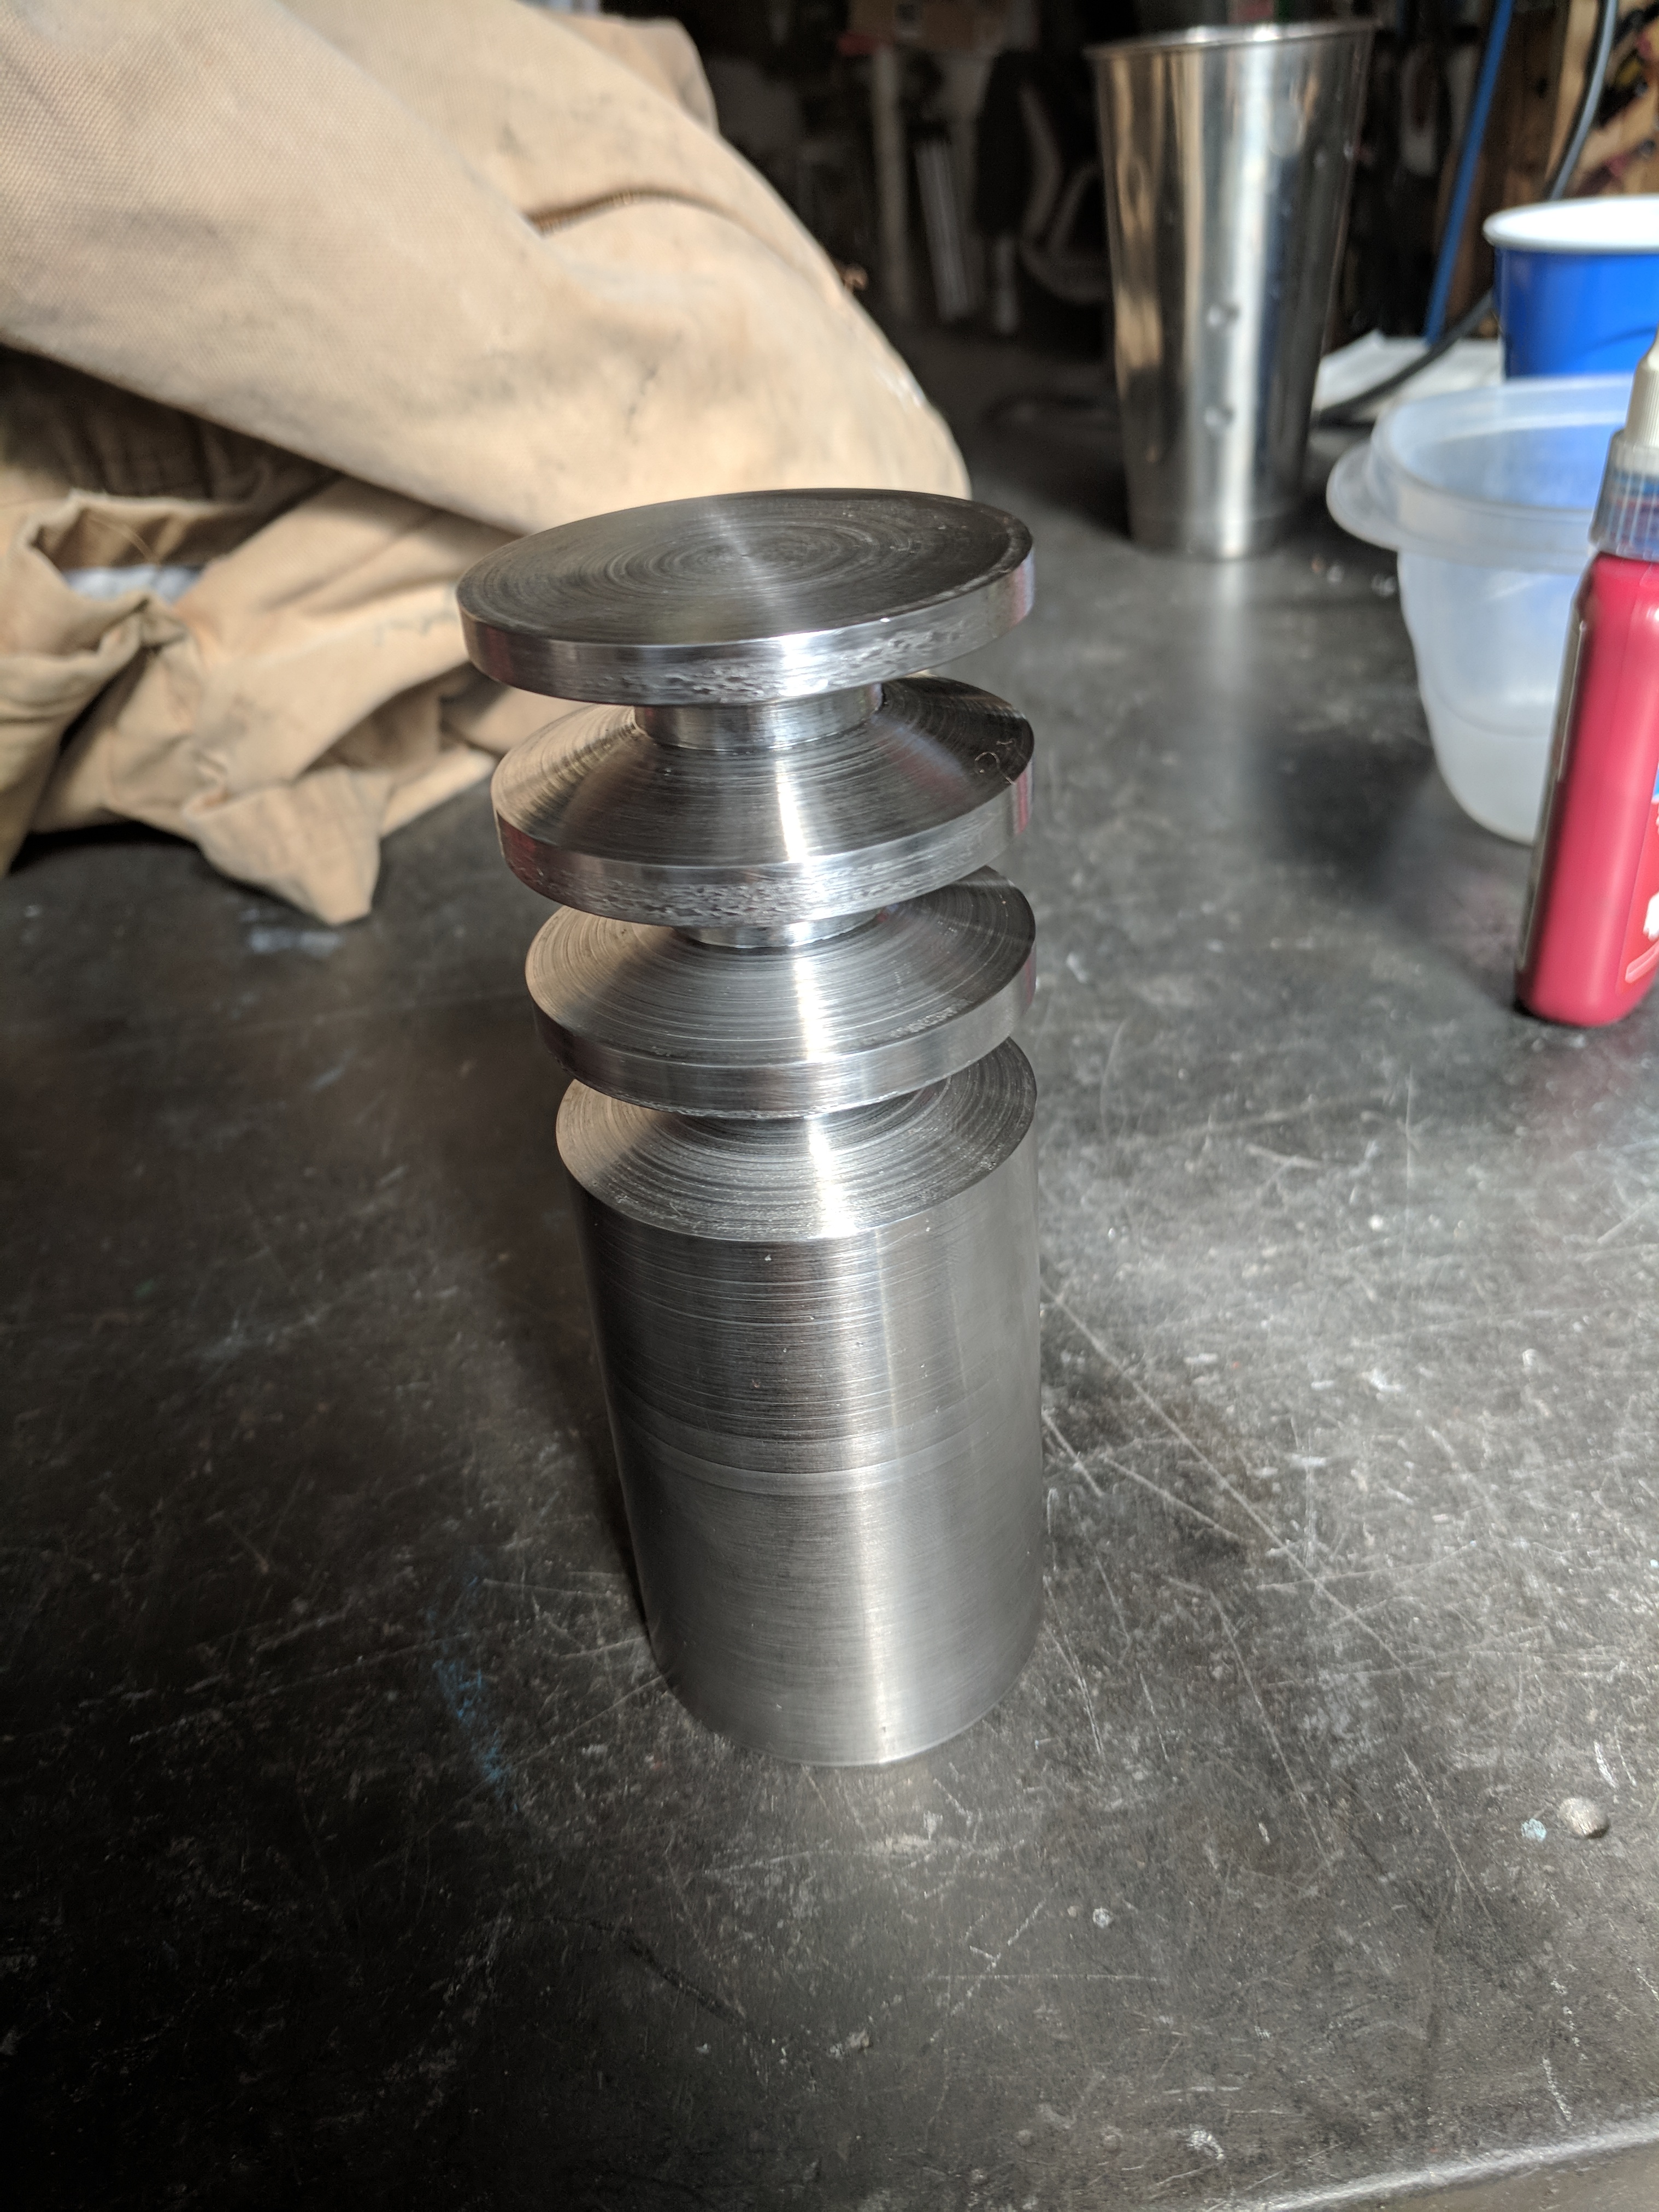
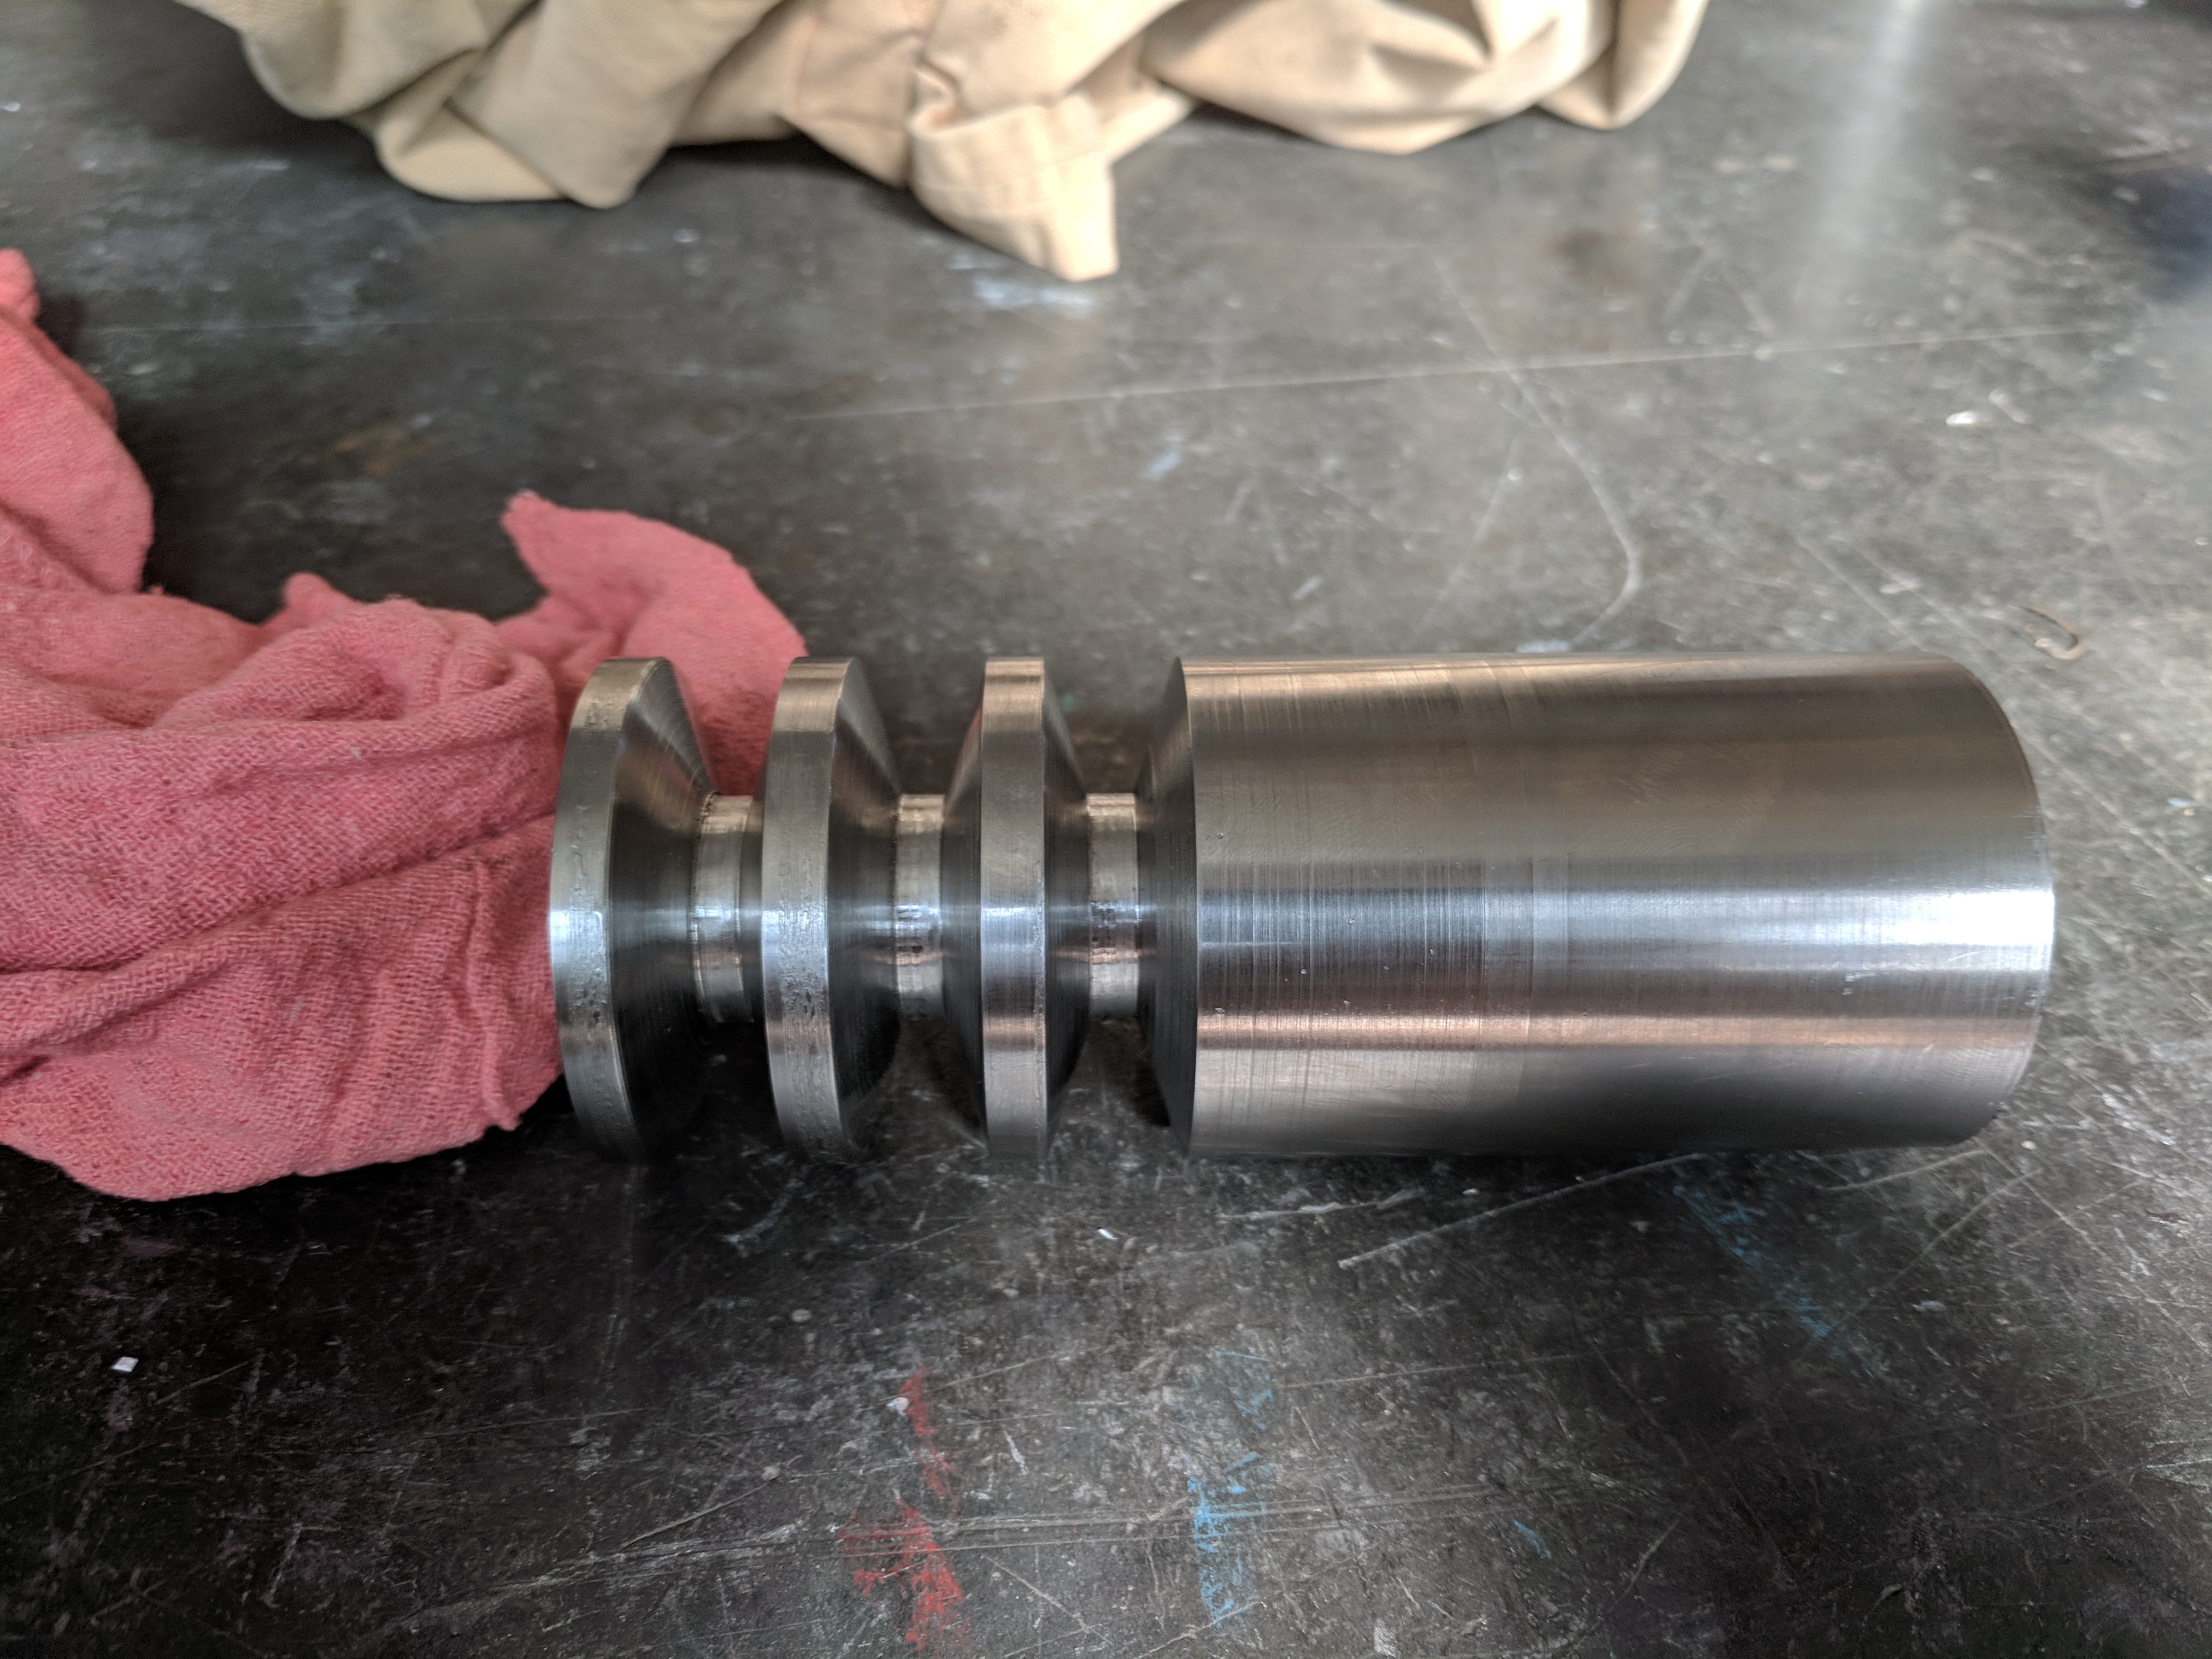
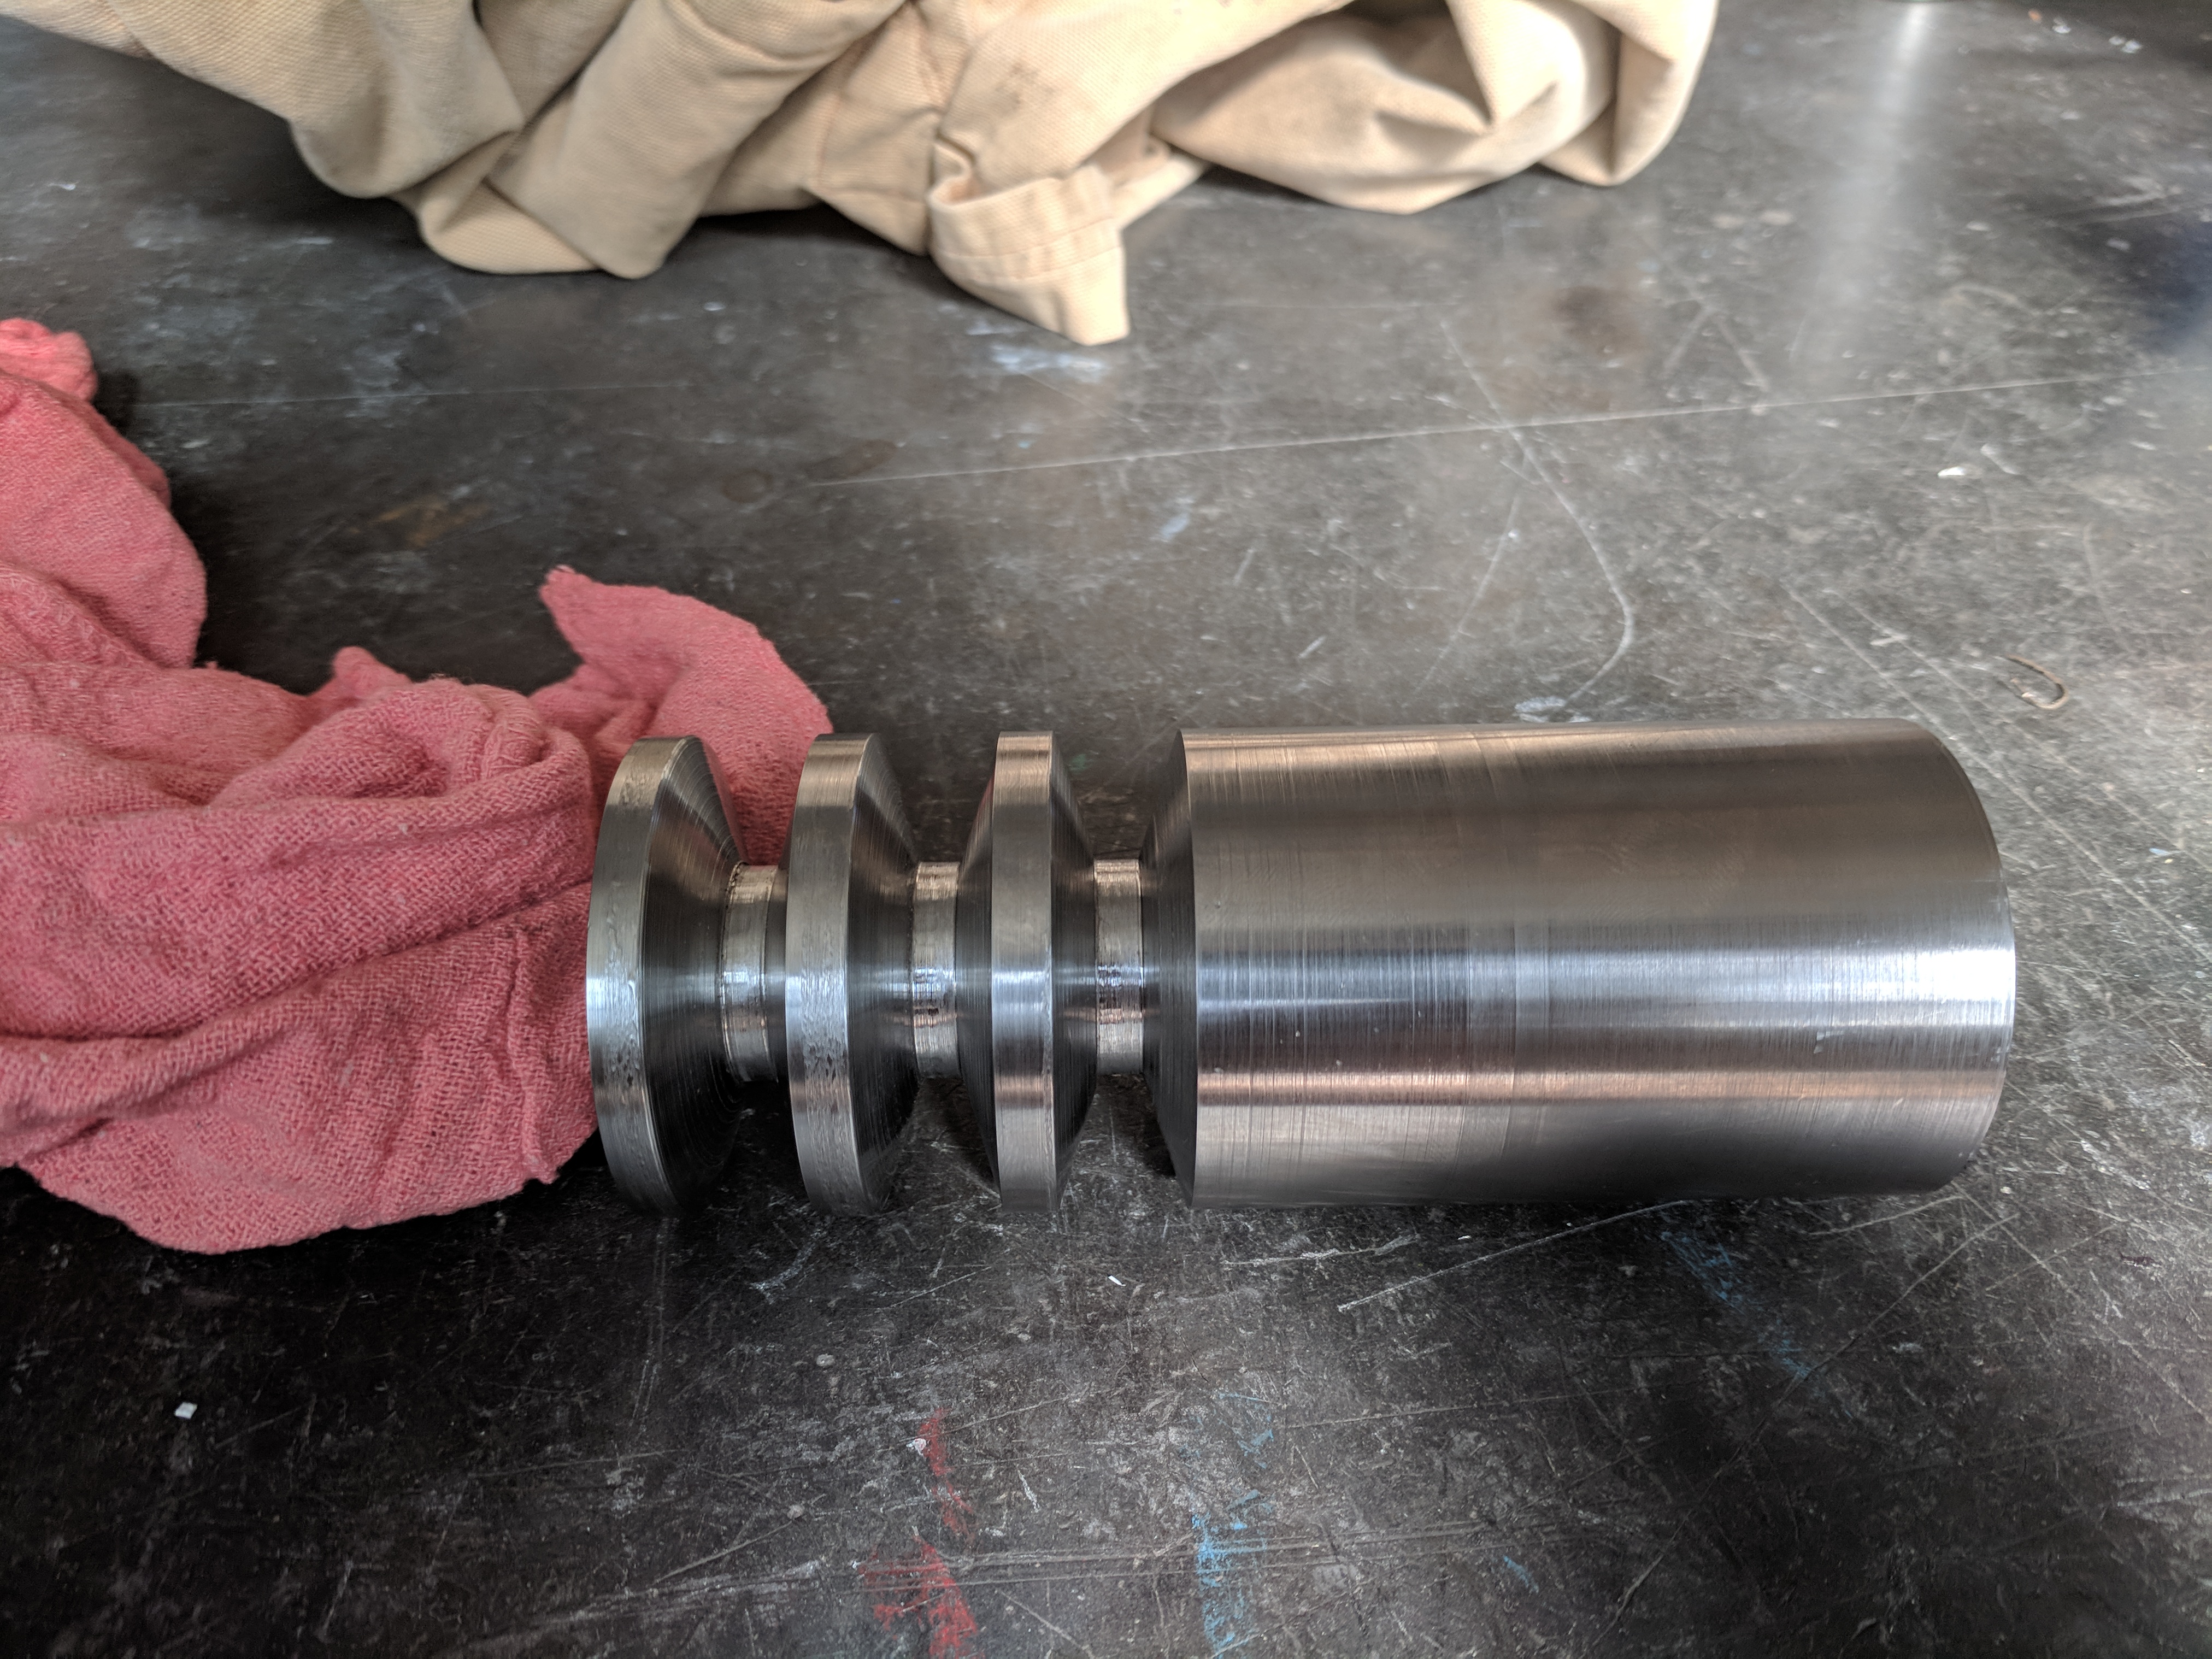
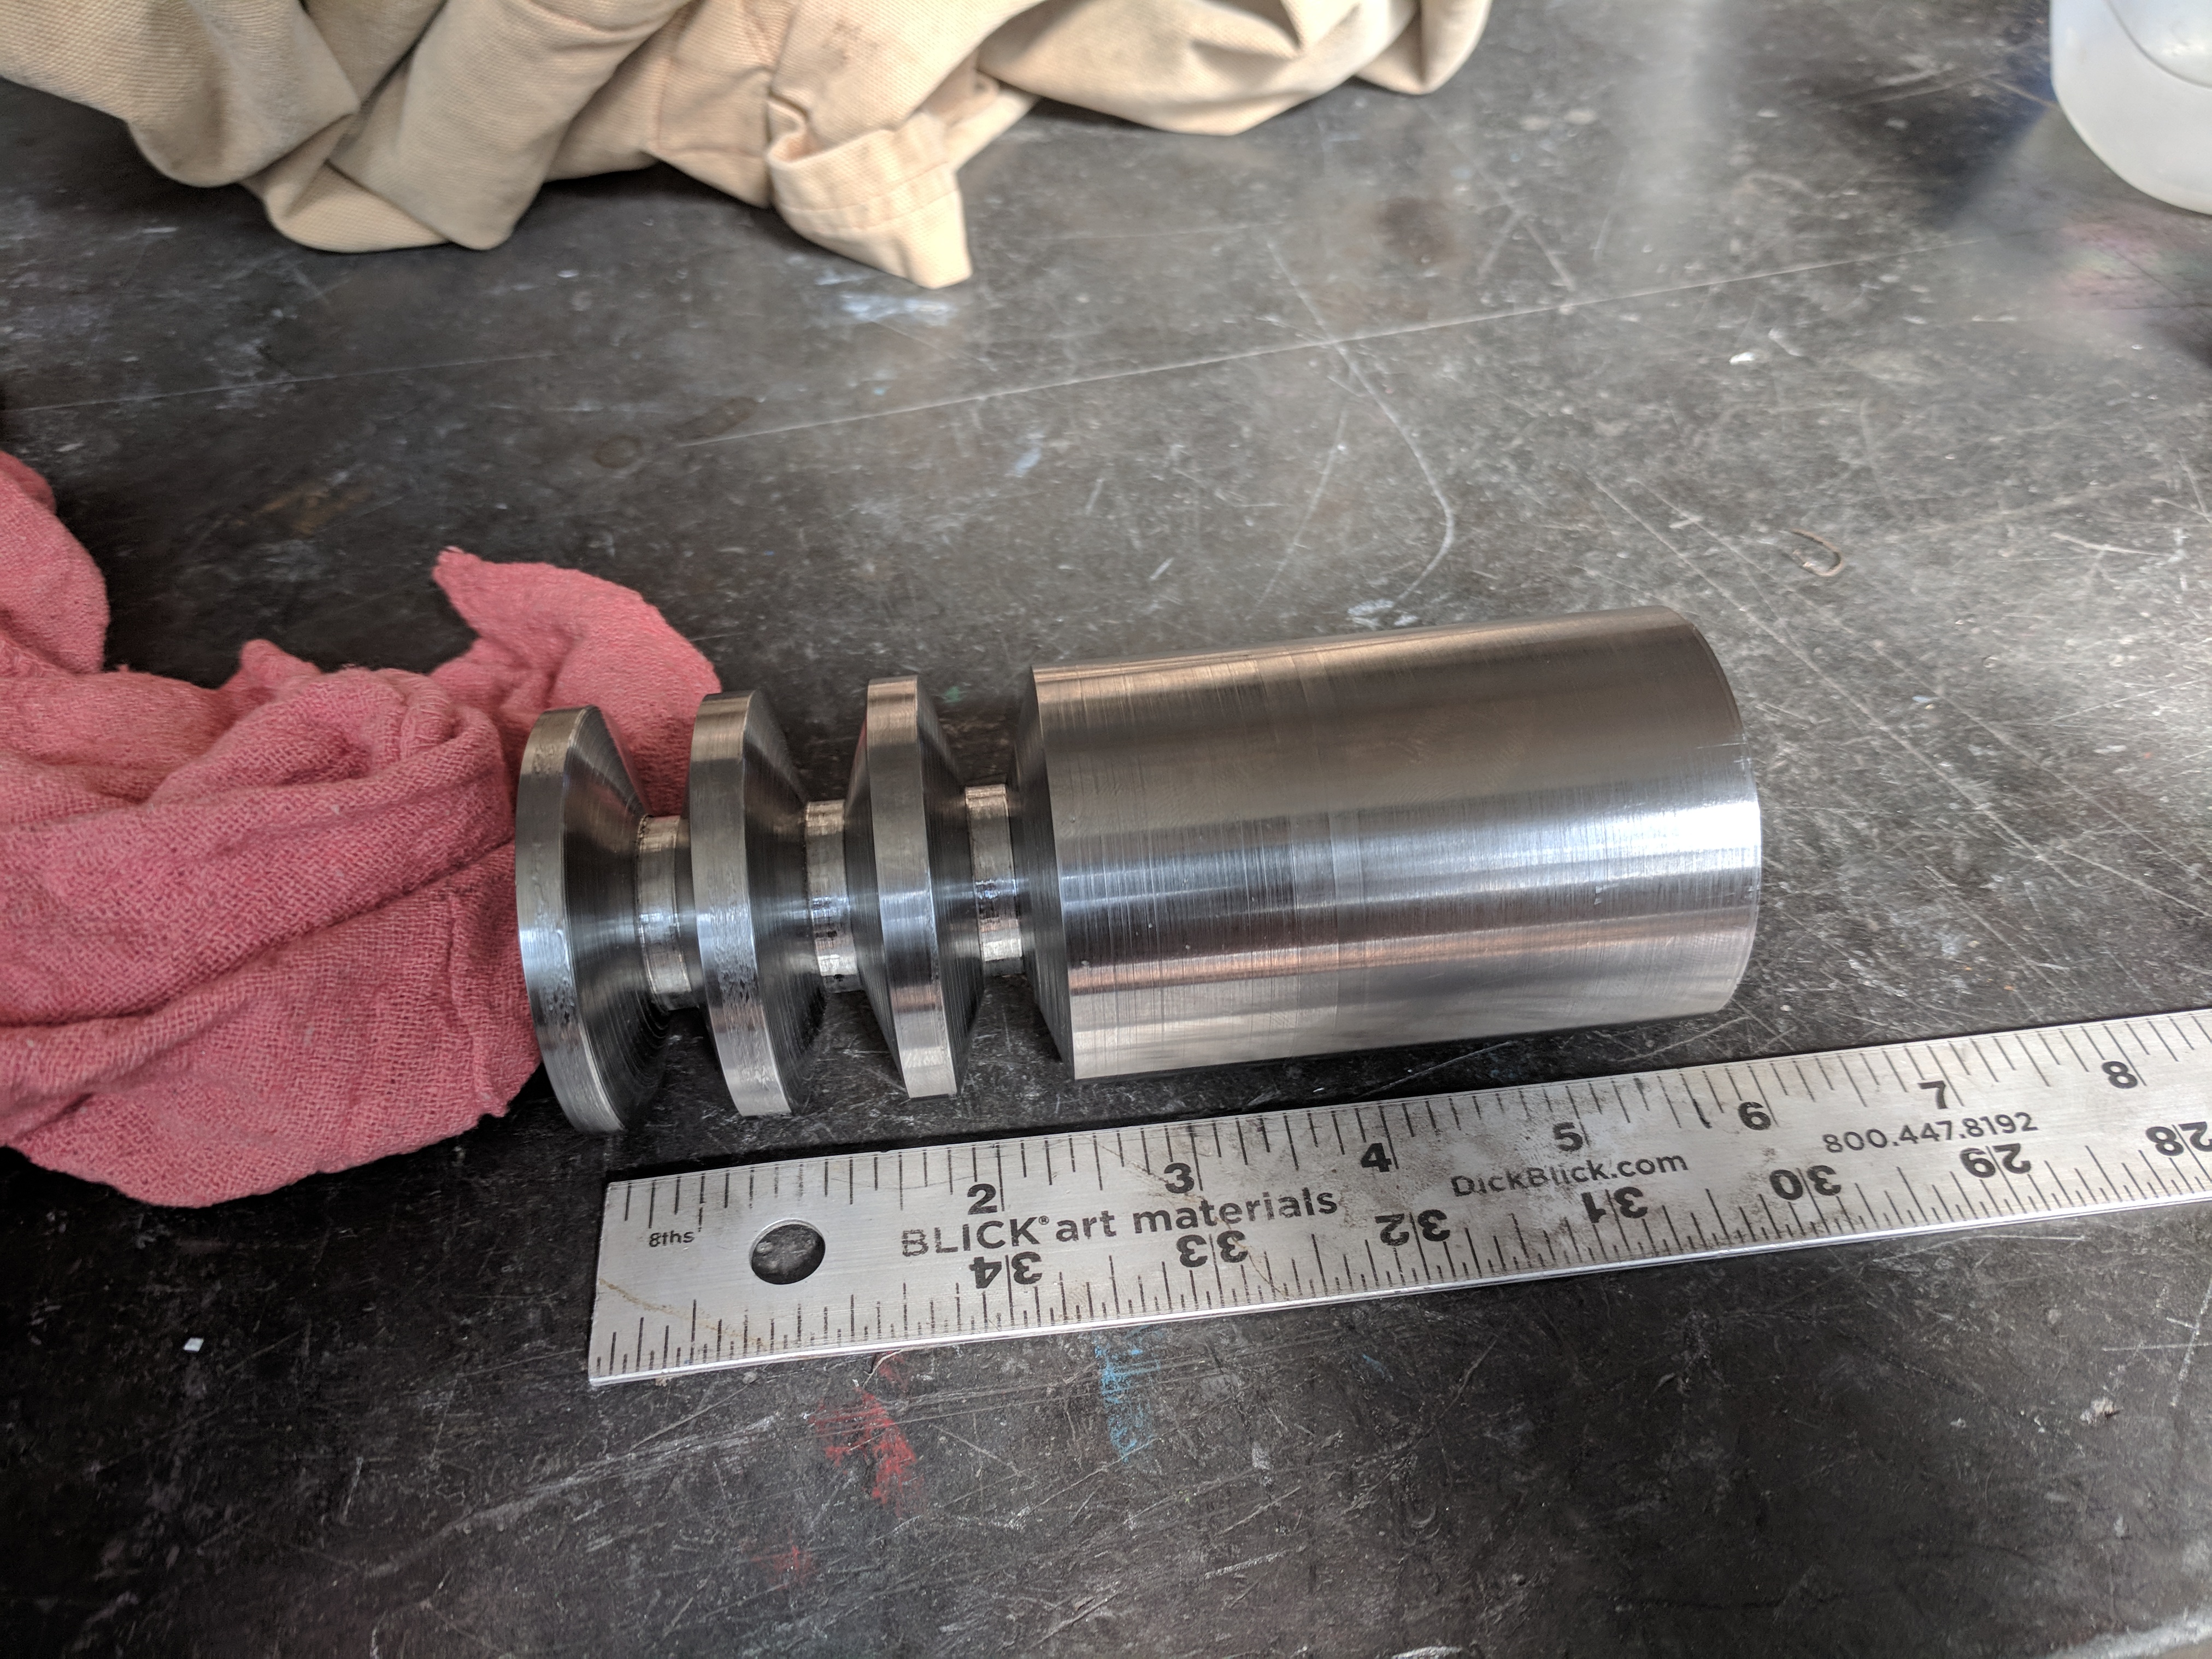
This project had a simple goal, create a custom steel pulley for my friends Barber Colman no. 3 gear-hobbing machine.
Processes Applied:

machining
Summary:
This project aims to create a custom pulley out of steel for my friend's 'new' Barber Coleman No. 3 gear-hobbing machine. Below is a summary of the general machining operations involved:
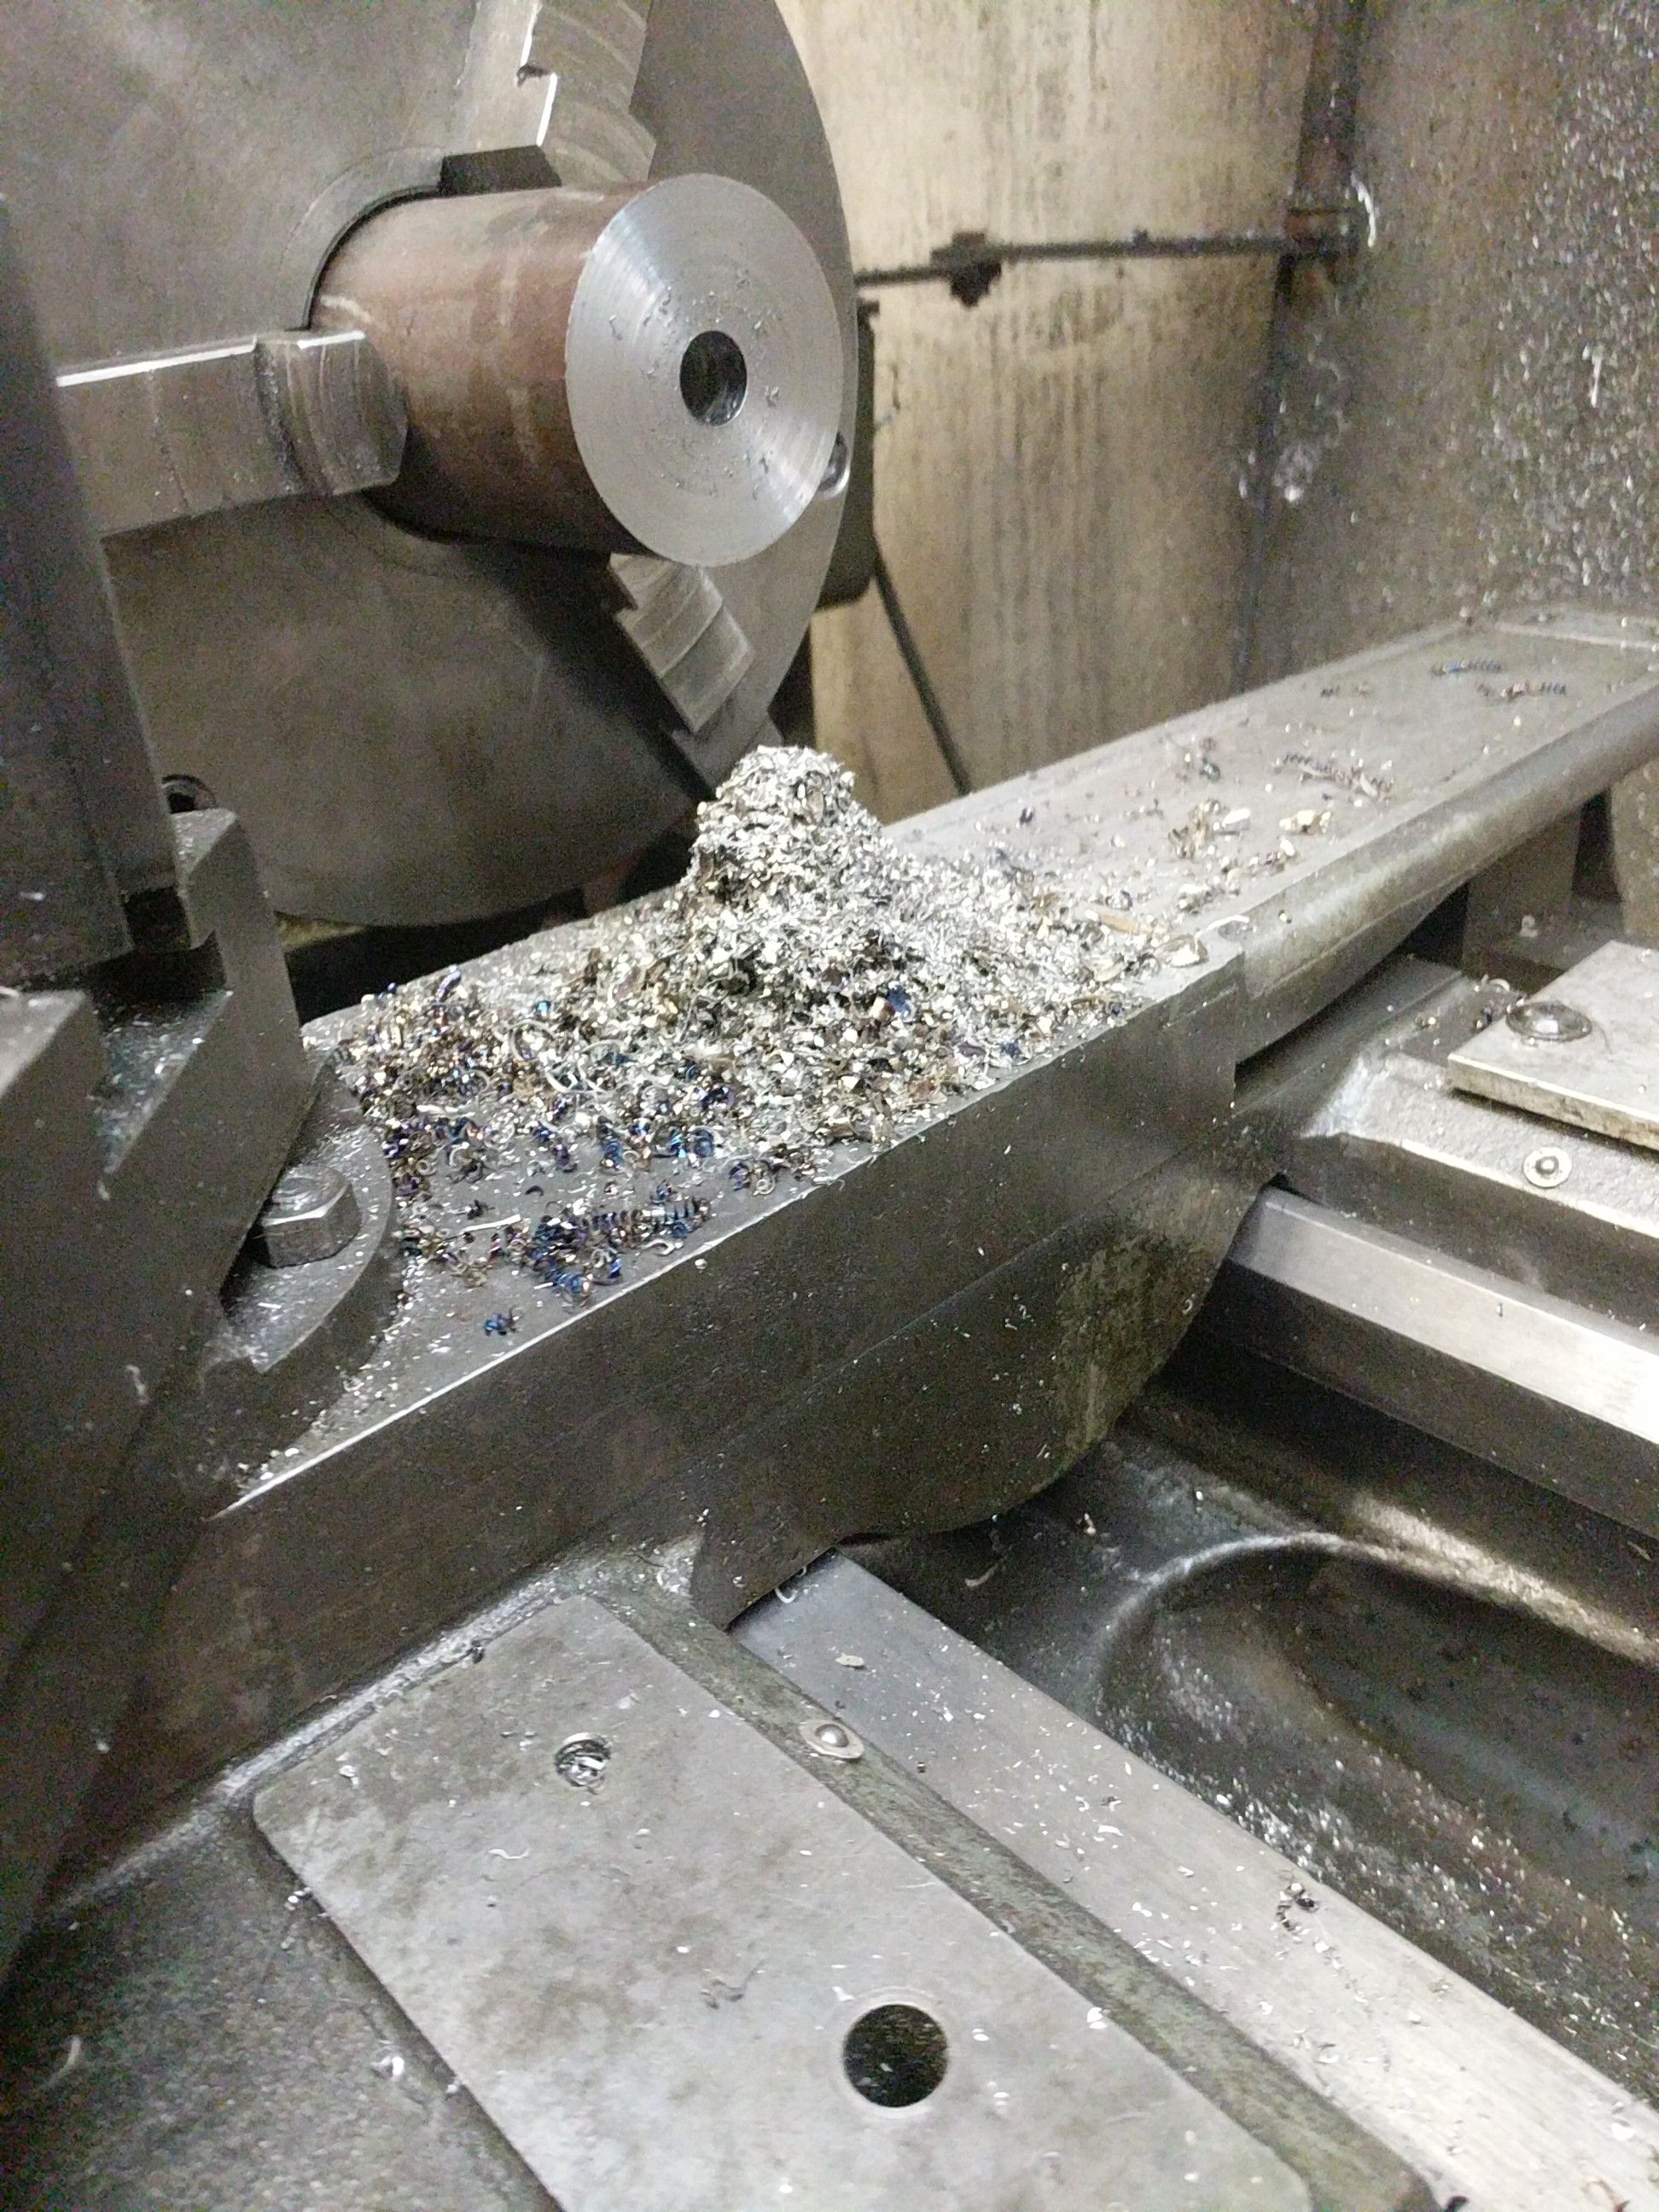
- (Face-off both sides) - This operation cleans up the workpiece before proceeding with other operations. The workpiece intentionally remains the wrong length.
- (Drill an initial hole) - This step creates a hole to allow the use of a live-center tailstock for additional support, reducing potential chatter during subsequent turning operations.
- (Turn the outside diameter) - This operation achieves the proper final outside diameter of the pulley.
- (Drill and Bore the Hole) - A 1" diameter hole, 3" deep, is drilled and bored at the back end of the stock.
- (Face-off to right length) - This operation brings the workpiece to the proper length dimension.
- (Re-clamp workpiece closer to the work area)
- (Precisely turn the center of the grooves) - This operation, using a carbide insert cutoff tool, experiences the most chattering due to plunging the tool into the material.
- (Turn the slopes of each pulley groove, Right side slopes first of each groove, then left.) - Adjusting the angle of the compound slide is necessary for this operation.
- (Use high grit sandpaper and sand out any imperfections or roughness in the piece) - Ensures the workpiece won't damage the V belts over time due to surface imperfections, while avoiding a mirror finish in the grooves.
- (Optional - Buff the finished working surface) - Buffing the non-grooved parts can enhance reflectivity, but was skipped since the pulley will be positioned where it won't be frequently seen.