[Summer '10] Half-life Crowbar Mounting

Description of Project
This is a simple week long project where I created a wooden mount for a crowbar, which I painted to resemble a crowbar from a popular science fiction game (Half-Life).
Processes Applied:


Summary:
This project started with the desire to practice some basic woodworking skills, so I decided to make a mount for something; So I made a replica of the half-life crowbar. This was a simple spray and pray setup, in which I first acquired a standard crowbar from a local hardware store (~$21). For the painting I put down ~2 coats of grey paint (Spray paint). Next, after it finished drying I put painters tape at the borders of where I wanted my red paint to be and then I put down another ~2 coats of red. (The first time around I put the painters tape on too soon and ripped up some paint when I removed the painters tape)
The next step was designing a wooden mount; there were two major considerations for my design. The first was that I wanted to be able to mount and remove the wood from the wall easily. The second was that I wanted to be able to remove the crowbar easily so that I could use it as a tool, and not just for decoration.
The wood I chose were pieces of scrap wood which I had found in the student machine shop as well as the tech. dump in the Archie building. The main plank that I was using had a warp in it and I wasn’t sure what operation I could do to work around this. I learned from the wood shop supervisor that I could use a planer to create a flat plank; this machine removes wood from the top and bottom. So after a handful of passes through the machine I was able to create a flat piece of wood. The next operation was using a table saw to cut off the 4 sides to make sure it had flat edges. Then the next cuts were to add an angled edge to every side which required us to adjust the angle of the saw blade.
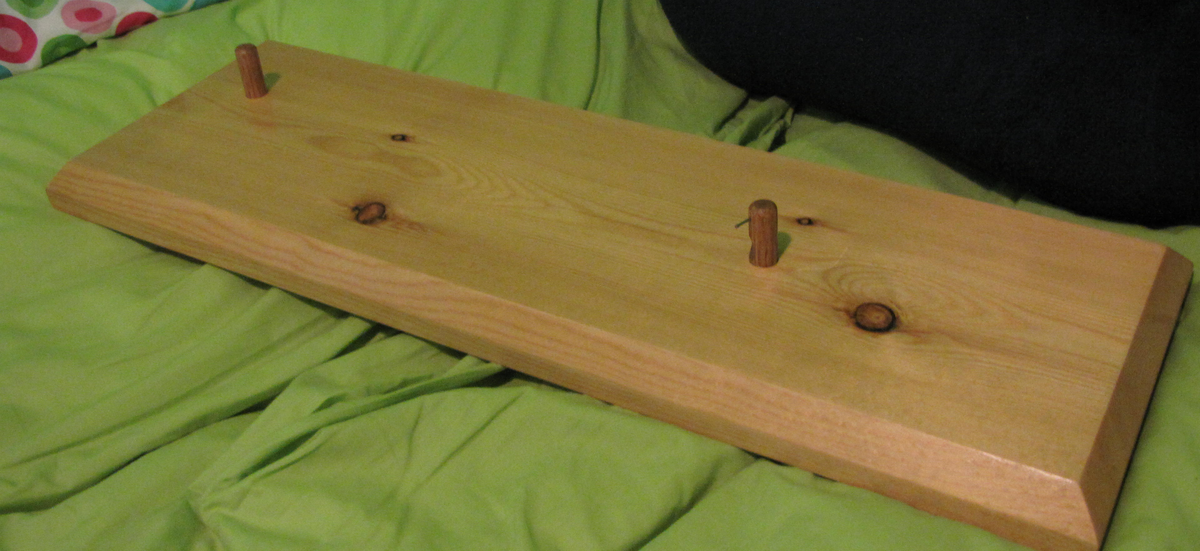
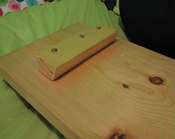
The solution to the mounting problem was to take a piece of wood and cut an angle through it. Then I attached one of the pieces to the wall and the other to the back of the board which gave my wall mount an ease for dismantling. Also this type of mounting system give a cool effect which makes the piece seem to float slightly off of the wall.
The next step was creating two pegs to facilitate the crowbar's ease of placement and removal. This was done by taking a wooden dowel and cutting two pieces off of it and rounding out the edges. Also a groove was made in each peg to allow a resting point for the crowbar. When Placed and fixed I acquired some different grit of sandpaper and sanded down each piece to a fine finish. After sanding I cleaned the wood with some alcohol-based wood cleaner. The last step was applying 3 coats of polyurethane, which gave the wood a solid coat to protect against denting. One word of advice, polyurethane takes forever to dry and is not fun to work with.
There were a few final touches added to this project, the first was a small nail to add support to the bottom peg. This was needed because the crowbar had a tendency to sway due to its weight. The other was using the crowbar to help dismantle some wood structures and also dropping it on the ground once or twice. The project turned out nicely and ultimately gave my junior year apartment a nice homey feeling to it.


