[5.5.15]Bike Power Grid (With Upgrades!)
Description of Project
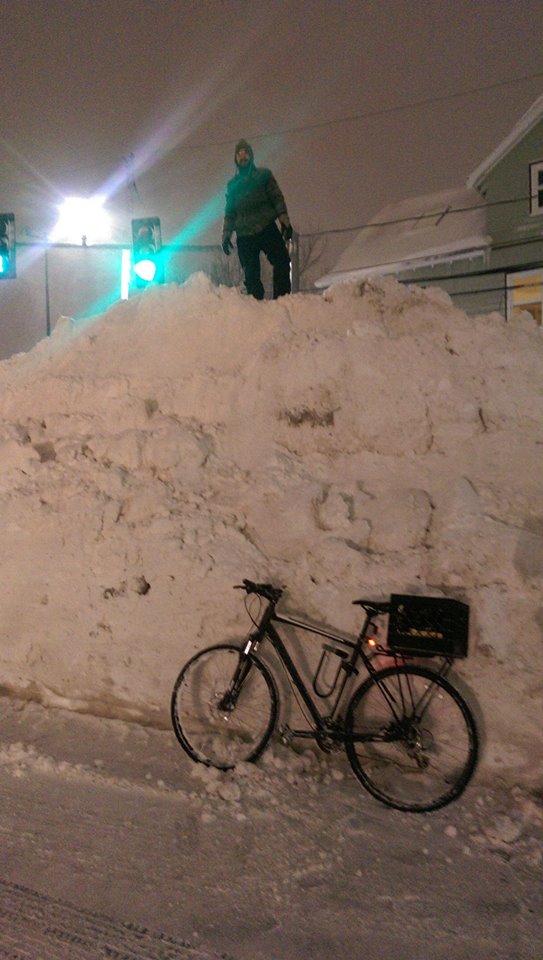
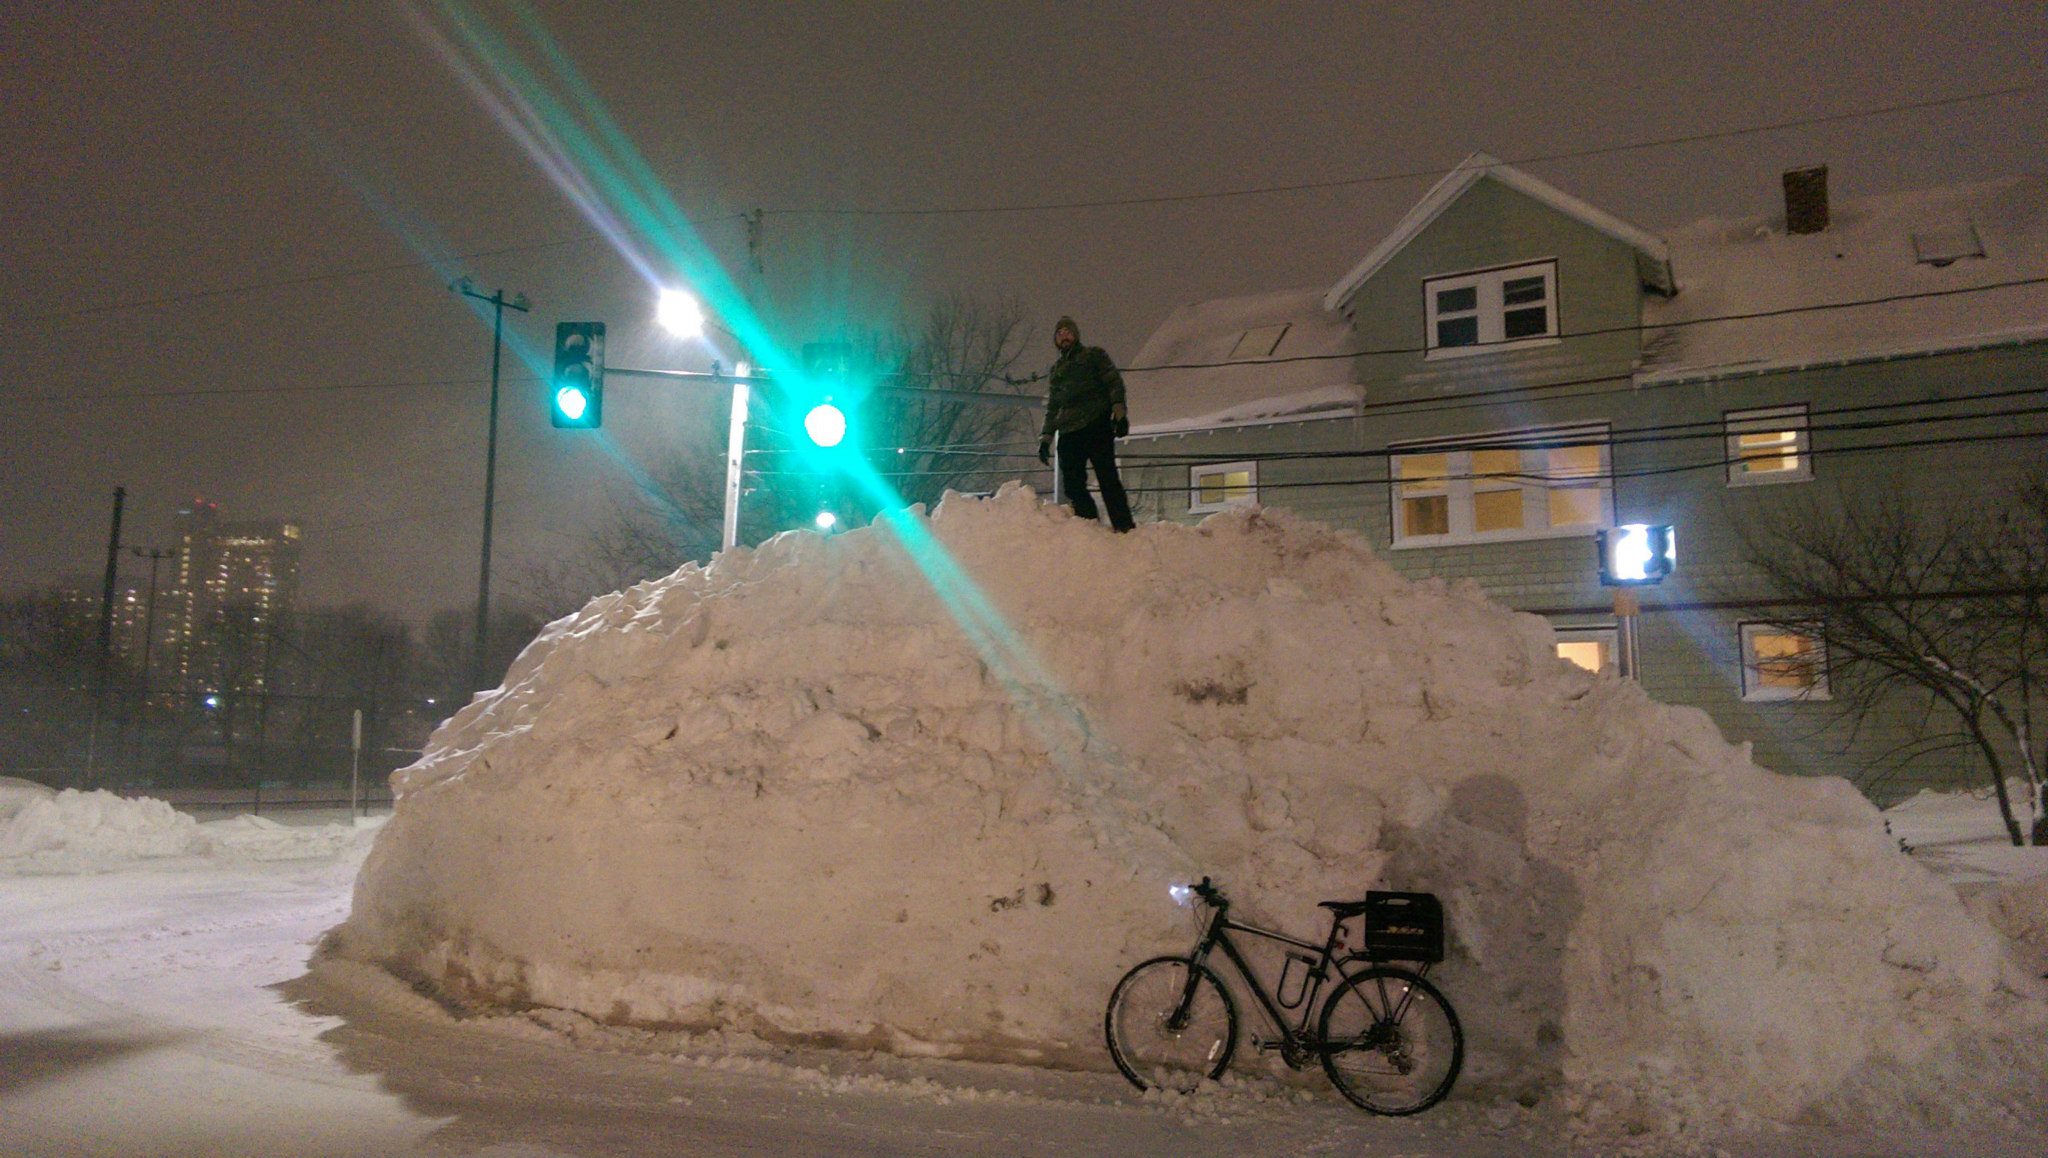
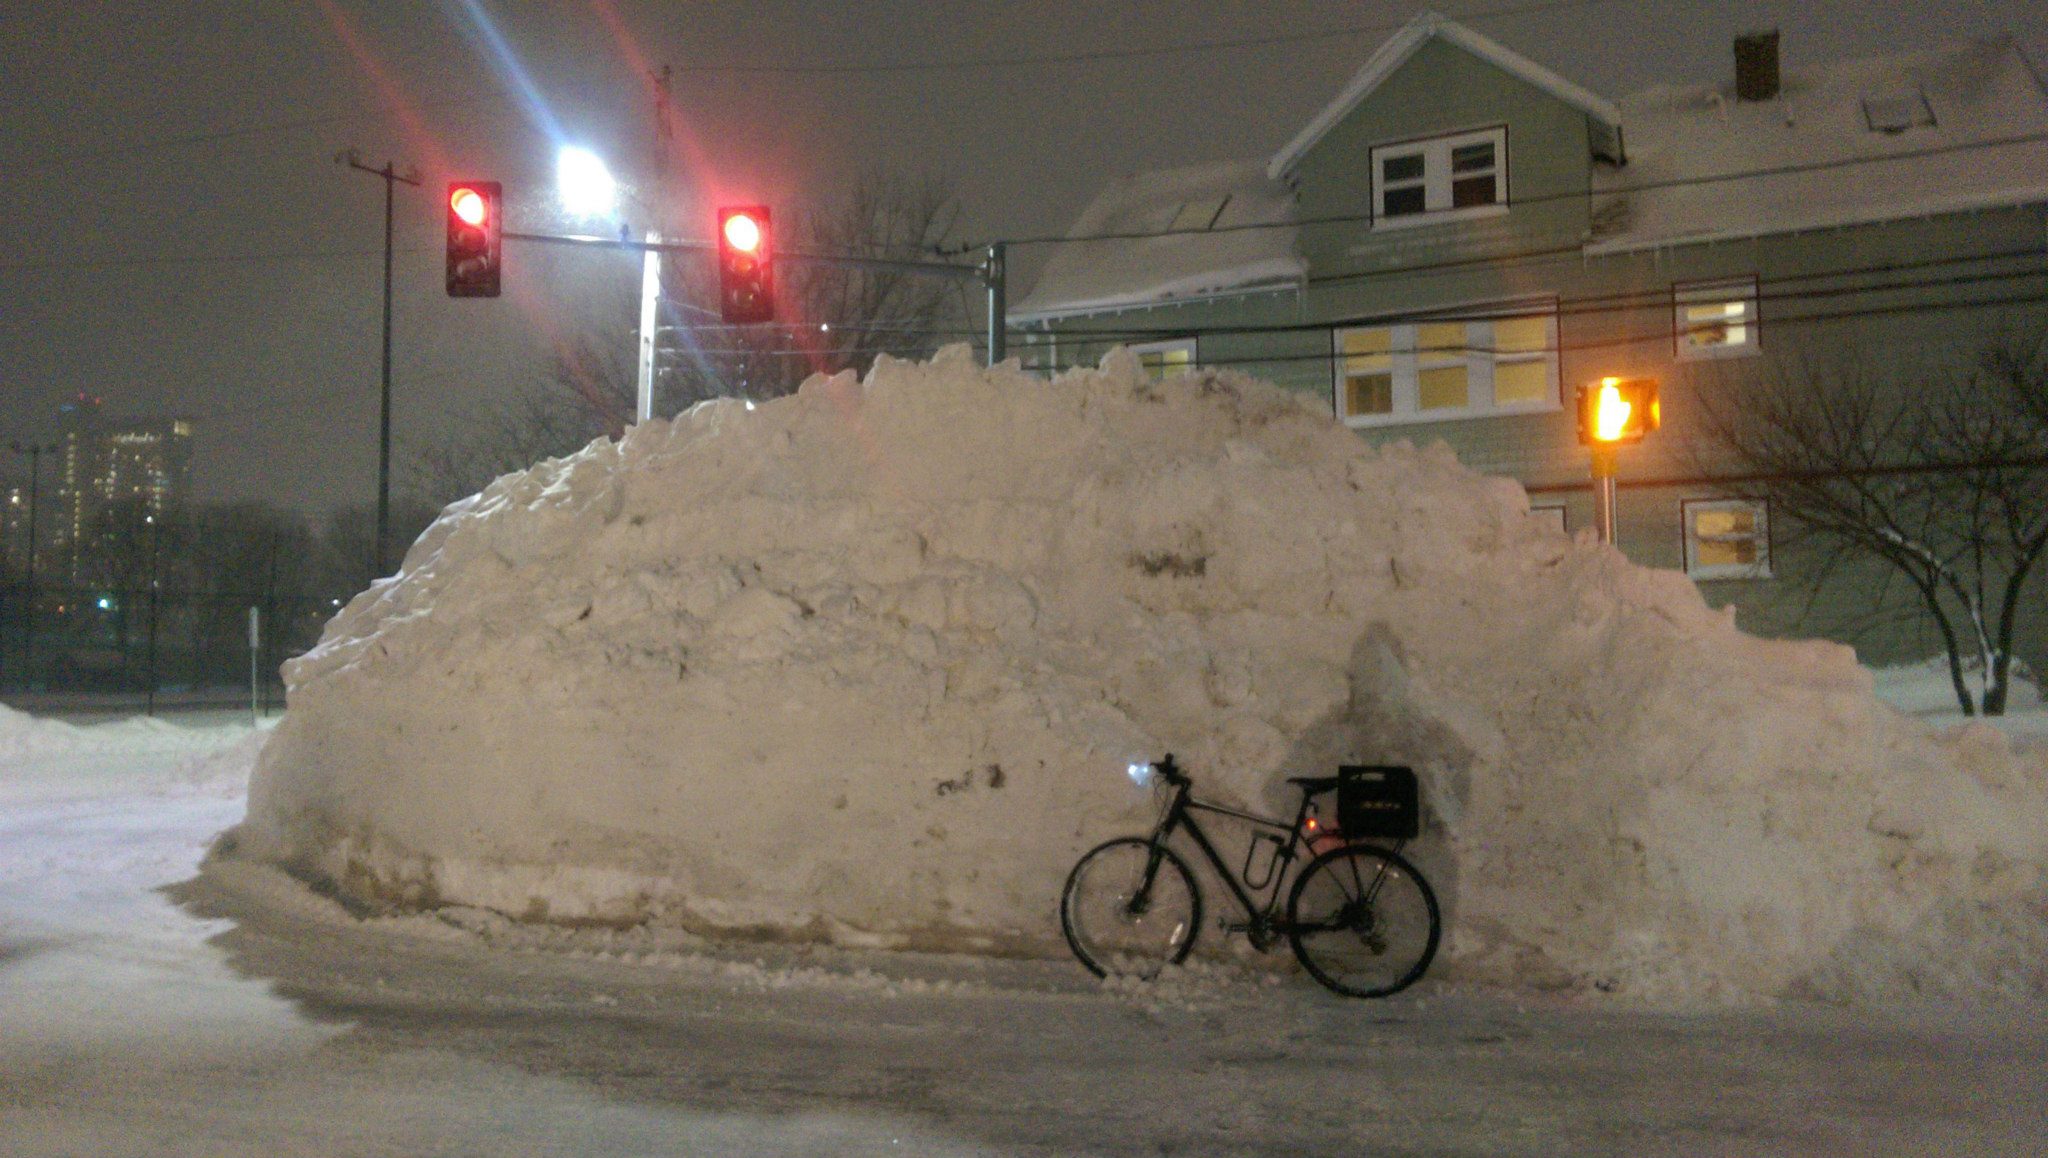
The project is aimed to replace my current battery powered lights for my bike with a dedicated power system with more capacity and durability.
Processes Applied:


Summary:
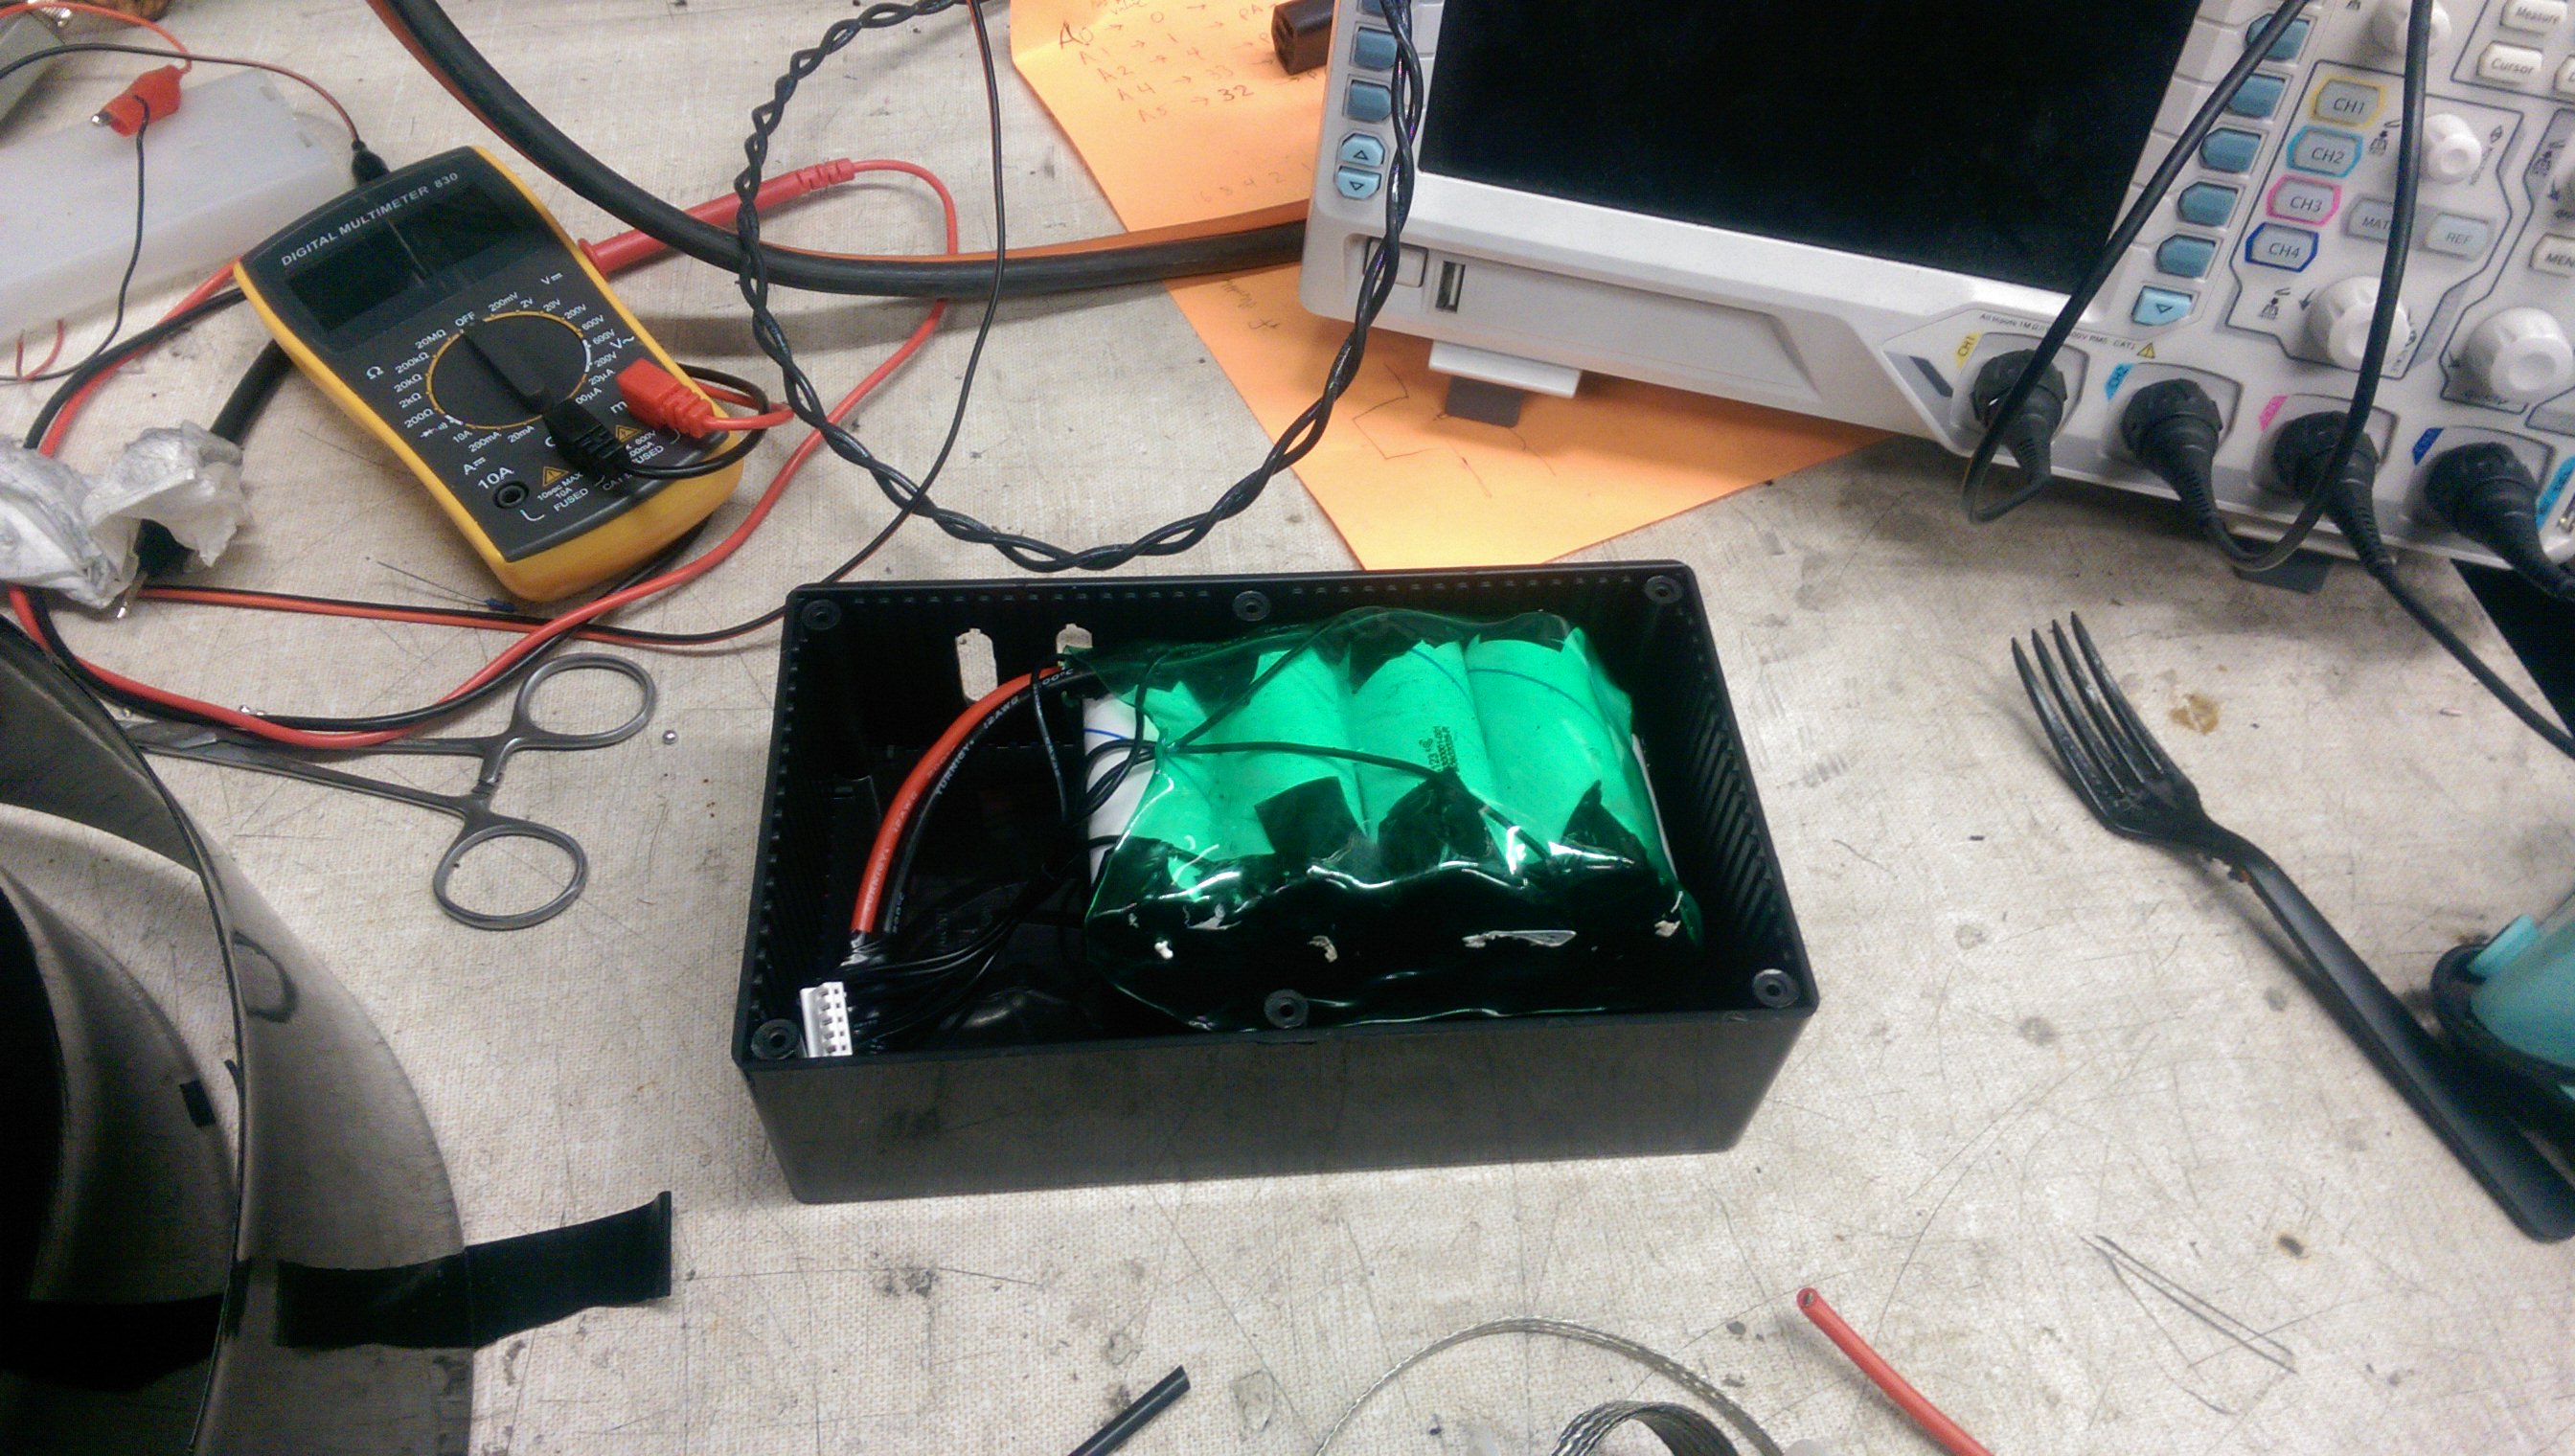
The Battery: The first major consideration was upgrading the power capacity of my bike. Originally my lights were running off of AA's, but they would run out every week or two (depending on season). To solve this capacity issue, I ultimately went with creating my own battery out of 18650 A123 Cells. I chose to design my whole power grid around 12 volts, so I made the battery a 4s2p pack (~13.4v). To get the batteries to stick in the configuration I wanted, I used some tack welds of hot glue before I soldered the pack together. To solve the issue of durability, I went with the tried and true battery armoring method of Soda-Bottle Armor. To do this you get a standard 2L bottle of soda, usually the cheapest available (Preferably rootbeer, because in MITERS people love root-beer and will drink it) but if you cannot get people to drink it... then just pour it down the drain. Once you have rid yourself of the soda, remember to thoroughly rinse it out because you do not want a sticky battery. The next part is cutting the bottle to slightly over length of your battery, soda bottles are made out of thermal plastic and will shrink if reheated. So that is what we do, shrink the bottle around the battery which creates a denser plastic casing around our battery which will help reduce the chance of battery puncture.
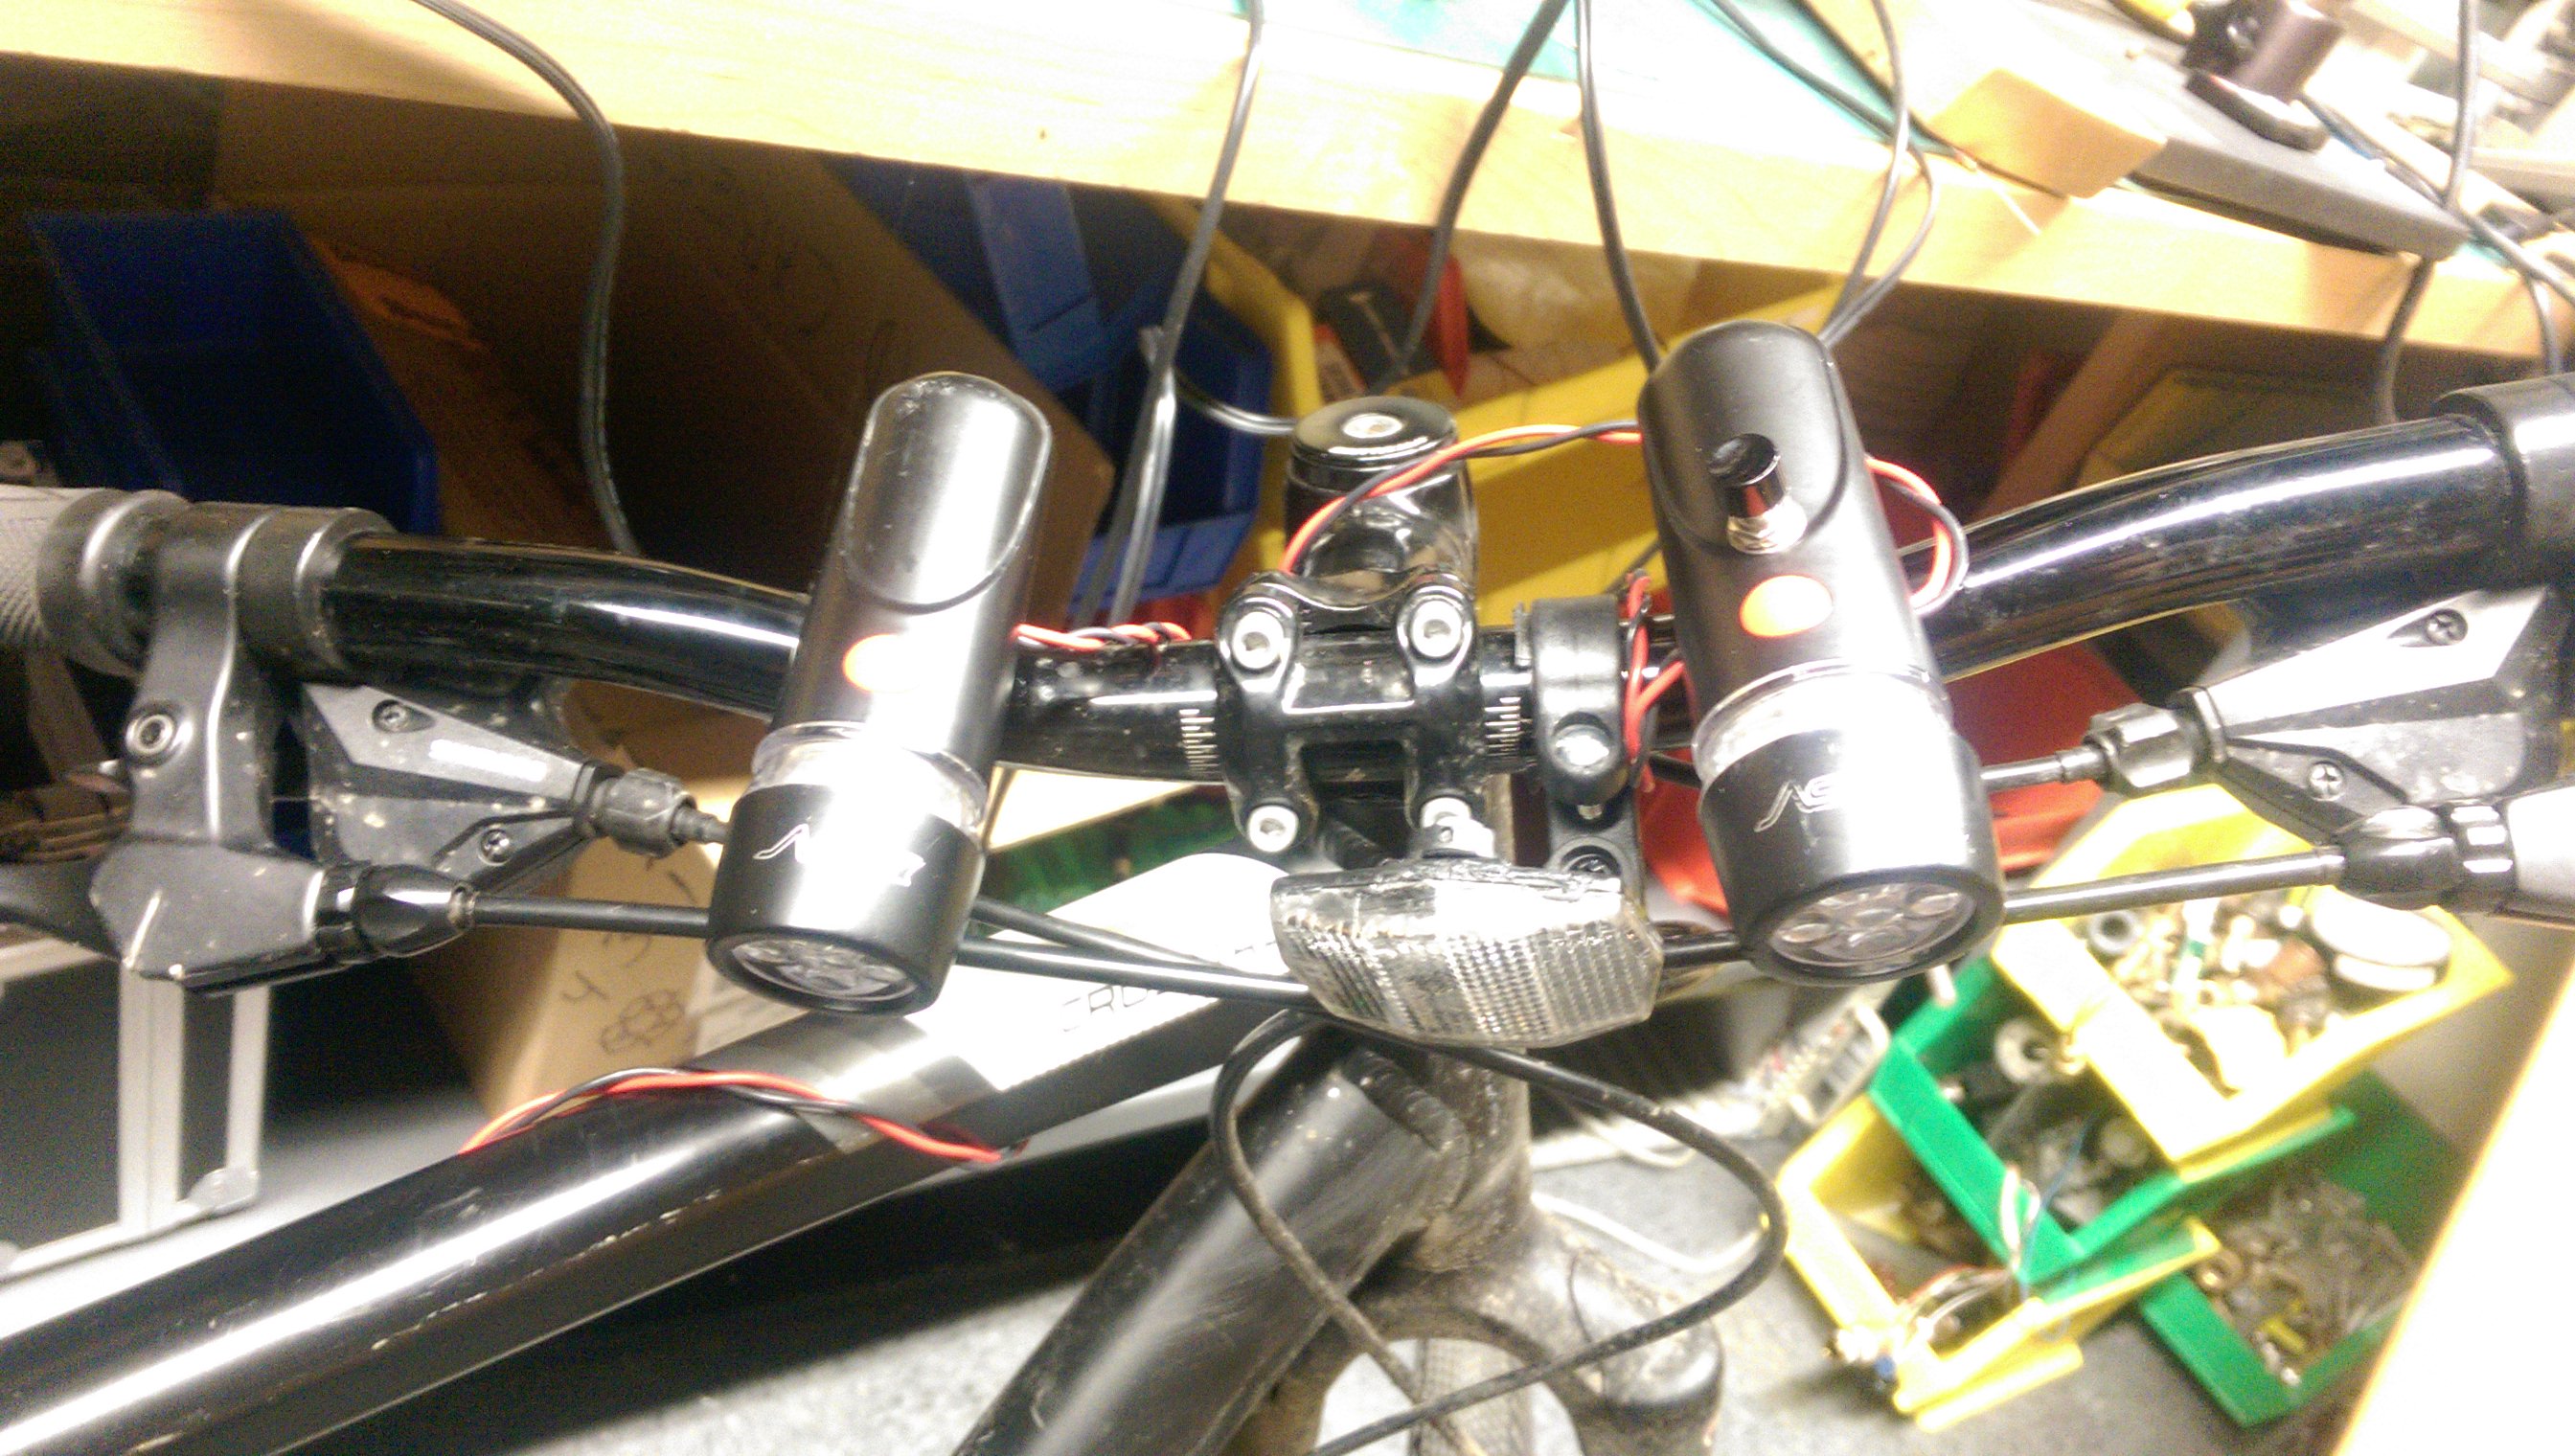
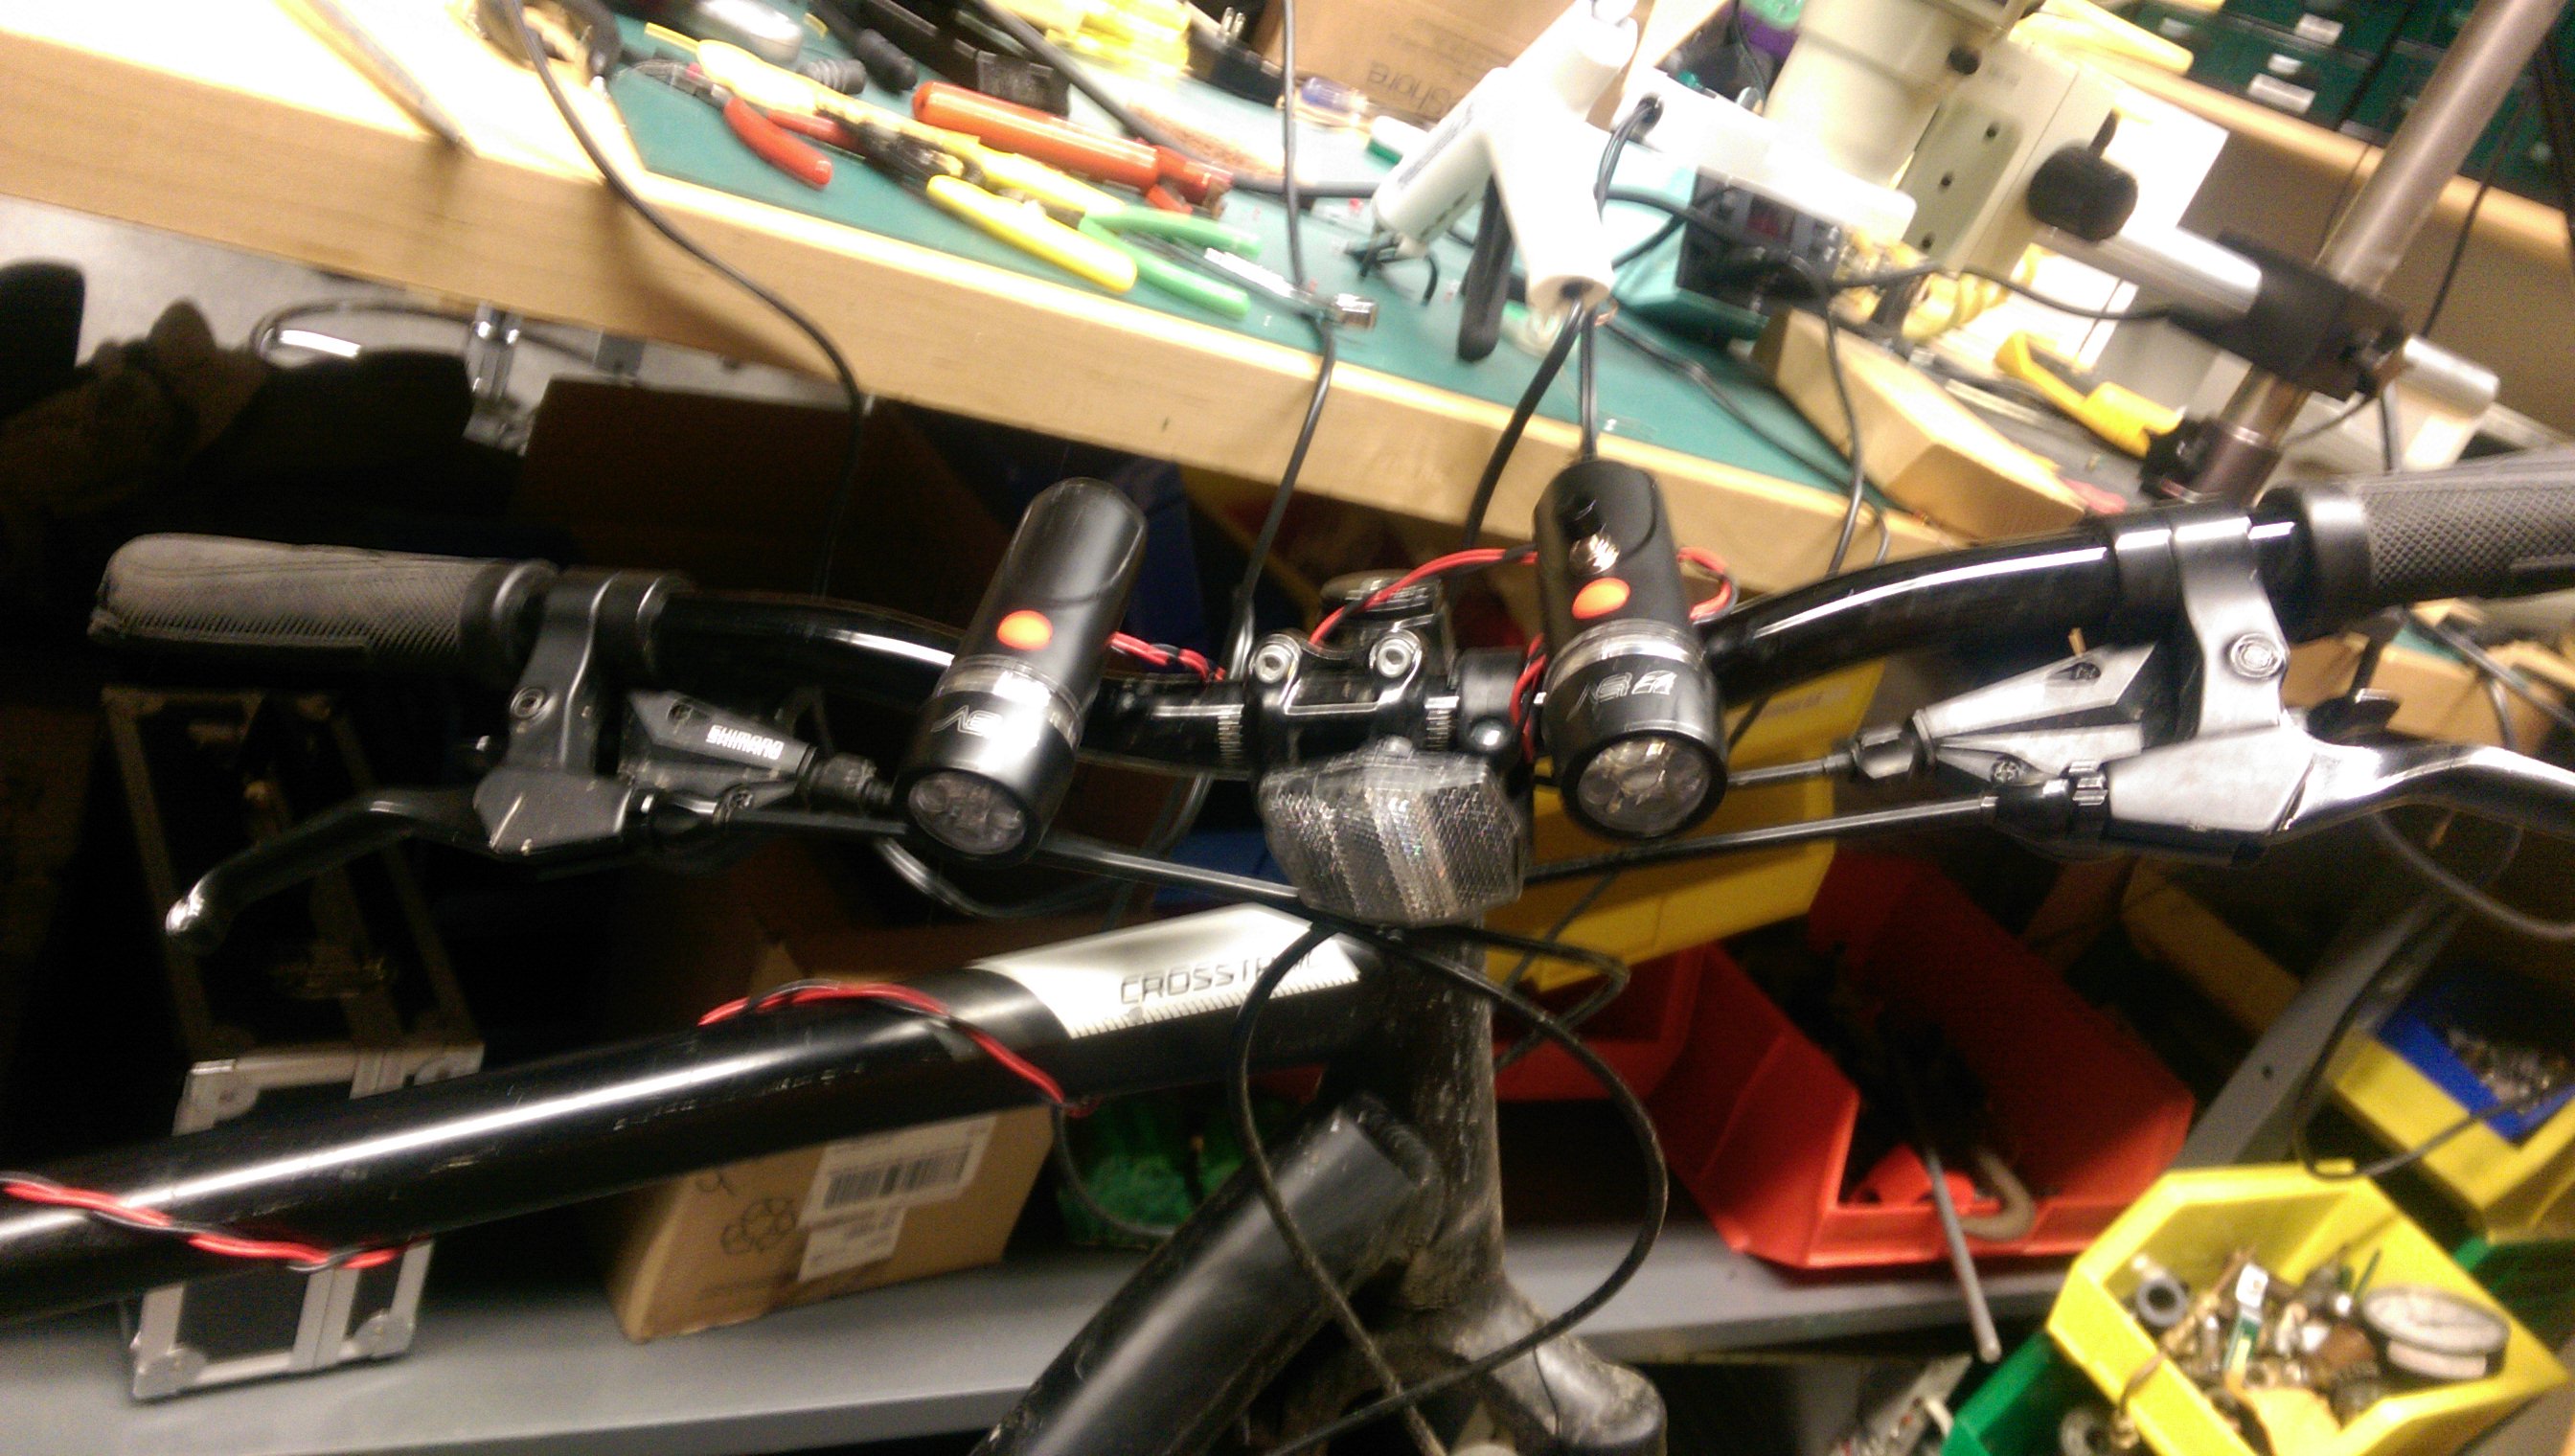
The Front Lights: For Generation 1, I took two of the cheapest bike lights on amazon [link] and wired them in series to allow me to run them directly off of the ~12v Power grid. One of the useful things I did when wiring the two lights is to make a simple knot in the wire as a means of cable tension relief, to reduce the stress on the solder joints. I also wired a switch in series of these lights inside one of the cases.
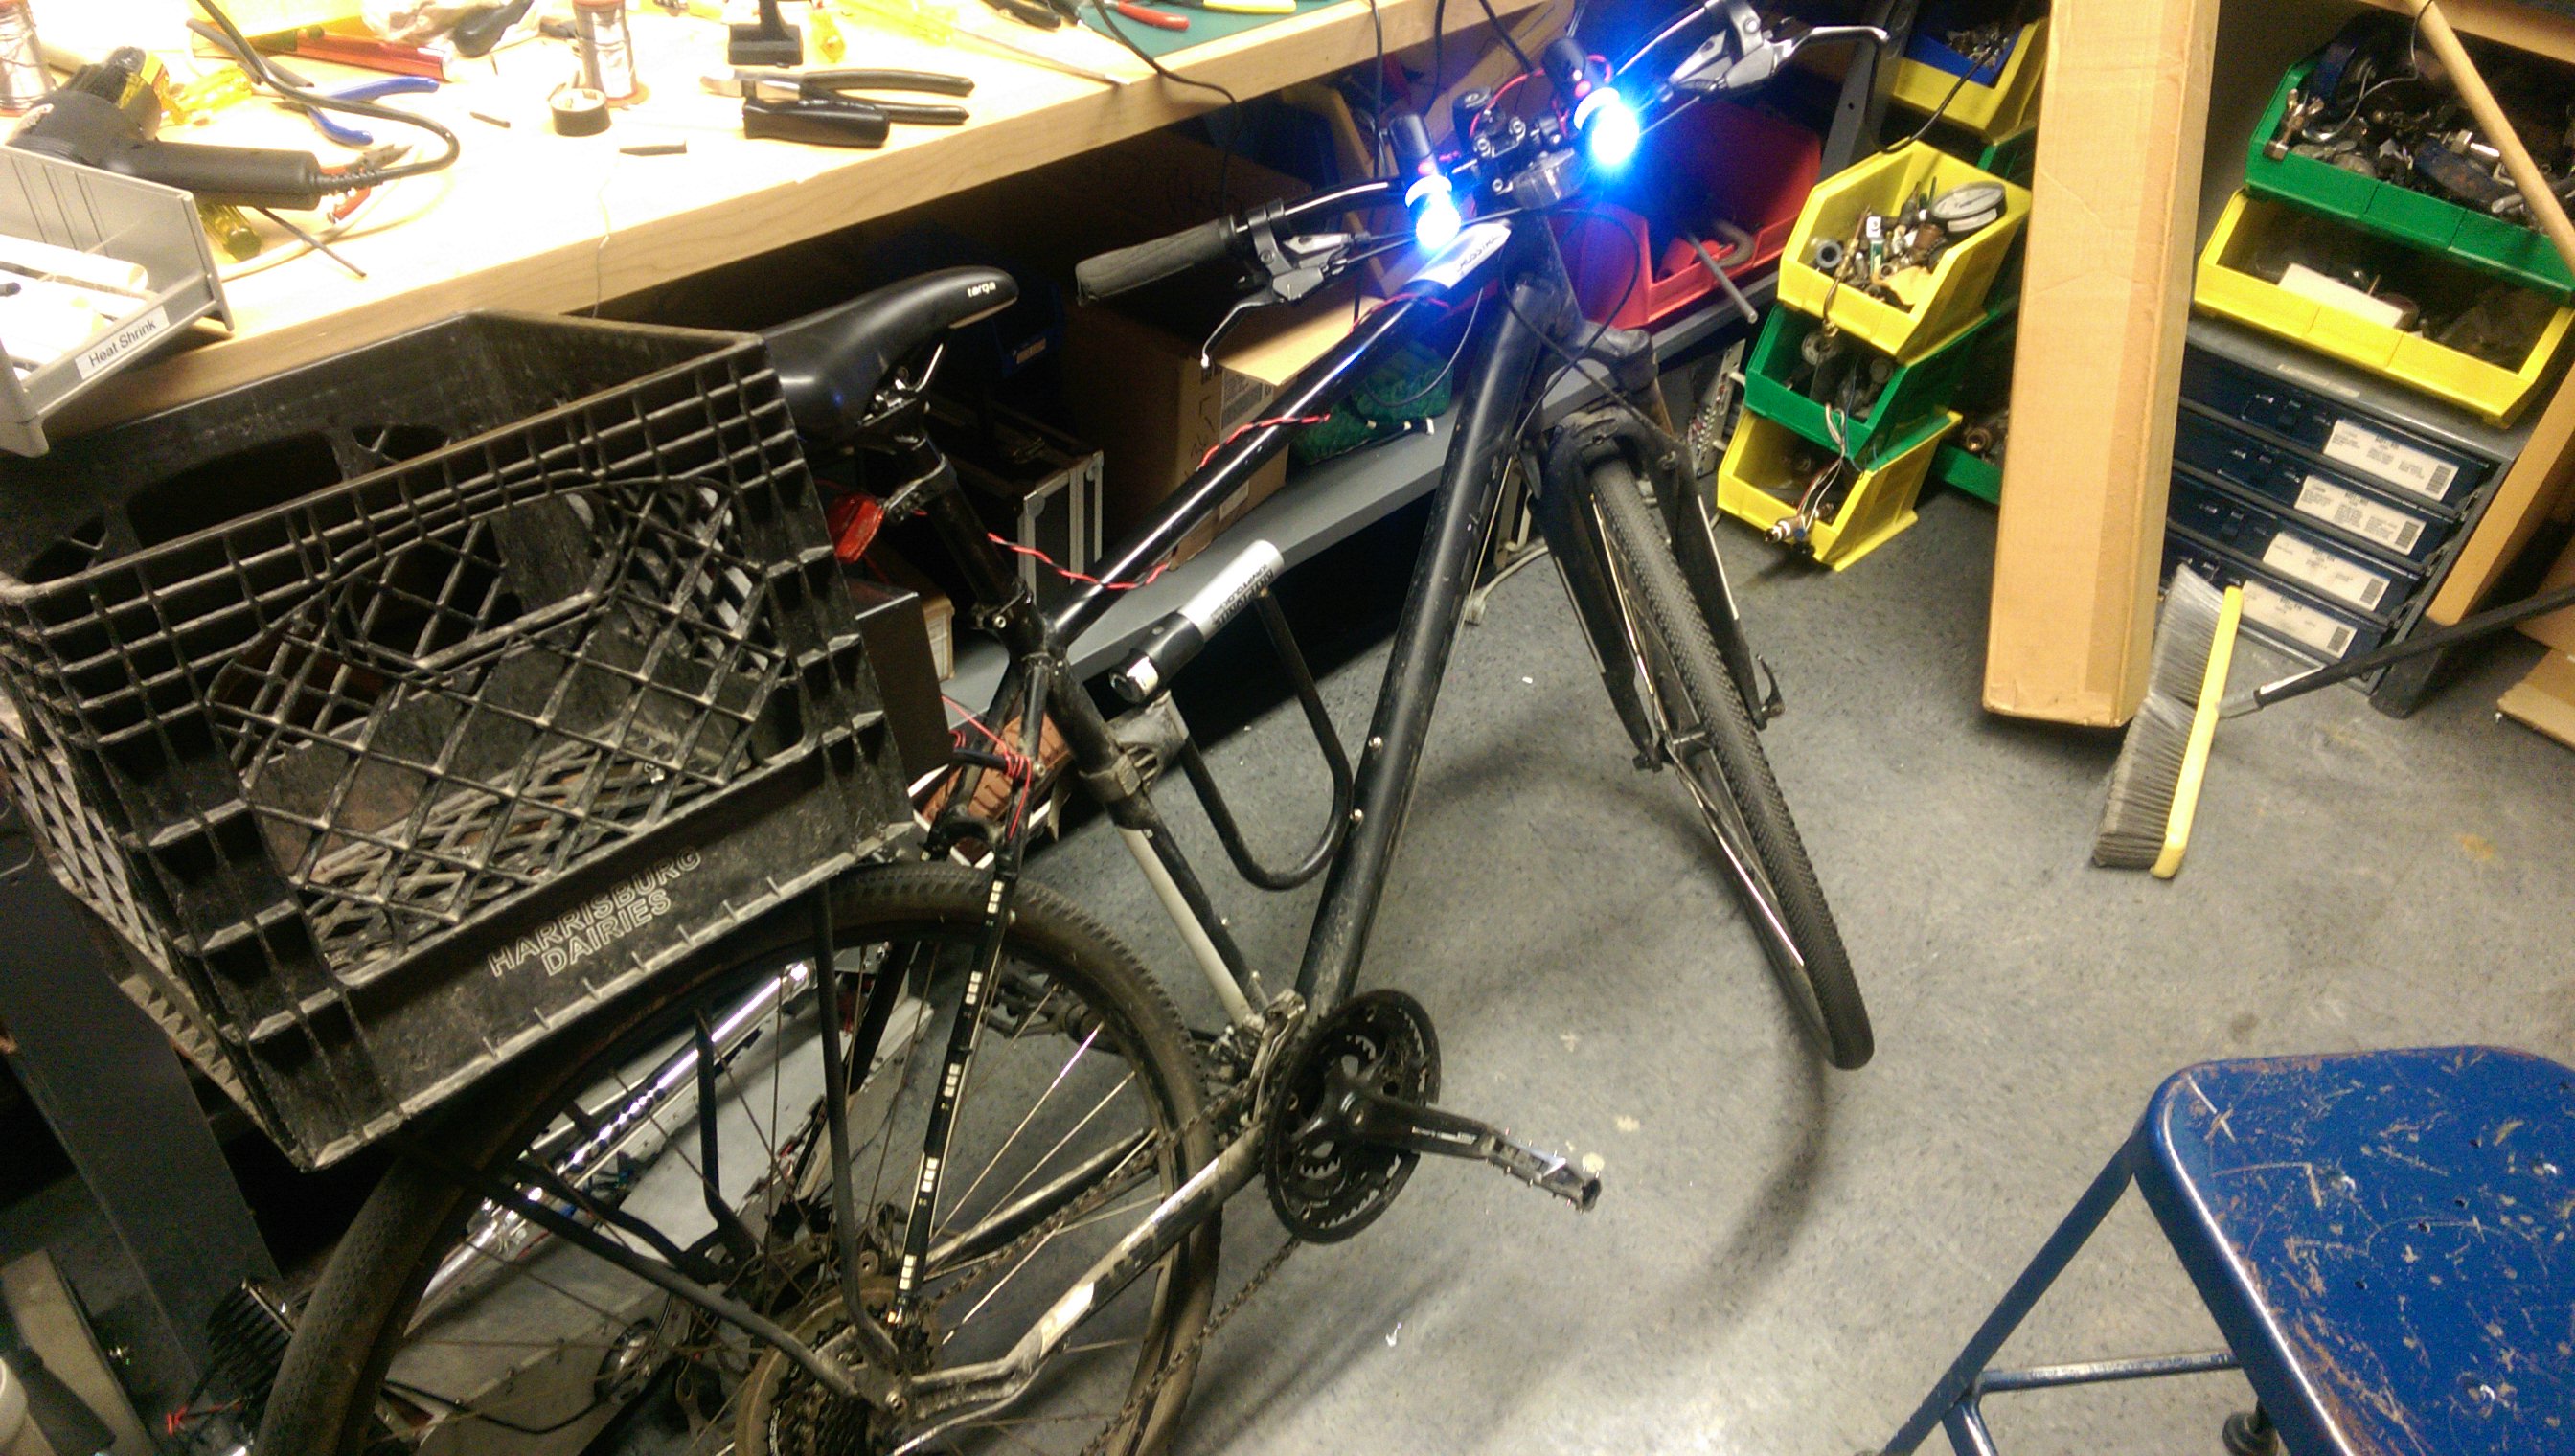
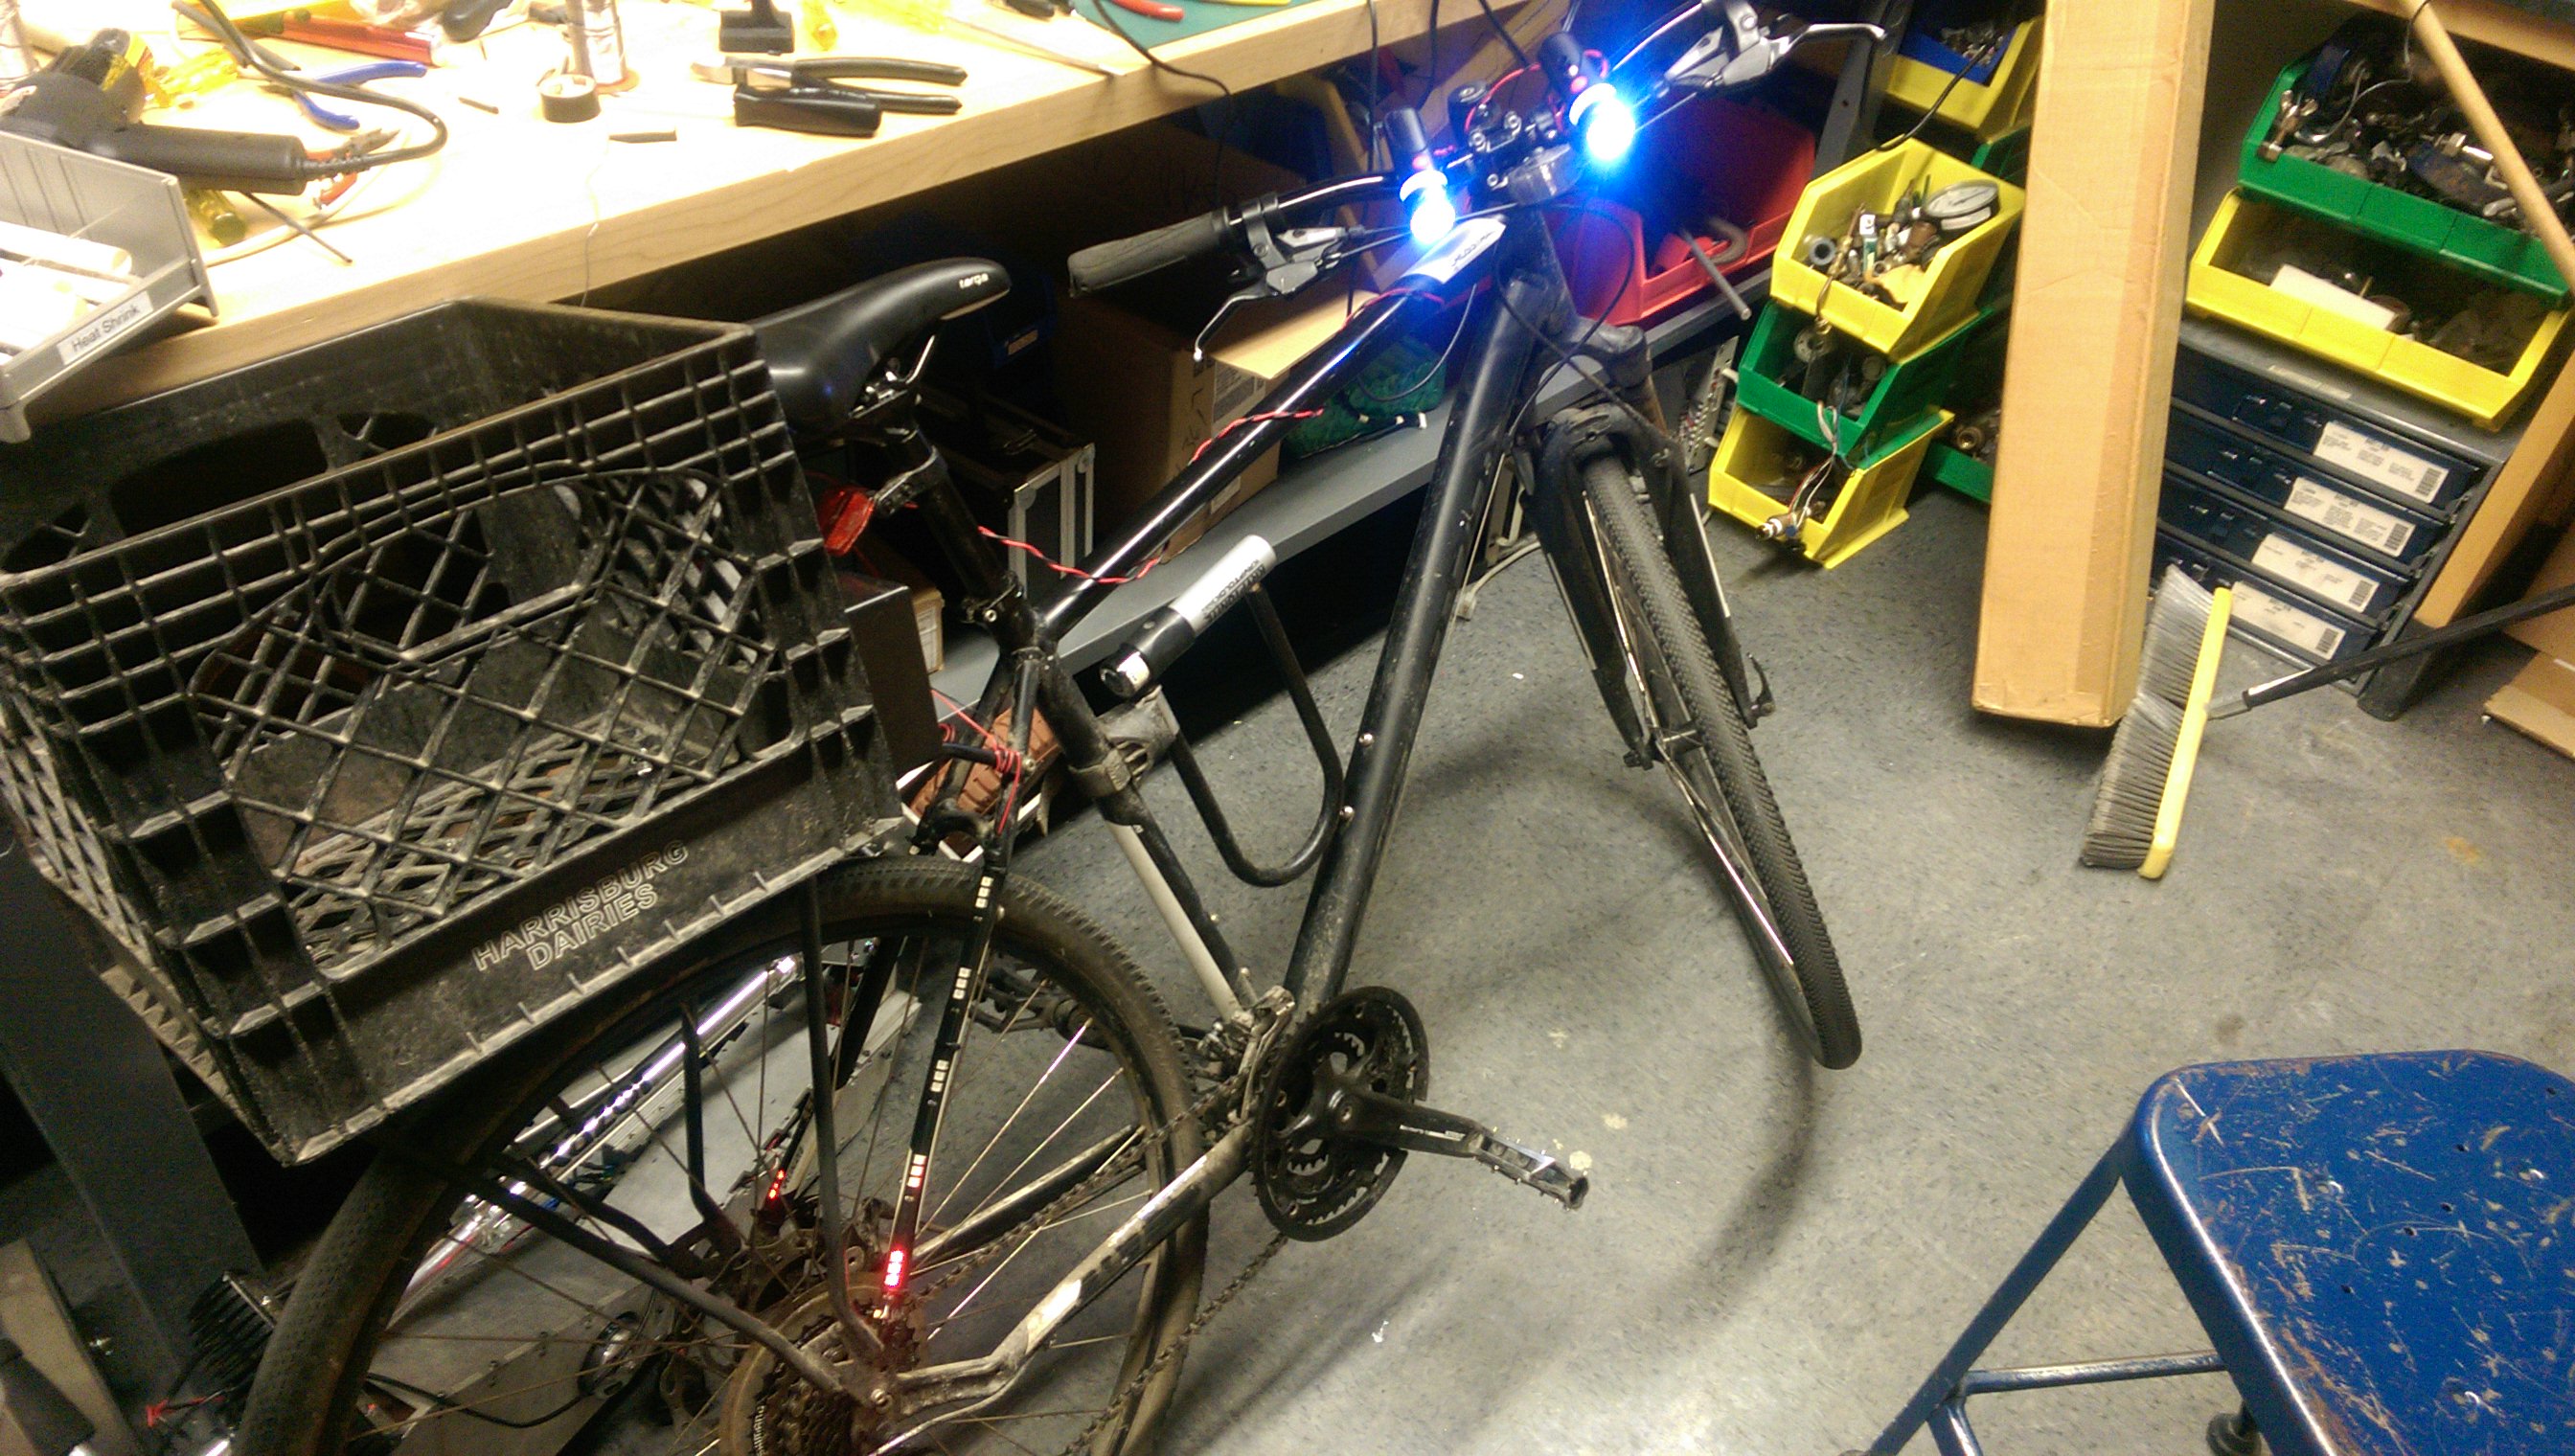
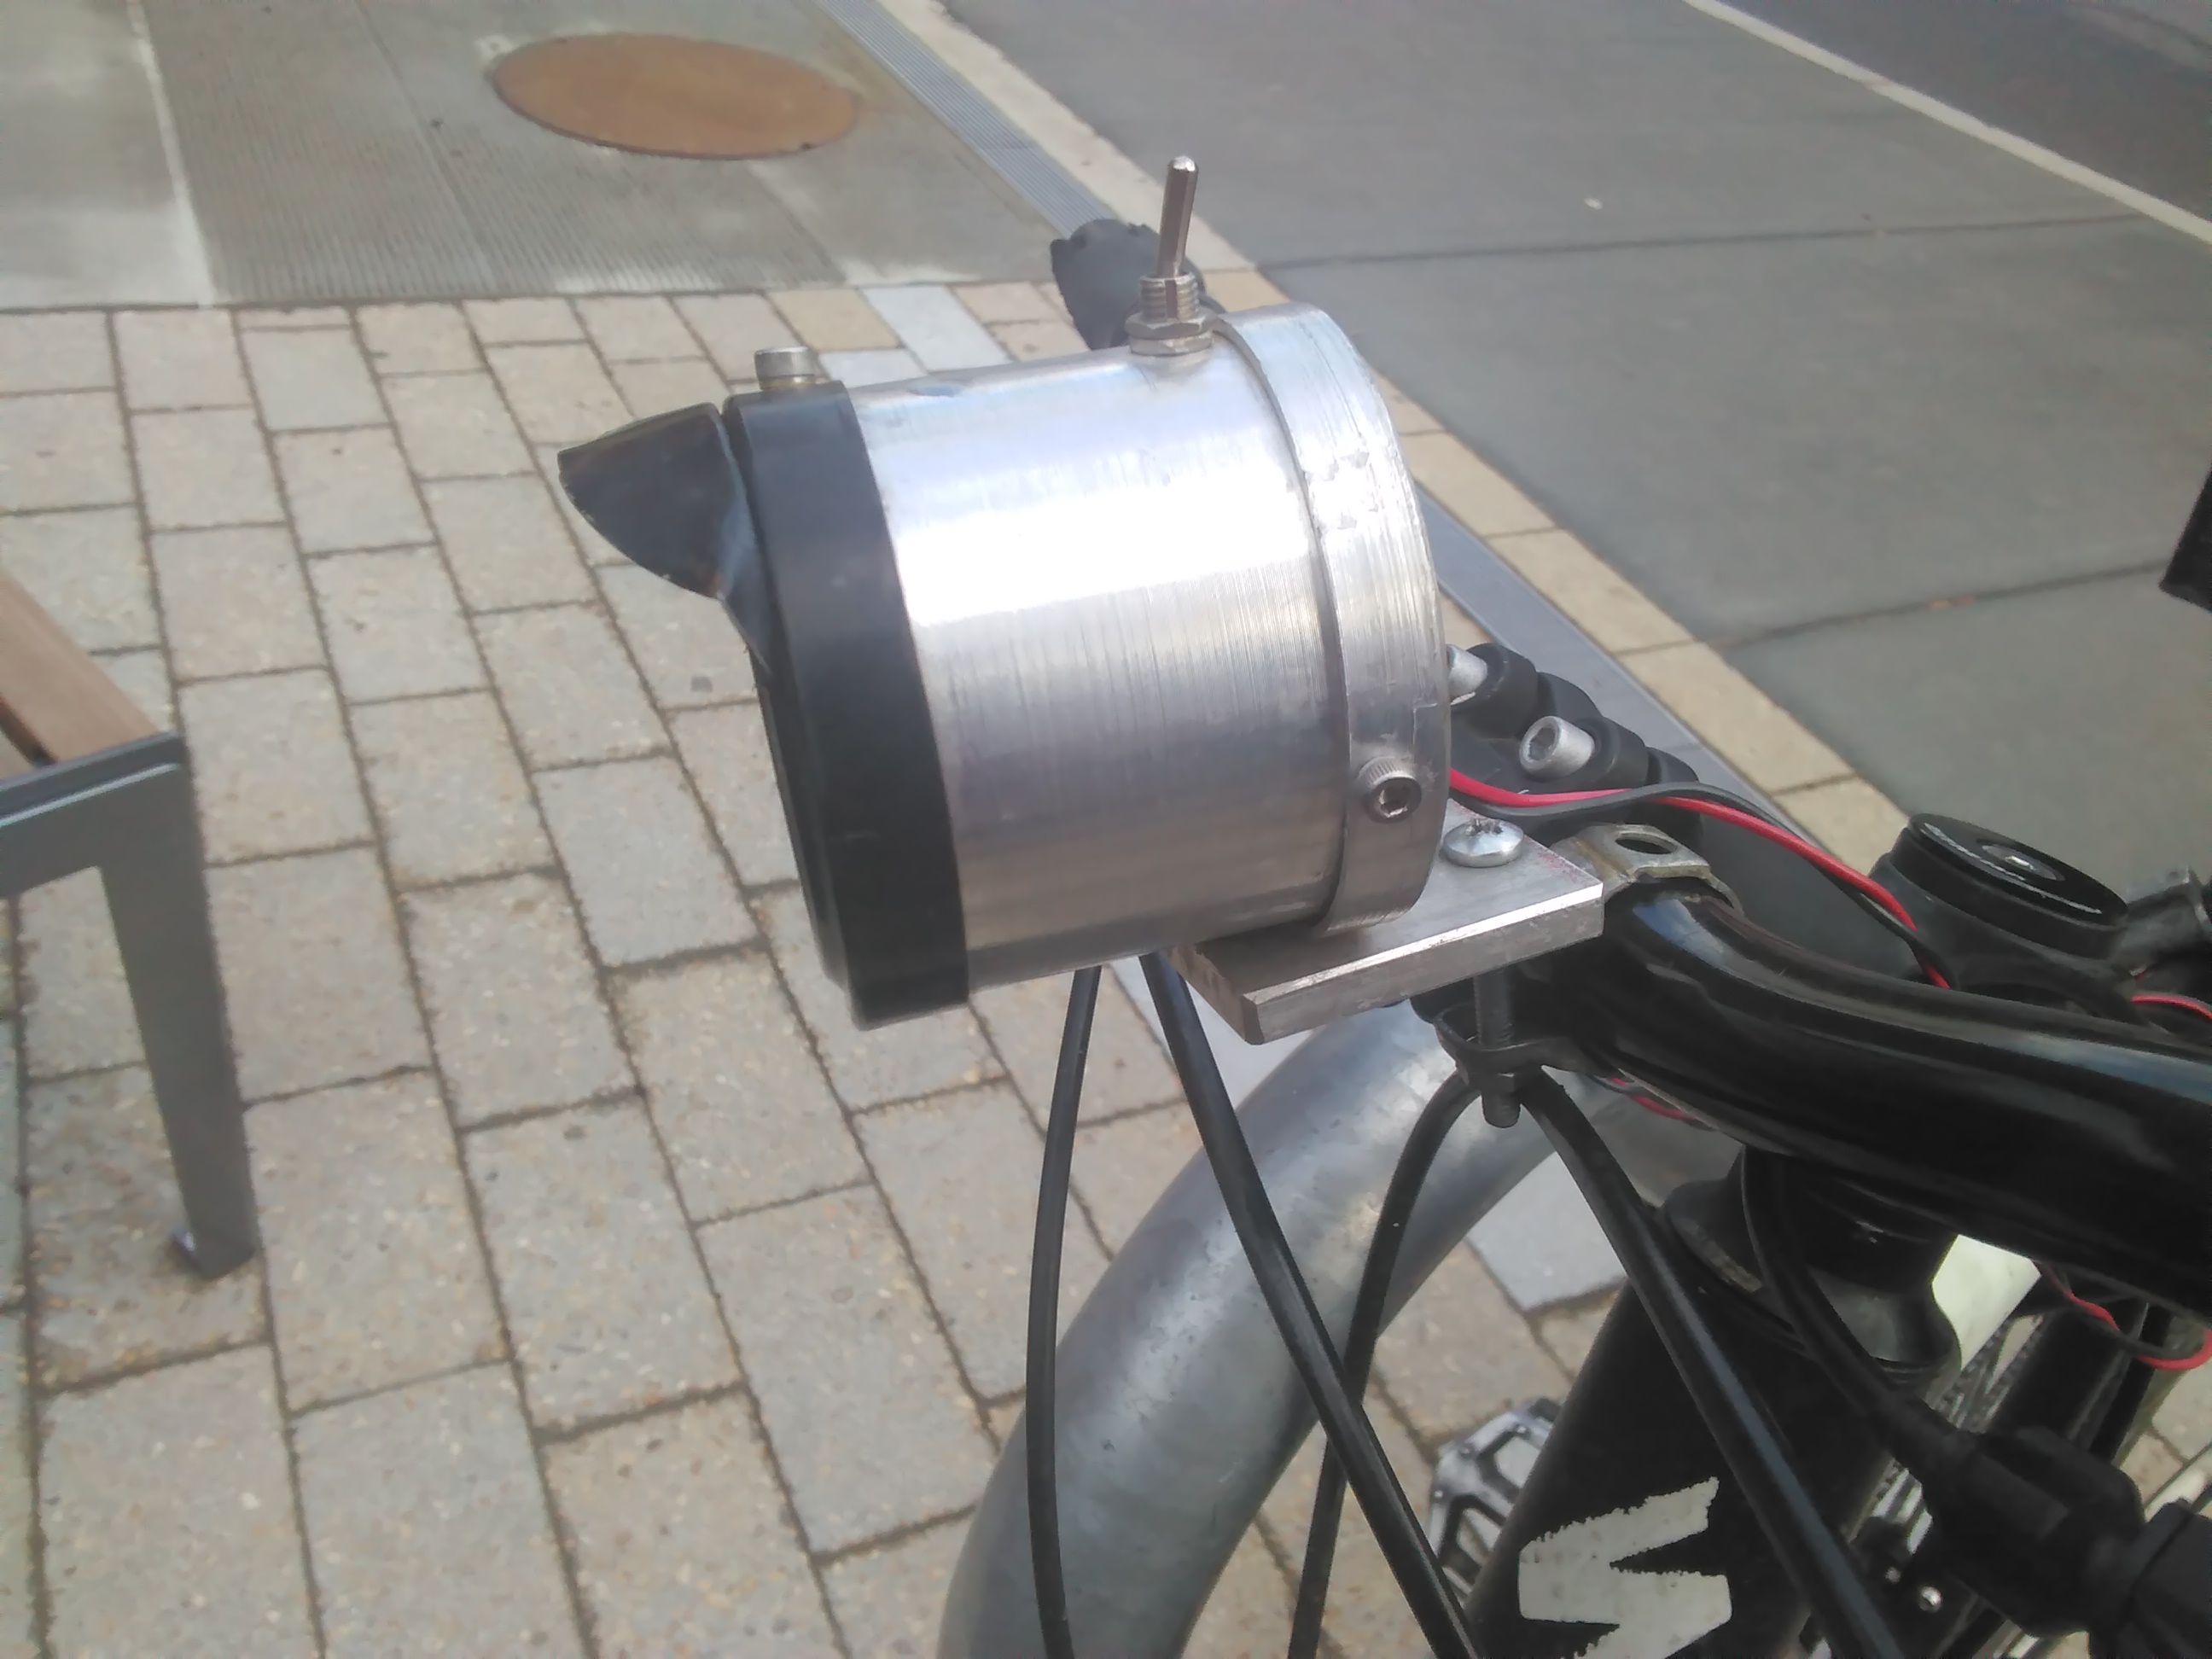
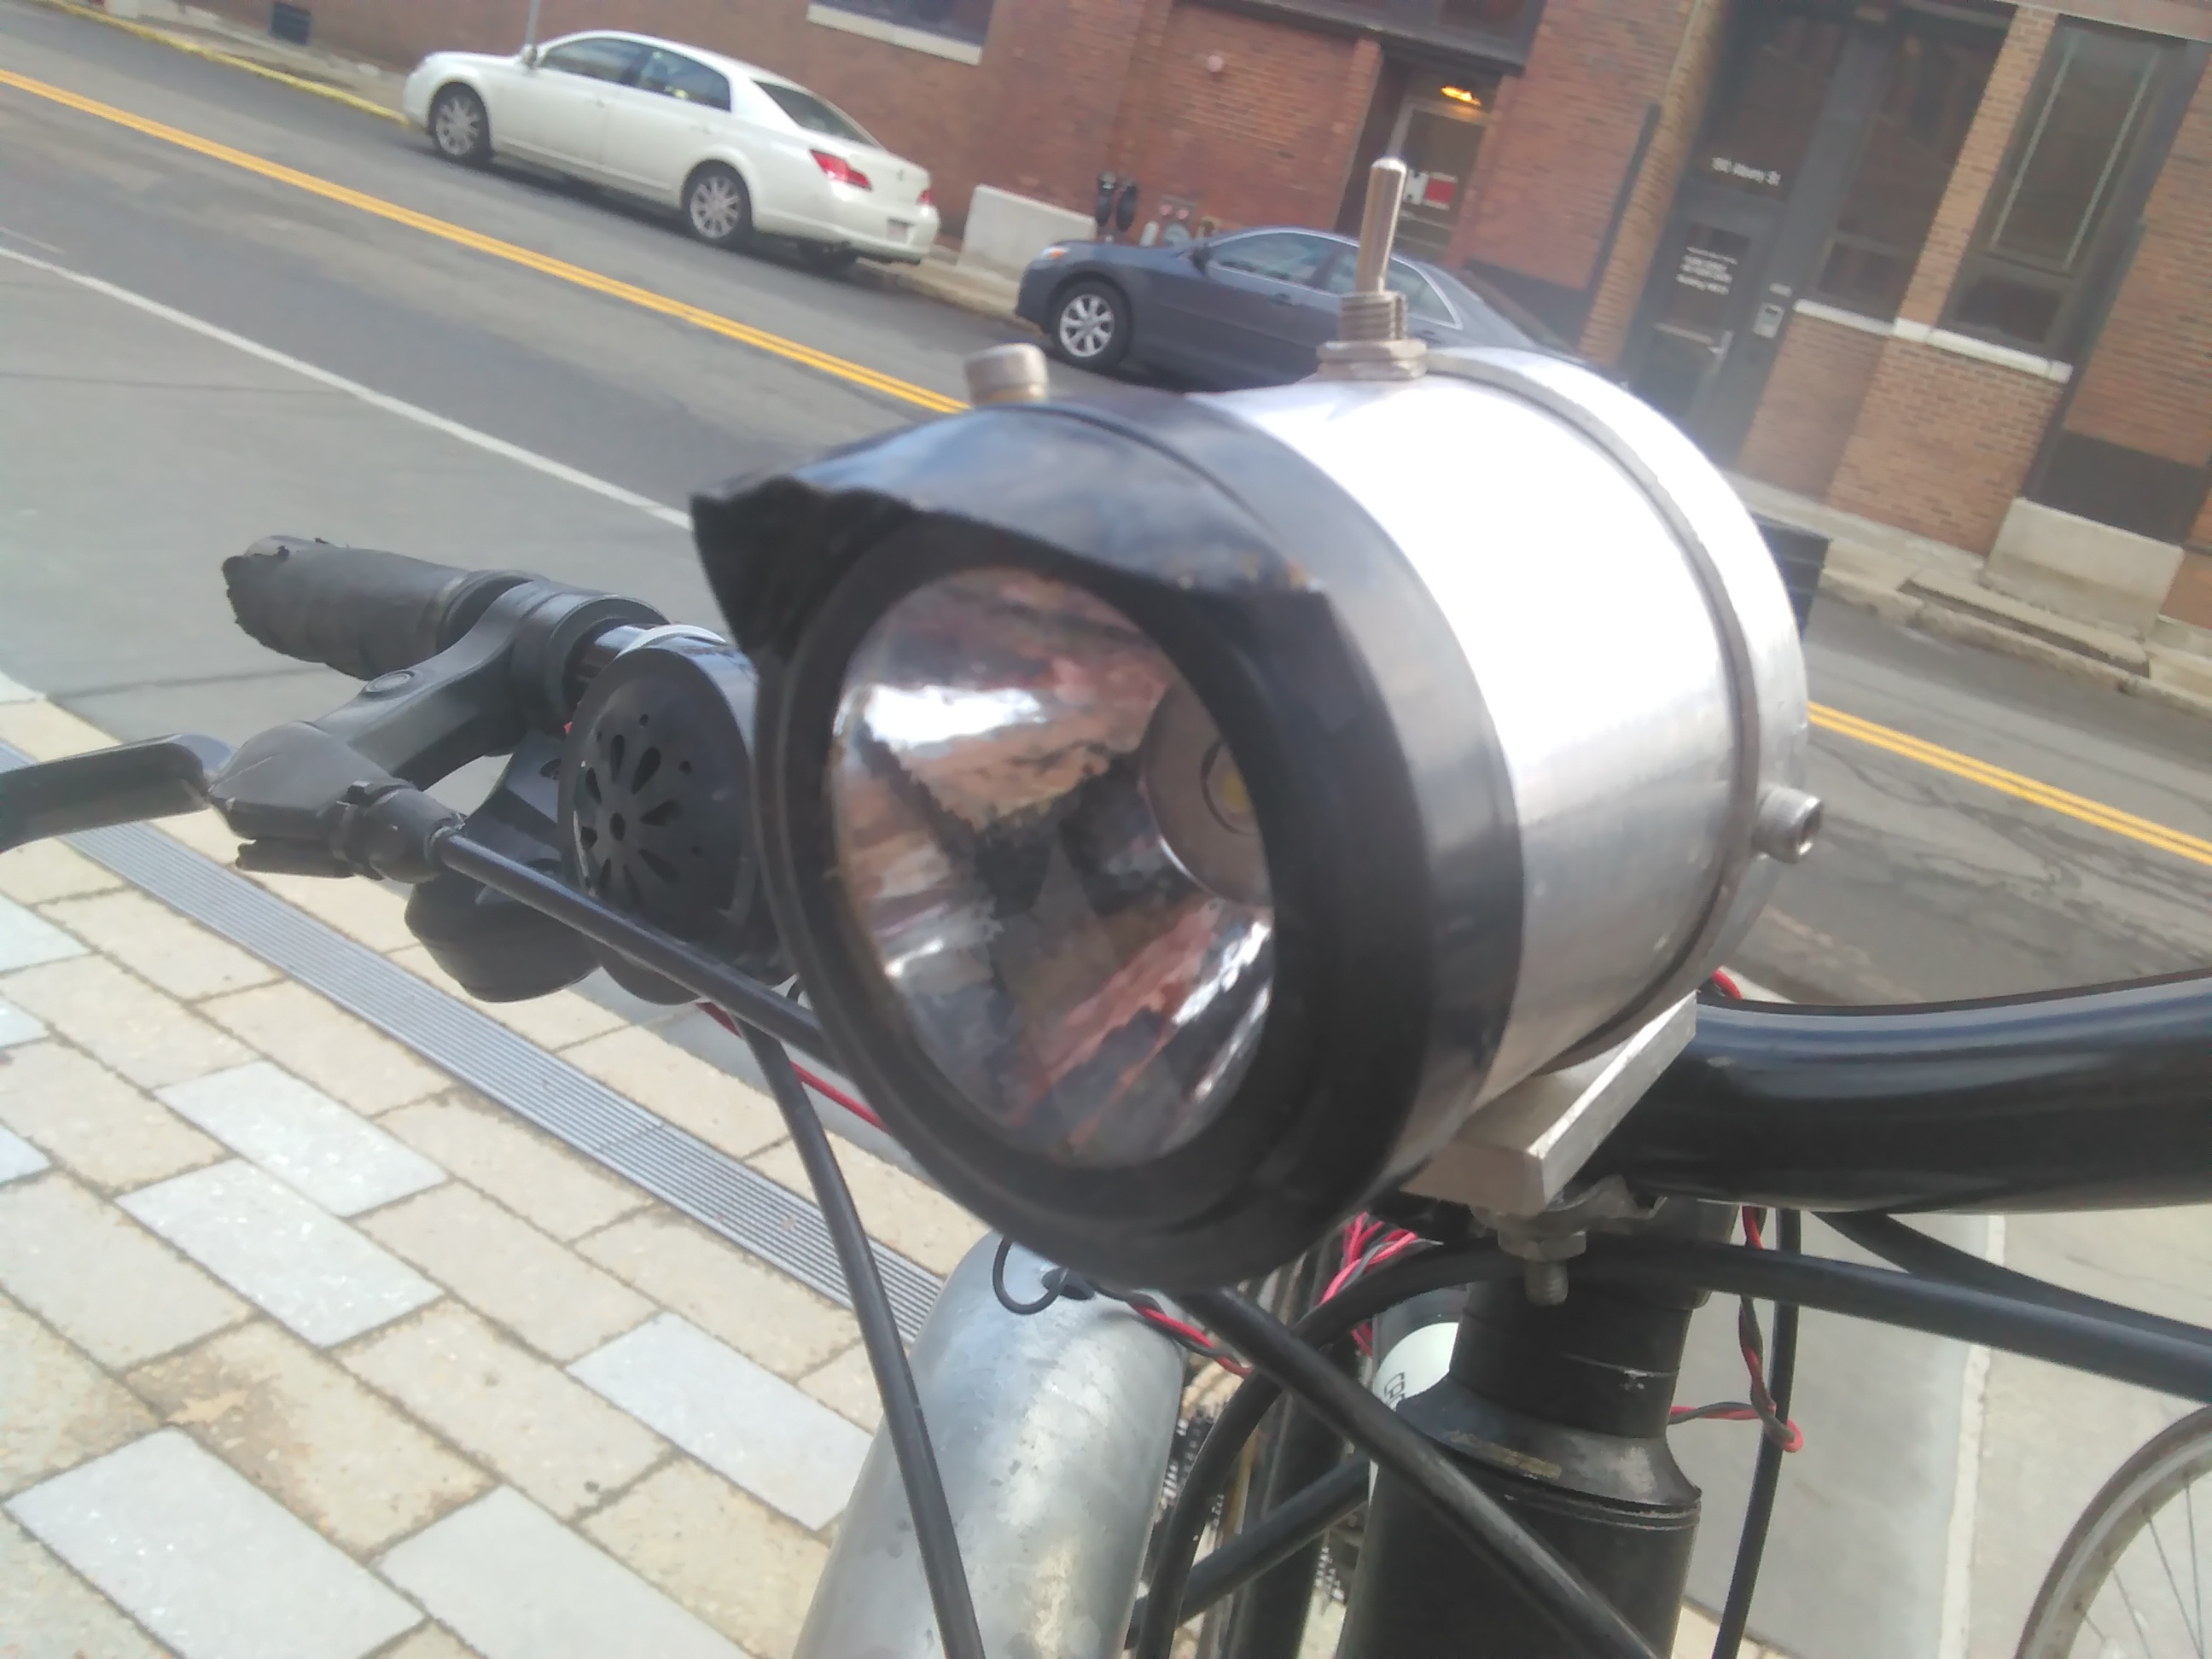
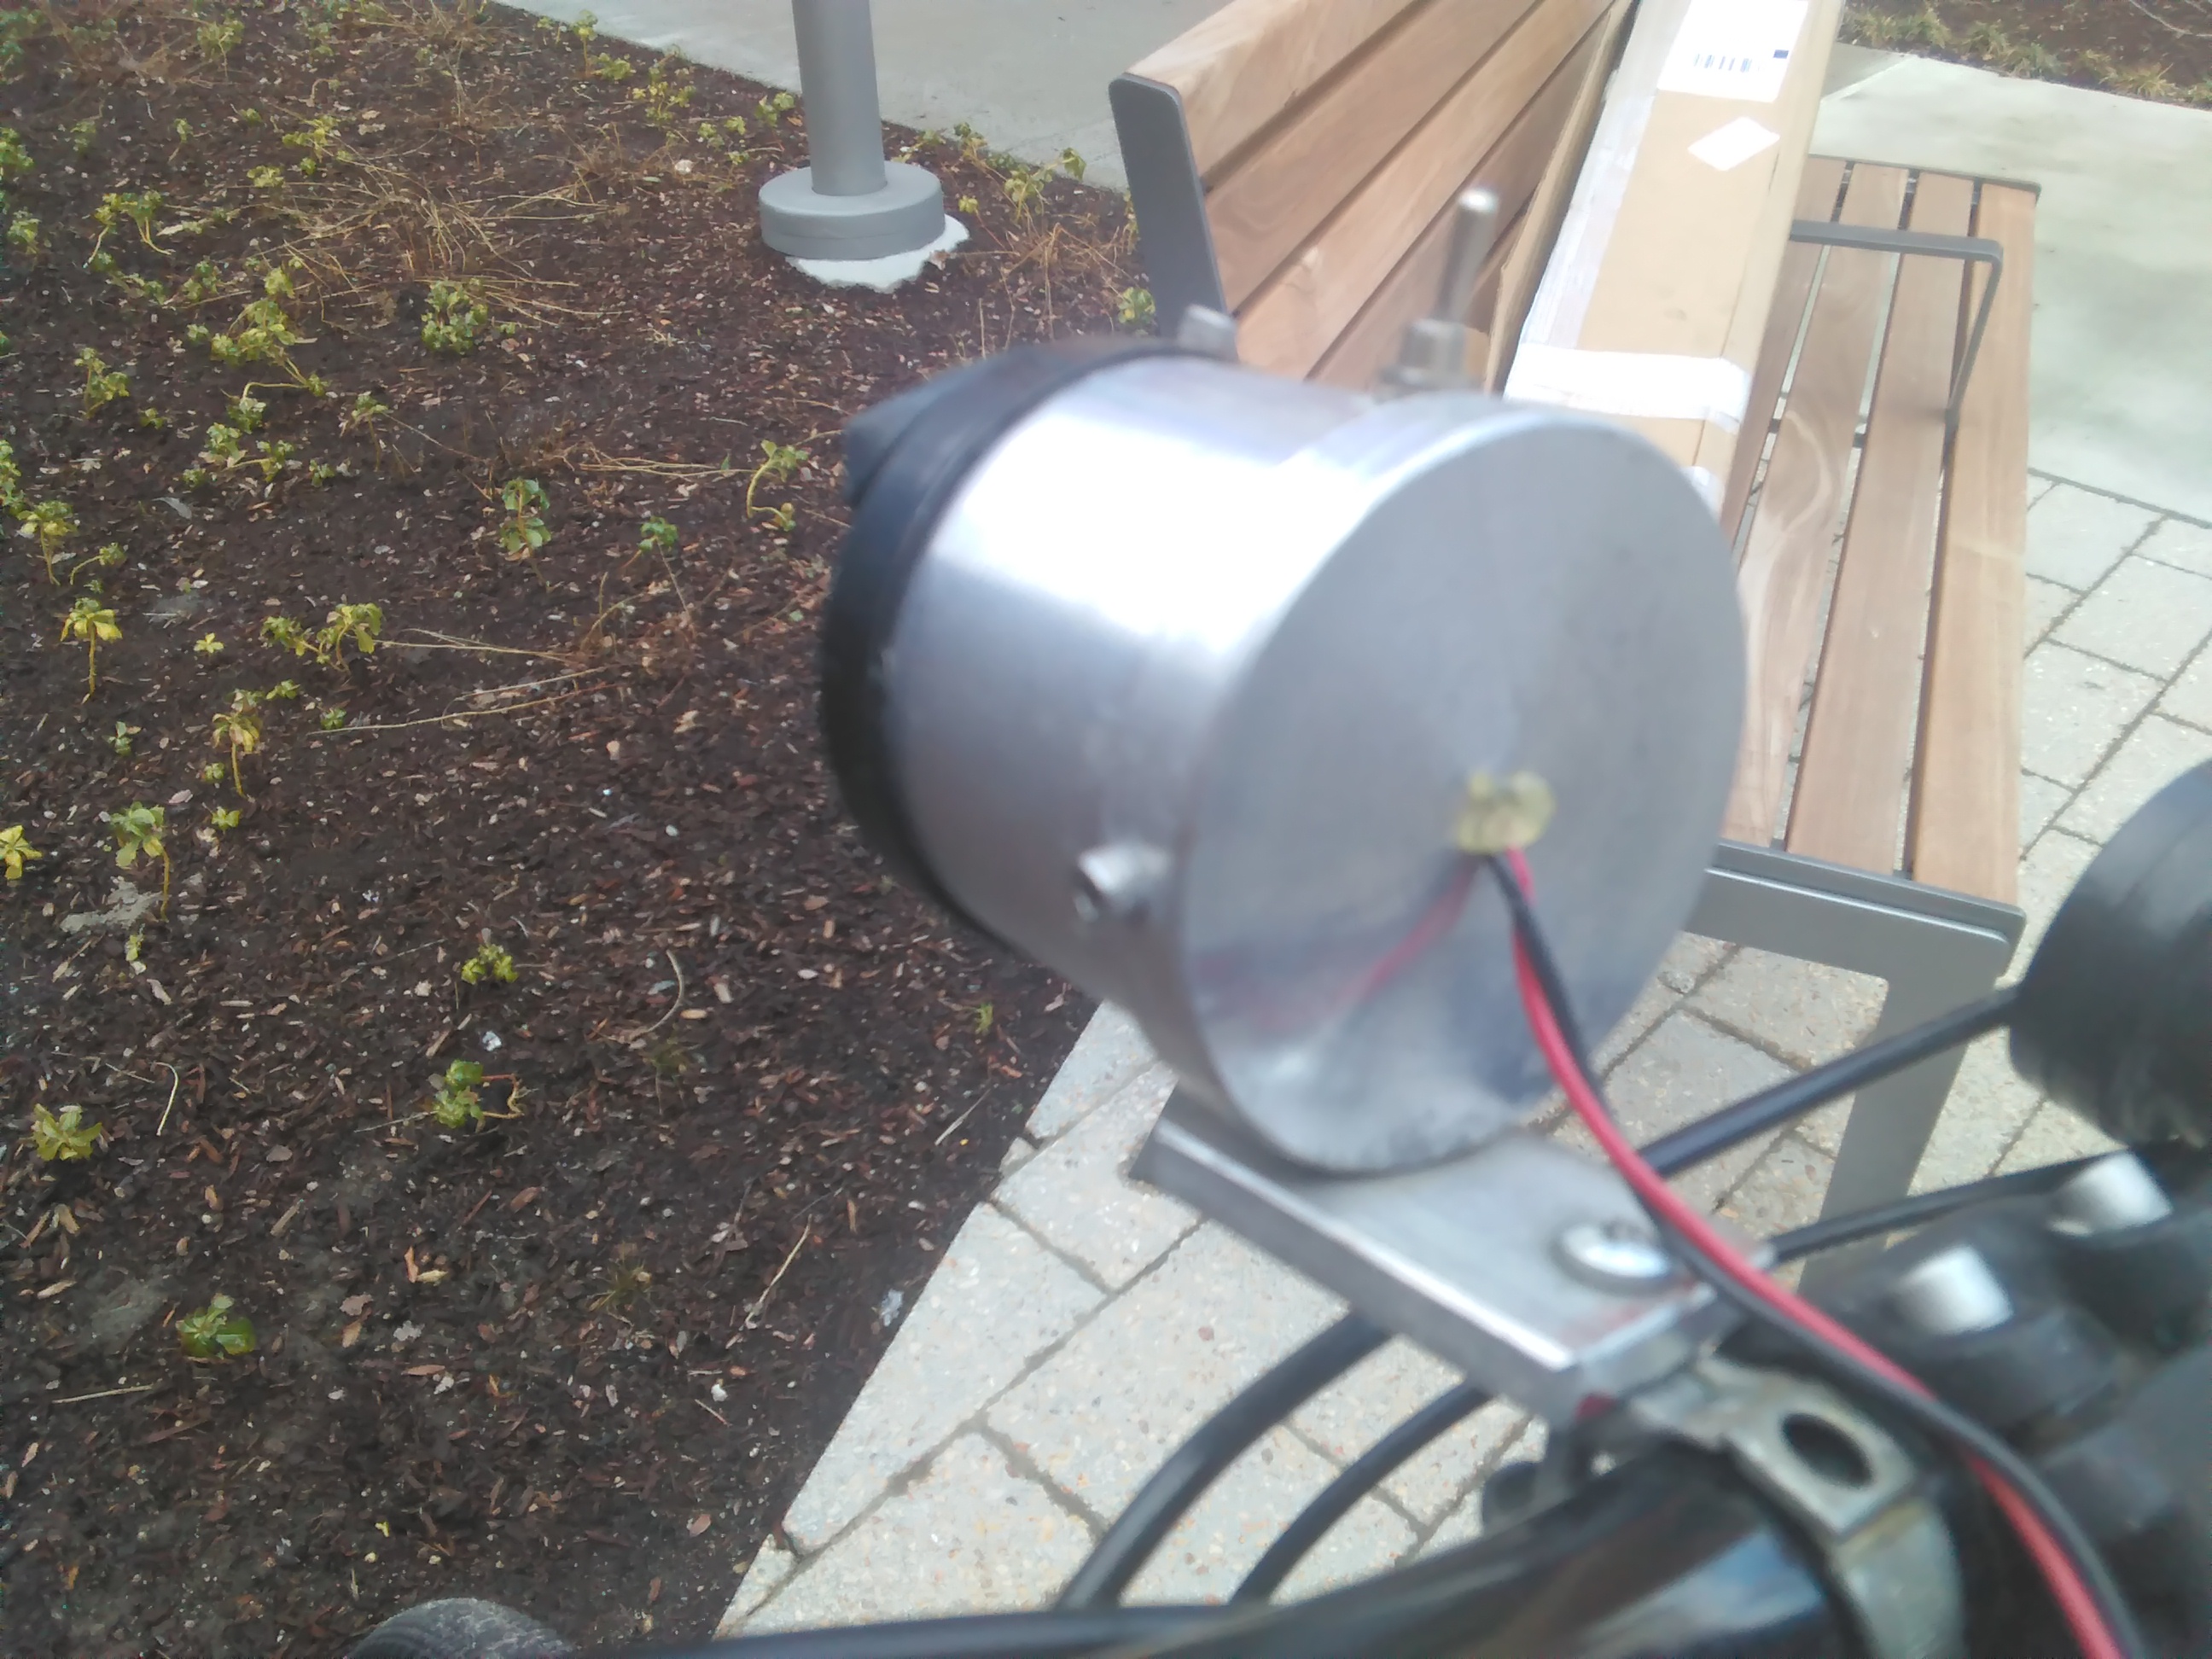
Generation 2 Front Lights: These LED's started to die and once 1-2 of the led's in one of the lights started to die it caused a cascade effect where the LED's were seeing higher voltages and all started to die rapidly. So I decided to go with a more dedicated 12 volt LED system, still being cheap though I bought one directly from China through Ebay [link]. After I initially installed this second generation LED front light, I noticed it getting bent and dented quite regularly due to how close other bikes park and the occasional bike repair. Due to these issues, I decided to machine a simple Cup and lid type lamp to house the LED, while also replacing the damaged switch. I ended up keeping the front face + LED + LED reflective Cone housing, and just bolted it into the new Aluminum cup frame.
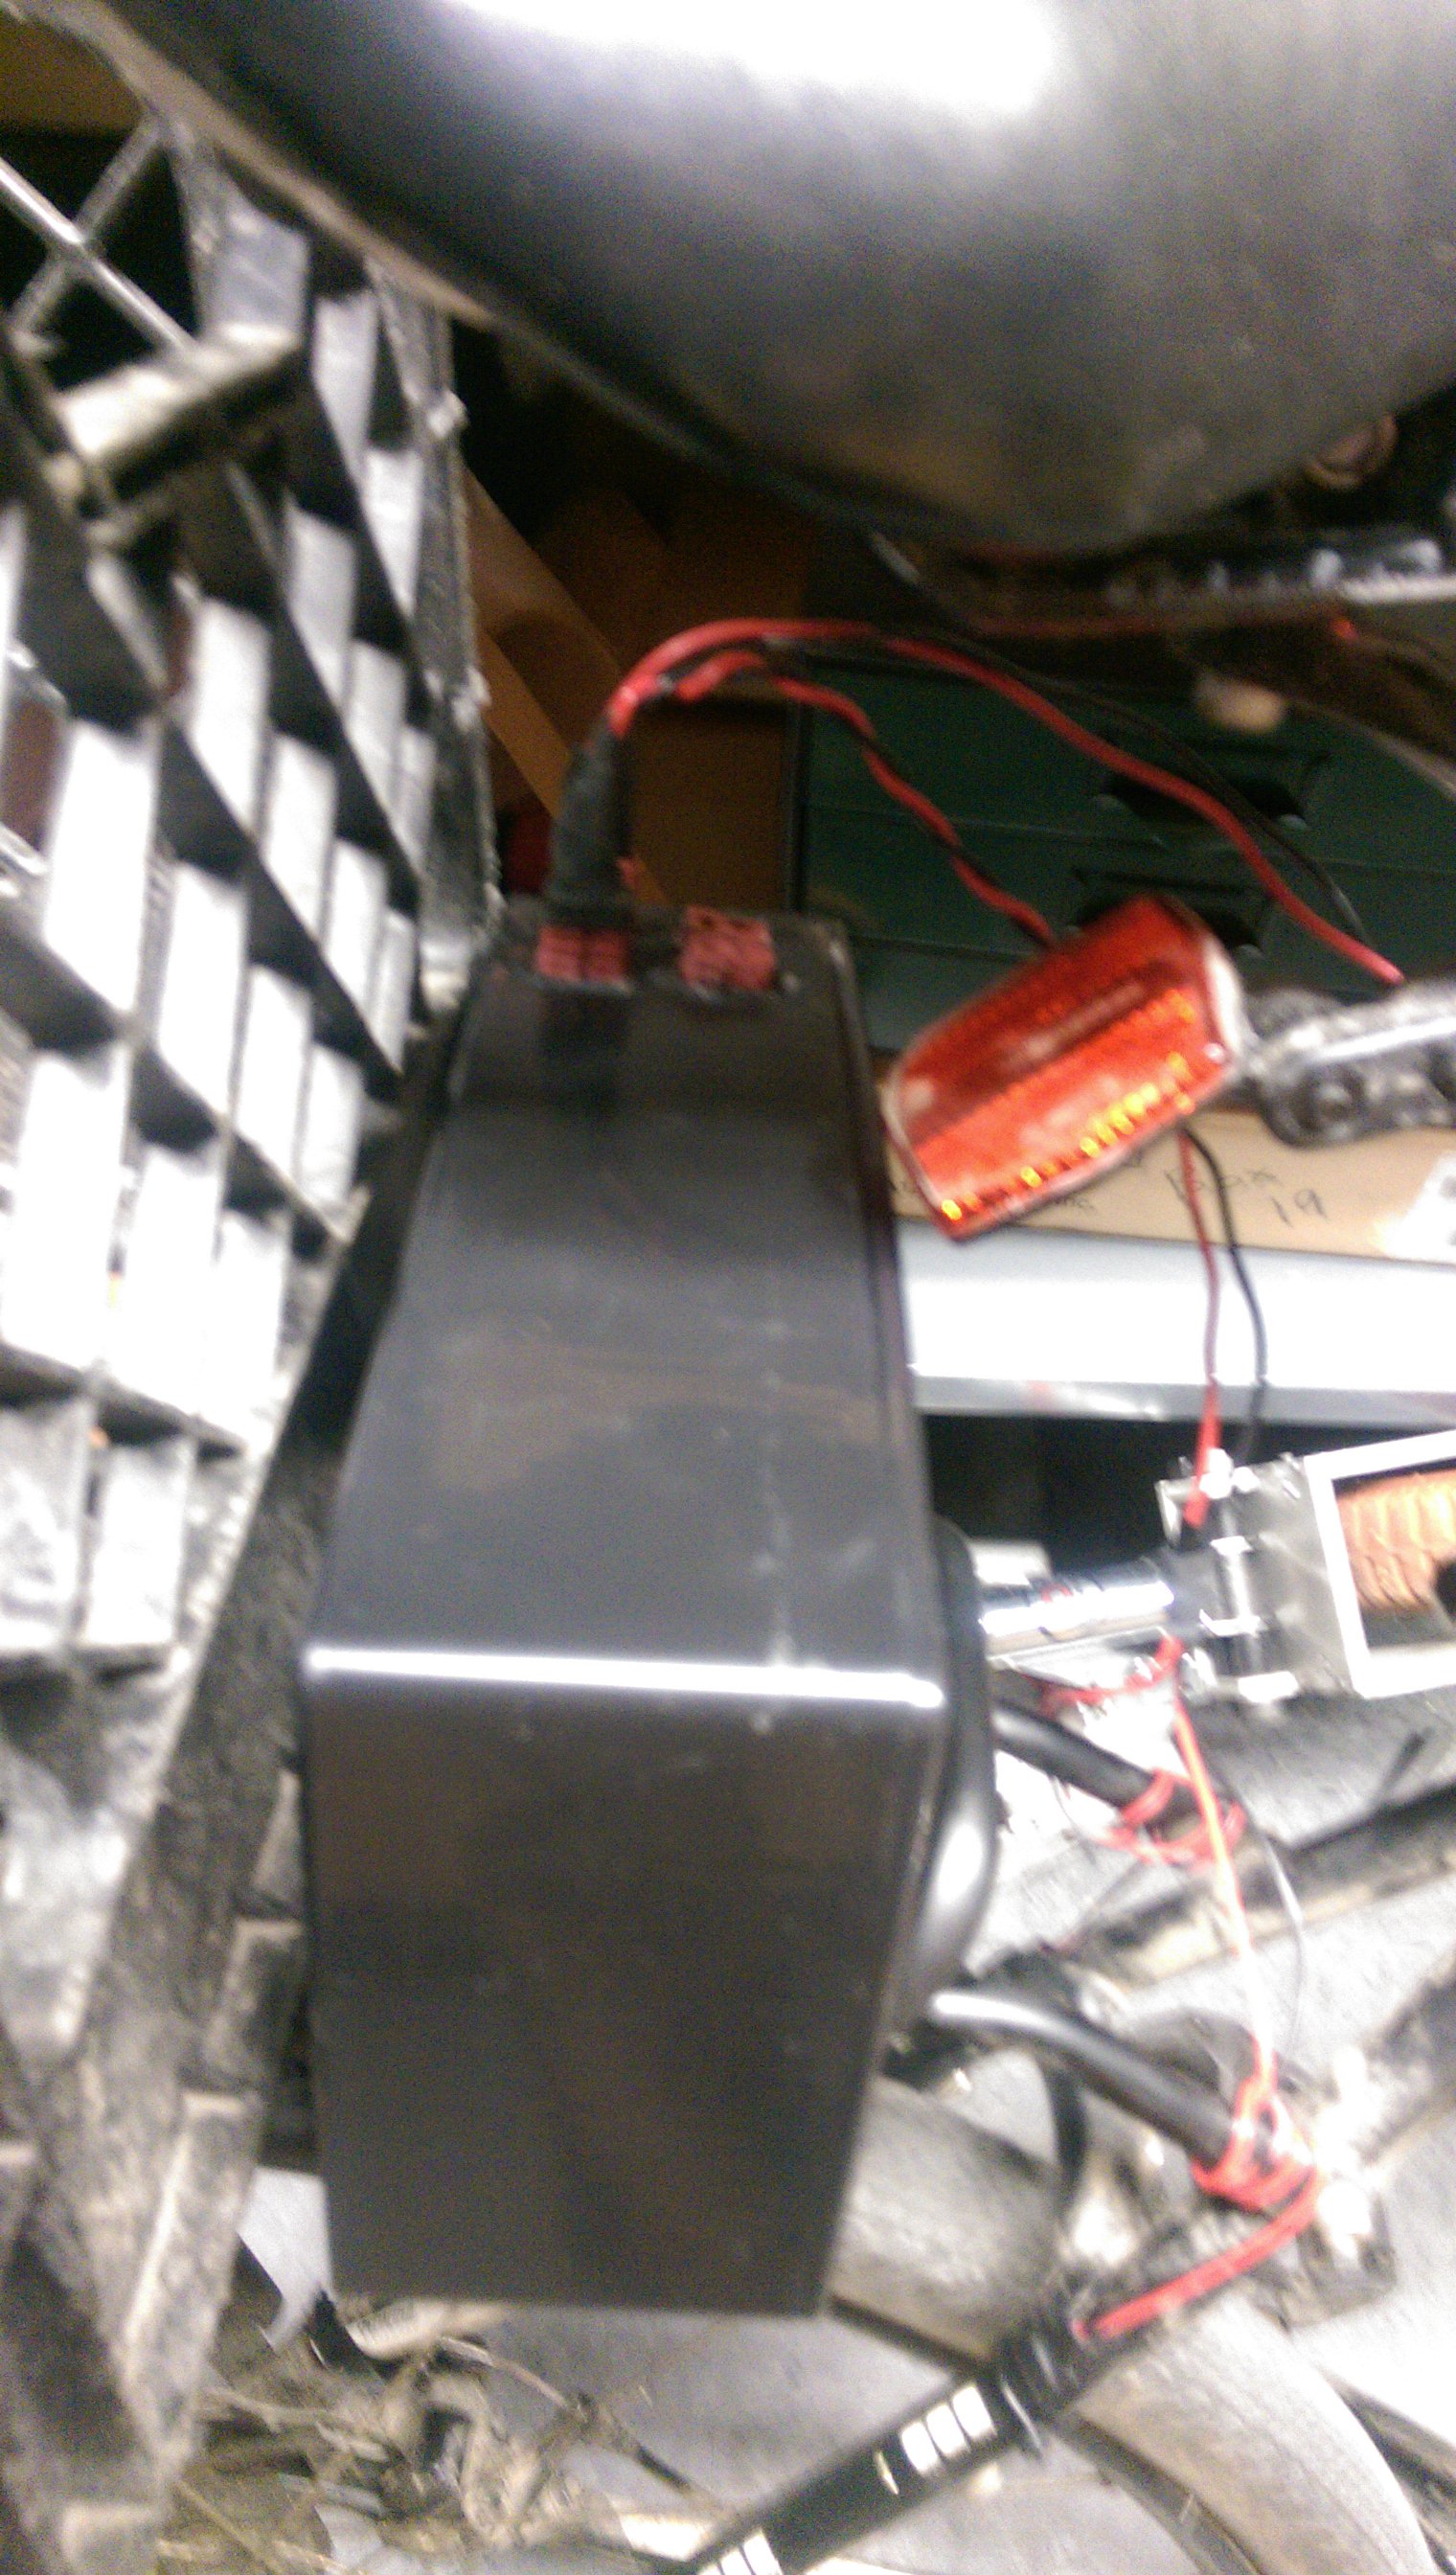
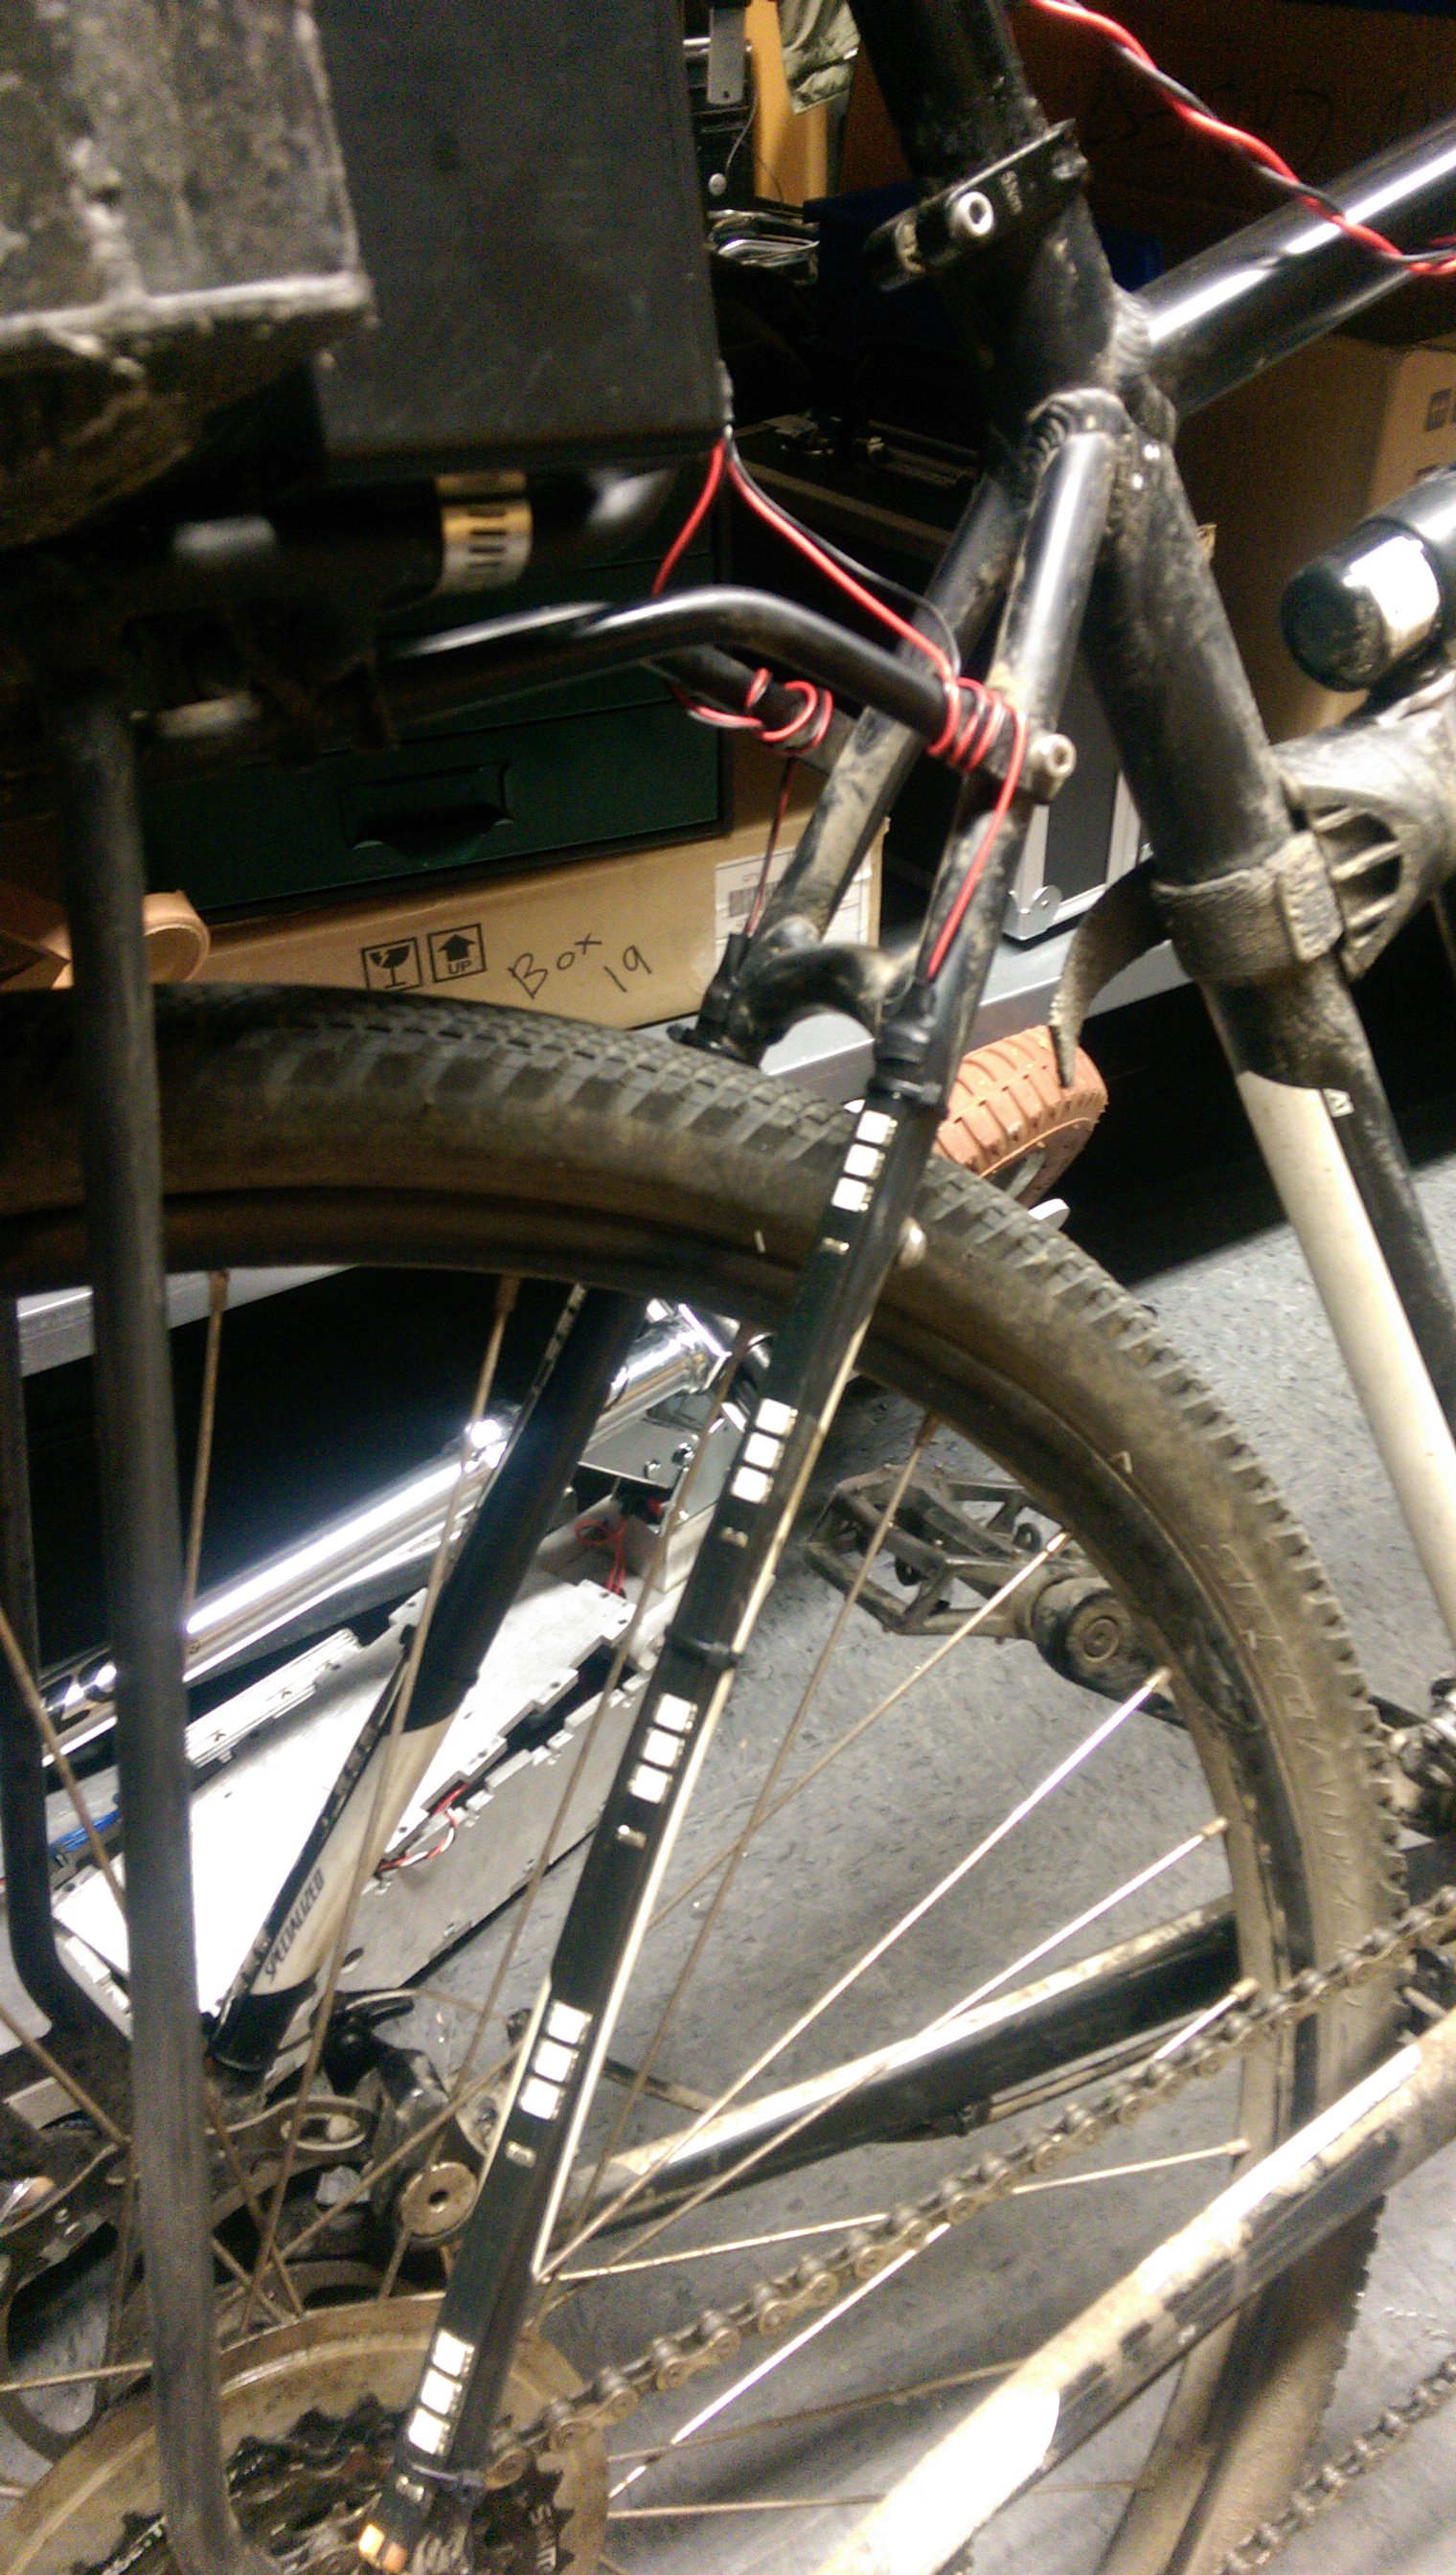
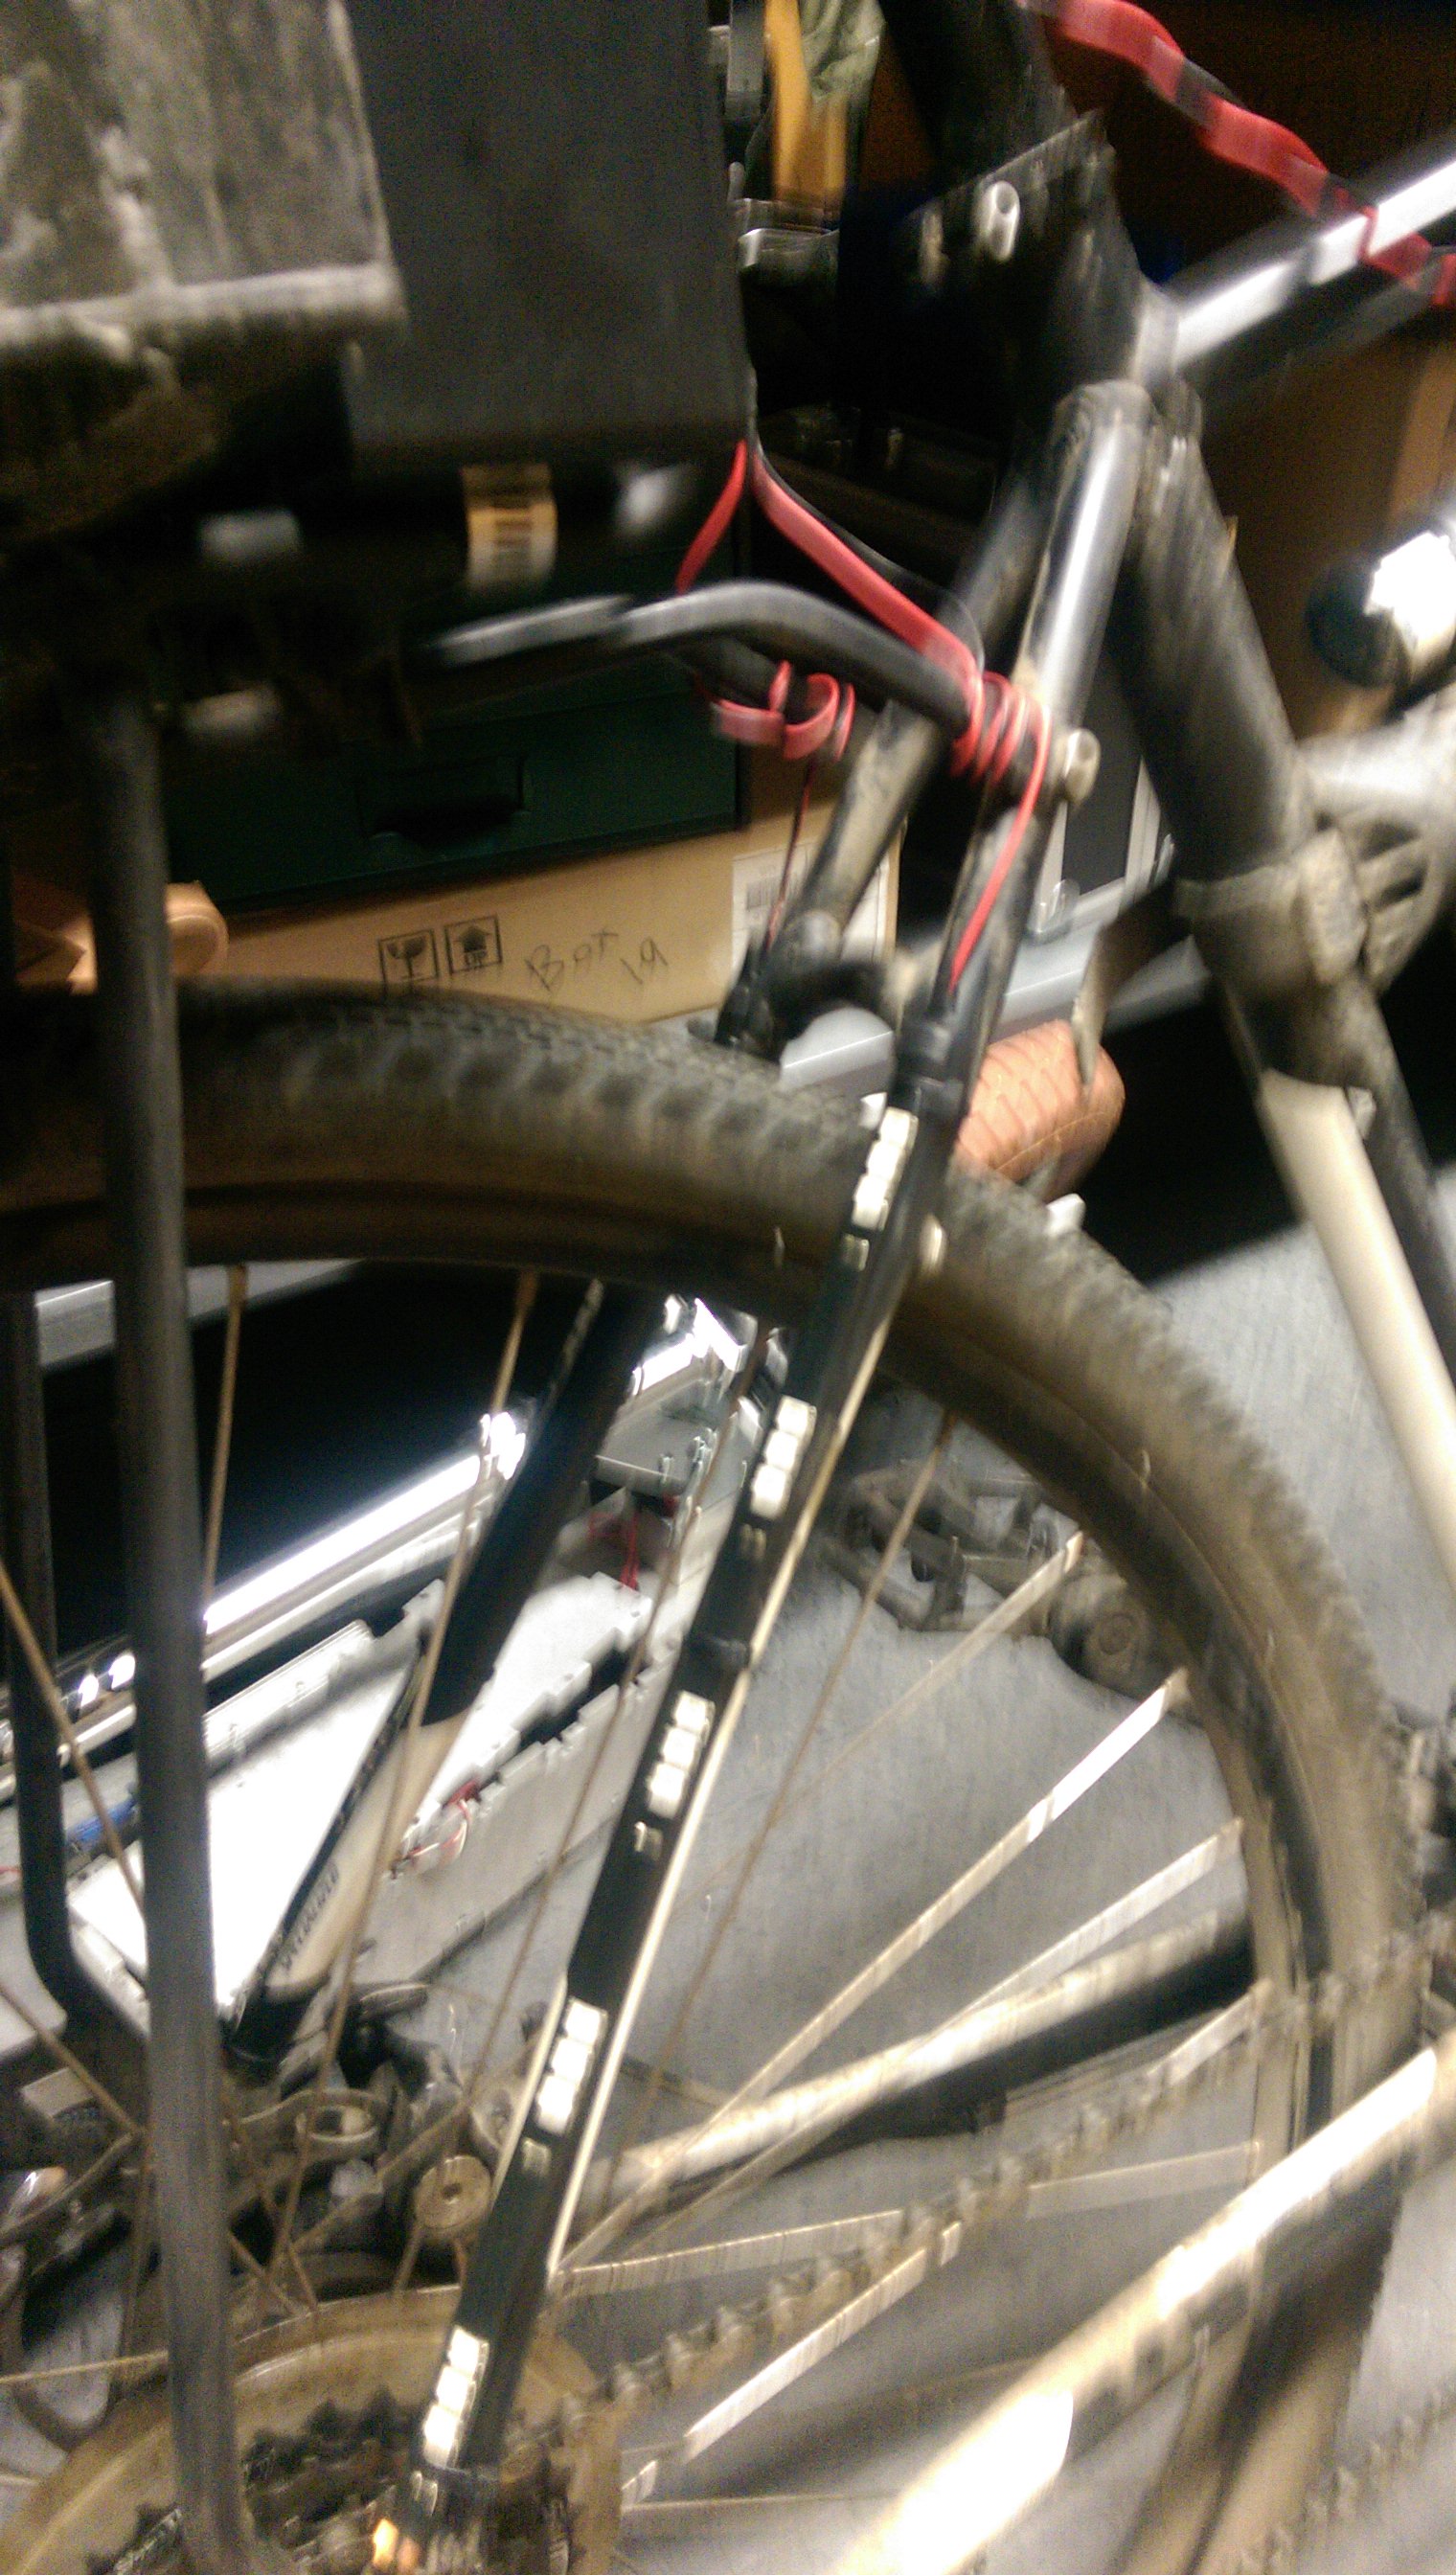
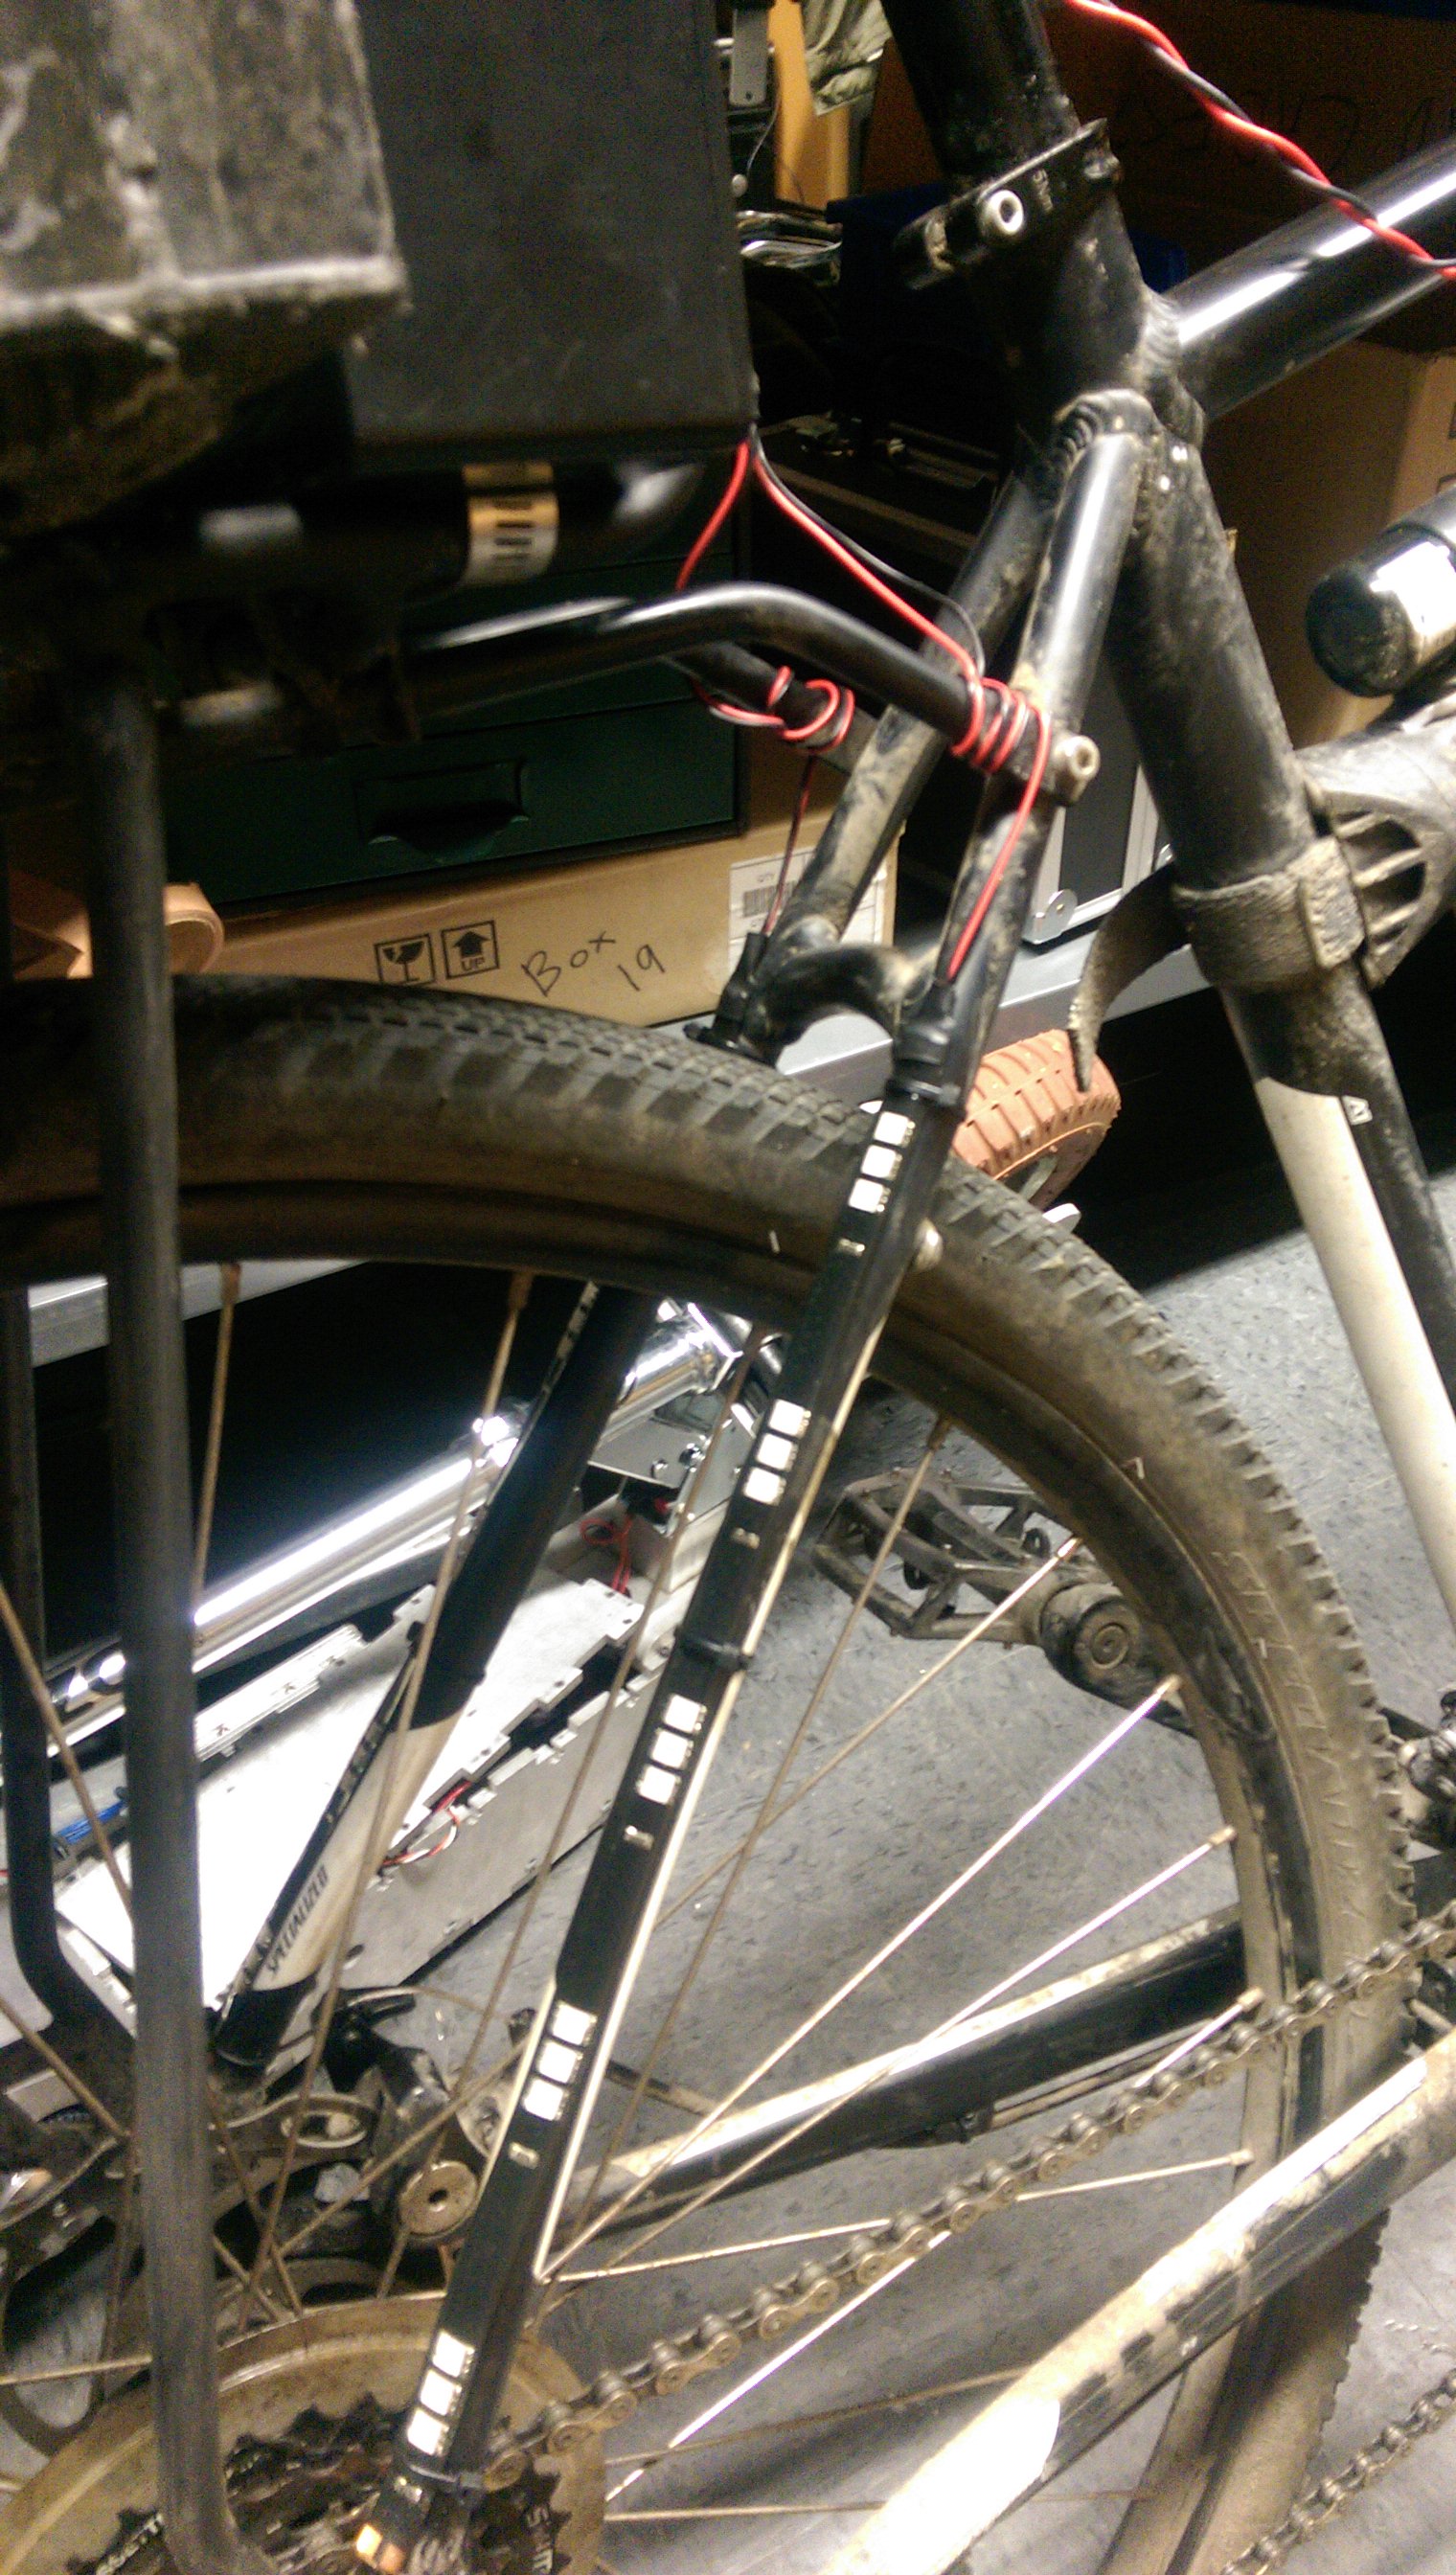
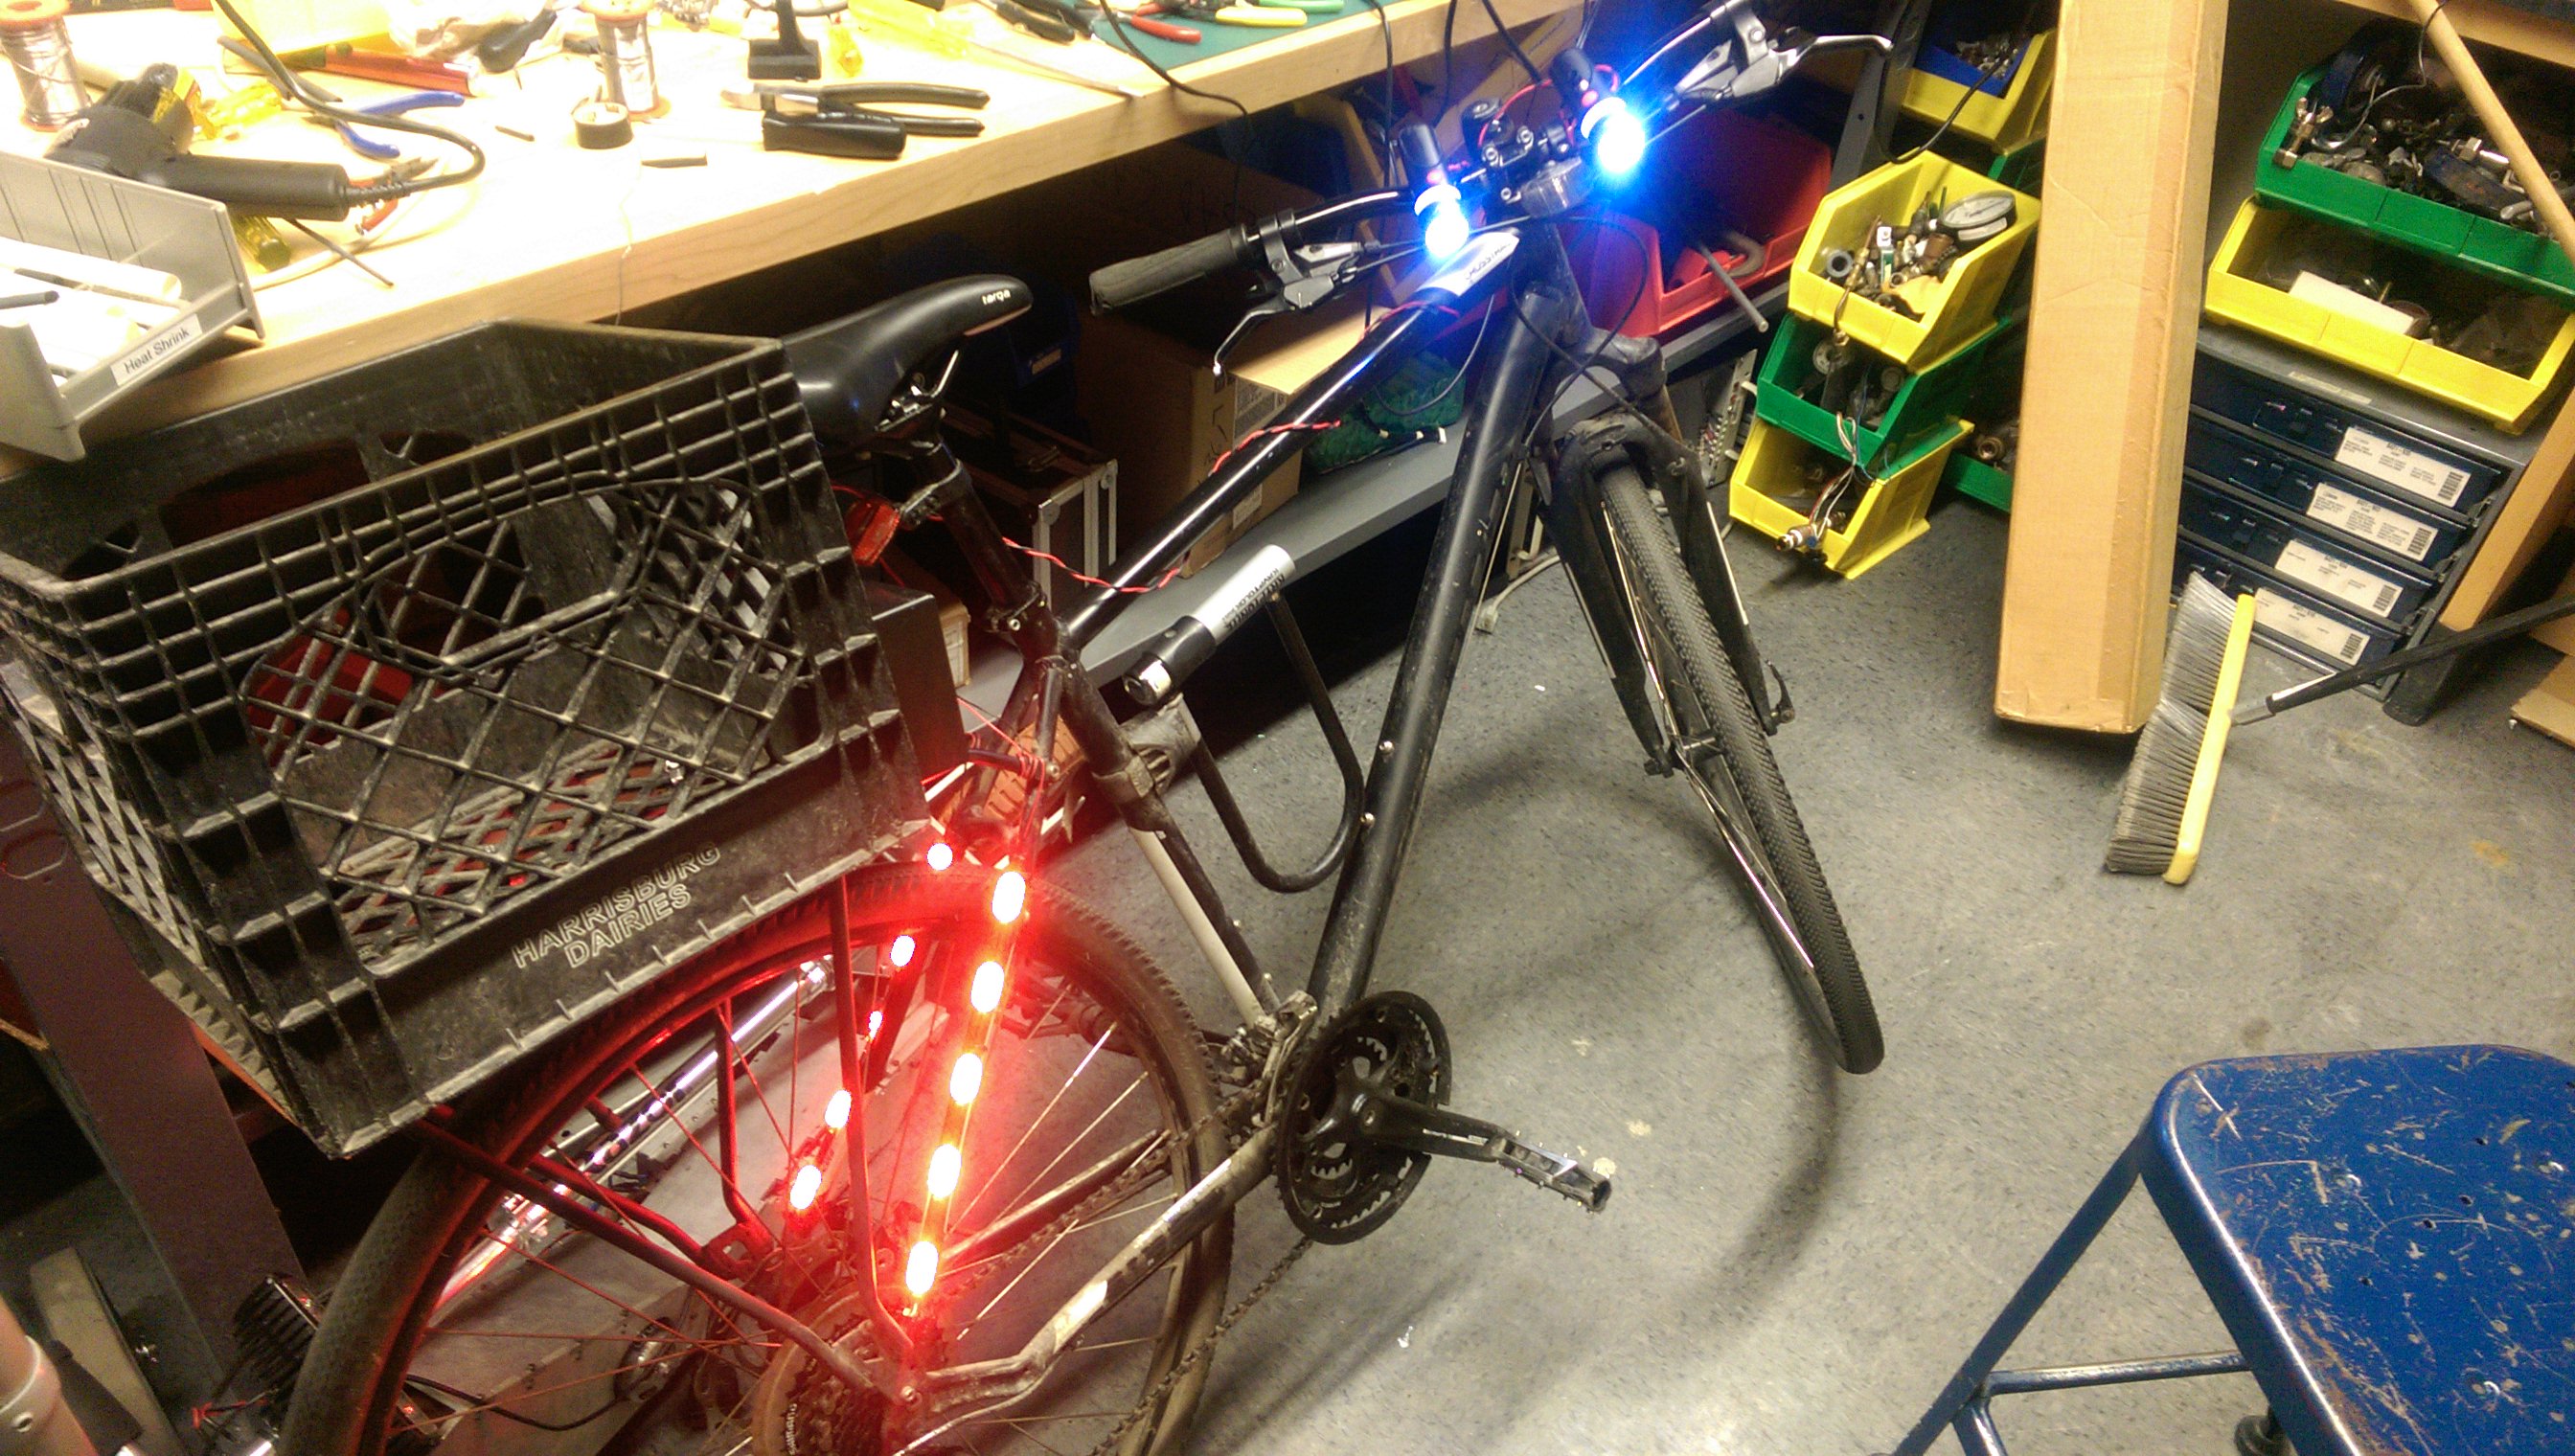
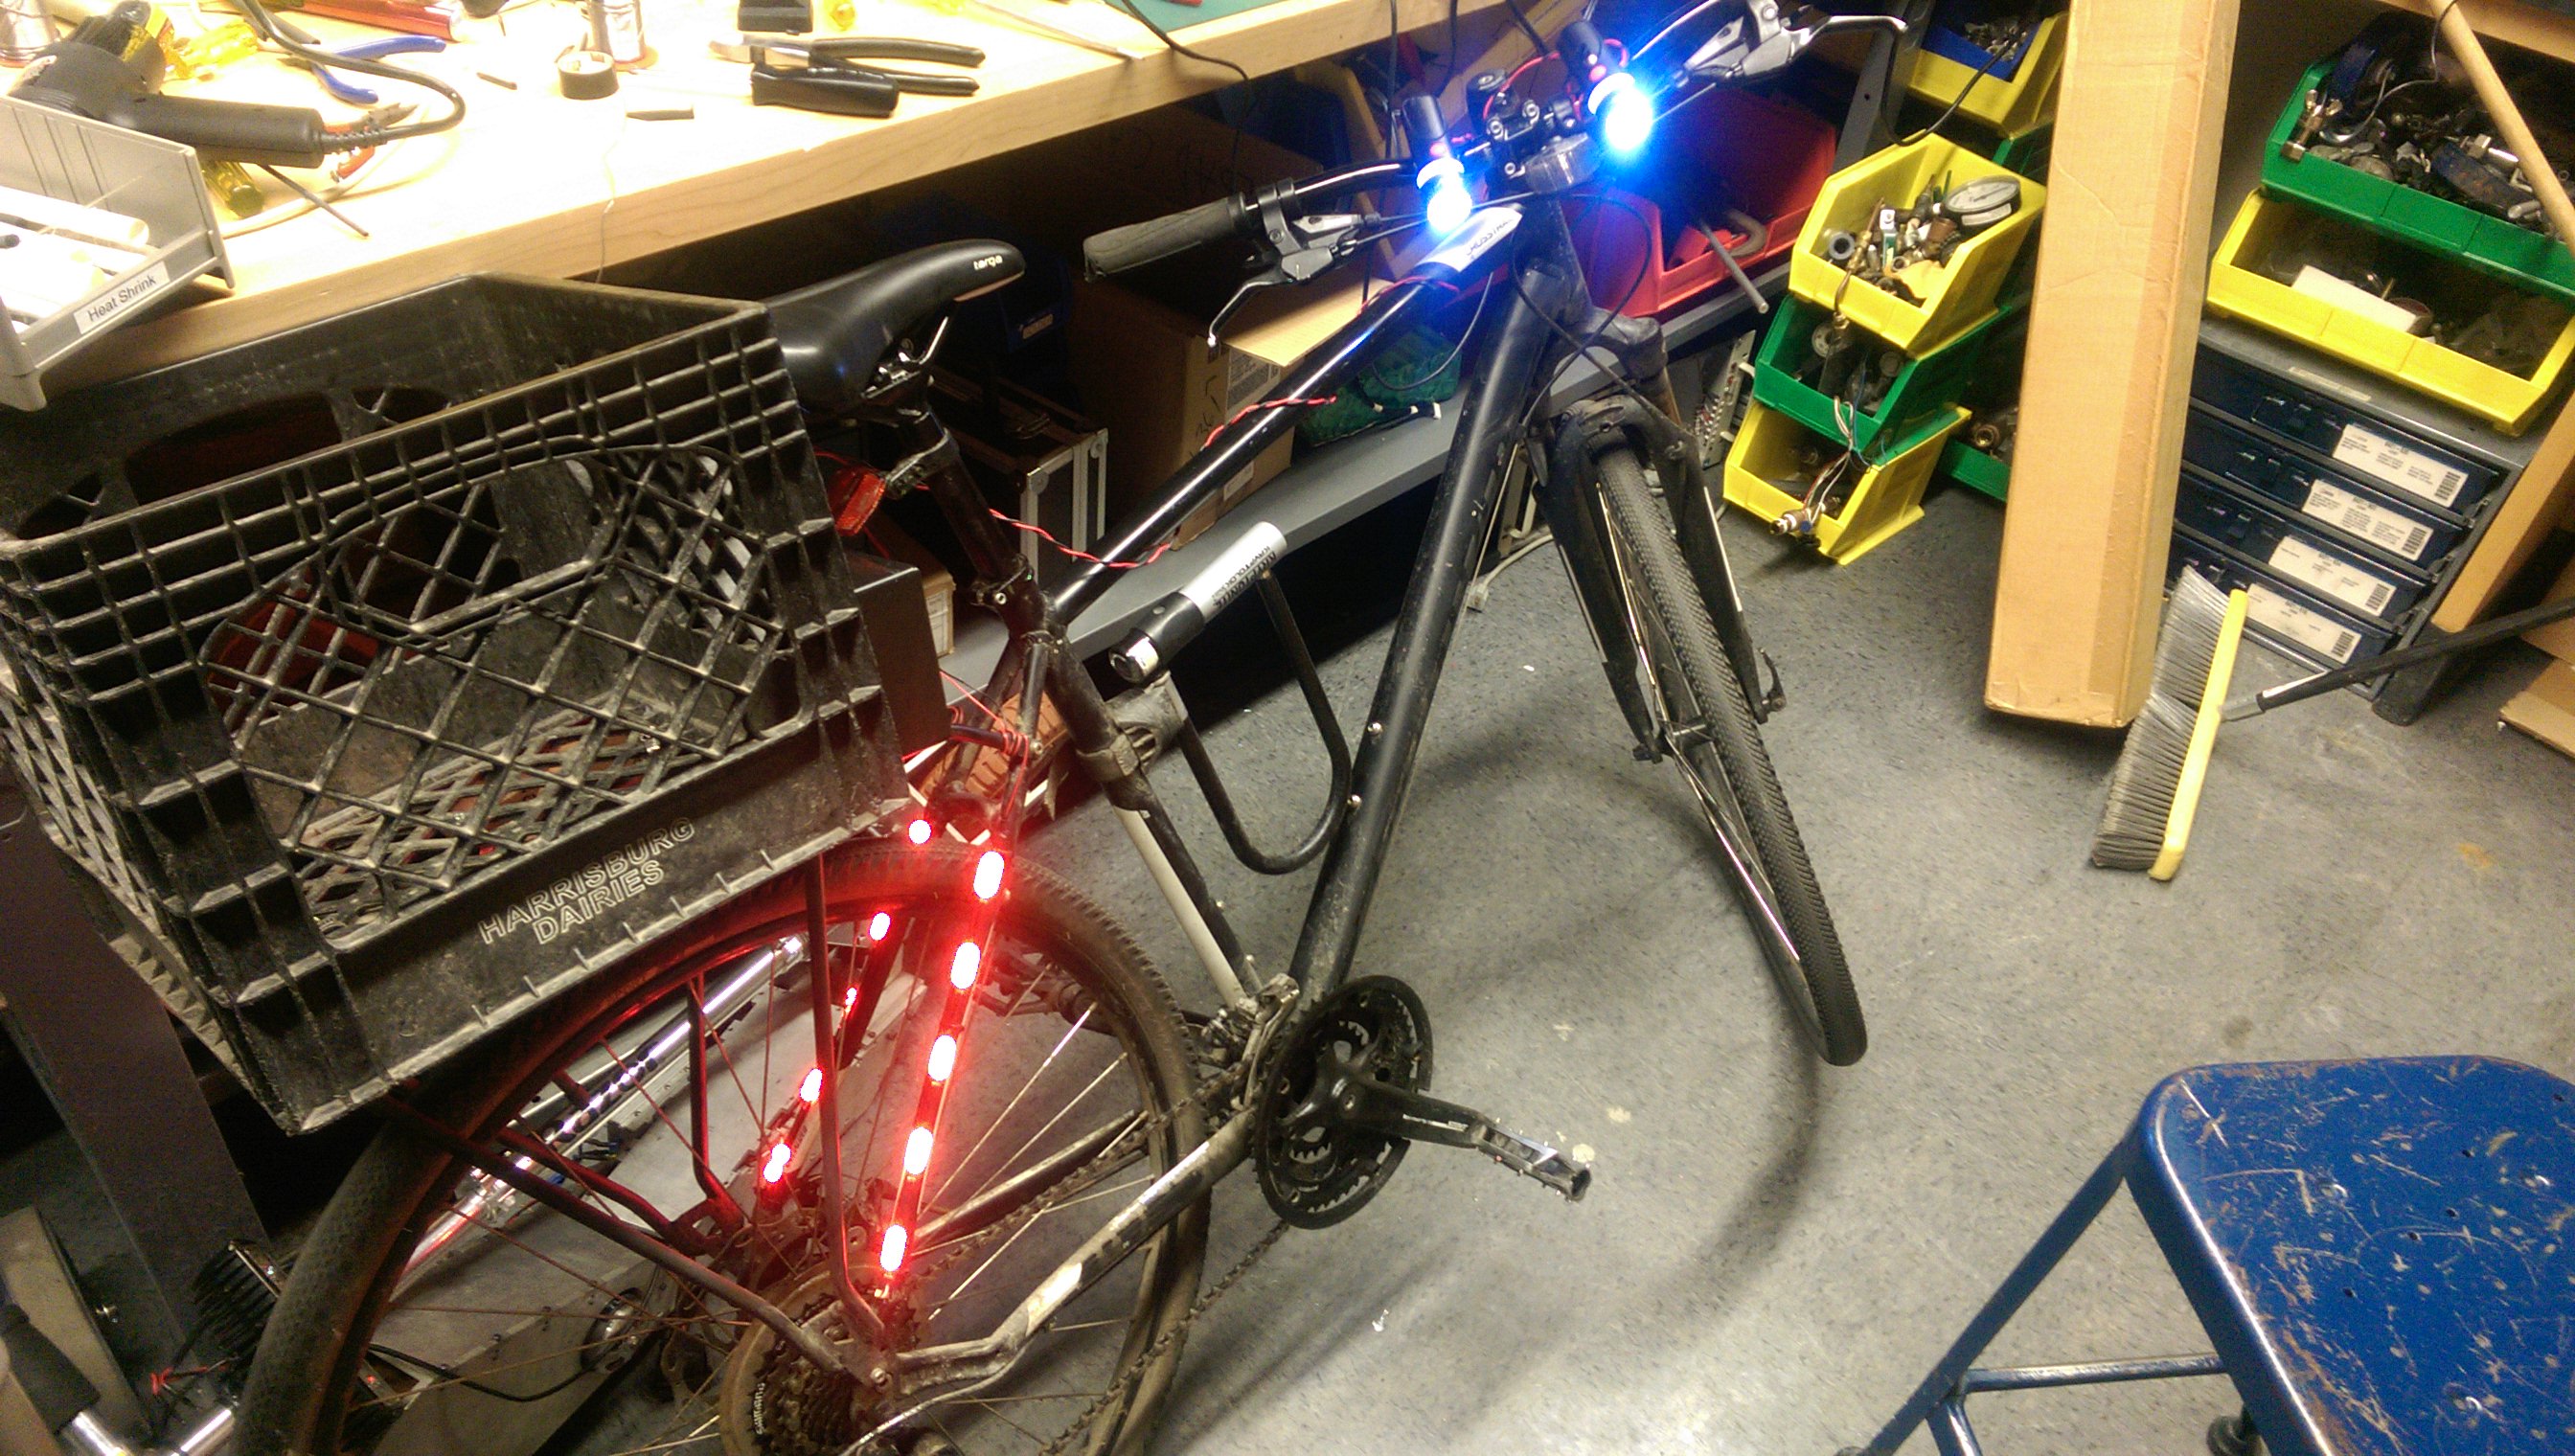
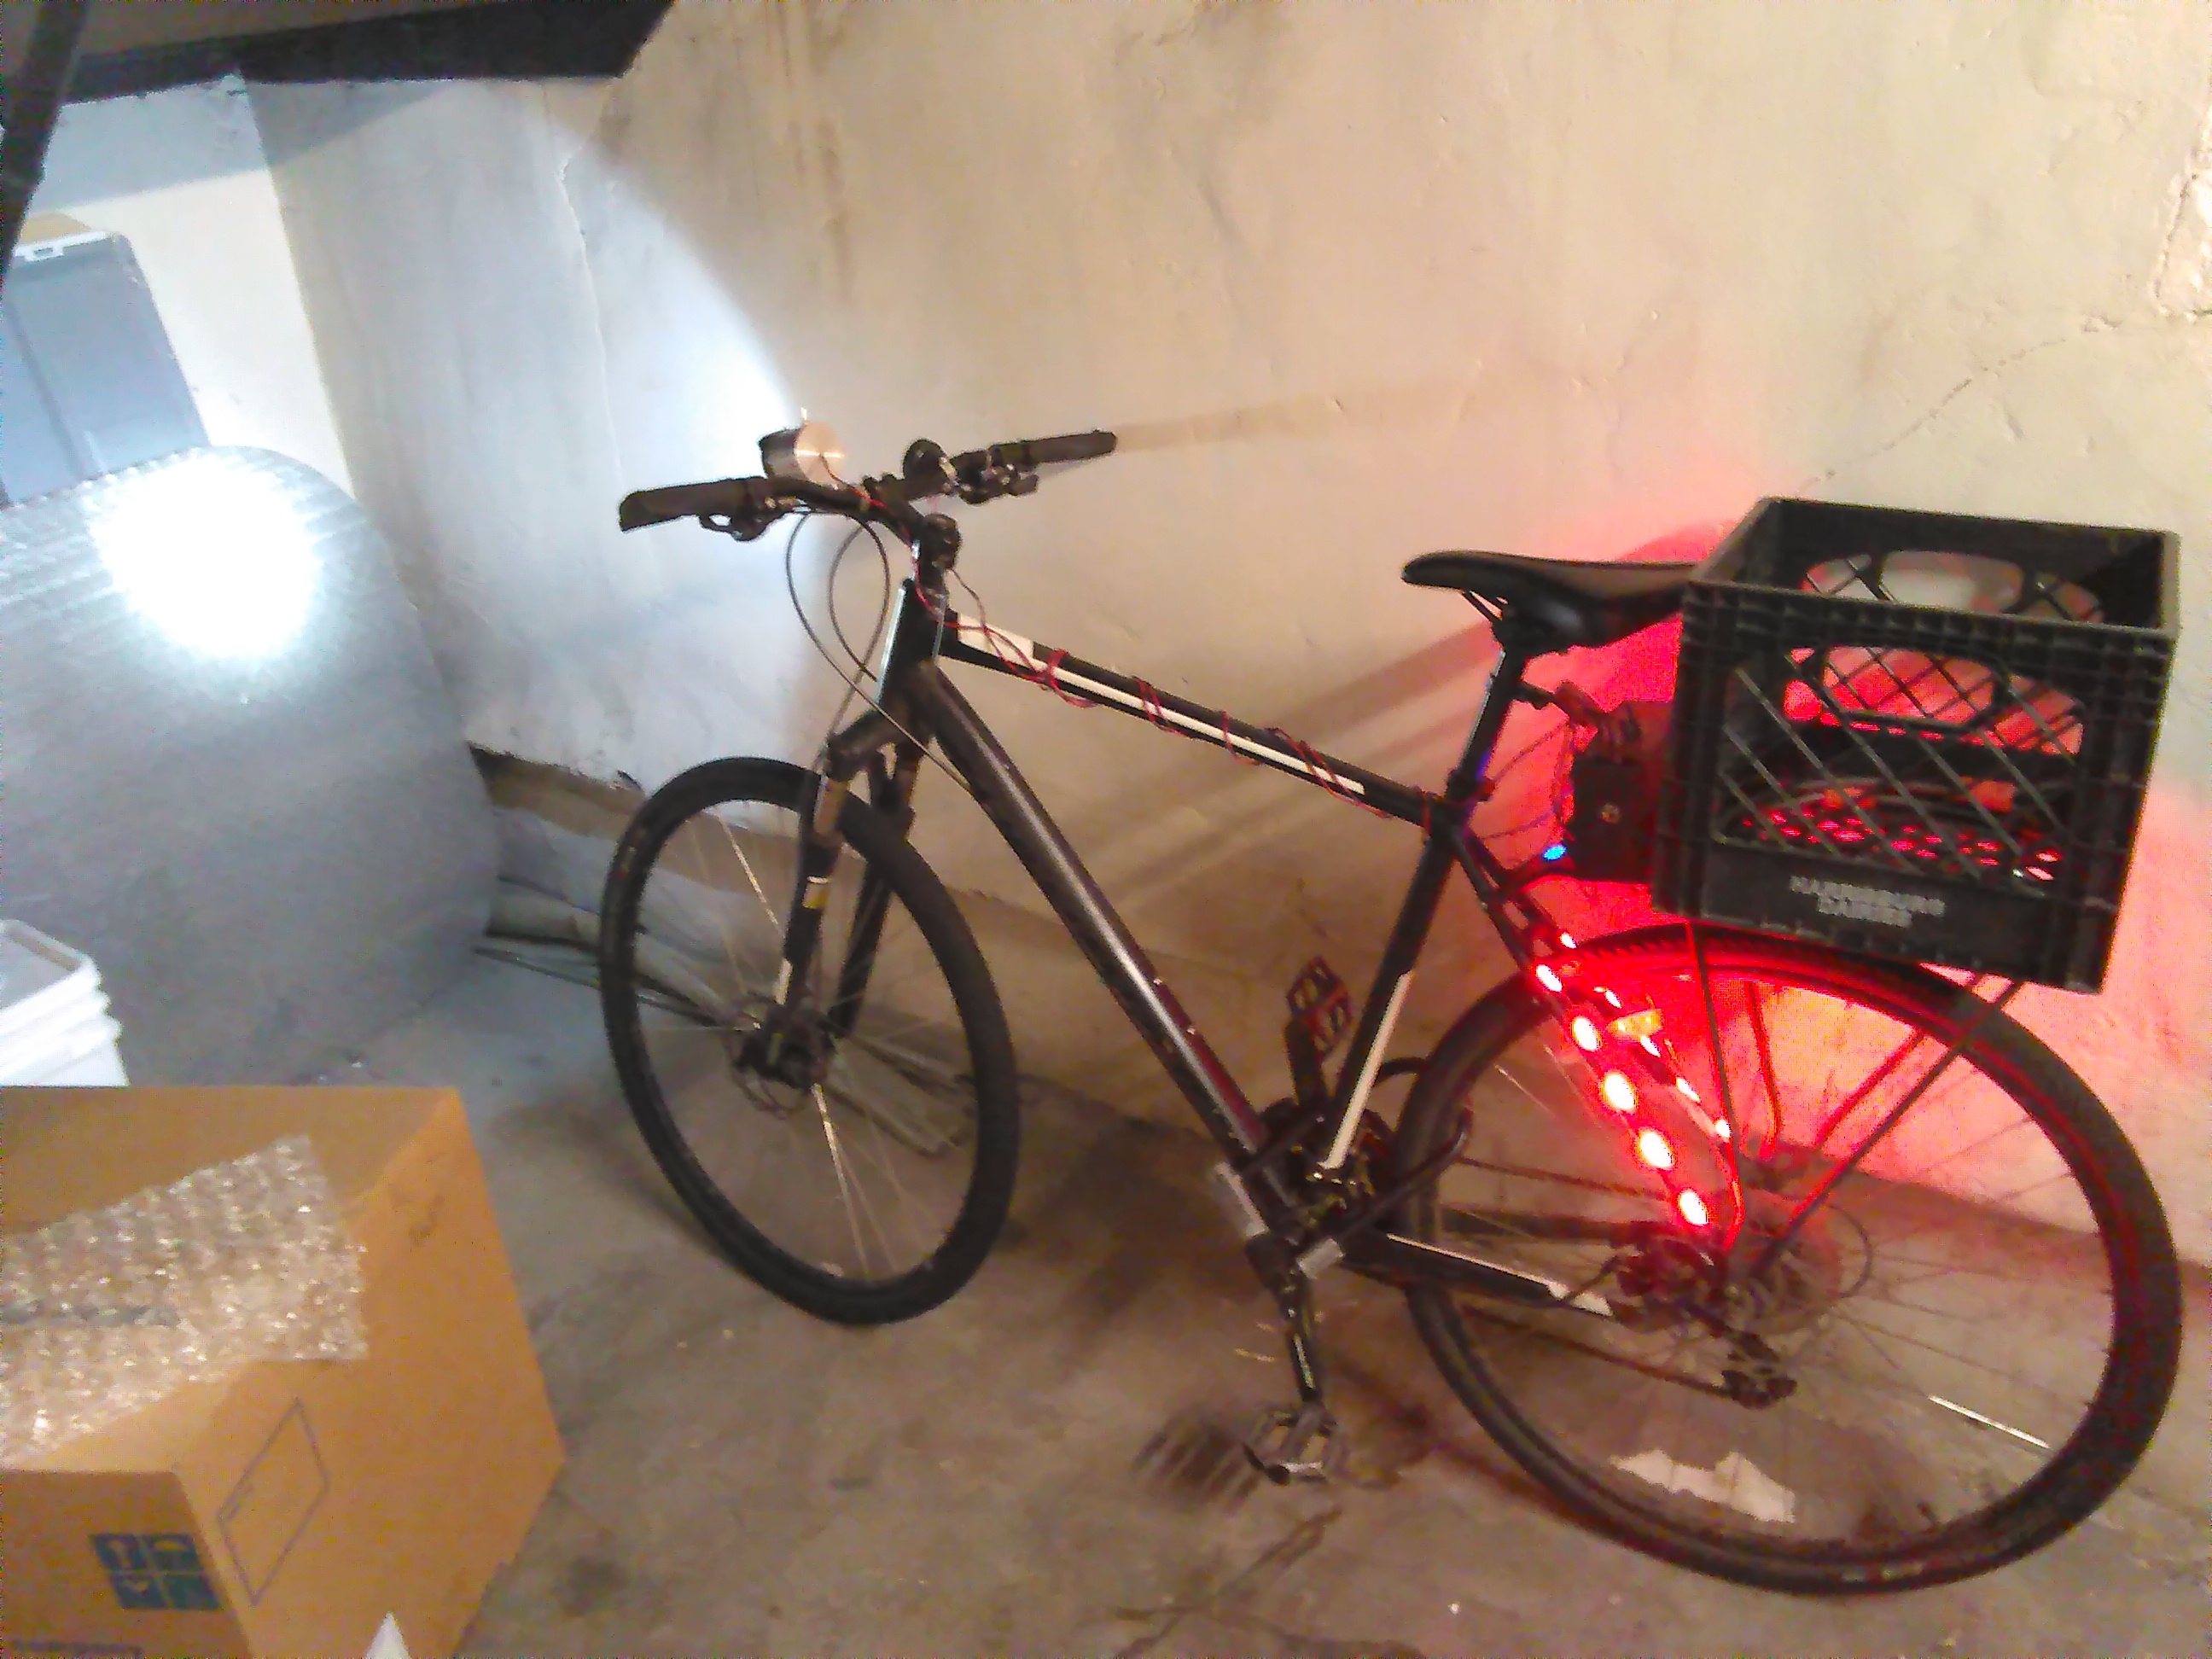
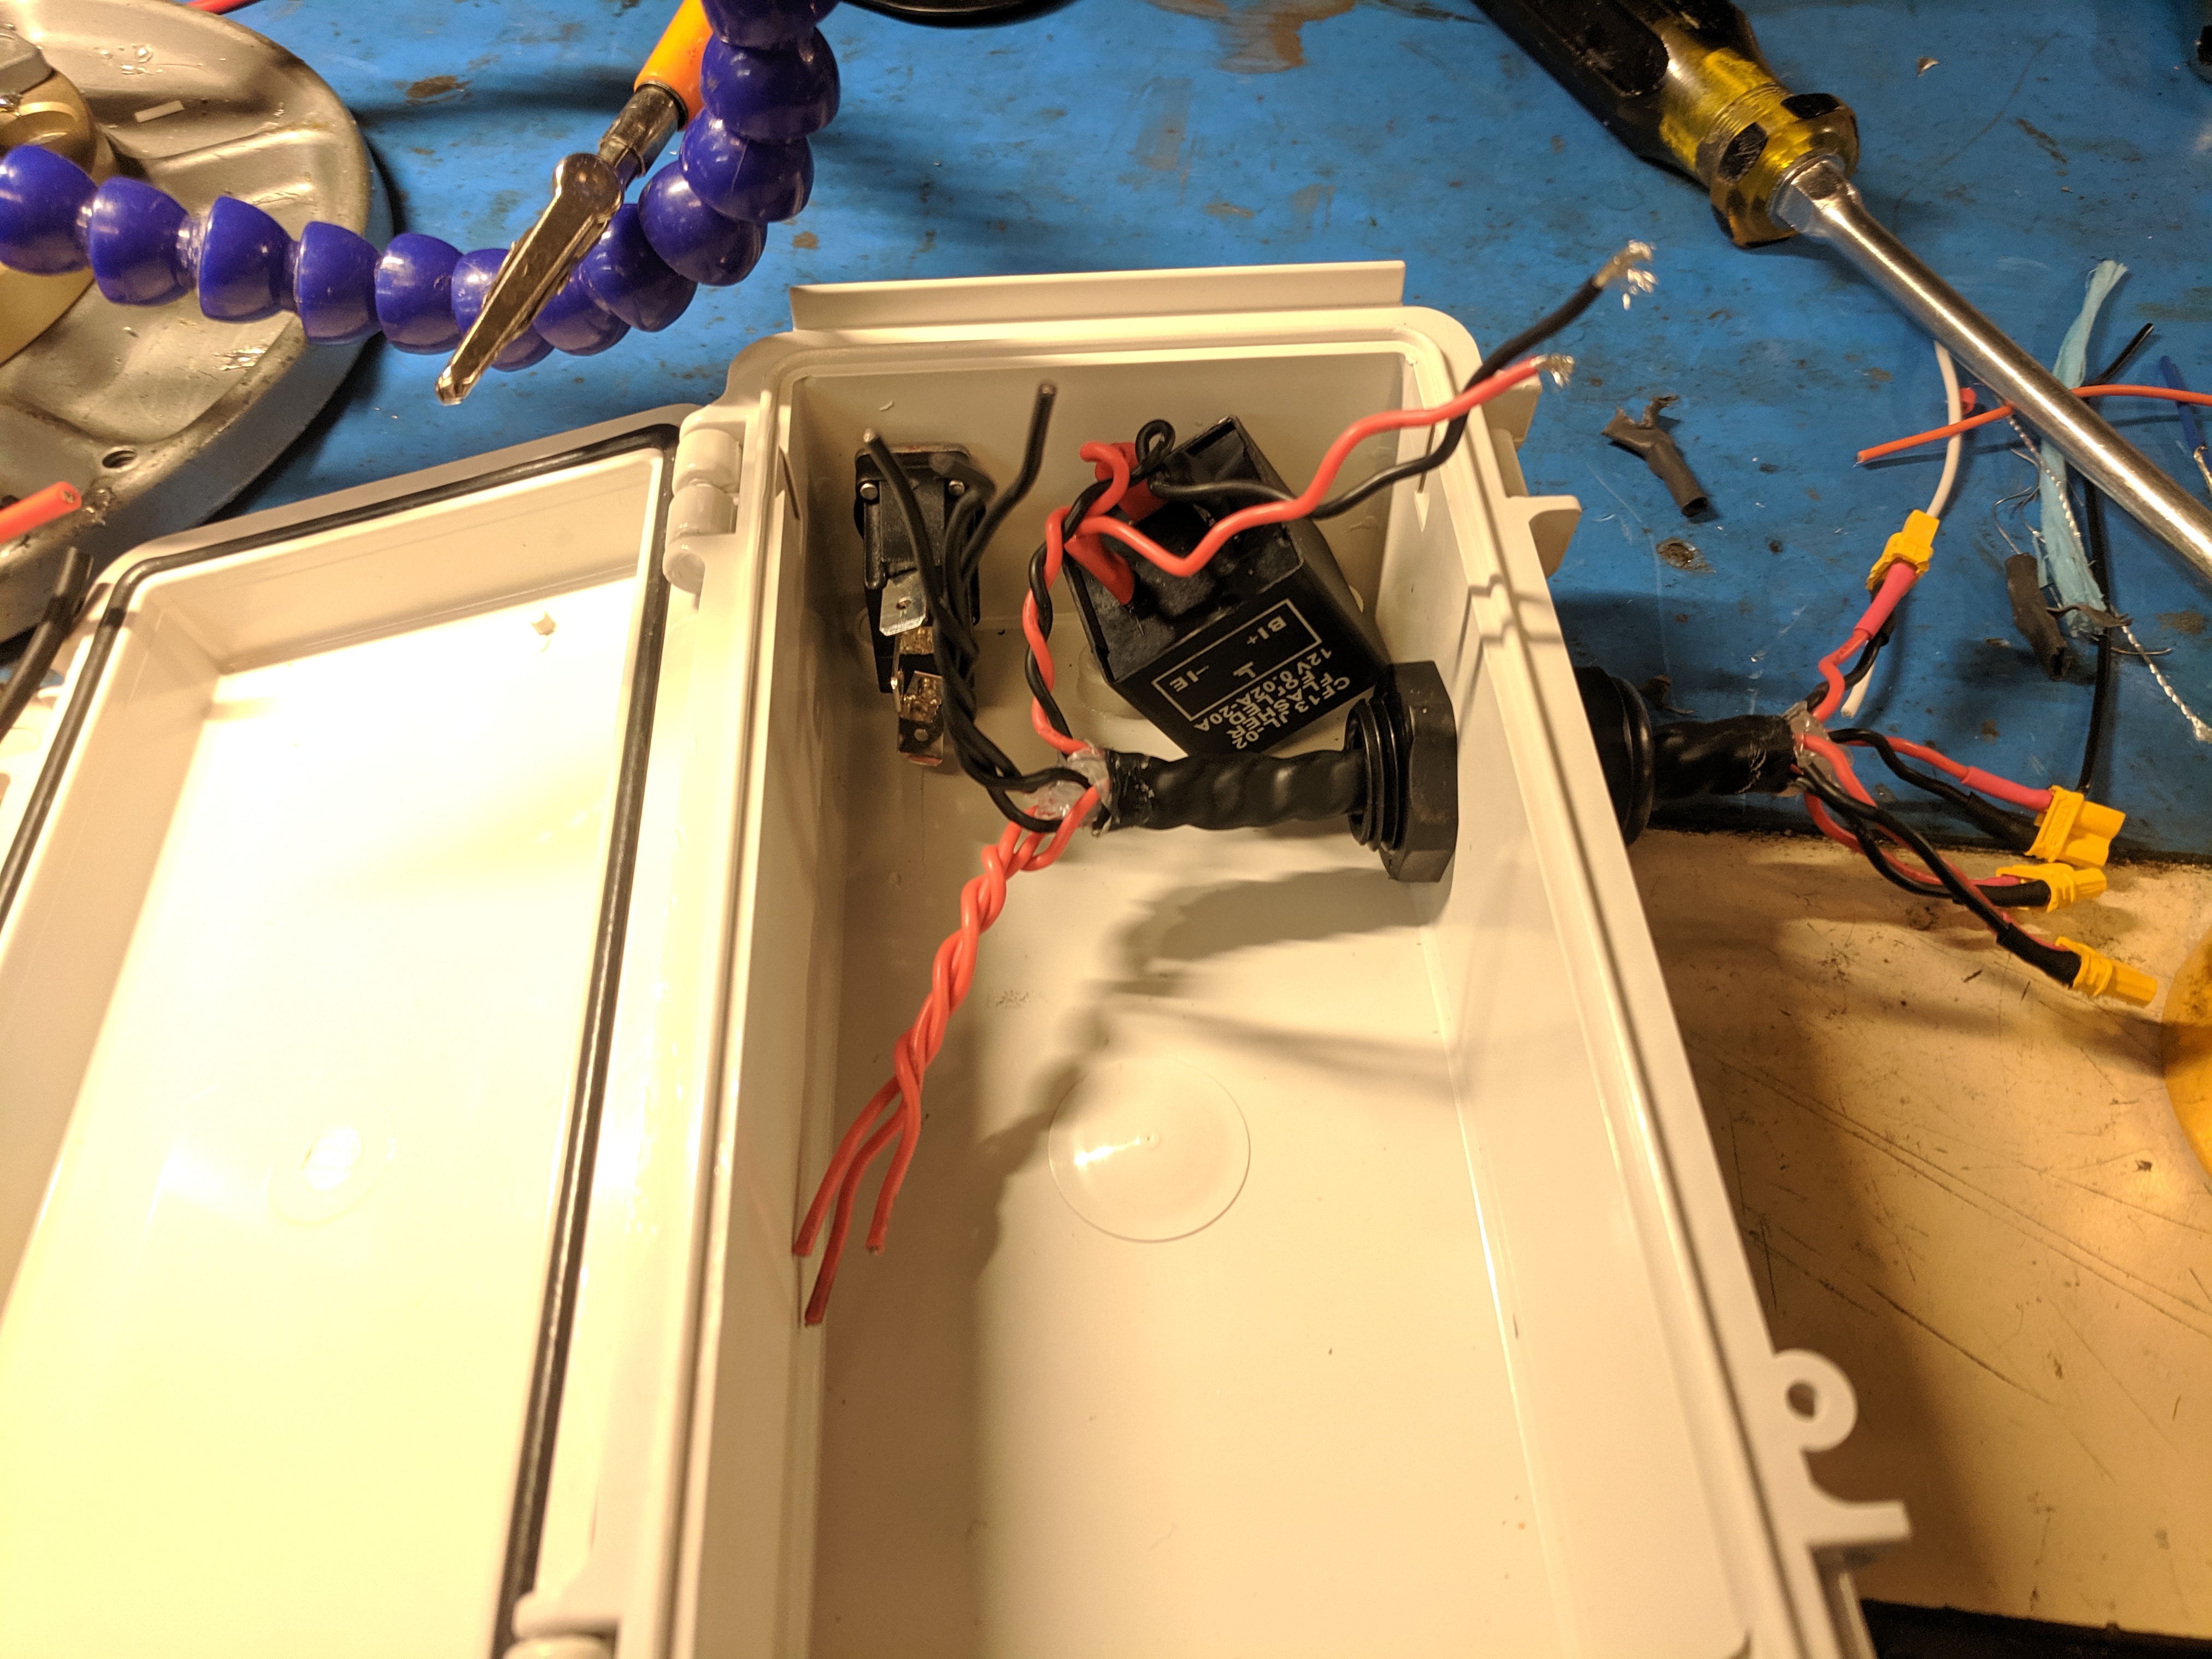
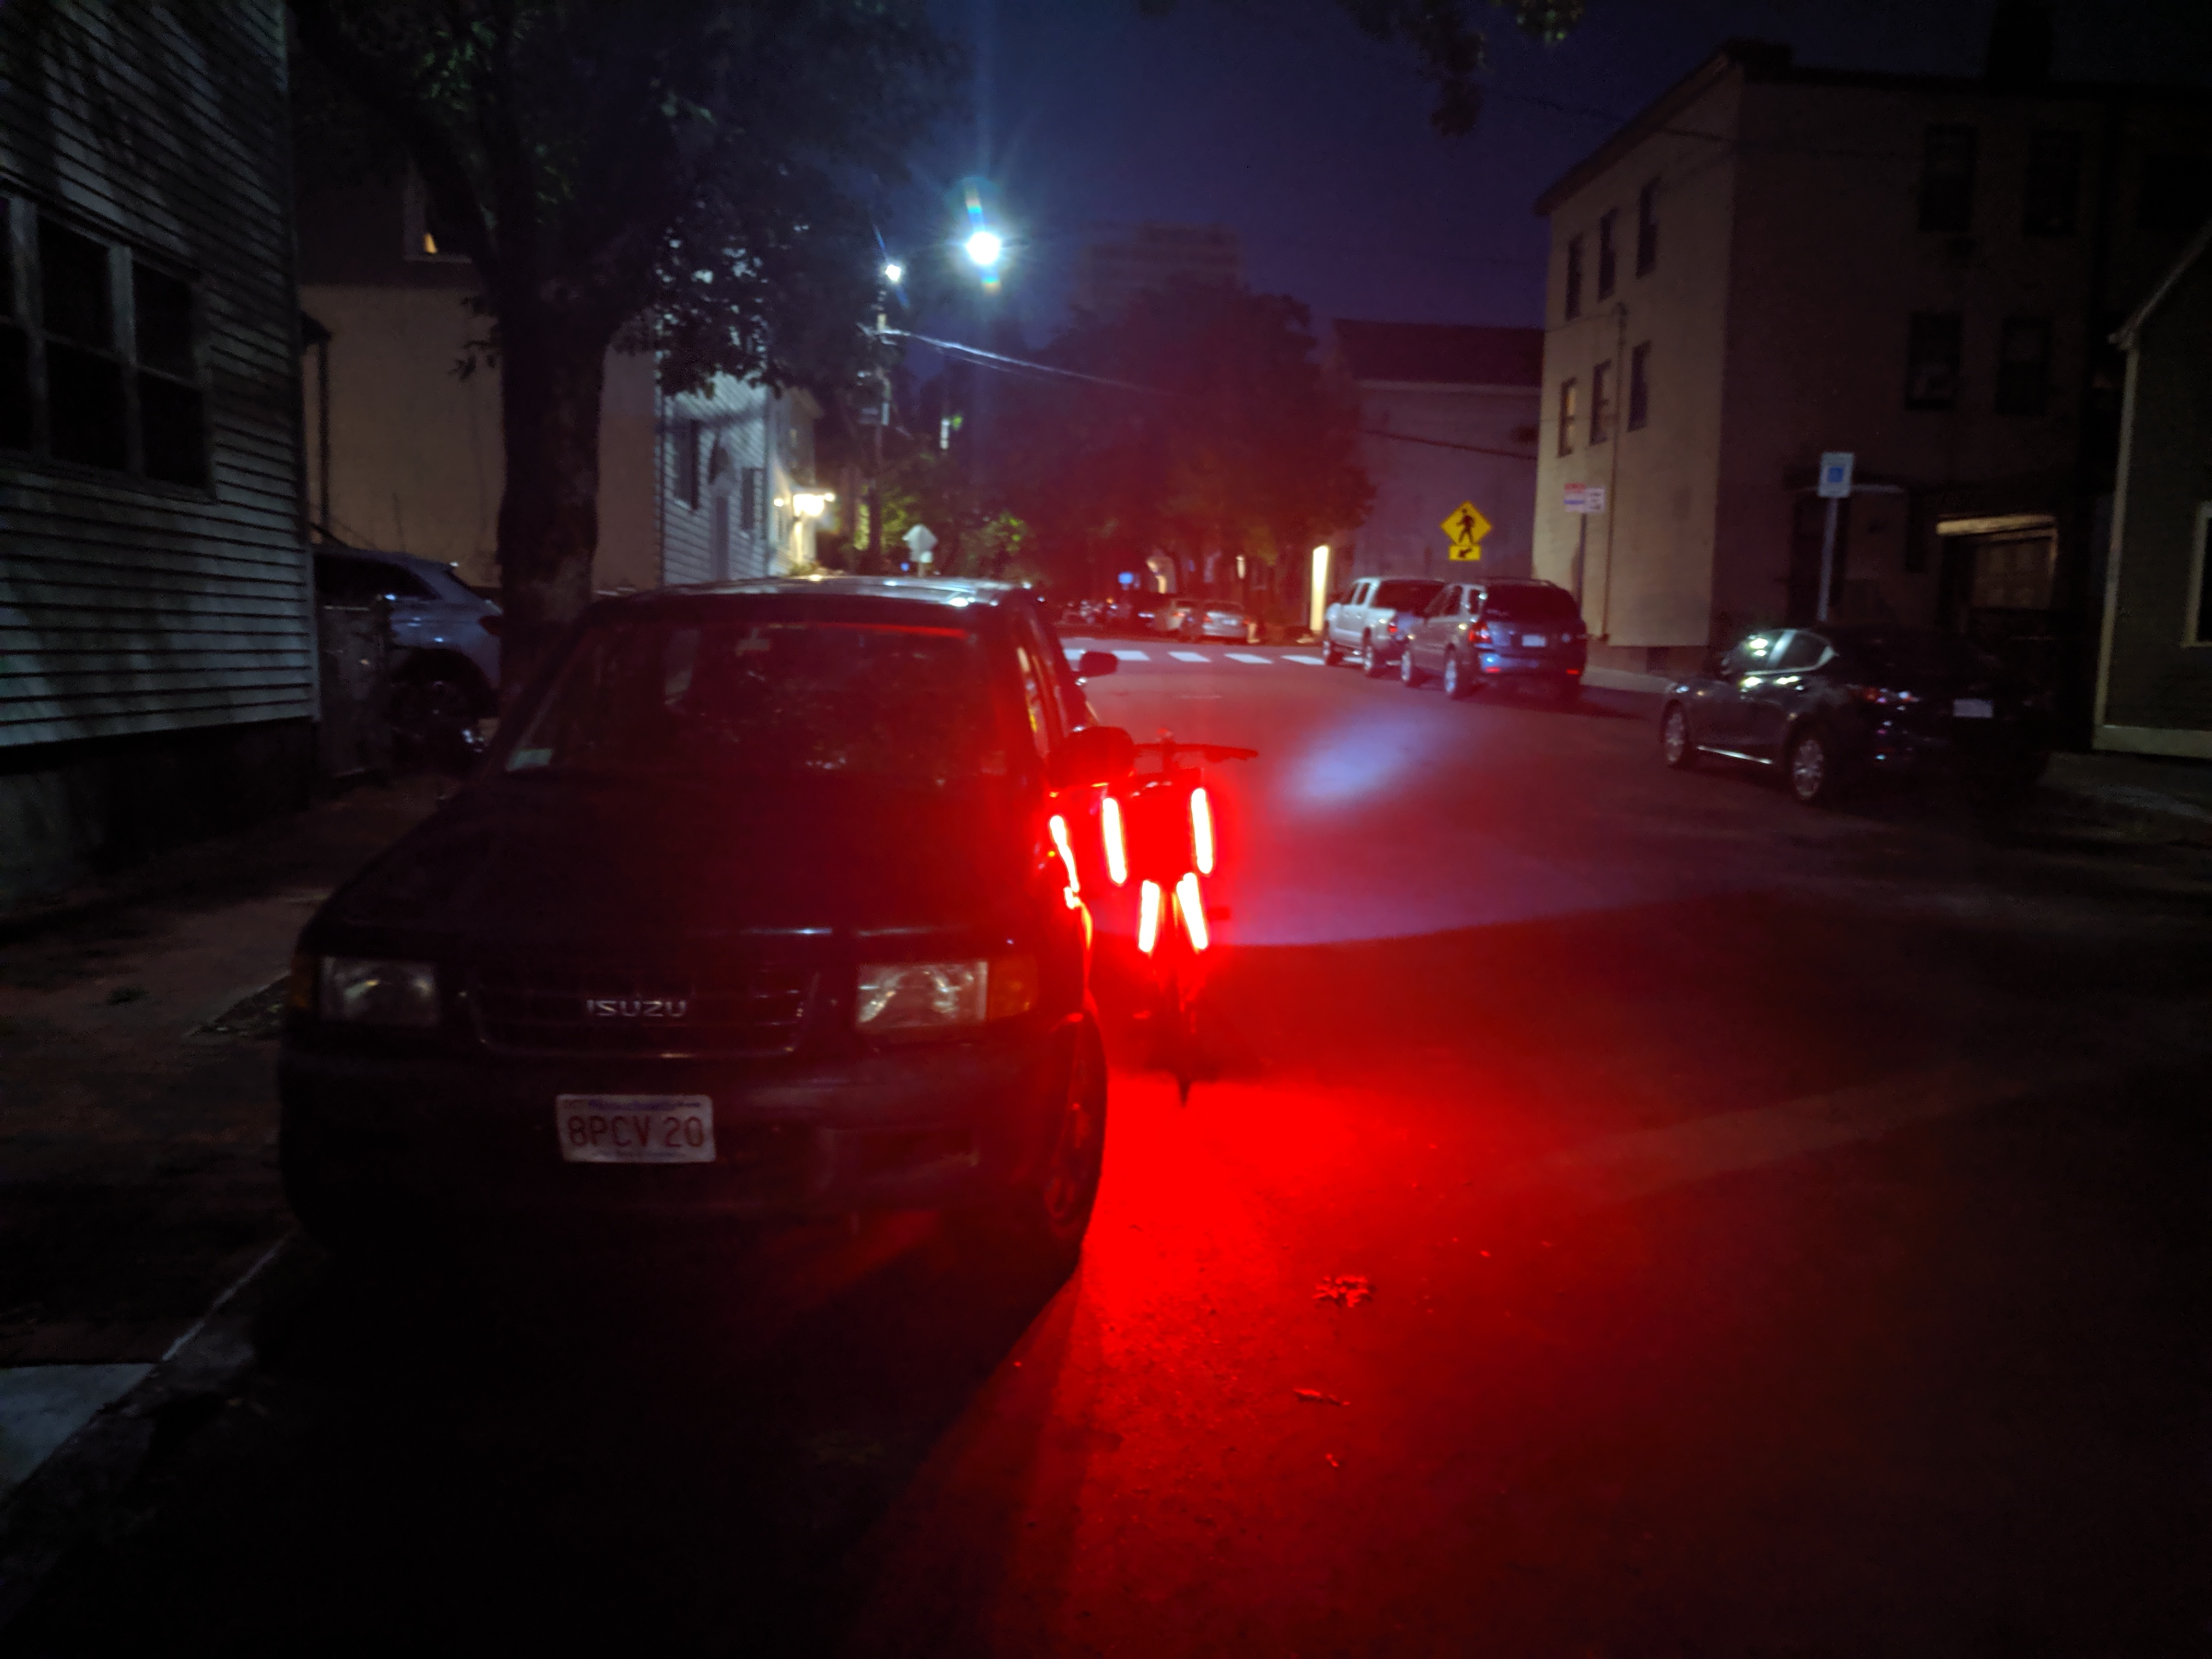
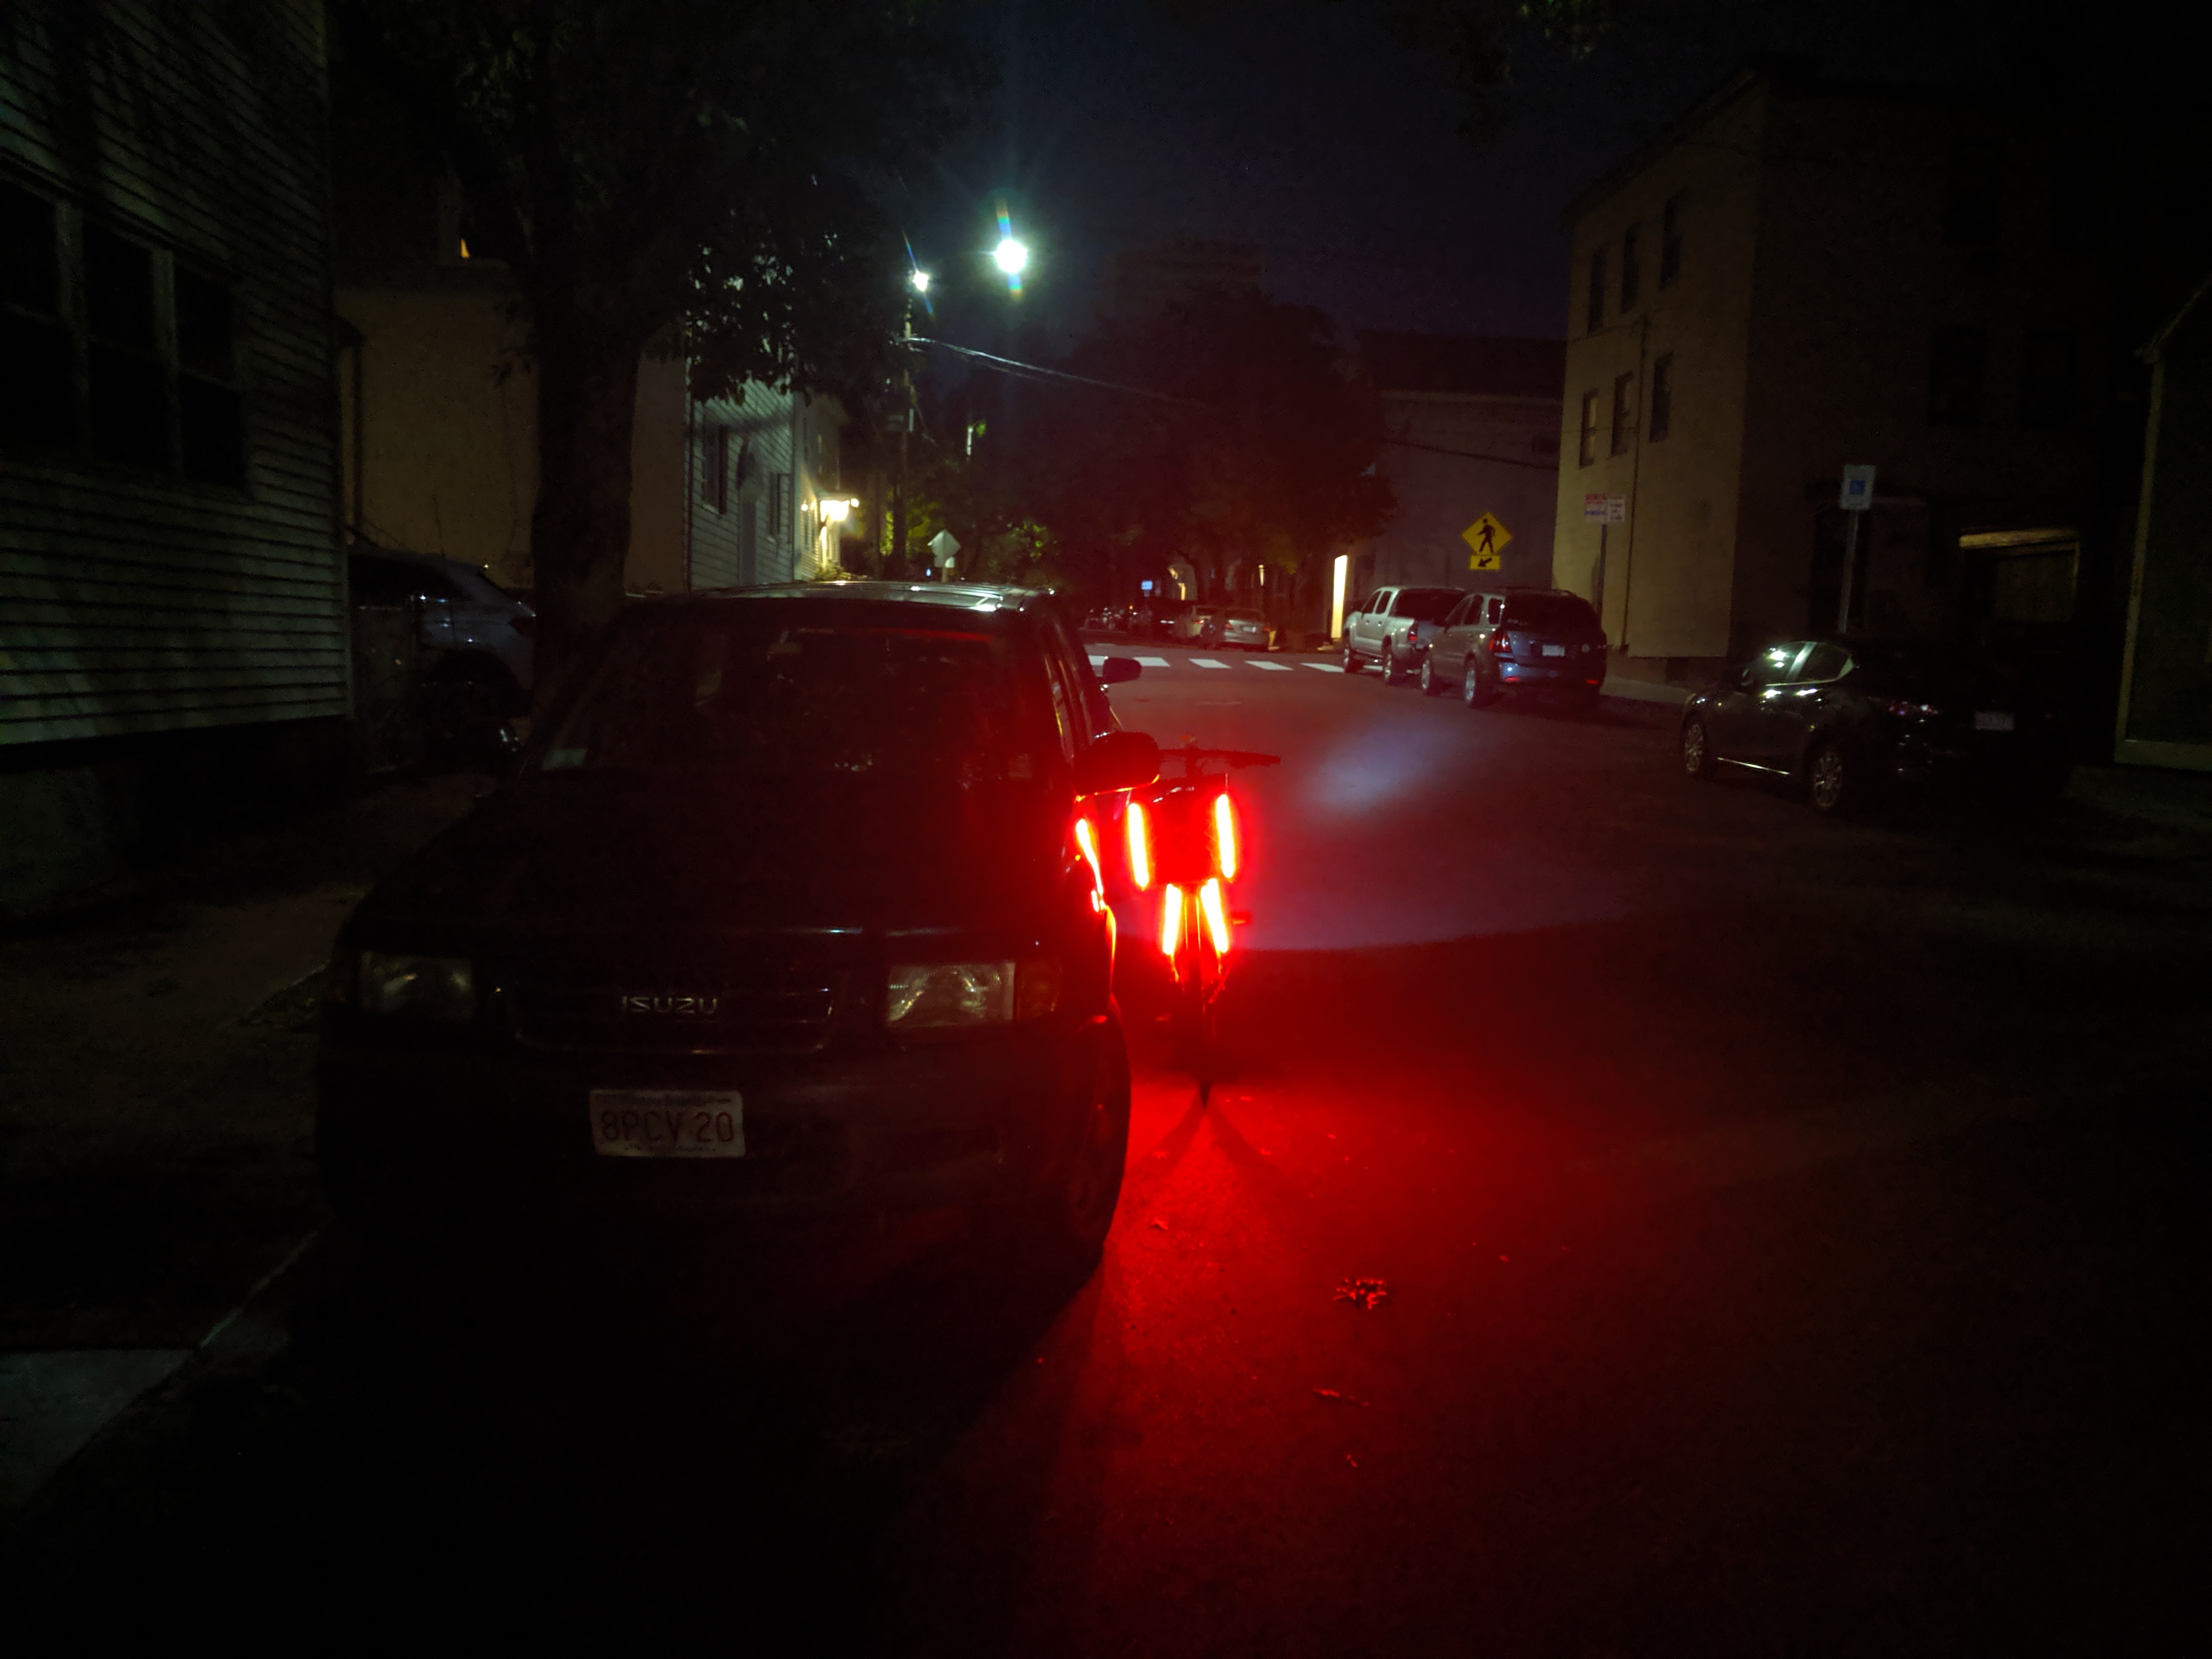
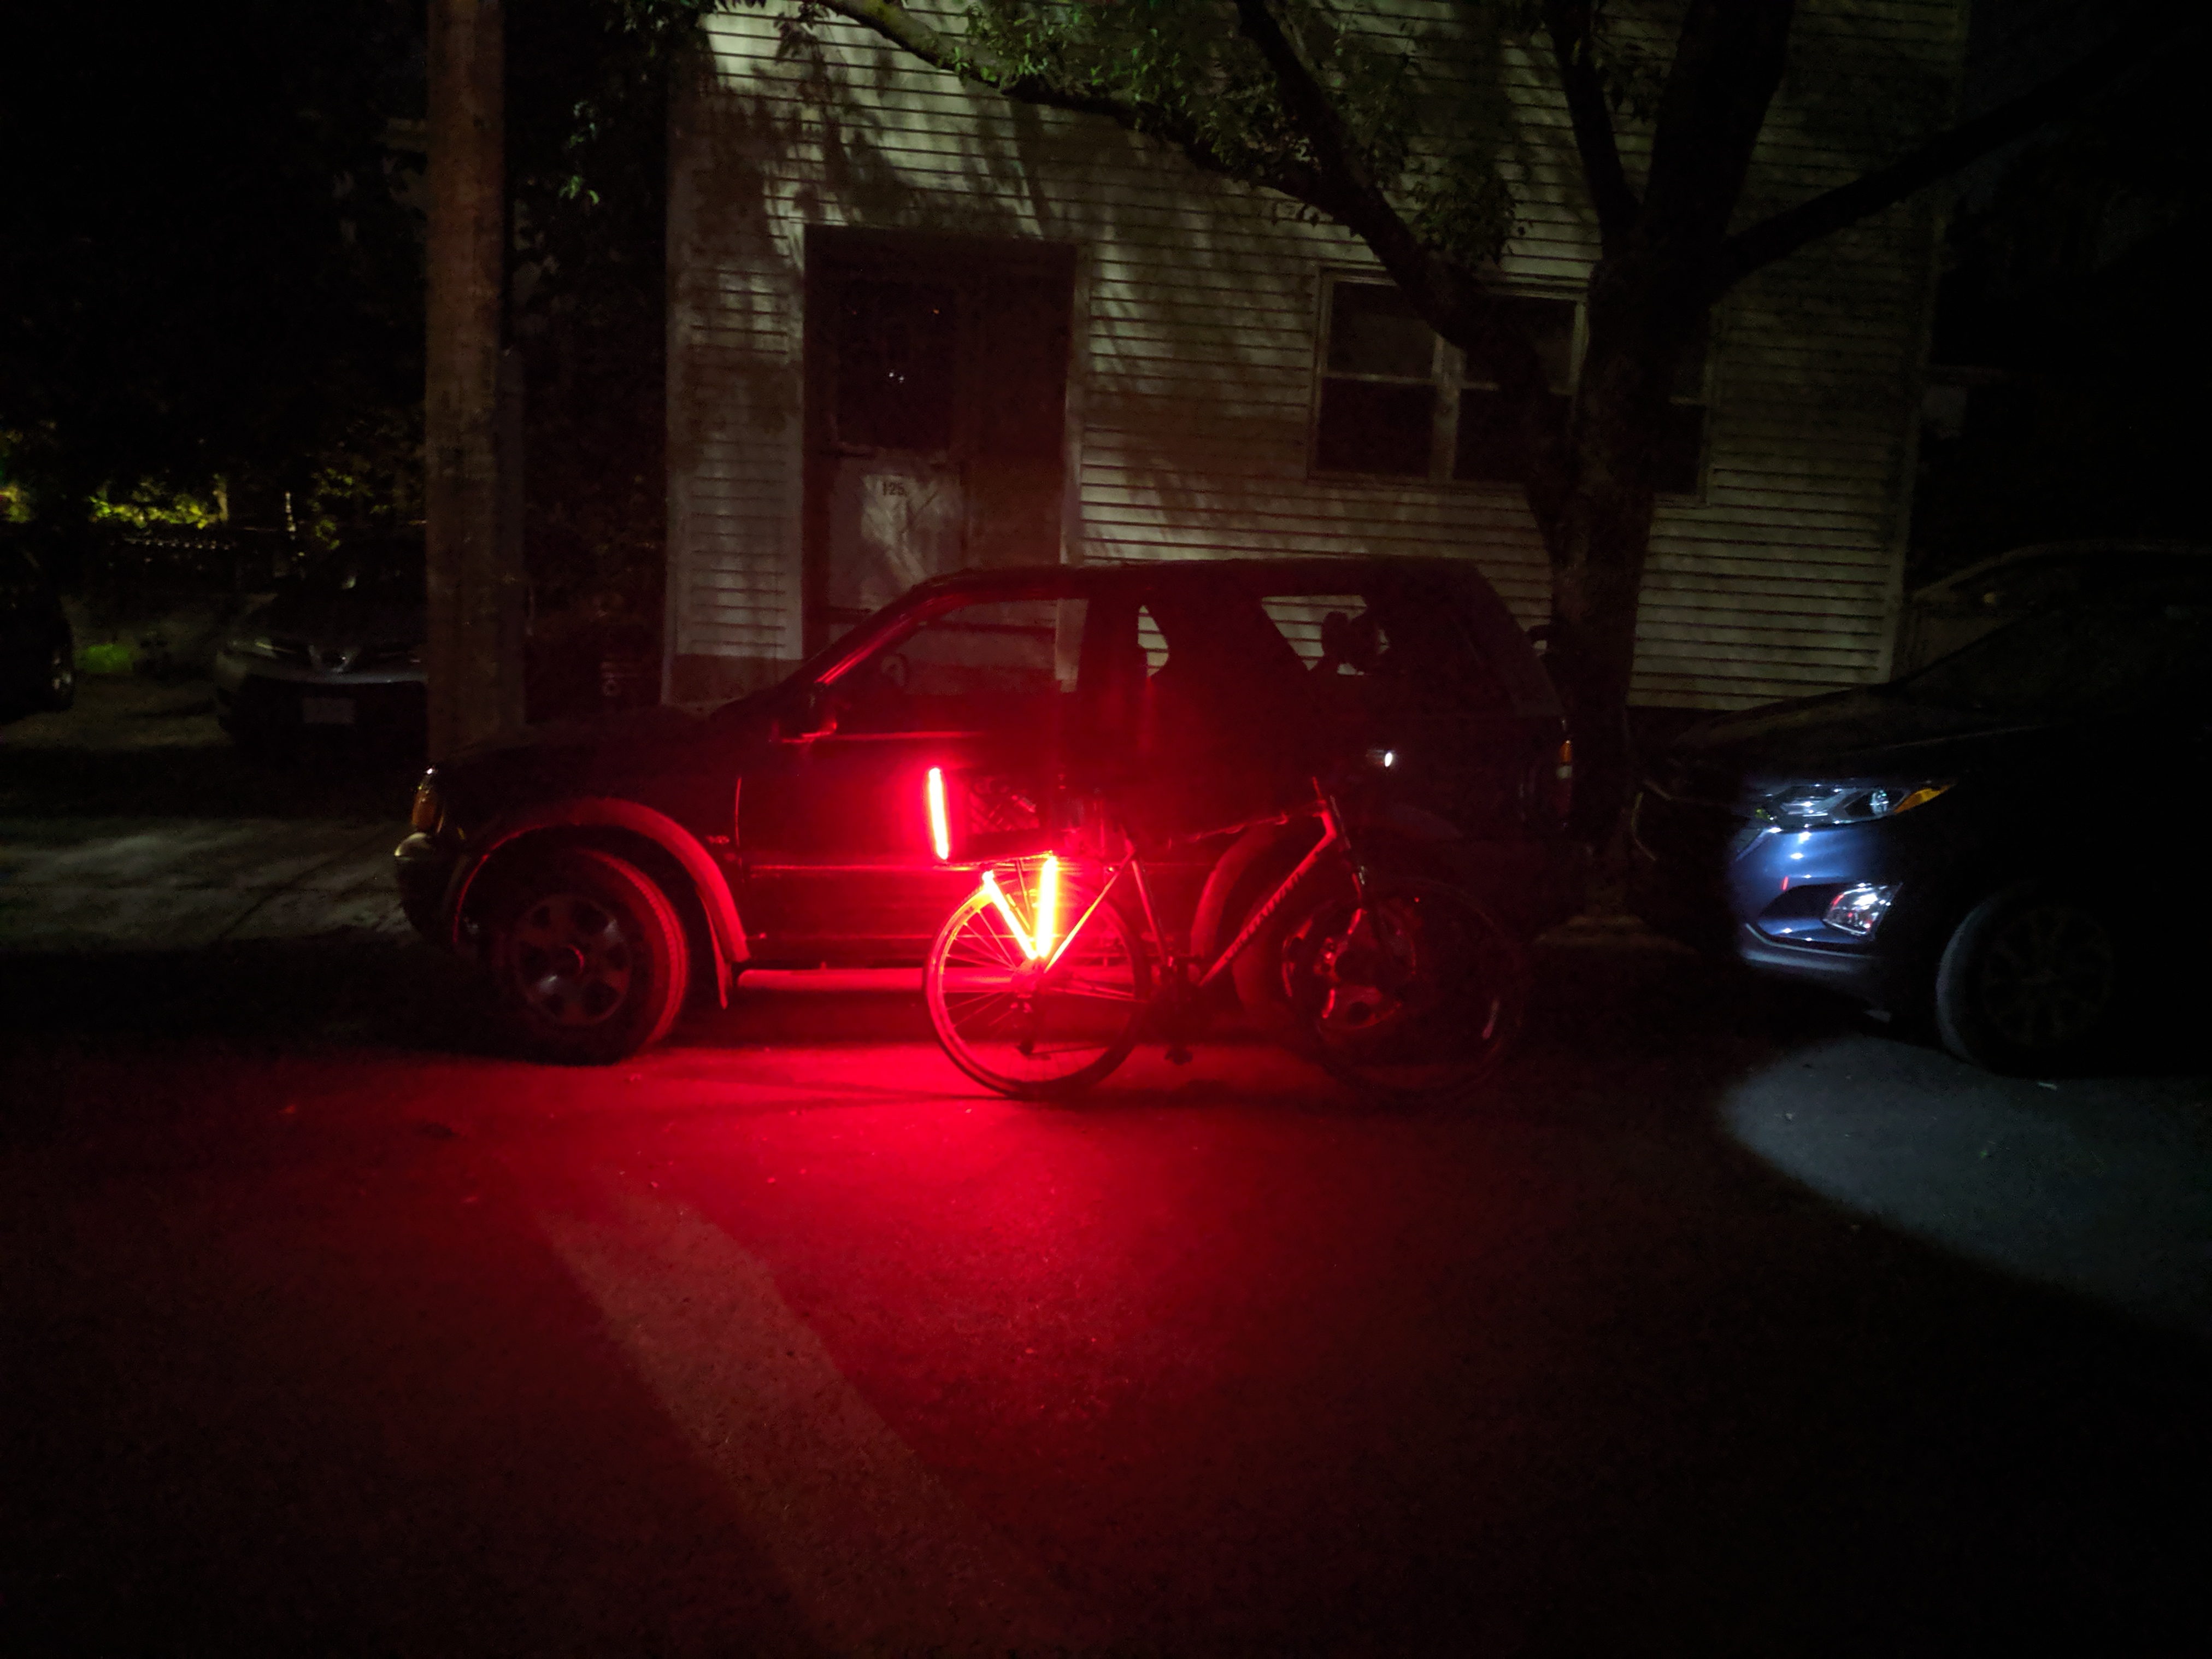
The Back Lights: These were more straight forward, I bought a set of red underglow LED strips and connected them in parallel. The adhesive on the back side of this underglow was not very durable (stickiness started to fail after ~2 weeks) so I ended up using small black zipties to affix it to the frame. Every so often I will wind up replacing a few of these zip ties because they will weather and break. (1-3 every 6+ months). Also I built into the battery housing case a car blinker relay, hooked up directly to one of the outputs. This makes myback lights blink constantly at the rate of a standard car turn-signal. This also has the added benefit of increasing the time between charges because the LED's are only on for roughly half the time.
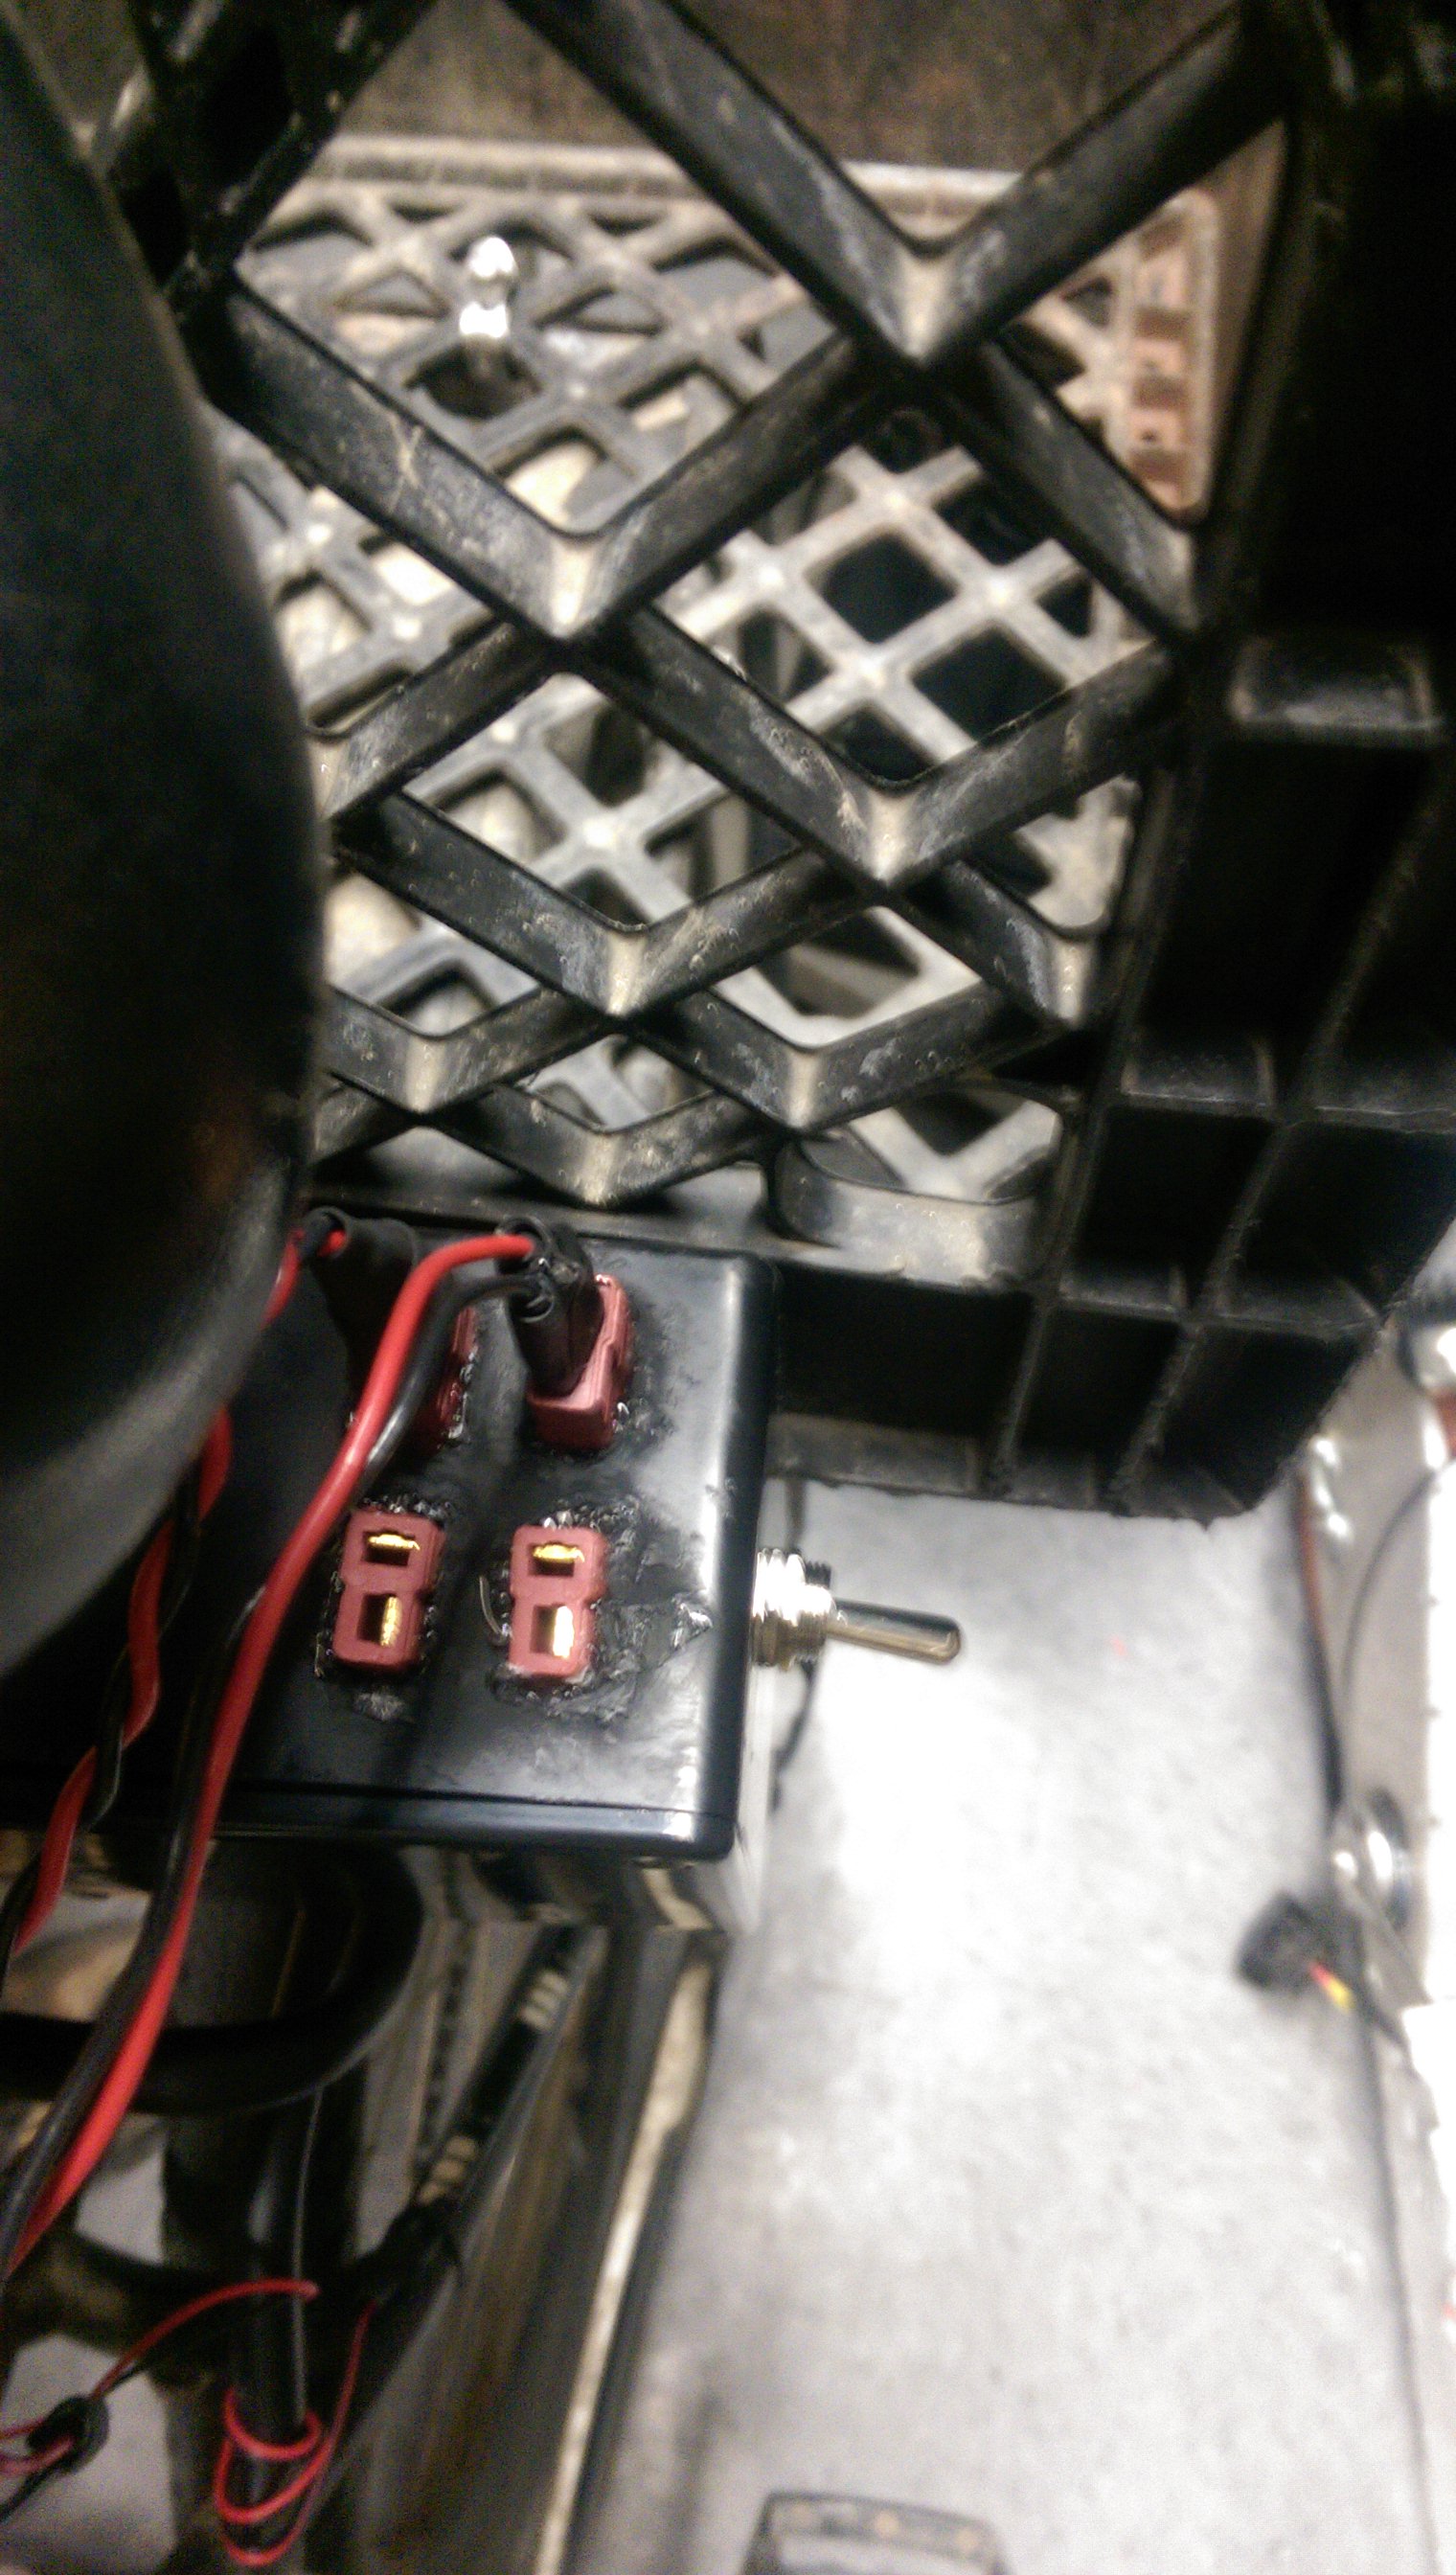
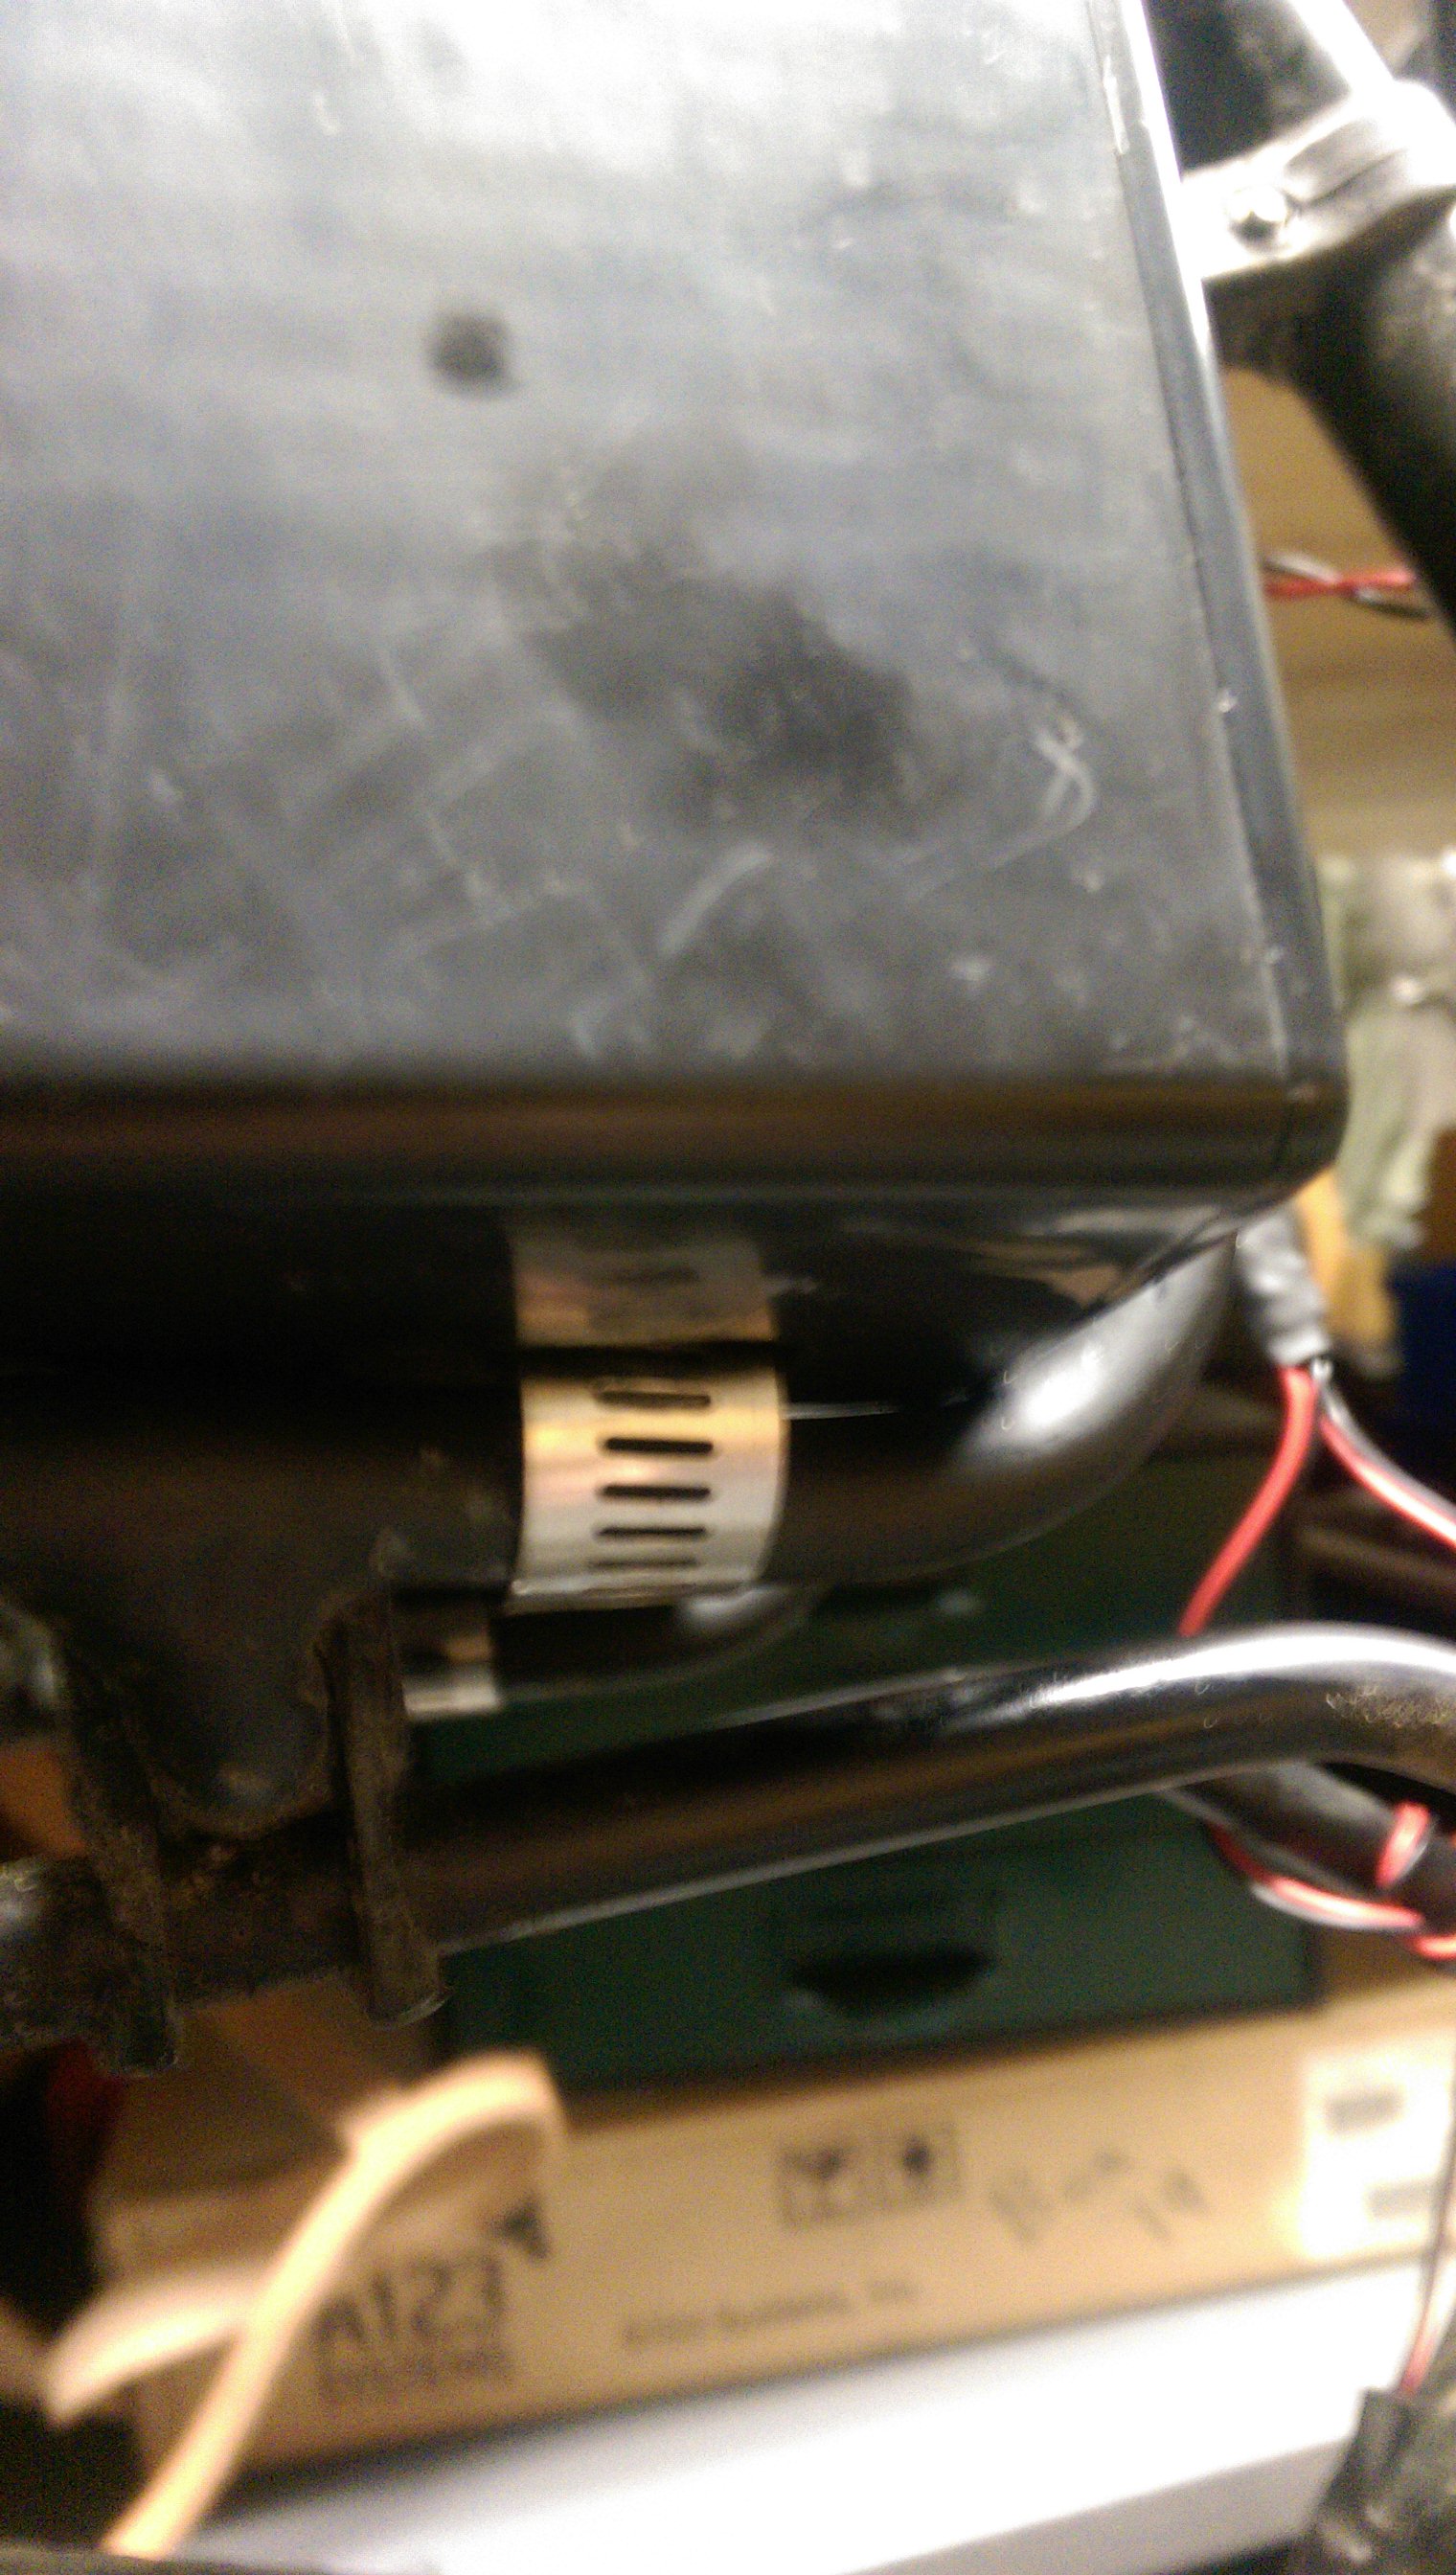
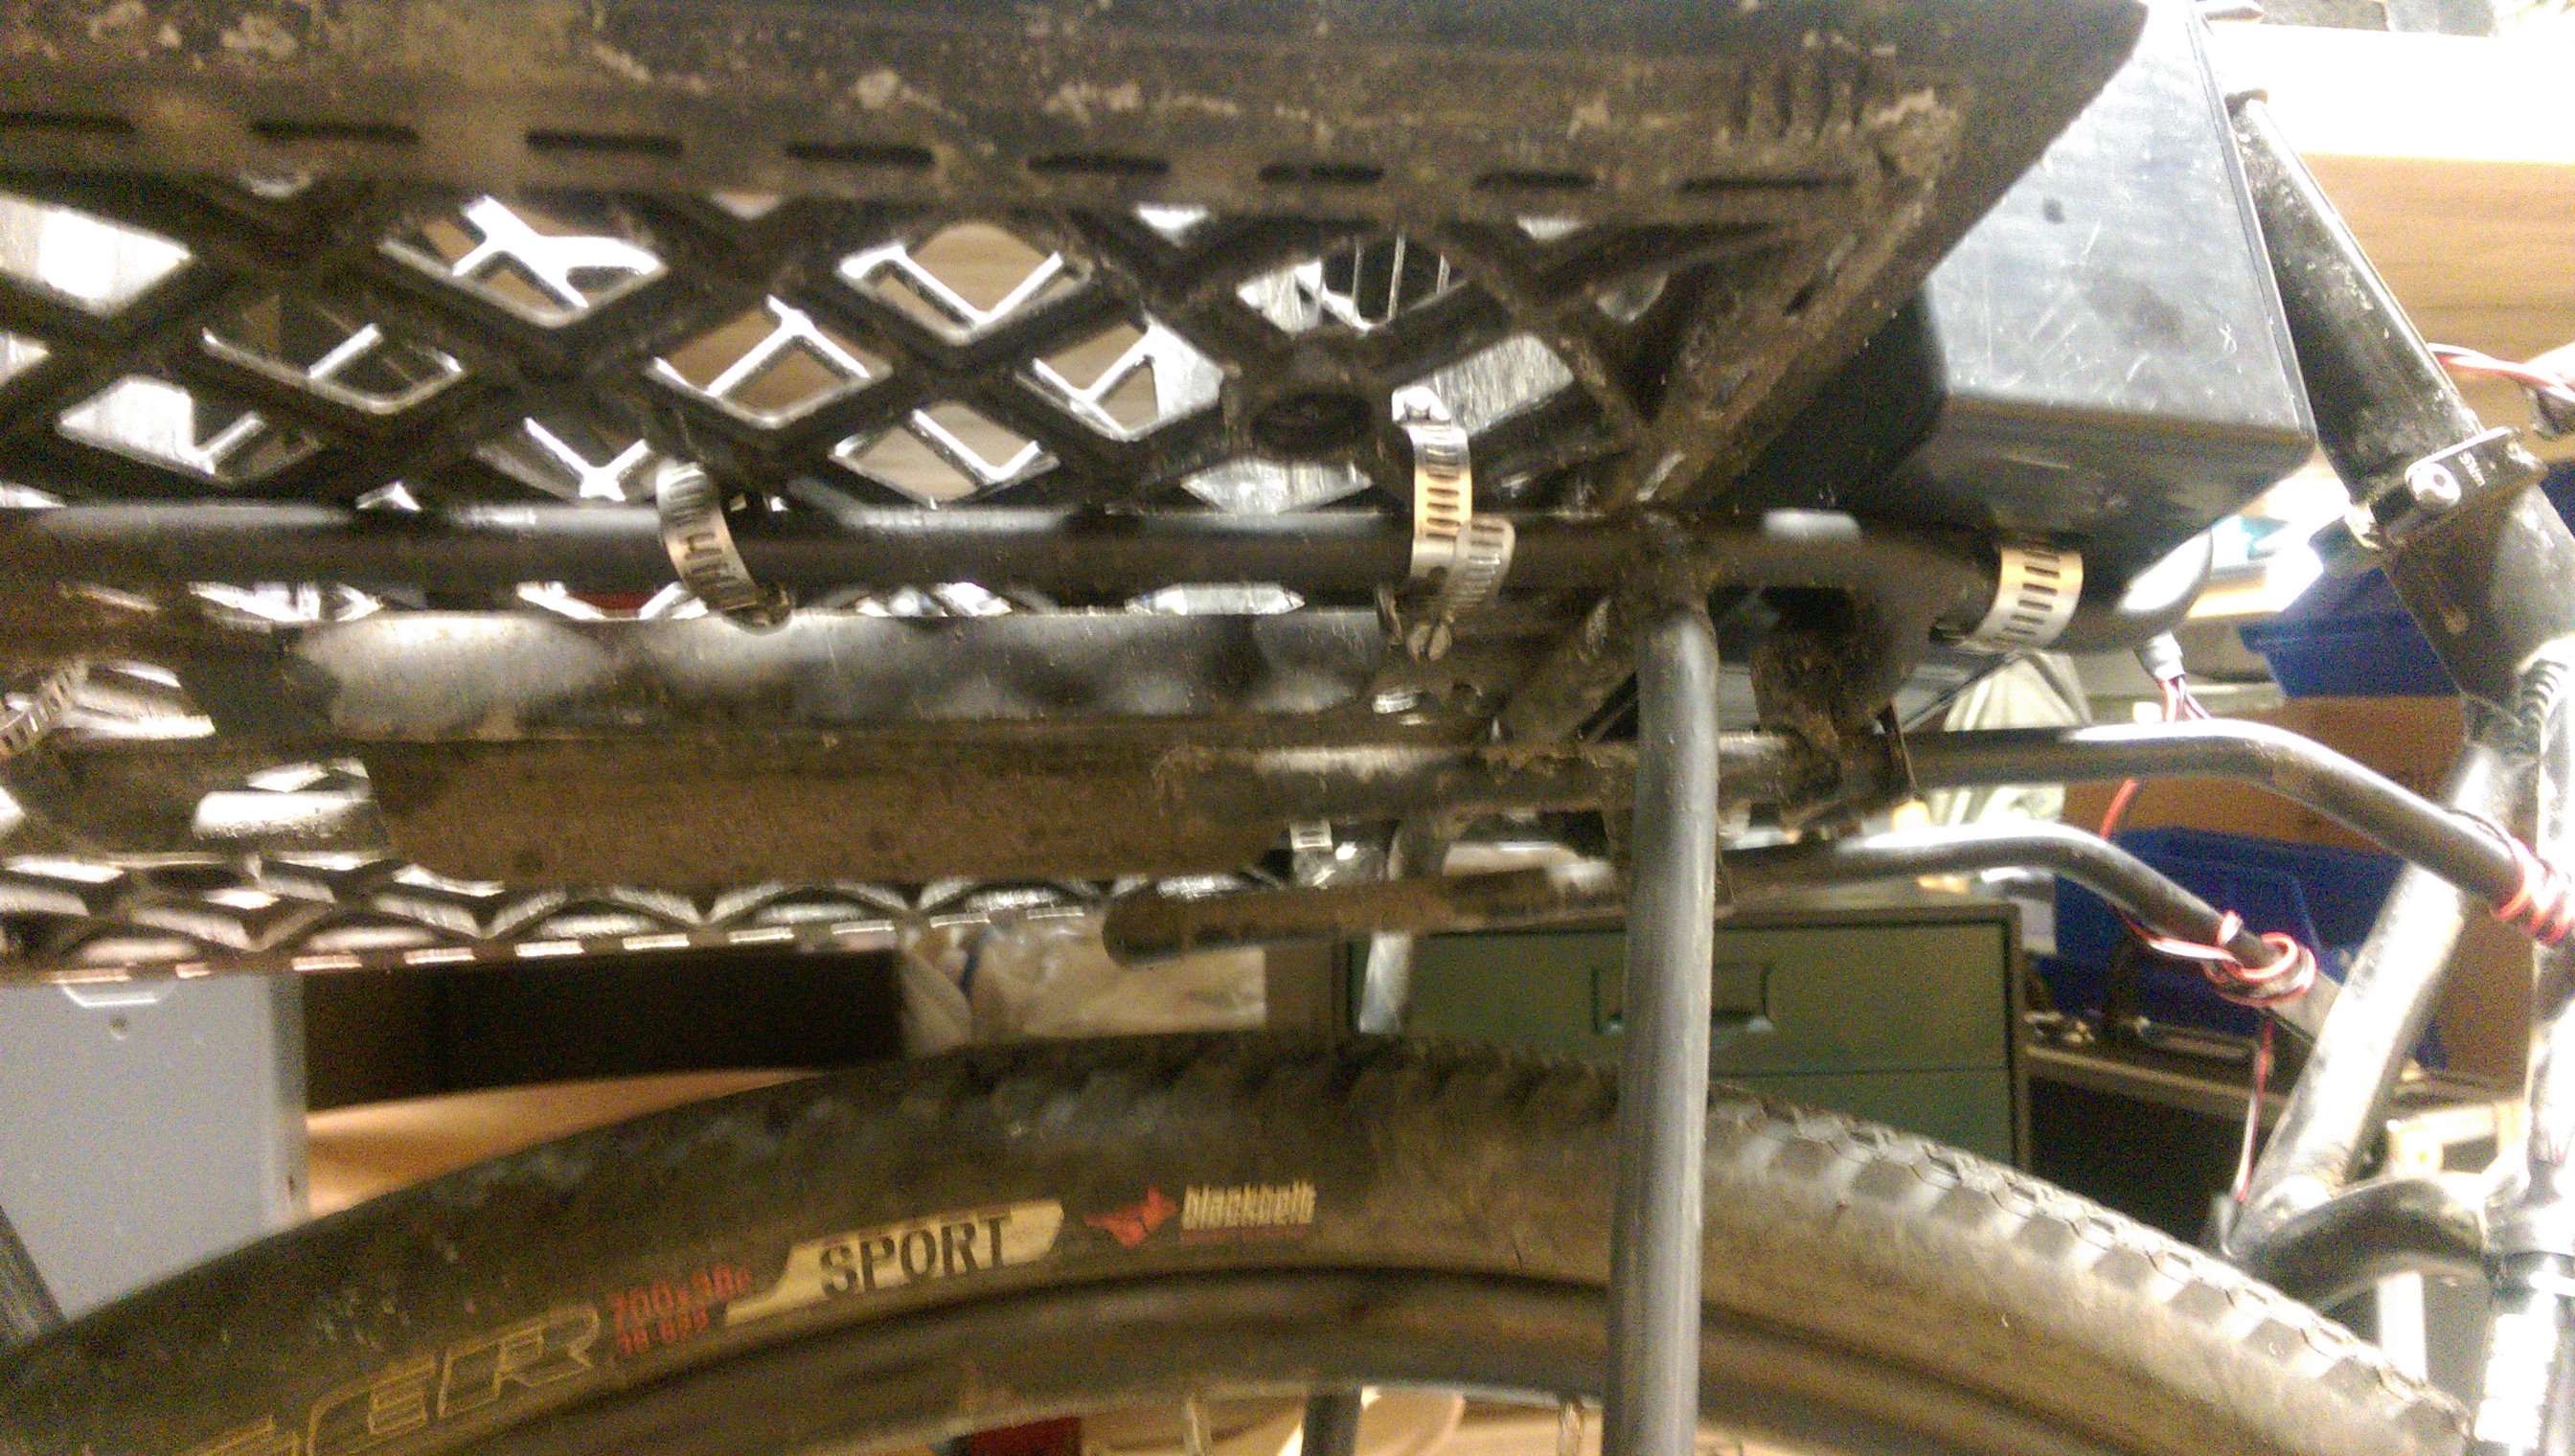
The Case: This is the housing for the Battery I created, which is located on the back of my bike under my seat. It contains (1) a car relay tied directly in line with the backlight LED connector, and (2) in-line fuse. I thought it was important to add an inline fuse holder, with a 10 amp fuse. The main purpose of this fuse is to reduce the potential for a lithium battery short. This is important because I do not want a lithium fire in case some of the wires become shorted, which could potentially happen in an accident. (The downside to using these lithium A123 cells is they have the ability to source an extremely large current.) There are 4 separate female connector terminals on the top of the box, which allow me to interchange what devices I have on my bike. The only limiting factor on these terminals is that one of them is directly inline with a car relay for the backlights. Other than that it is simple to add a variety of powered objects to my bike like speakers or a phone charger. The case is mounted to my back bike rack by the use of two heavy duty hose clamps, which are clamped and sealed with hot glue.
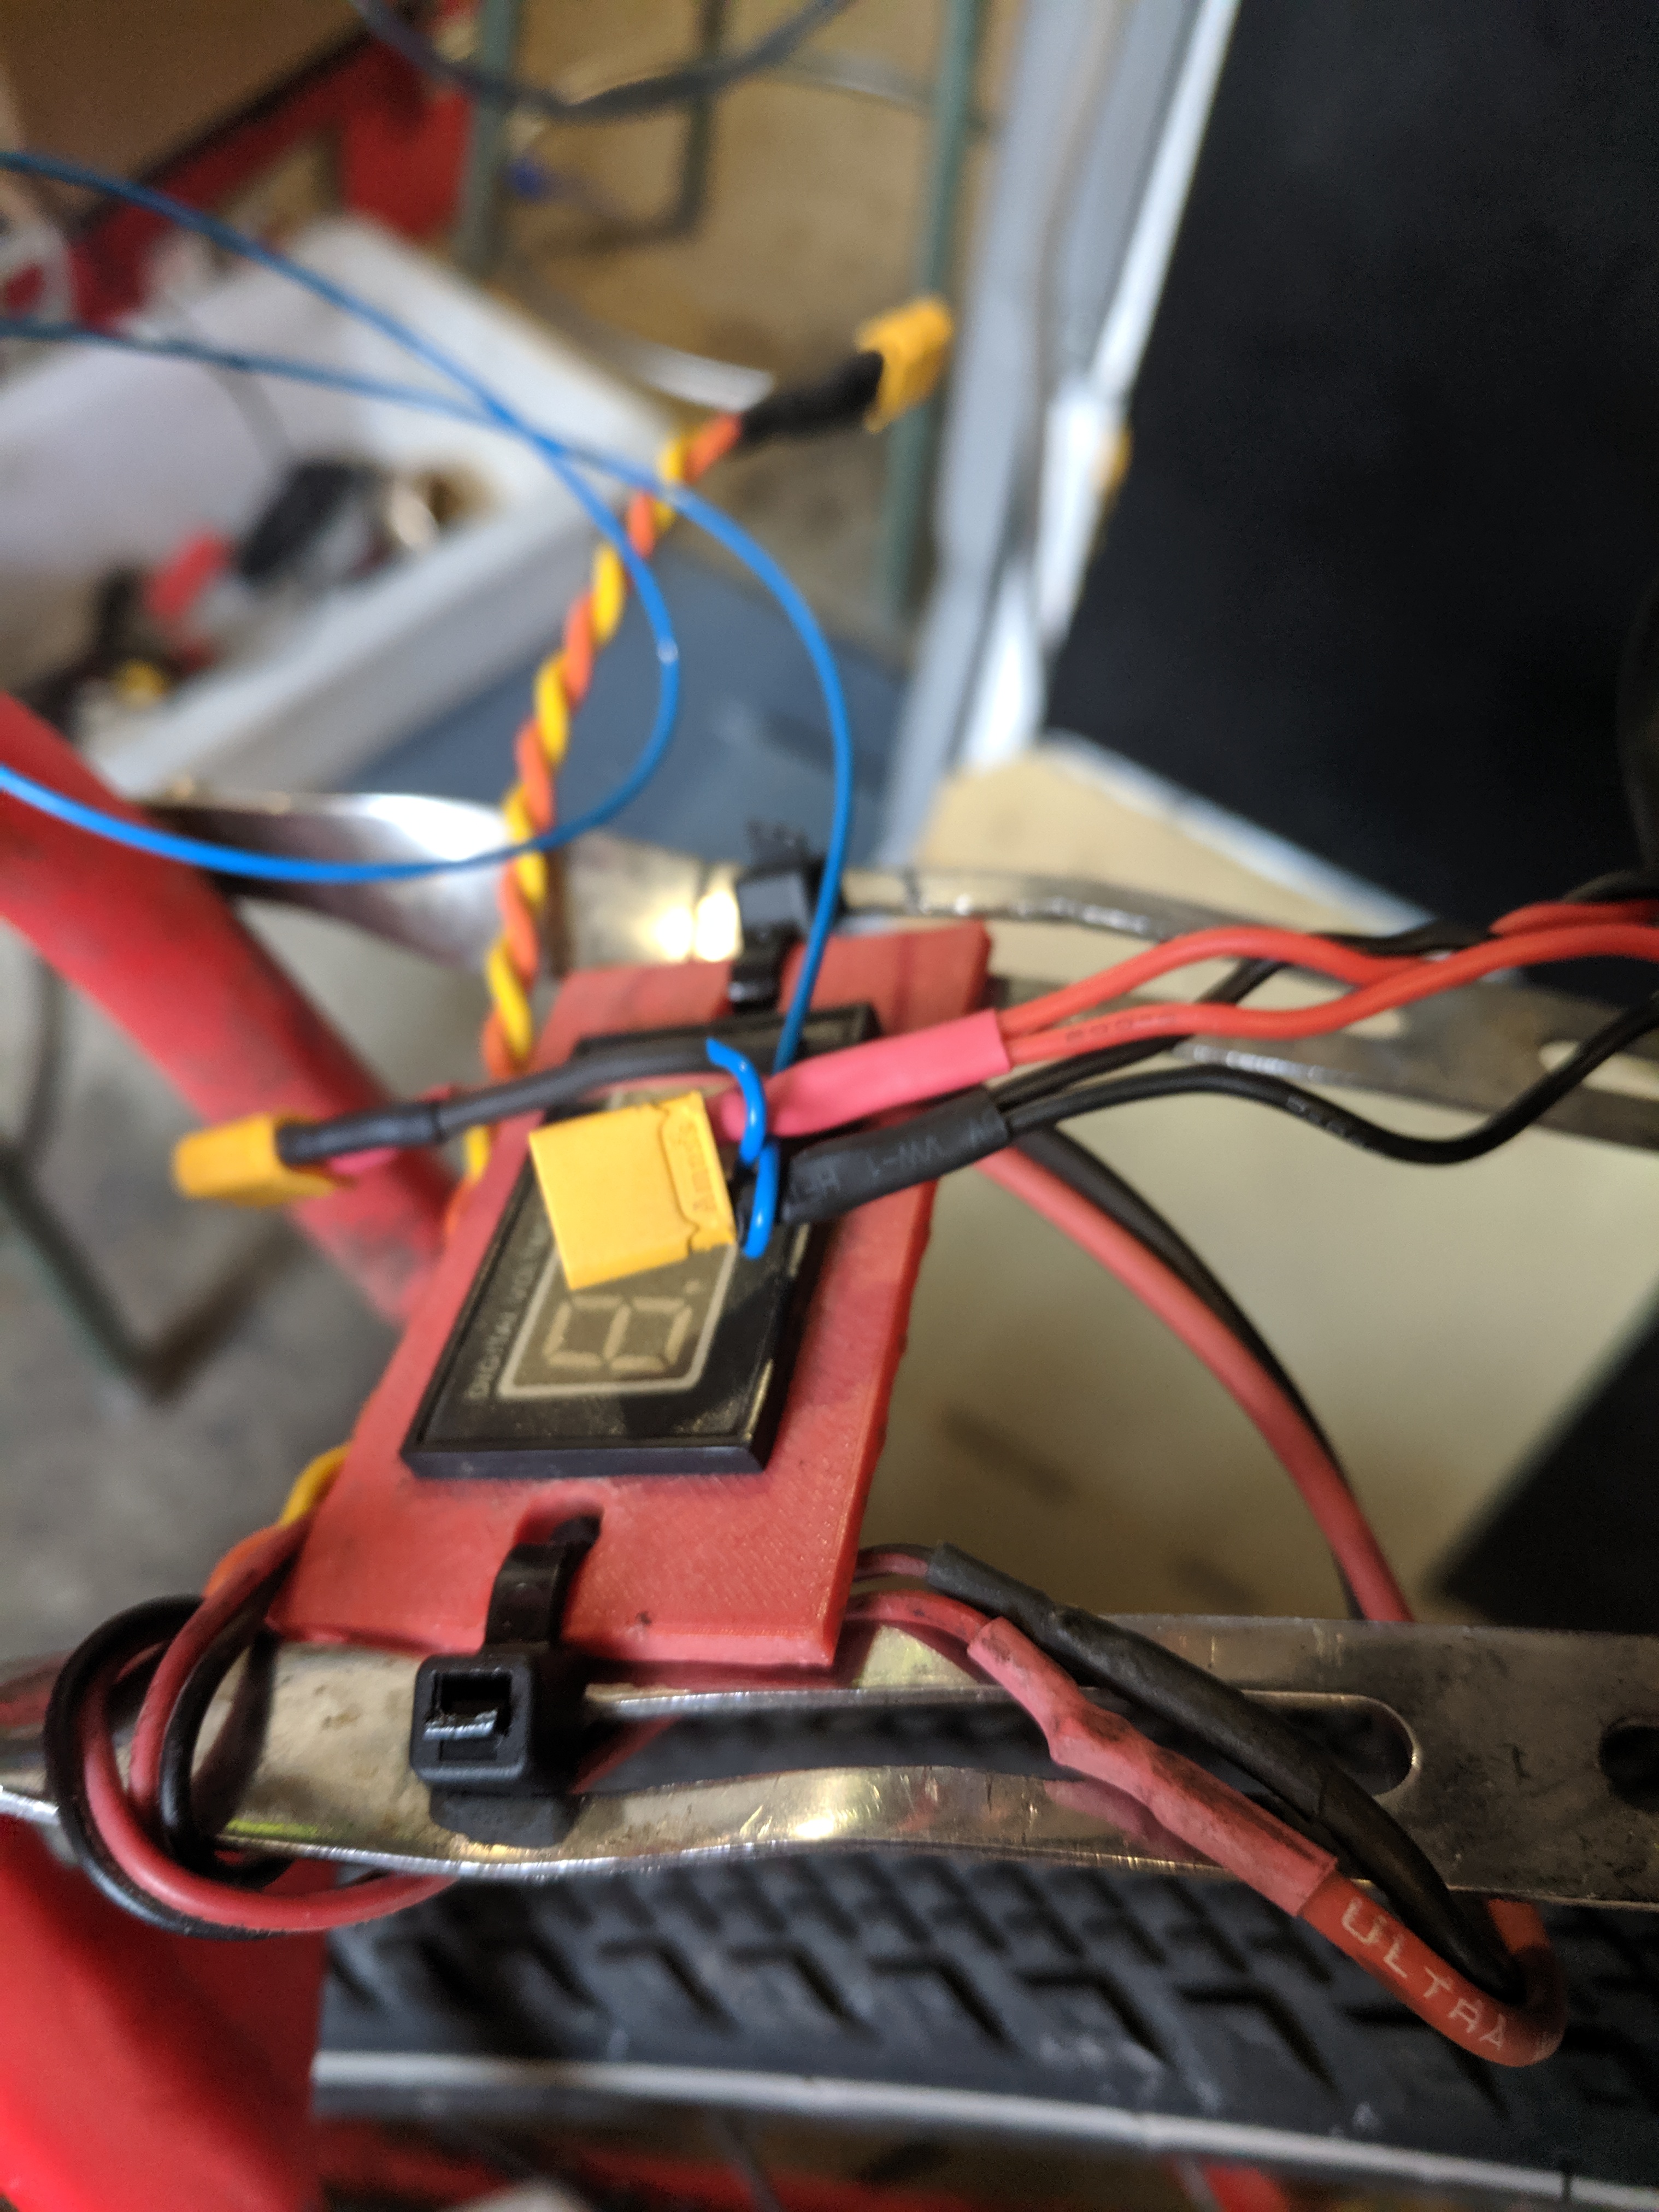
The Built In Voltmeter: A simple water-proof DC volt-meter was added to the back frame using a 3d printed holder and zipties. [Ebay Link]. This is useful because it allows me to actively check and track the batteries voltage, so that I know when I am nearing its next charge.
[Jan-2017]: Overall the bike battery grid has survived many boston winters and summers, Rain and snow. The only major modifications were the replacement of the two cheap Amazon lights with a chinese moped LED lamp which I machined a new housing for. Interestingly enough, the hot glue has not failed for water proofing, it has only become discolored.
[June-2019]: Upgrade time! So it has been 4 years since I built this battery/light contraption for my bike. When I first build this project I used an off the shelf $5-8 dollar project box. This box was not entirely water tight but did the job and worked for 4 years more or less without fail. So why fix something that is not broken? A few months ago I got hit by a car, not too bad, no broken bones just some scrapes and bruises. But what did happen is my bike got a nasty bend in it that would only get worse. So I replaced the bike with a new one of similar design and transferred my light/battery setup. Then recently I came across an amazing LED product, and well - I went down a rabbit hole of re-designing all the electronics and lights. The header photo shows the current LED setup.